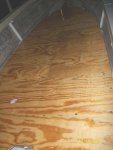
1977 Sylvan Sea Monster Side Console Rebuild

oldrem

Commander
Joined
Nov 7, 2013
Messages
2,002
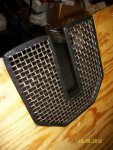
I QUIT! I GIVE UP! I SURRENDER! I'M BEATEN! I've tried a couple of the suggestions and even tried some wood stain. I'm convinced nothing is going to stay in the fine shallow lines of the engraving. I've decided to leave it alone before I destroy it.

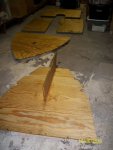
Meanwhile, I do have all holes for the deck rivets drilled and countersunk. Holes are drilled for the 3 seat bases. All 5 panels have been sanded and except for 2 cuts I still need to make in the support for the raised deck, everything is ready to start with the OTF this weekend.

We are having steady cold and rain for the next few days so I'm moving all the deck panels to the basement of the store where I can coat them in a warm dry environment.
 

chevymaher

Commander
Joined
Mar 29, 2017
Messages
2,933
Sounds like a few beers ad a day or so off is in order. Just relax it will look alot better to you once you do. Like i said in my restoration my brothers saying. "Most important thing is just don't panic. It gonna get done"
 

kcassells

Fleet Admiral
Joined
Oct 16, 2012
Messages
8,738
It'll pass and something will come of it. Just one of those days! Gets better.

hqdefault.jpg
 

oldrem

Commander
Joined
Nov 7, 2013
Messages
2,002
ROFLMAO! Jeez guys, the only thing I gave up on was filling in the lettering on the ignition switch plate.

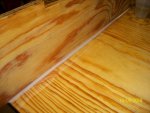
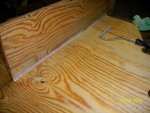
Before work this morning I picked up a second set of painters pyramids so I'll be able to coat both sides of all 5 deck sections at once. Mixed some thickened epoxy and filled any voids I found in the edges. Should be good to start coating right after work.
 

kcassells

Fleet Admiral
Joined
Oct 16, 2012
Messages
8,738
Hey.. just glad you got a Laugh. Thought you might appreciate the the pic. :)
We've all been there........;)
 

oldrem

Commander
Joined
Nov 7, 2013
Messages
2,002
Still at the store. Just taking a few minutes to sit, relax and grab a bite before heading home. All sides and edges of the 5 deck panels are now thoroughly soaked in OTF. Time to go home and watch some football.

Deck OTF.jpg
 

froggy1150

Master Chief Petty Officer
Joined
Nov 3, 2017
Messages
860
Here is an idea..... get the engraver to get you a test plate or make one.
have you seen how they use syringes to paint things like championship rings. Where you feed epoxy paint into grooves and just let it harden. It's a thought
 

oldrem

Commander
Joined
Nov 7, 2013
Messages
2,002
Started the day going back to the store for some measurements I needed from the aft deck section and checking my drawing against the actual cutout for the bilge cover. Good thing it's less than 15 minutes from my house.

Got home and vacuumed the inside of the hull followed by blowing out the rib tubes, more vacuuming more blowing etc until I felt I had gotten every bit of crud, beetles, spiders etc out. Then put all the new foam back in. Covered everything up for now with some tarps to keep more crud from getting in until the deck is back in. I still need to cut a relief for one of the pedestal bases, but had other plans at the time.

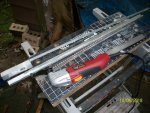
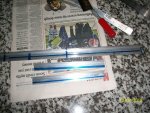
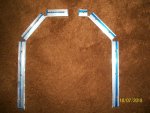
Got to play some more with aluminum and the oscillating tool. Dang that thing makes jobs like this so much easier. Cut the outer supports for the bilge cover from a length of 1/8 x 1 x 1 angle. Those will be screwed to the aft section from underneath. The inner supports were cut from a piece of 1/16 x 1/2 x 3/4 offset, drilled and riveted to the transom support with 3/16 large head rivets. The outer support had to be done in two sections to work around the stringer.

Bilge Cover Support 1.jpgBilge Cover Support 2.jpgBilge Cover Support 3.jpgBilge Cover Support 4.jpg
 

oldrem

Commander
Joined
Nov 7, 2013
Messages
2,002
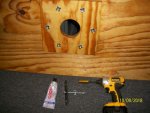
Coated all sides and edges with Helmsman last night. Drove all 18 SS blind nuts in with the impact wrench and my makeshift alignment setup. Tested them after with one of the bases and the socket screws. Glad I did it now as one bound up on me and had to be replaced.

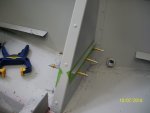
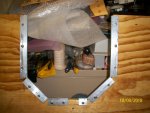
Installed the perimeter support for the bilge cover with some 5200 in all the holes. Looks like my measurements and cuts were spot on. It sits about .030 high now and will be dang near flush once the Nautolex goes in which is .040 thick.

Ordered the Nautolex, adhesive and carpet for the side walls yesterday.

Blind Nuts.jpgBilge cover bracing 2.jpgBilge cover bracing 3.jpg
 

oldrem

Commander
Joined
Nov 7, 2013
Messages
2,002
Did a little fiberglass work tonight. Even though the raised deck support is bedded in epoxy and screwed from underneath, I added thickened epoxy fillets (USC 150 and cabosil) using WOGs recommendation of a plastic bag and spoon. Hey that works wonderfully!. Then I finished up with 2 layers of 10 oz cloth with USC 635. All probably overkill, but what the heck.

Fiberglass 1.jpgFiberglass 2.jpg
 

zool

Captain
Joined
Aug 19, 2012
Messages
3,432
Looks great rem, the cake icing method works good for neat work, but I have trouble getting it all out...I just use a bondo squeegee to scoop, then bend it over to pull the fillet, then scrape the edges clean.
 

oldrem

Commander
Joined
Nov 7, 2013
Messages
2,002
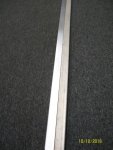
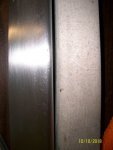
Definitely calling on the 10ft rule for the inner gunwale trim pieces. I worked on the first section, sanding then hitting with some coarse compound on the old 3/4 hp 8" buffer (bought that sucker almost 50 years ago) then went over it with a 3M green pad to knock the shine down. The old gouges and scratches are just too deep to completely eliminate without destroying the parts.

Finished on left the other untouched straight section on the right.

Gunwale Trim 2.jpgGunwale Trim 1.jpg
 

Watermann

Starmada Splash of the Year 2014
Joined
Jan 12, 2013
Messages
13,822
Those pieces are anodized and it may be easier to start with some paint stripper to remove it before the sanding process. I stripped and painted mine but after beating them up I wish I had just left them bare AL.
 

oldrem

Commander
Joined
Nov 7, 2013
Messages
2,002
Those pieces are anodized and it may be easier to start with some paint stripper to remove it before the sanding process. I stripped and painted mine but after beating them up I wish I had just left them bare AL.

If I do put any coating on them it would be Krylon Clear which is non-yellowing, but will most likely just leave them as is. The second section sanded easily with some fresh 3M 220 grit. After going over it with the green pad, I have the brushed look I was looking for. I then went back and redid the first one to match. Now I just need to do the larger curved piece.
 

oldrem

Commander
Joined
Nov 7, 2013
Messages
2,002
Thanks guys.

Beat it home tonight to lay in the 5 main deck sections. Only had to run a drill to clean up 5 of the 65 pre-drilled rivet holes, but all rivets are in and done. Was getting pretty dark when I finished so not the best photo.

Main Deck 2.jpg
 
Top