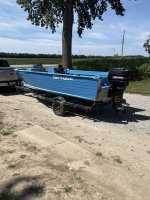







1981 Springbok 18' Restoration/Renovation

SlipperyOar

Petty Officer 2nd Class
Joined
Apr 12, 2024
Messages
184
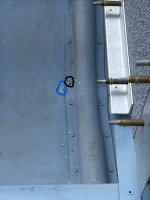
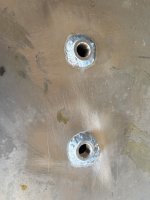
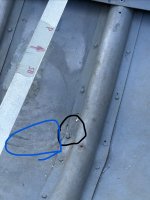
Haven’t gotten around to dealing with the two leaky rivets. Been busy with work and also trying to figure out the best approach to fix these up for good (already disappointed that I didn’t fix these before I painted the underside but can’t cry over spilled milk…). I’ll add the two rivets that showed some leakage below. Btw rivets in question are circled in black and the water circled in blue.

I’m not sure if I should try to rebuck them first and see if that fixes the problem. Regarding the rebucking, from what I’ve been reading I’ll hold a hammer or my hand anvil on the head side (outside the hull) and then have my brother strike the tail end to squish that rivet tight into the hole again. I assume rebucking doesn’t require the full air hammer setup as I’m not needing the add a crazy amount of force.

My other thought was should I just drill out, and replace the solid rivet with a new solid rivet, possibly adding some gluvit into the hole just before I insert the rivet for added insurance. Like I said before the location is at the bottom of the hull, connecting the keel to the skin to the ribs, therefore it’ll never be known that I have 2 unpainted rivets since they won’t be seen.

I realize it’s not a very big leak, literally only 1-2 teaspoons over the course of 25 minutes in the water. But I’d like to know its watertight before I fasten the floor to the framing and spend a bunch of time on flotation foam.
 

Attachments

  • IMG_3635.jpeg
    IMG_3635.jpeg
    1.3 MB · Views: 2
  • IMG_3637.jpeg
    IMG_3637.jpeg
    1.2 MB · Views: 2

SlipperyOar

Petty Officer 2nd Class
Joined
Apr 12, 2024
Messages
184
Two big things done the past few days…

Got the few leaky rivets I had sealed up and watertight using Gluv-it. I used a heat gun to warm the aluminum up and then injected the epoxy sealer with a syringe around the rivets and the ribs to allow it to seep into any crevices. Haven’t yet launched it again but I did fill 1-2” of water into the hull with no water showing externally. I had also rebucked them all to give it some extra sealing power.

Also got all the pieces that will come to be the floor panels beneath the bow all sealed up with OTF and paint. These are going to encapsulate beneath the casting deck and provide a space for me to store ropes,batteries,anchor,life jackets, etc. Once I get some foam board cut and fit beneath I’ll be able to install these for good.

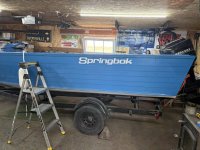
Last but not least, my decals finally came in. I went with an accurate logo for the era as the Springbok logo. Super happy with the fast delivery and price and even happier with how they look.
 

Attachments

  • IMG_3668.jpeg
    IMG_3668.jpeg
    476.9 KB · Views: 2

SlipperyOar

Petty Officer 2nd Class
Joined
Apr 12, 2024
Messages
184
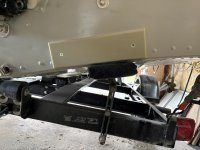
I plan to get new tires for the trailer as these ones are beyond overdue for a replacement, extremely balded lol. I’m not quite sure why I painted the rims black the first time around but I’m going to redo them rims to match the grey of the hull and make them look a bit nicer/cleaner. That can wait for a day this winter with the woodstove rolling to get a nice workspace and cure the paint properly while boating is not an option.
 

SlipperyOar

Petty Officer 2nd Class
Joined
Apr 12, 2024
Messages
184
Got the last big job for this boat restoration done, welded two bungs onto my fuel tank for the pickup and a vent. The existing pickup was pointing the wrong way with me changing the orientation of the tank. Washed it with degreaser and then rinsed multiple times. Filled with water so minimize the argon purge I’d have to do and began welding. Was a bit nervous at first that it would turn into a bomb but it went well and the welds turned out well. Pressure test passed with no leaks. Time to install into the hull once my fuel fill line arrives.

Got the leaky rivets rebucked and going to give it a leak test this evening.
 

Attachments

  • IMG_3706.jpeg
    IMG_3706.jpeg
    354.8 KB · Views: 2

SlipperyOar

Petty Officer 2nd Class
Joined
Apr 12, 2024
Messages
184
Boat is 100% leak free as far as I’m concerned from the hour I had it sitting in the water the other night after rebucking the few rivets.

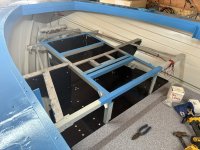
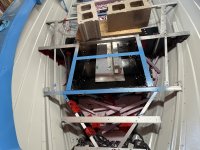
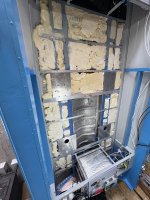
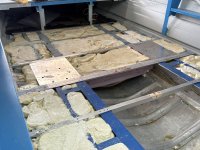
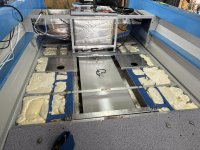
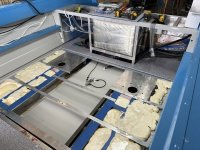
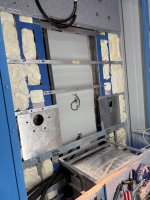
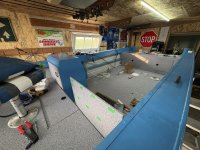
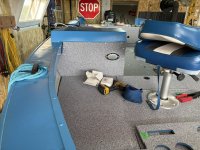
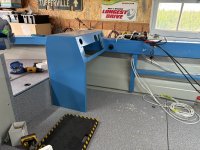
I started installing closed cell foam board in the hull and used spray foam to encapsulate the areas where I’ll be pouring foam to keep it out of the centre channel. Also got the front casting deck put in and the panels underneath it for my storage. Hoping for some nice days upcoming to pour the foam into the hull so I can get the flooring all fastened in.
 

Attachments

  • IMG_3717.jpeg
    IMG_3717.jpeg
    498 KB · Views: 3

MikeSchinlaub

Master Chief Petty Officer
Joined
Jan 14, 2025
Messages
883
Usually it's flooring first, then foam. You drill some 1 inch holes and pour through, but it looks like you've already wrapped the main flooring with vinyl.
 

SlipperyOar

Petty Officer 2nd Class
Joined
Apr 12, 2024
Messages
184
Usually it's flooring first, then foam. You drill some 1 inch holes and pour through, but it looks like you've already wrapped the main flooring with vinyl.
Yes its all wrapped, if i was doing a glass boat id be securing the floor and then pouring foam. I'm going to use some plywood with a release agent after i pour it and then some batteries for weight to get the foam to cure flat and minimize trimming it up later.
 

SlipperyOar

Petty Officer 2nd Class
Joined
Apr 12, 2024
Messages
184
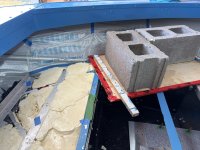
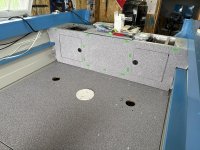
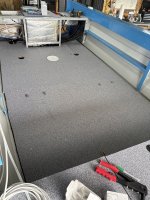
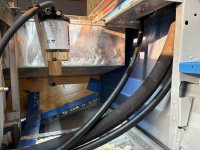
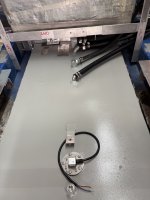
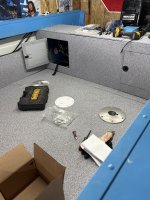
Made good progress so far on installing the foam, I underestimated how much I would need to complete all the compartments needing foam. I was able to finish the bow area which is nice as I can put the floor in up there and slowly make more space around the garage as floor sections begin going into the hull. In the attached pic I used a plywood board covered in tuck tape and cinderblocks to keep the foam level after it was poured and I only had a few spots needing shaving to get them level. Prior to adding foam I put in some ABS so I can pass wires up to the bow in a conduit.

Until my foam arrives (not sold locally, had to order…) I’m going to get the fuel tank primed and painted so it’s ready for install when the time comes. I’ll finish the foam beneath the main deck (excluding down the centre where the tank rests) before installing the tank to prevent a foam spill lol.
 

Attachments

  • IMG_3728.jpeg
    IMG_3728.jpeg
    485.5 KB · Views: 1
  • IMG_3723.jpeg
    IMG_3723.jpeg
    2.6 MB · Views: 1
Top