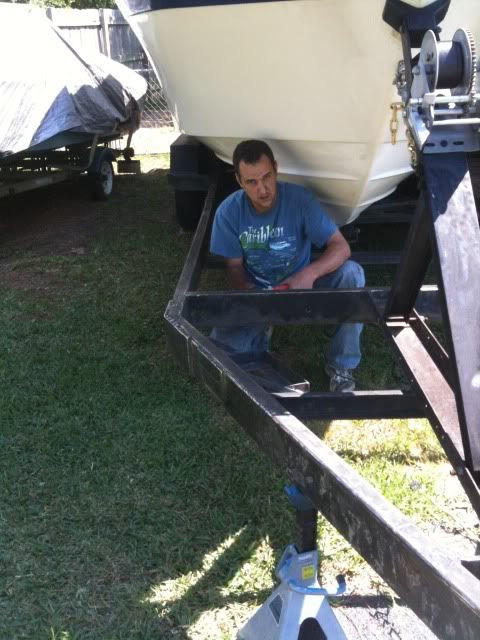
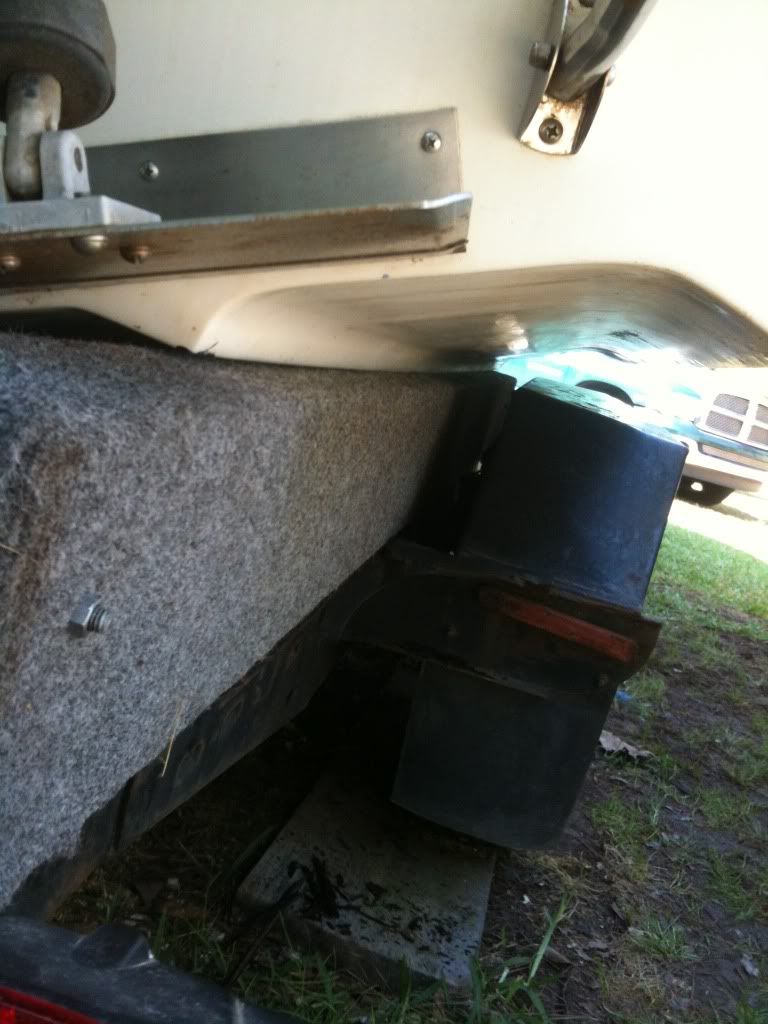
Well today I finally replaced the outer bunks on my trailer. I've had the bunks made and carpeted for about 6months. I've just been super nervous for some reason about jacking the big girl up to replace them. It really wasn't that big of a deal. I used some 4x4's and cinder blocks for cribbing...with some carpet over the wood. 4ton floor jack picked her right up.
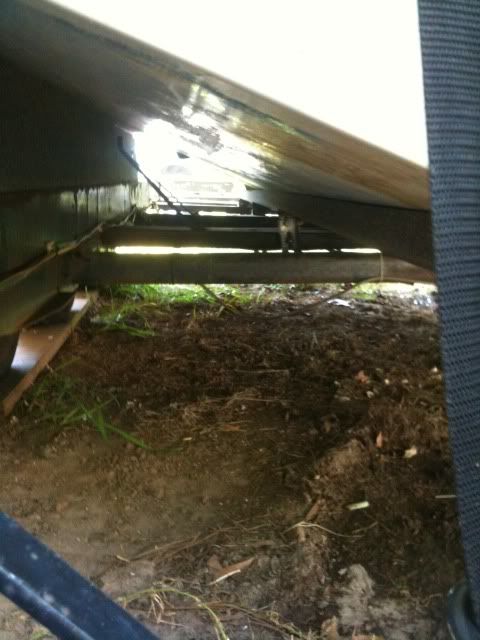
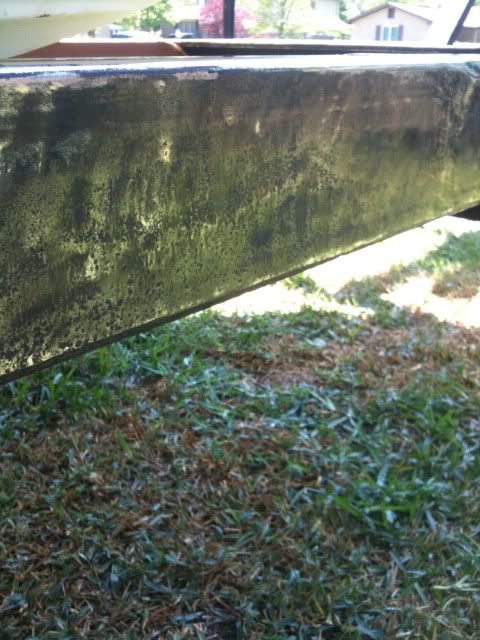
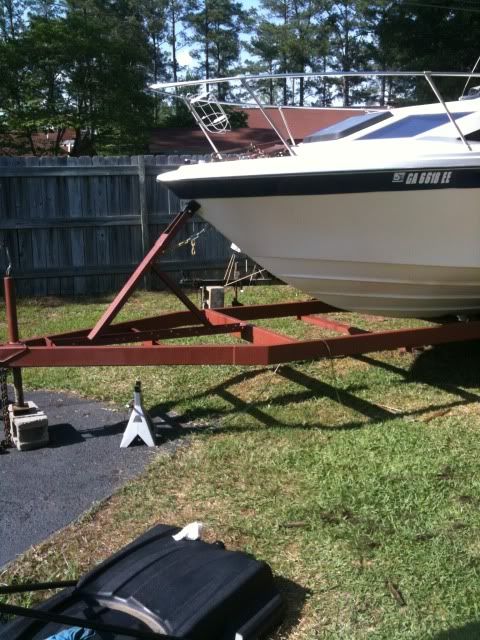
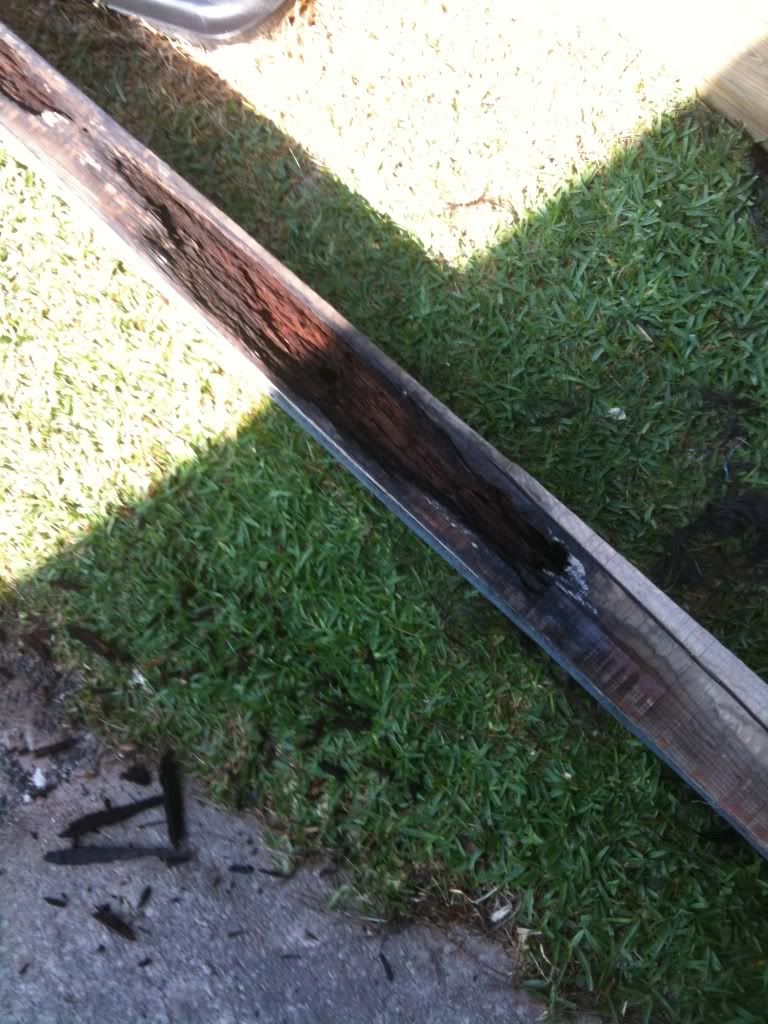
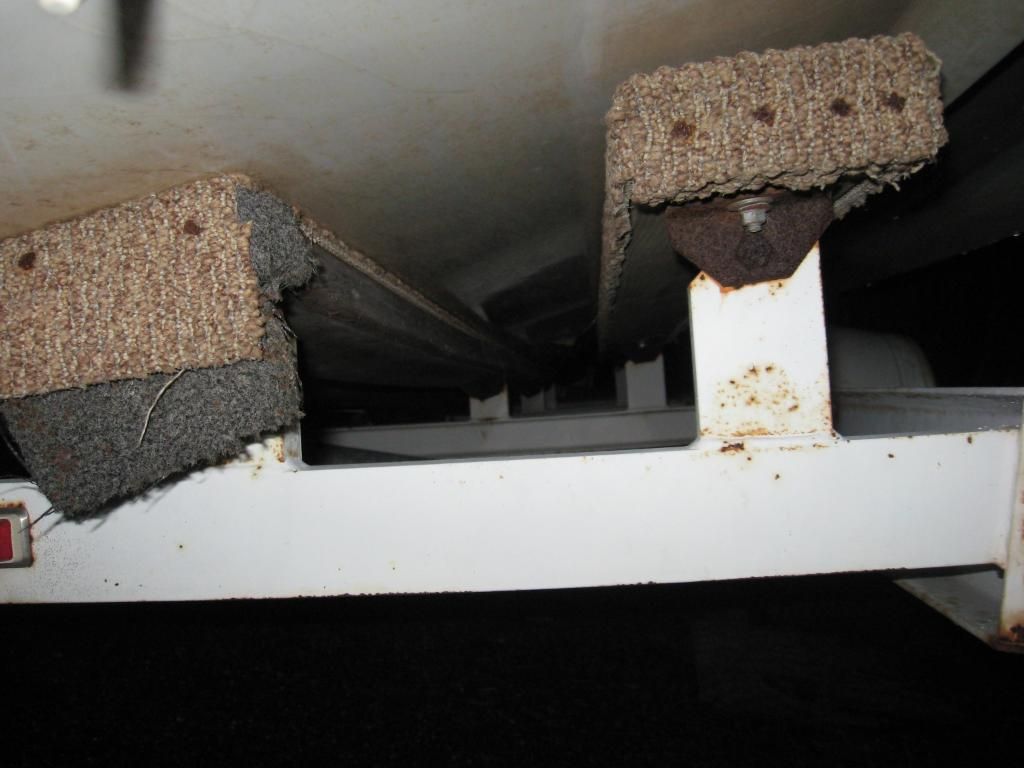
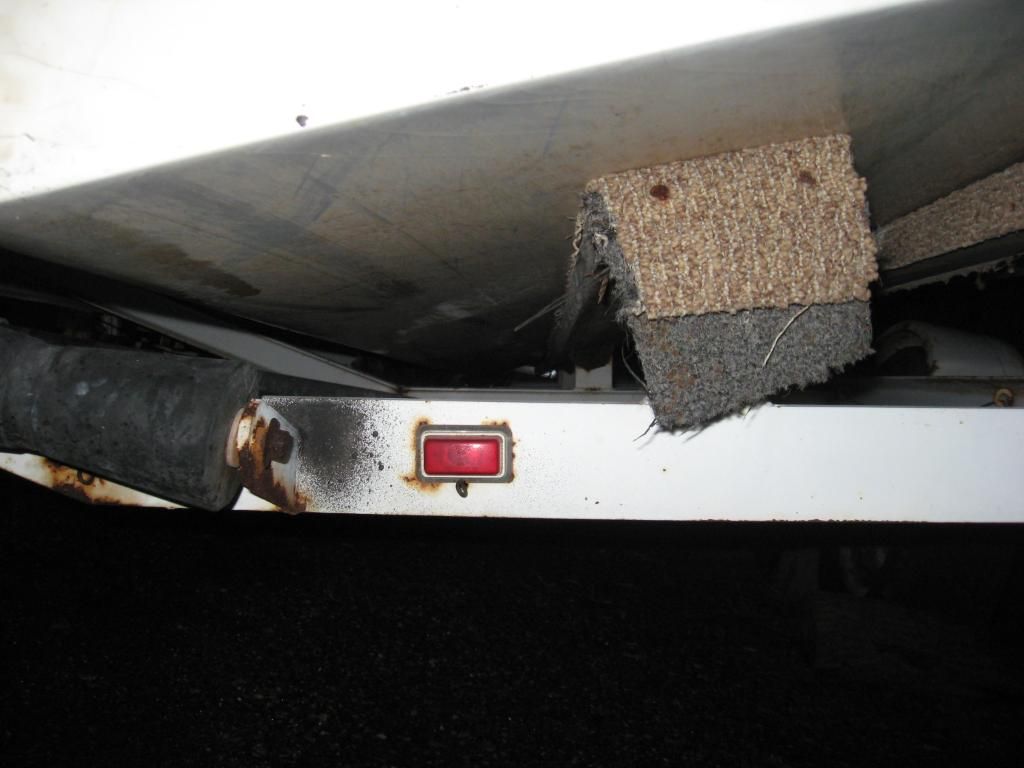
anyways, I got them installed finally! The wife was complaining about these 12' long carpeted things laying in the carport. I'm glad i replaced them too! look how rotted the old ones were....
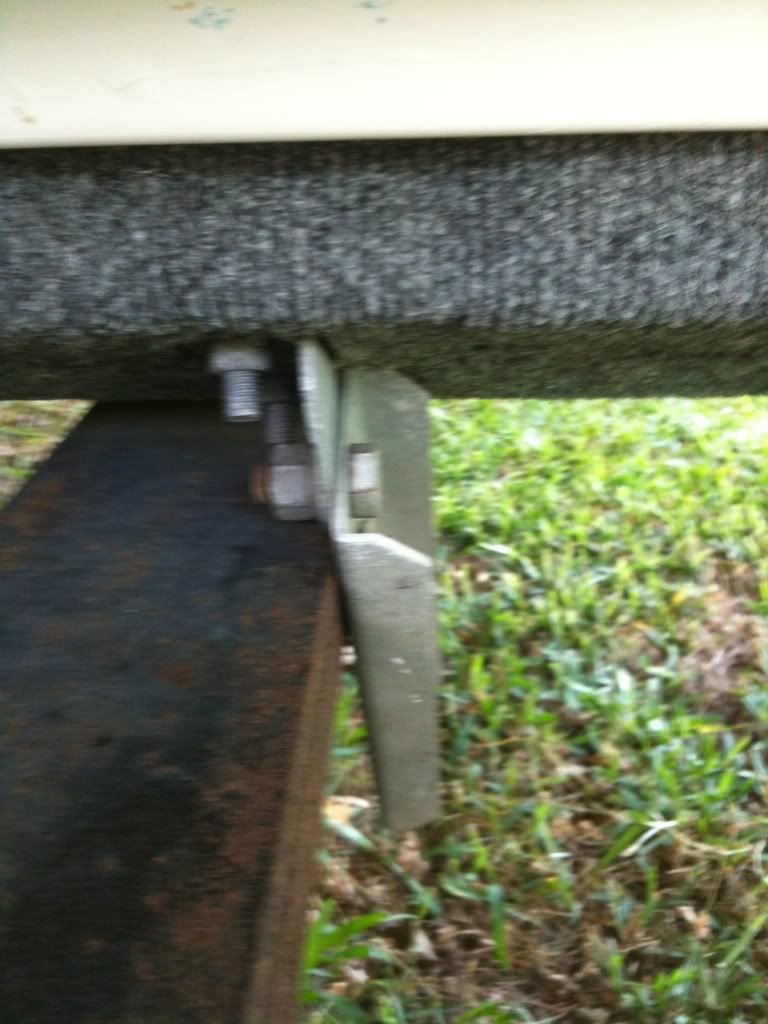
The old bunks were 4x4's stack on top of each other...somebody rigged it up obviously as there was no carpet on one side and very little on the other, they were also only attached with 2 lag screws thru each one (up thru the trailer frame). I replaced them with two 2x8's glued and screwed together. rounded off the top corners and glued carpet down. They are attached with FOUR longer lag screws for each side.
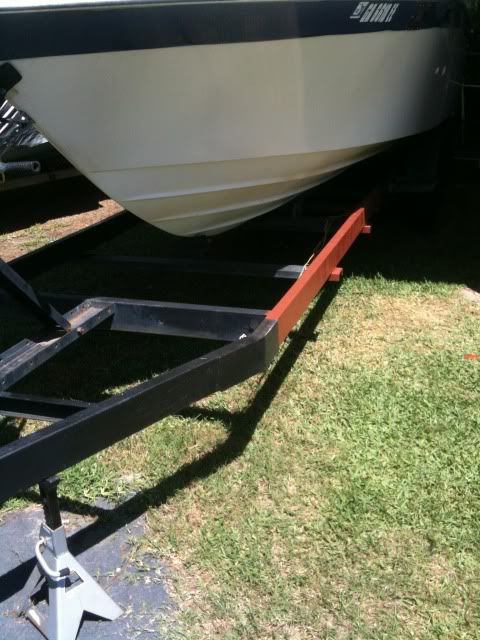
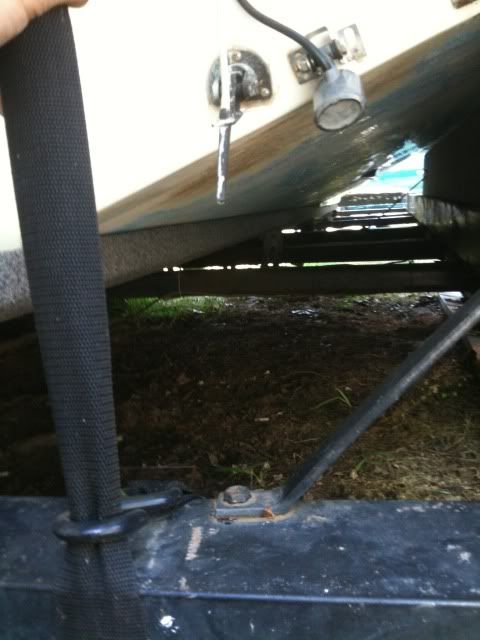
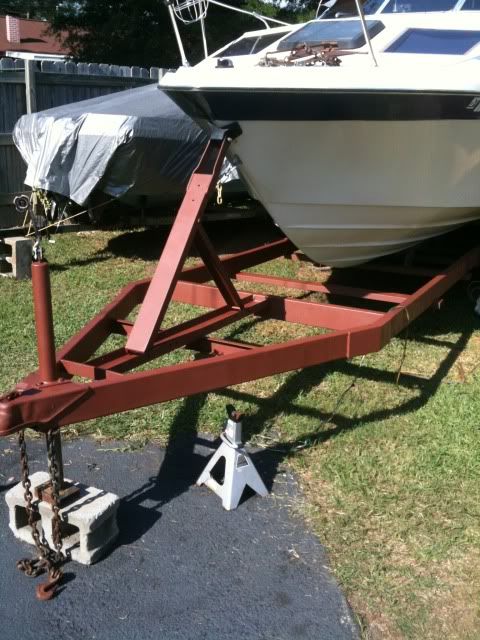
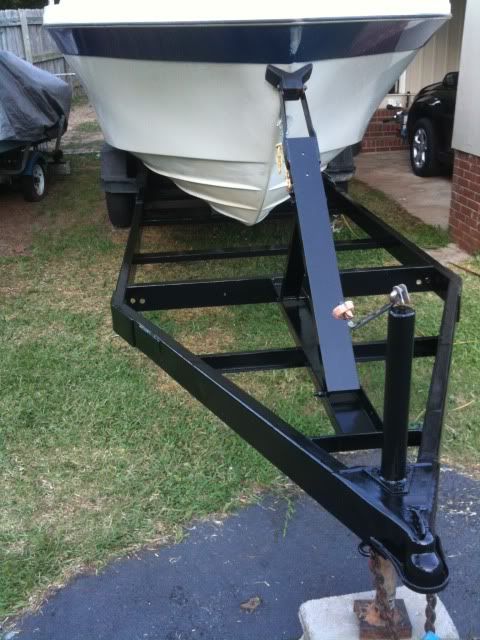
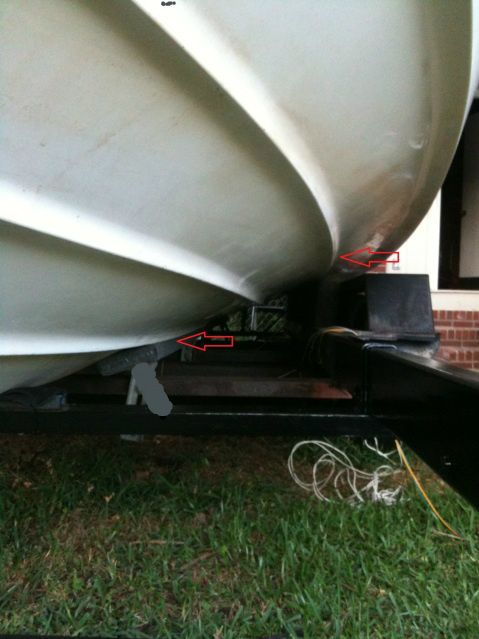
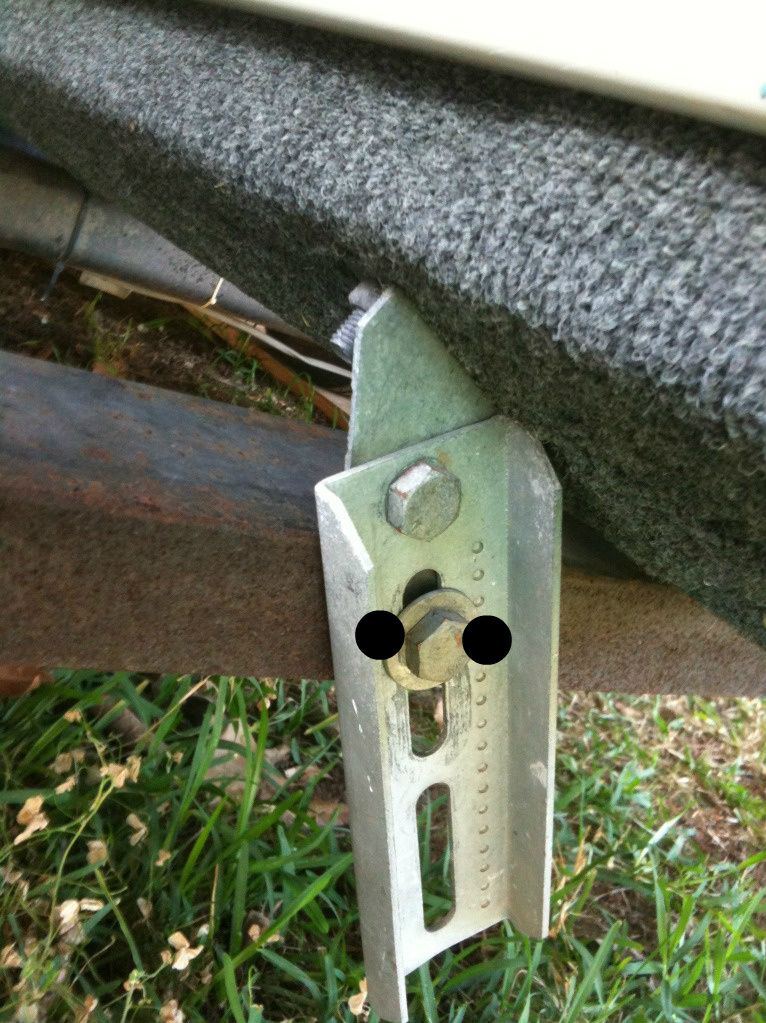
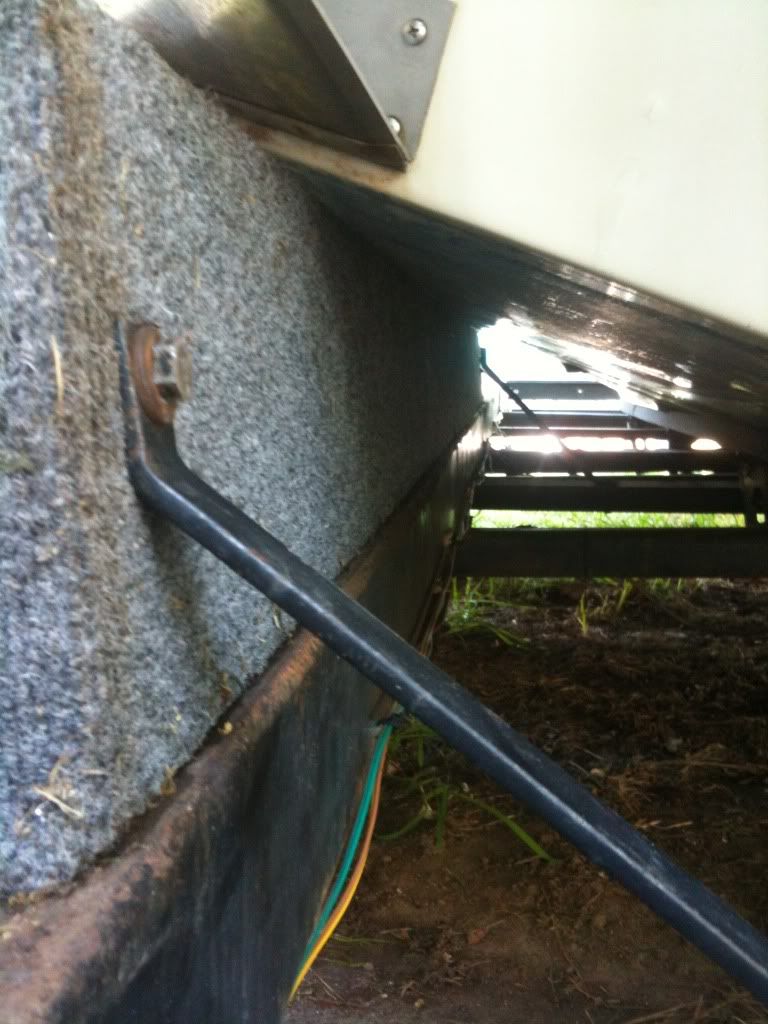
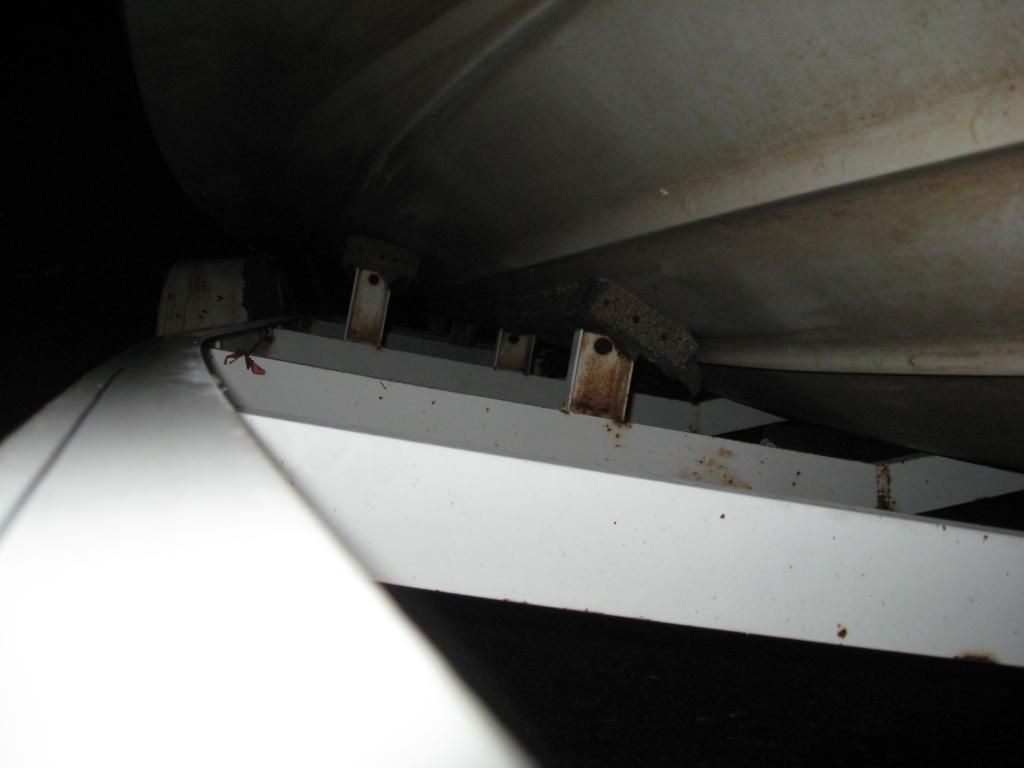
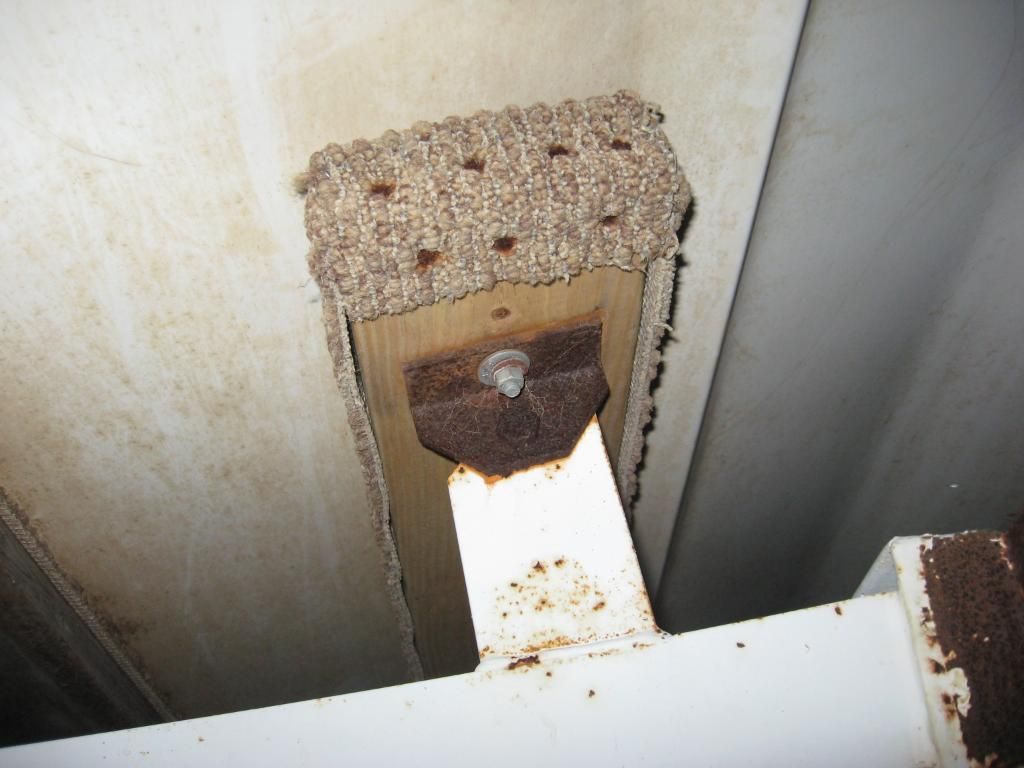
I had replaced the keel bunks last year. However the brackets appear to be moving on me. I think as the boat comes on to the trailer, its jarring those things a bit. I need to find a better bracket or something to attach these to the trailer frame. I have used an impact on the one bolt the bracket has, but it still moves.


 again,lol