Re: 1986 Bayliner Capri rebuild
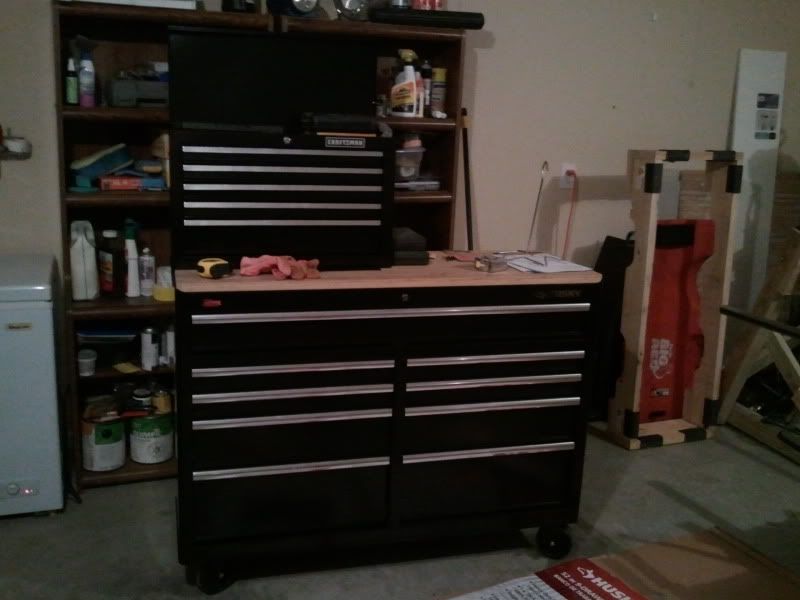
Thanks ezmobee...I still have a long ways to go but things should speed up pretty soon. I bought a shed from the neighbor so I can empty out the garage and get the boat inside where I have some light. Then I can work on it in the evenings and not just on the weekends.
Of course I have another issue now. The guy I mentioned before with the Checkmate emailed me again. He is basically offering me the boat for next to nothing just to get rid of it. I will most likely pick it up next week. Then I can clean it out and decide if I should do that one first or finish the B-liner. ....decisions decisions lol
Anyway, I hope everyone has a happy Turkey Day!
Max
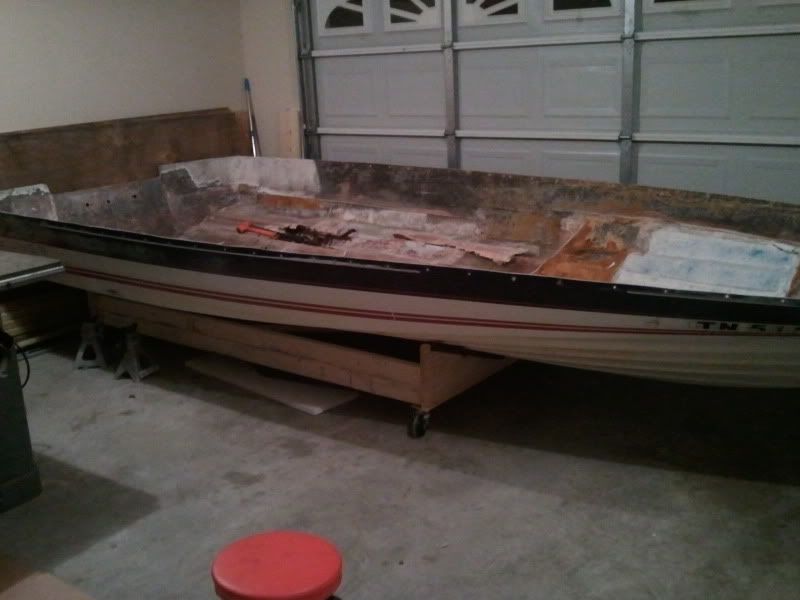
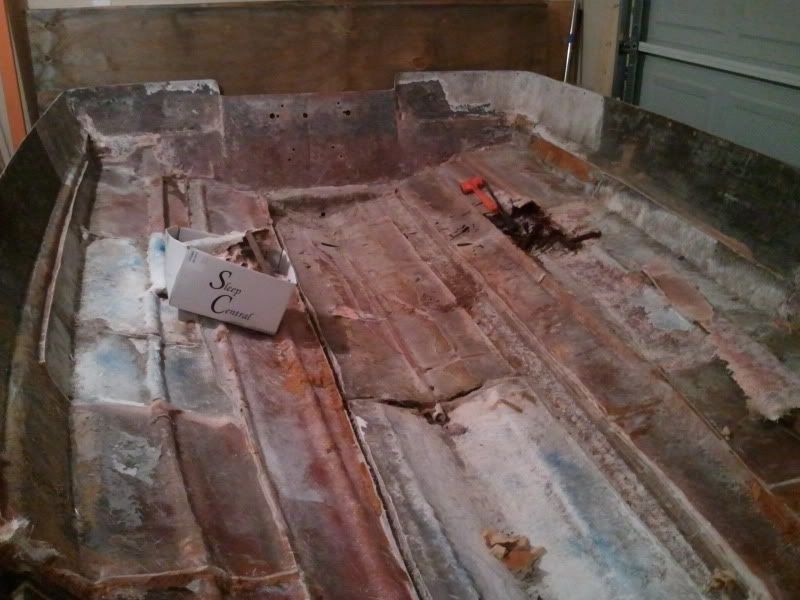
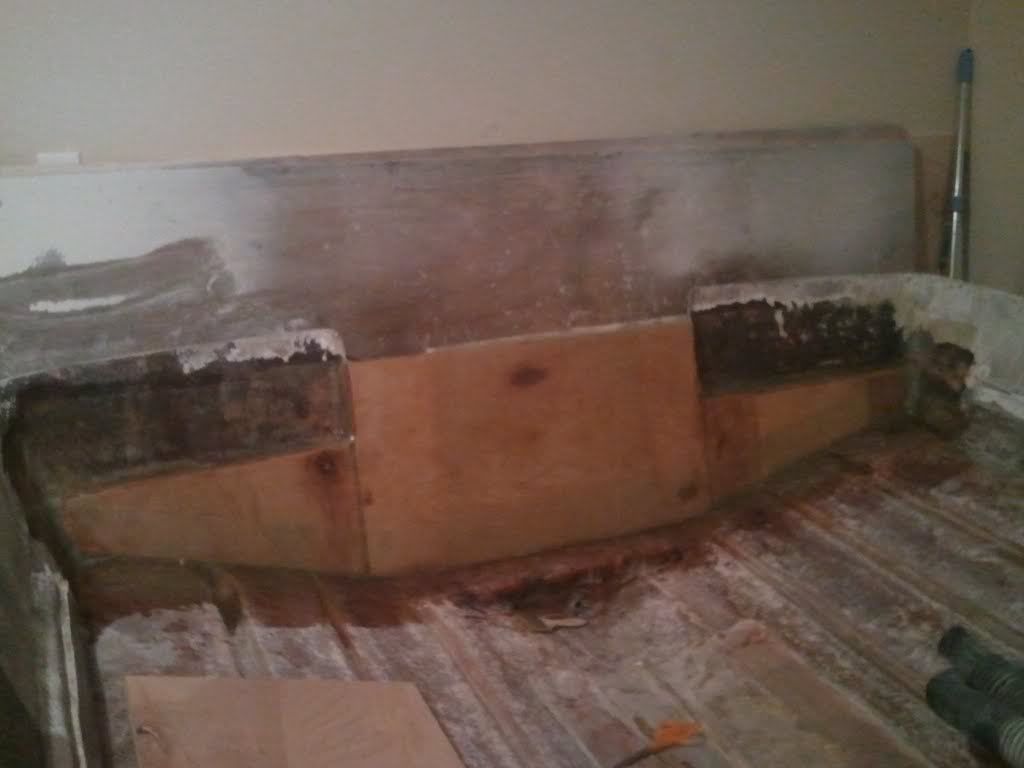
Nice work on all the tear out.
Thanks ezmobee...I still have a long ways to go but things should speed up pretty soon. I bought a shed from the neighbor so I can empty out the garage and get the boat inside where I have some light. Then I can work on it in the evenings and not just on the weekends.
Of course I have another issue now. The guy I mentioned before with the Checkmate emailed me again. He is basically offering me the boat for next to nothing just to get rid of it. I will most likely pick it up next week. Then I can clean it out and decide if I should do that one first or finish the B-liner. ....decisions decisions lol
Anyway, I hope everyone has a happy Turkey Day!
Max