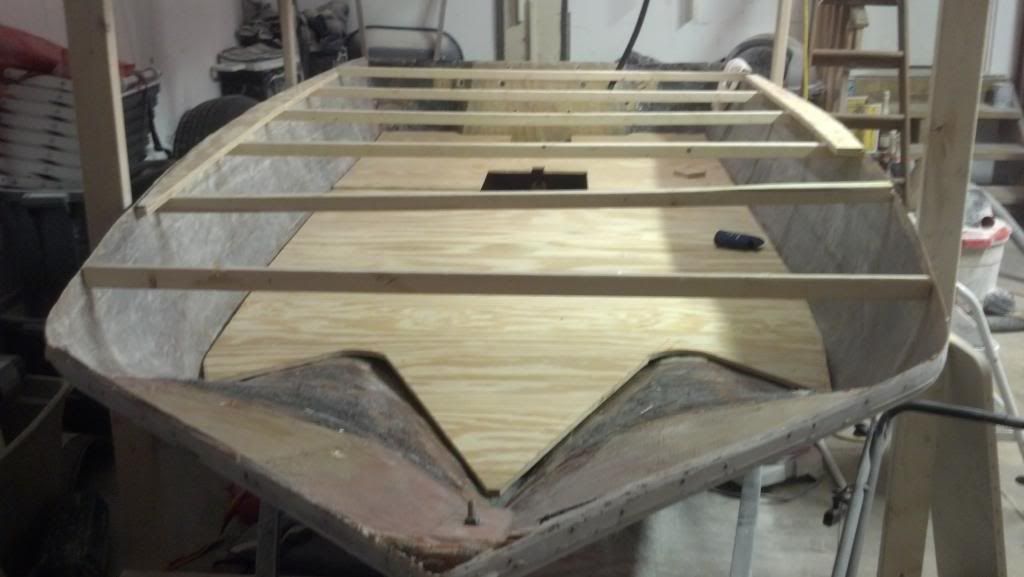
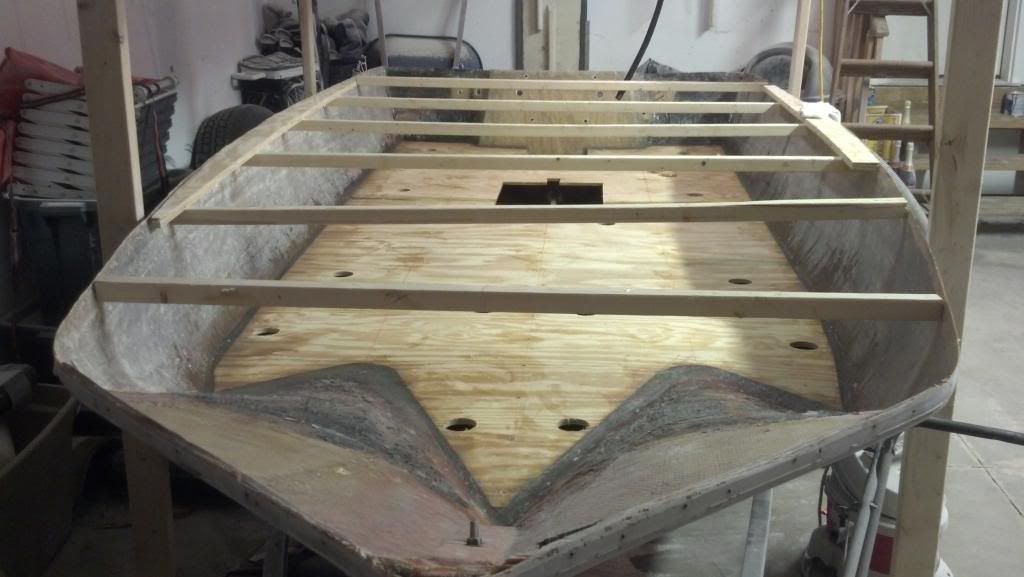
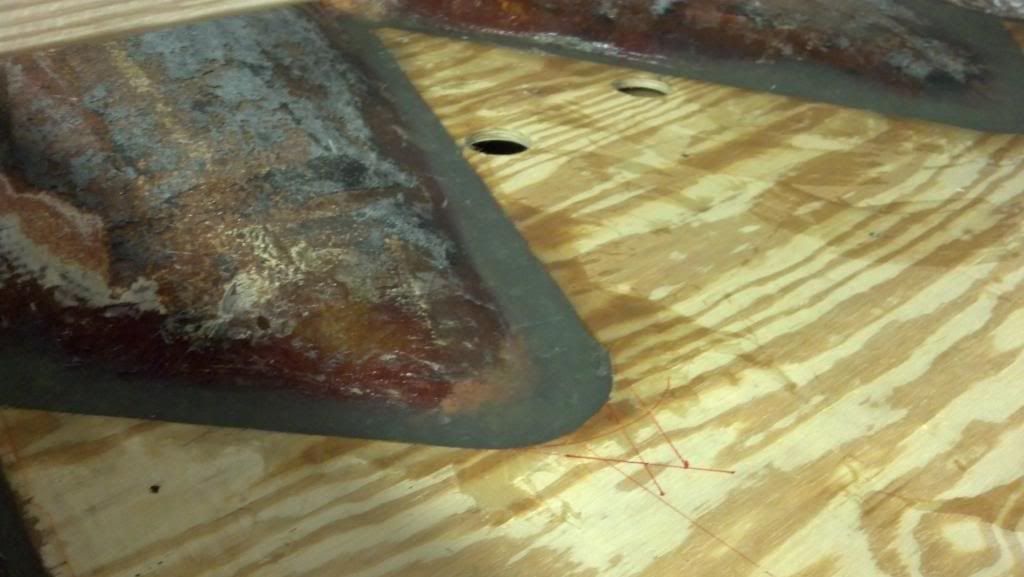
1986 Ebbtide Dynatrak 150 Restoration

Status
Not open for further replies.

jbcurt00

Moderator
Staff member
Joined
Oct 25, 2011
Messages
25,111
Re: 1986 Ebbtide Dynatrak 150 Restoration

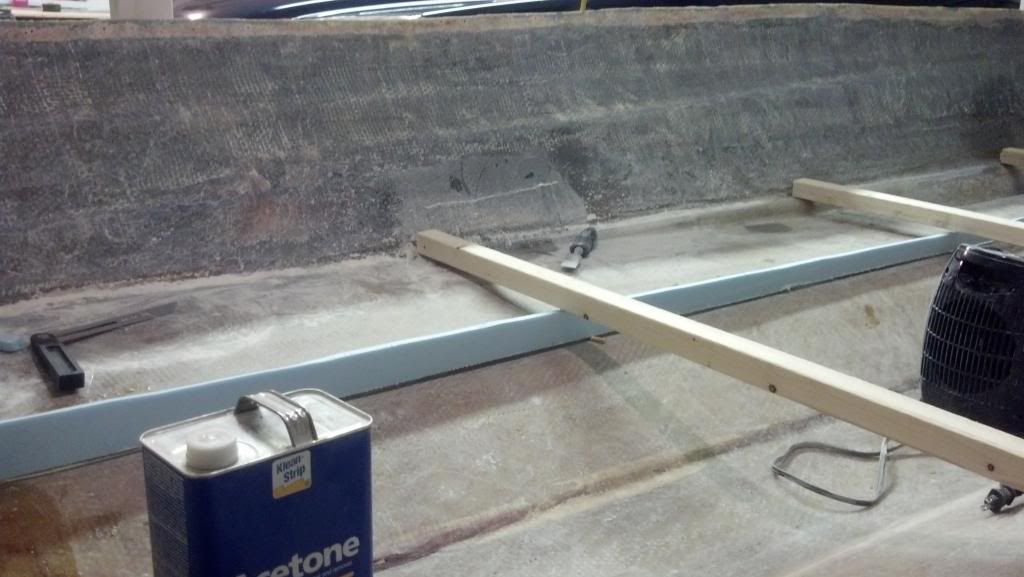
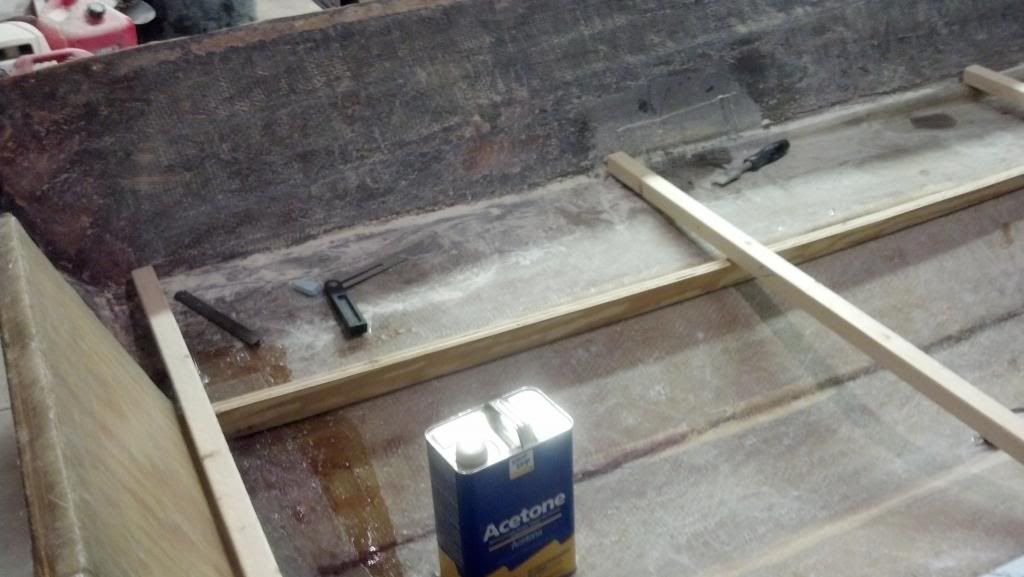
You are towards the bottom of the temp window for the resin to kick, so I don't think an hour is unusually long. If you have any halogen lamps, you can set them up opposite the area you are working on, under the hull or just to the outside of the transom, and as soon as you get the layup where/how you want it & your tools/work area detailed, turn the lamps on to gently warm the hull.

Might only save you 30min+/-, but 2 or 3 half hour time savers would greatly increase your production over a period of several work sessions. Even just 1 extra layup per session would be helpful.
 

jfas

Seaman Apprentice
Joined
Sep 5, 2013
Messages
47
Re: 1986 Ebbtide Dynatrak 150 Restoration

Jbcurt,

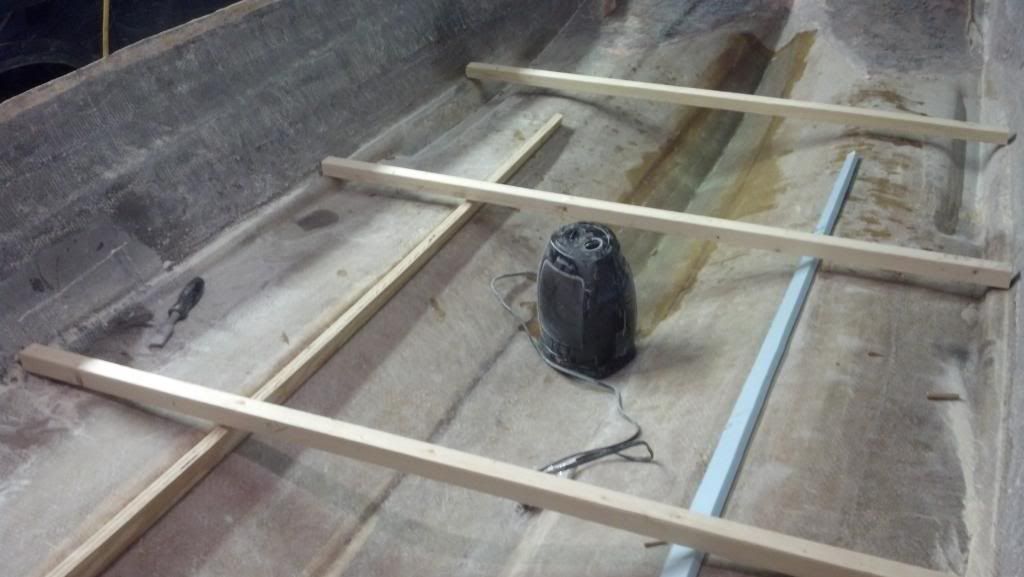
That's what I was assuming. I have a small oscillating space heater that I have been using to blow some warm air over the resin, which seems to help. When the resin cures, it's definitely curing nice and hard. It's also getting pretty darn hot. I had a little left in a mixing bucket and it was way too hot to touch.

Jfas
 

glnbnz

Chief Petty Officer
Joined
Oct 4, 2011
Messages
458
Re: 1986 Ebbtide Dynatrak 150 Restoration

Yes it will get very hot. When I gelcoated my deck it was still warm the next day.
 

jfas

Seaman Apprentice
Joined
Sep 5, 2013
Messages
47
Re: 1986 Ebbtide Dynatrak 150 Restoration

Time for another update!

I made pretty good progress this weekend and need a bit of feedback. The transom is installed, filleted with PB, tabbed with 2 layers of overlapping 1708, and then one layer of 1708 over the whole transom. Do I need to add any more glass over the transom? I laid one layer of CSM before installing and then the 1708 after. Here's a shot of how it came out. I think it looks pretty darn good.

IMG_20140216_115050_465.jpg

So, back to history.

I can honestly say that the grinding was the worst part of this whole project. The vacuum in the picture is bright orange, but it looks white from all of the dust.

IMG_20140117_175921_794.jpg

Next up is stringer removal. I ended up using my 4 inch grinder with a metal cut off wheel to but the tabbing and the whole top section of the stringer came out. I was hoping to be able to save the stringer as a template, but they were too far gone.

IMG_20140118_100339_958.jpg

Here's a shot with all of the stringers out of the hull. At this point, 99% of the wood has been removed.

IMG_20140118_120822_749.jpg

The hull is completely bare, notice the spots down the keel that were so thin that I ground right through them. I have a plan to repair these spots as well.

IMG_20140126_175856_428.jpg

That's all for now, I sure do appreciate the comments and assistance from the group here.

JFas
 

jfas

Seaman Apprentice
Joined
Sep 5, 2013
Messages
47
Re: 1986 Ebbtide Dynatrak 150 Restoration

Good morning from the tundra of Minnesota.

Well, I made some pretty good progress this past weekend and figured it was time for an update. Again, all of the feedback and comments have been very helpful. A friend and fellow boating enthusiast stopped by this past weekend and commented that he had no idea that I had "mad" glassing skills. I joking told him (not really) that I learned everything I know from YouTube and iboats.com.

Ok, so when I left off the hull was completely clean and sanded. Man, was that a complete pain. I estimate that it took me around 20 hours to completely sand all surfaces and remove as much debris as possible. What a nasty, dirty, dusty, exhausting job. I'm glad to be done with it.

So, moving on I'm looking forward to the fabrication part of the project.

Here is the first hull repair in a spot near the transom of the boat. The hull was super thin here and I ground right through it. I placed wax paper underneath the hull and supported it with tape to create a form for the glass to fill into. I used alternating layers of 1.5oz CSM and 1708 for a total of 4 layers to patch this hole.

IMG_20140208_114325_870.jpg

Once that was complete and completely cured, I started to work on fabricating the transom. Unfortunately, the transom that came out was in really bad shape and I wasn't able to reuse it as a pattern. As many other people have done, I used 1/2 foam insulation to create my pattern.

IMG_20140208_144220_298.jpg

Once I had the pattern pretty much down, I transferred it to my plywood. Originally the boat had 3/4" and then 1/2" about half way down the transom. I decided to beef up the transom by running the full thickness of the transom all the way to the keel.
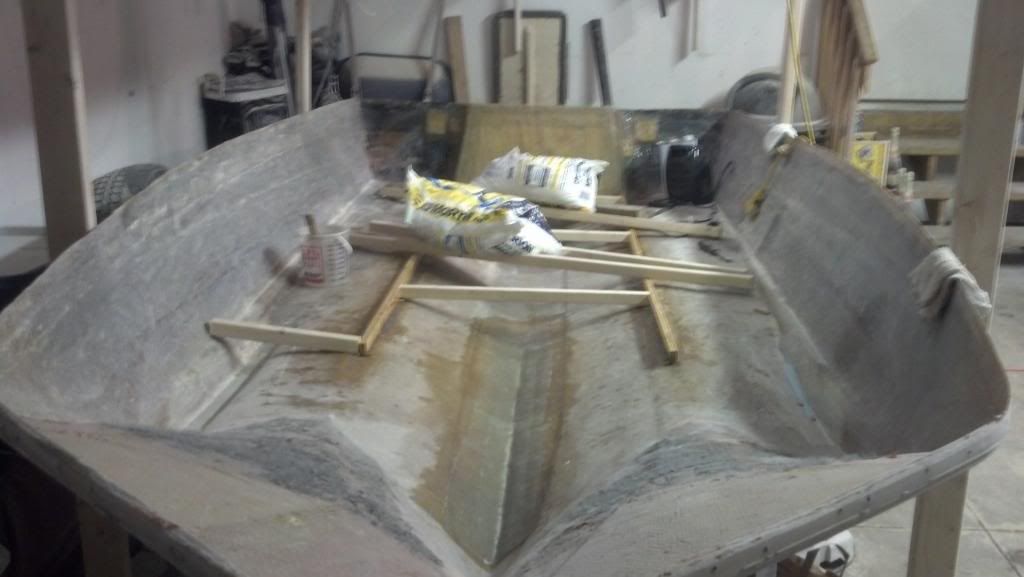
Here's a shot of the 2 pieces of plywood glued together with Titebond III water proof glue.
IMG_20140208_155416_813.jpg

After the glue cured, I used my belt sander to smooth the edges and fix any imperfections. Then came the test fit.

IMG_20140209_094807_231.jpg IMG_20140209_094816_991.jpg

It fit great and any slight gaps would be filled with PB, so no worries.

Well, I have hit my photo quota so that will be it for this update. Stay tuned!

JFas
 

jfas

Seaman Apprentice
Joined
Sep 5, 2013
Messages
47
Re: 1986 Ebbtide Dynatrak 150 Restoration

I know it's been awhile since my last post, but I assure everyone that progress has continued. So, let's pickup were we left off.

So, after test fitting the transom several times and making small tweaks to make sure it fit as good as possible I started the process of glassing the side that would be in contact with the hull.

IMG_20140209_114048_959.jpg

After the resin cured on the back of the transom, it was time to trim the excess CSM and get it ready to install in the boat.

I know a lot of people have used all kinds of different approaches to "gluing" the transom into place. I decided to mix up a batch of peanut butter, coat both the hull and the transom and clamp it into place. I used a few 2x4's and bolts to clamp the transom flat against the hull. I also made sure to create my fillets using peanut butter so that when I tab it in there's a nice smooth transition from the hull to the transom.

IMG_20140215_162645_772.jpg

Next I laid out all of my tabbing and covered the entire transom in a layer of 1708 and then another layer of CSM.

IMG_20140216_104913_277.jpg

After rolling it all out and getting as many of the air bubbles out as possible, this is how it turned out. I am pleased and it's as solid as steel. It's amazing how strong this stuff is.

IMG_20140223_114647_122.jpg

Well, that's all for now. On the next update I'll start with the stringer layout.

JFas
 

jfas

Seaman Apprentice
Joined
Sep 5, 2013
Messages
47
Re: 1986 Ebbtide Dynatrak 150 Restoration

It's time for another addition to the restoration journal. I know there's a few people following along, so I appreciate that. Please feel free to post with questions, comments, suggestions, or feedback.

Well, when I left off I just completed glassing in the transom. Next up was fabricating the stringers. Just like the transom, there was really not much left of the original stringers and they came out in tiny little pieces. I knew what the previous floor height was and used 2x2's to create an approximate stringer height. I made sure to take into account about 1/4" gap between the stringer and the hull and also the allowance for the deck and glass covering the deck.

IMG_20140223_093439_291_zps86b65daf.jpg


After some trial and error, I got the port side stringer cut and rouged in.

IMG_20140223_100456_605_zps81d209b8.jpg


Just another shot of the hull with the 2x2's and my "pattern"

IMG_20140223_100500_402_zpsc8ba38d1.jpg


So, after much trial and error, cutting, sanding, etc. I bedded the port and starboard stringers in PB offset from the hull approximately 1/4" I used the bags of softener salt and temporarily screwed a couple of braces to the stringers to keep everything in place.

IMG_20140223_131643_405_zps9c510256.jpg


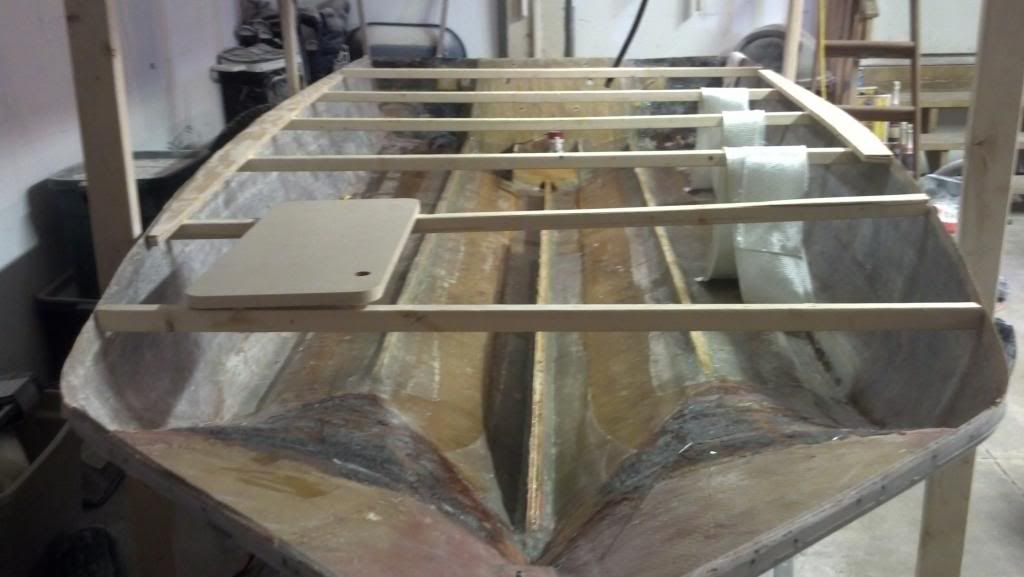
Next, I had to drop the cap to mark the location of the rear bulkhead, double check stringer height and re-measure width all the way down the hull.

IMG_20140302_104249_711_zpsfc4274ae.jpg


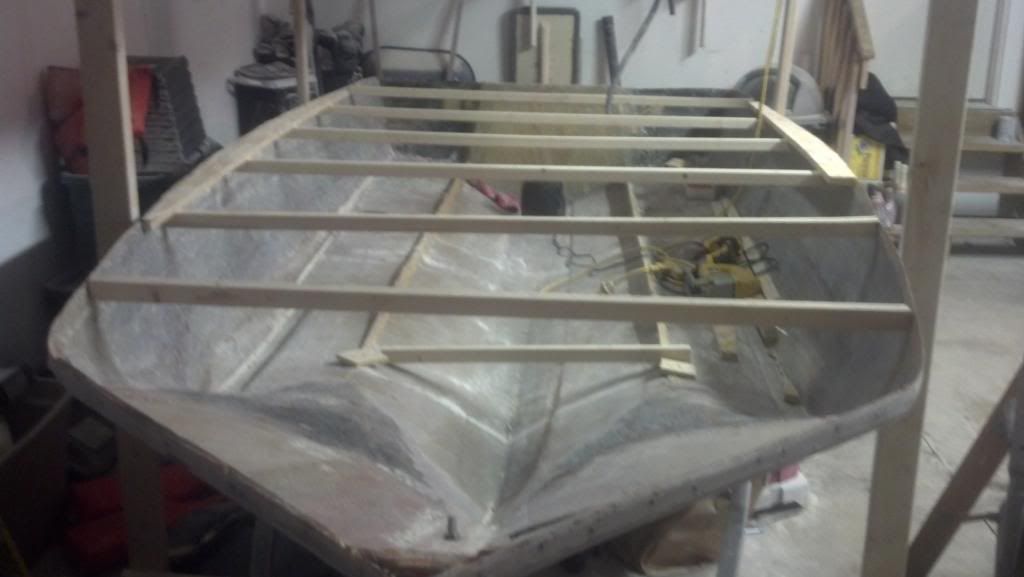
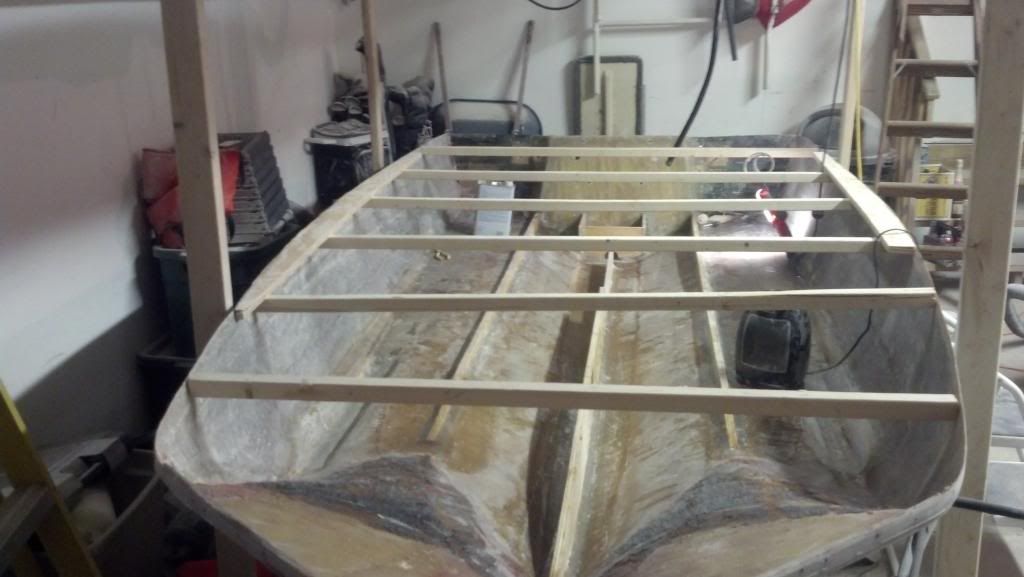
After measuring, remeasuring and measuring again I marked the hull every two feet and place braces at the hull width to keep the hull in the same shape throughout the rest of the process.

IMG_20140302_125430_985_zpsc8e3dc78.jpg


Well, that's it for this update. Lots more to come soon!

Jfas
 

Woodonglass

Supreme Mariner
Joined
Dec 29, 2009
Messages
25,929
Re: 1986 Ebbtide Dynatrak 150 Restoration

Excellent! Nice illustration of how to be "Thinking ahead" on keeping your hull aligned with the top cap
 

jfas

Seaman Apprentice
Joined
Sep 5, 2013
Messages
47
Re: 1986 Ebbtide Dynatrak 150 Restoration

Thanks WOG! When I dropped the cap to test fit, it became evident that if I didn't keep the hull at least close, final installation of the cap would be a bugger.

JFas
 

dro510

Cadet
Joined
May 16, 2013
Messages
26
Re: 1986 Ebbtide Dynatrak 150 Restoration

Would love to do this with my bass champ, dont know if i have the space.. What to do what to do.. :facepalm:
 

Woodonglass

Supreme Mariner
Joined
Dec 29, 2009
Messages
25,929
Re: 1986 Ebbtide Dynatrak 150 Restoration

I have posted many times and have it in my link how important it is to ensure that the hull is still in it's original shape prior to re-Installing the stringers and especially the deck, to ensure proper top cap fitment. There have been many issues with this in the past due to people NOT paying attention to this important detail. That's why your Picture is a good one to use as an example for future Newb's here on the forum. I have copied into my knowledge library for future use.;)
 

jfas

Seaman Apprentice
Joined
Sep 5, 2013
Messages
47
Re: 1986 Ebbtide Dynatrak 150 Restoration

Would love to do this with my bass champ, dont know if i have the space.. What to do what to do.. :facepalm:

Dro,

Here's a shot of what my garage is looking like these days. I don't really have the space either. :)

IMG_20140323_085818_883_zps86ea5d4e.jpg
 

jfas

Seaman Apprentice
Joined
Sep 5, 2013
Messages
47
Re: 1986 Ebbtide Dynatrak 150 Restoration

Thanks for the feedback guys and glad that you found something useful WOG. I'm going to keep on trucking with my updates. I have a big schedule this weekend including flotation, glassing the deck, fabricating the sides and flotation pods. Anyways, let's continue.

After making extra sure that the hull was stable and as close to the shape I needed it to be in, I continued to bed the stringers in. I took WOG's advice and ended up using PB instead of PL. In hind sight, this was the right call. In my opinion, it just makes more sense. It's makes a better bond, it's completely water tight and since I had some hull repair directly underneath the main stringer I needed the extra fiberglass reinforcement.

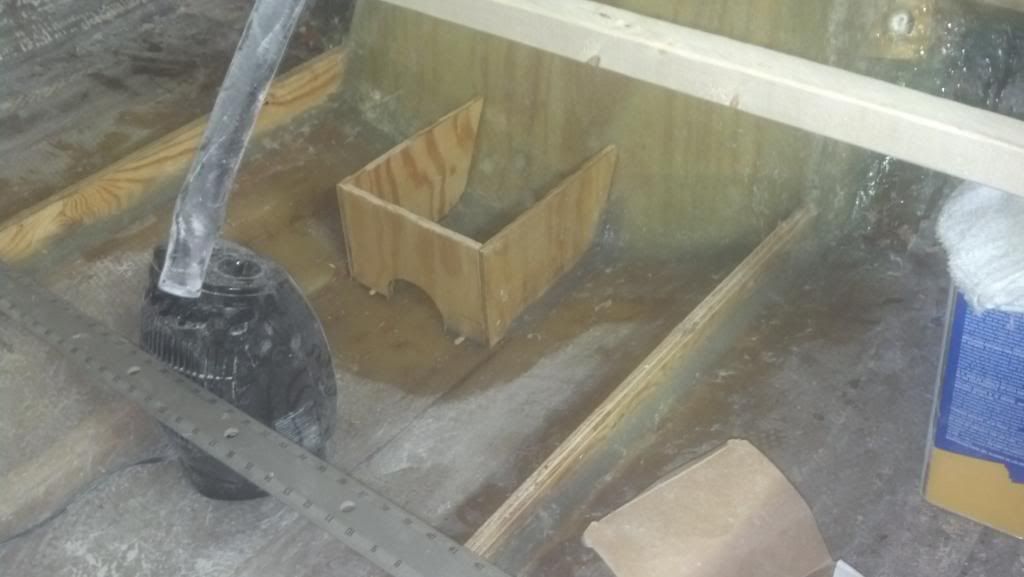
The next little piece of fabrication was the bilge box. This is where all of thru hulls come through and also where the bilge pump sits.

IMG_20140302_141108_914_zps8e8b0e8b.jpg


Here's a shot of the main stringer bedded in PB.

IMG_20140314_110311_286_zpsf7de3574.jpg


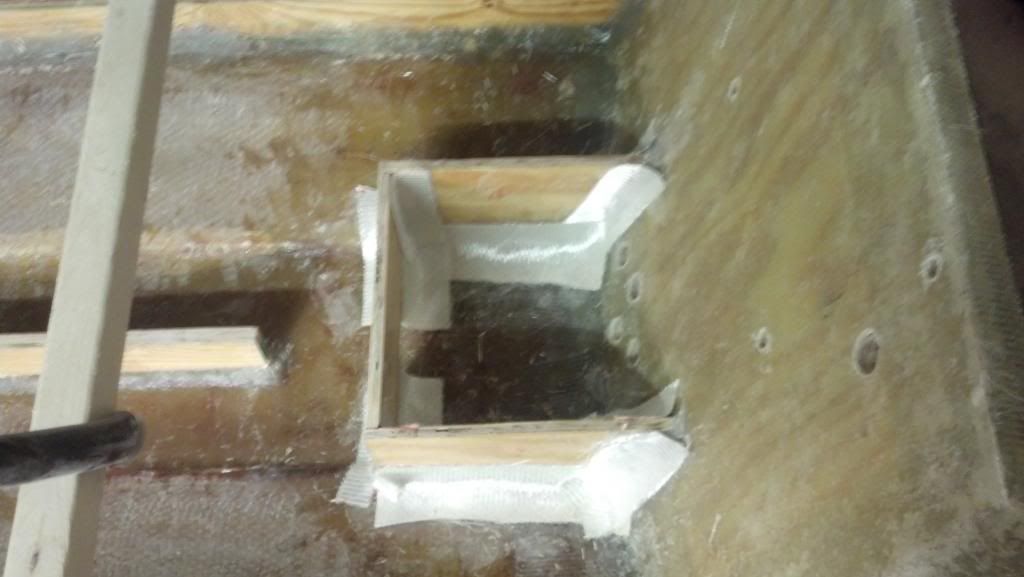
Some tabbing on the bilge box.

IMG_20140314_122034_709_zps8006b28c.jpg


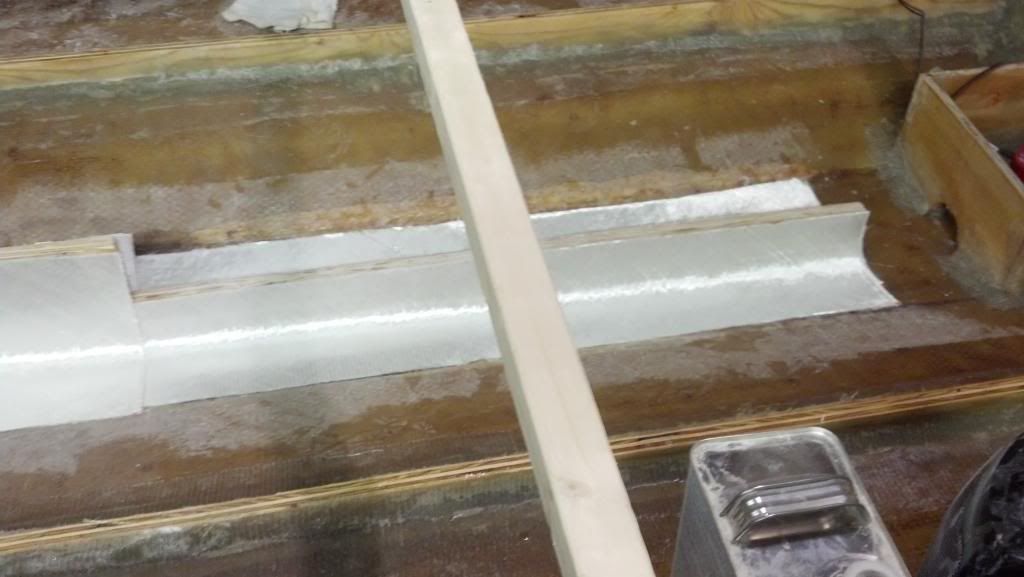
Starting the tabbing on the main stringer.

IMG_20140316_123353_460_zps75682fd1.jpg


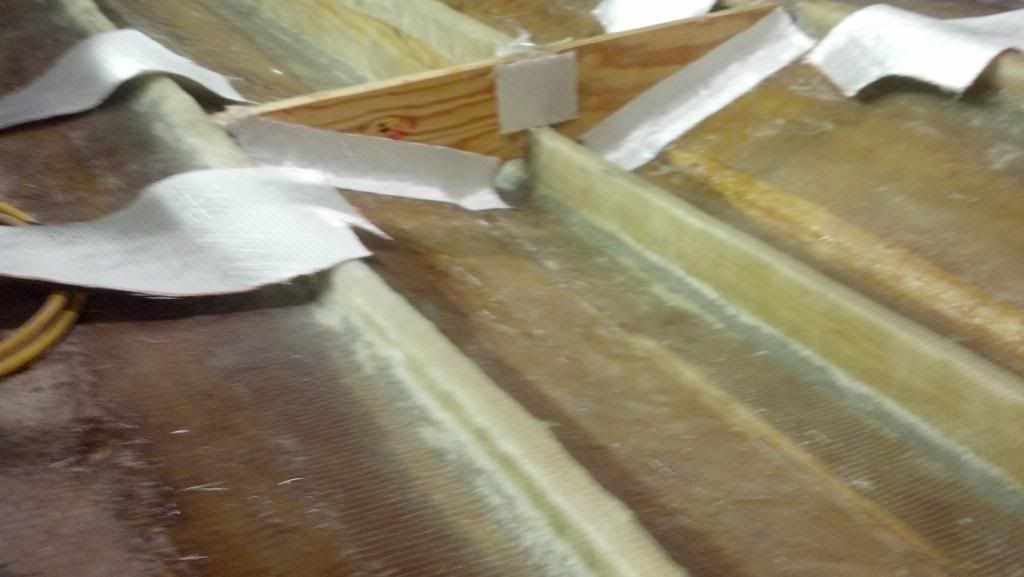
All of my 1708 tabbing laid out and ready for one last wipe down with acetone and some resin.

IMG_20140316_131107_849_zpscde3cbb9.jpg


All of the stringers completely tabbed in. Man, this was a marathon layup. I think I was in the hull for around 2 hours and went through 3 liters of resin. That 1708 just soaks it up.

IMG_20140316_170012_869_zpsafd45646.jpg


Another interesting thing has been happening to my power tools. I have always owned and used Dewalt power tools. Since starting on this project, I have had 3 of them die on me. My cordless drill, circular saw, and angle grinder. I'm not sure if it's from the nature of the work or murhy's law.

Anyways, that's it for now.

JFas
 

bvetter

Petty Officer 1st Class
Joined
Jun 2, 2013
Messages
263
Re: 1986 Ebbtide Dynatrak 150 Restoration

Another interesting thing has been happening to my power tools. I have always owned and used Dewalt power tools. Since starting on this project, I have had 3 of them die on me. My cordless drill, circular saw, and angle grinder. I'm not sure if it's from the nature of the work or murhy's law.

Anyways, that's it for now.

JFas

^^^Bummer!

Good work on the stringers!
 

Woodonglass

Supreme Mariner
Joined
Dec 29, 2009
Messages
25,929
Re: 1986 Ebbtide Dynatrak 150 Restoration

Fiberglass Dust is BAD on the internals of tools just like it is on YOUR internals. You should use a blower to blow out the tools FREQUENTLY when using them in such a dusty environment. If they weren't exposed to the dust then...I would assume it's a Karma Thing!!!:laugh:
 

eggs712

Petty Officer 1st Class
Joined
May 8, 2012
Messages
354
Re: 1986 Ebbtide Dynatrak 150 Restoration

^^^ Most definitely what Woodie said! I actually recently recovered from bronchitis caused by fiberglass dust inhalation.

I was using a cheap sanding respirator like you buy in 5-packs for the grinding, and it destroyed my lungs. I immediately developed a cough from it which got infected after a week and could have easily turned into pneumonia. Thankfully I got on antibiotics pretty quickly and I'm ready to go with a nice respirator now.

I had never thought about the fiberglass dust burning up tools before! Nasty stuff lol.
 

jfas

Seaman Apprentice
Joined
Sep 5, 2013
Messages
47
Re: 1986 Ebbtide Dynatrak 150 Restoration

Yea, fiberglass is definitely bad stuff. Early in the project I somehow got a small piece in my eye. I was wearing glasses and everything. The grinder burned up from the dust I'm pretty sure, the batteries finally died on the drill (it was 15 years old) and I have no idea what happened to my circ saw.

Anyways, big plans this weekend. I really need to make some good progress as it's starting to get nice and soon I'll be working on my other boat. :)

1519157_10153735571810584_316758356_o_zps35212bb7.jpg
 

jfas

Seaman Apprentice
Joined
Sep 5, 2013
Messages
47
Re: 1986 Ebbtide Dynatrak 150 Restoration

Hey guys,

Well, I mentioned in my last post that I had big plans and boy did I. Between working about 8 hour days through the weekend and actually ended up staying home from work sick until Yesterday (Wednesday) I got a lot accomplished. Yes, I was and am still sick and working in my garage. Some people would call that irresponsible, I call it dedication. :) At this point, I'm waiting on material, it's the first time during my build that this has happened.

As a side point, I just sent in my contract for my other boat to go in the water the week of May 5th. That means I have about 30 days to get the "black bomber" wrapped up. I'm pushing hard and I can't think of anything that will get in my way at this point.

Anyways, let's get back to where we left off.

At this point, the basic structure was complete and solid. All of the stringers, and bilge box was fabricated bedded and glassed in. The last little piece was the one bulkhead in the stringer system.

Here's a shot after the bulkhead is bedded but before the tabbing.

IMG_20140322_125326_729_zps2adffb2d.jpg


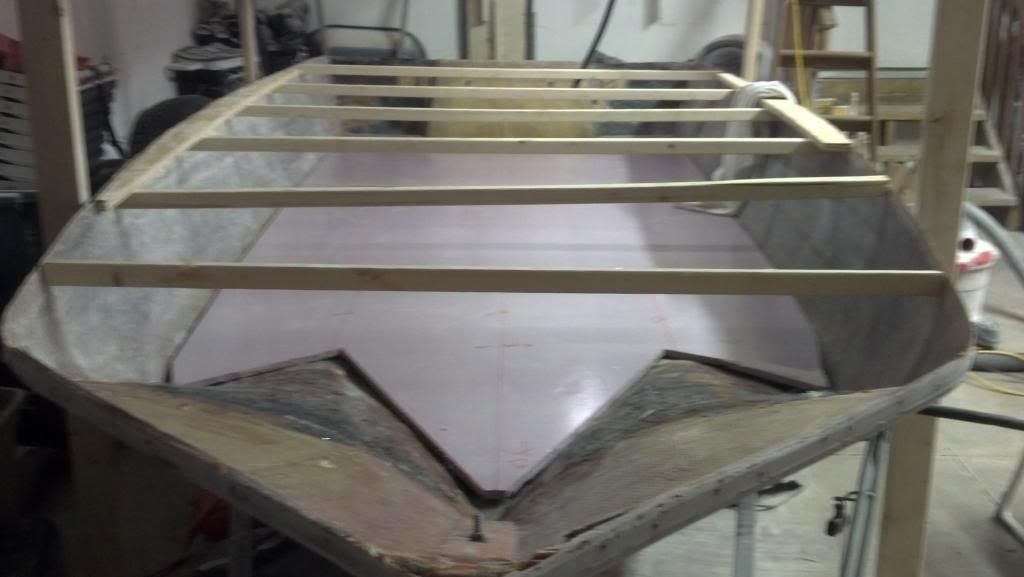
Next up was to create the pattern for the flooring. I love working with the foam board, it's super lightweight, cheap, and easy to modify and manipulate if you make a mistake.

IMG_20140323_085420_120_zps8cedcf56.jpg


After fiddling with the templates to get the gaps and spacing that I was looking for I transferred the patterns to 1/2" B/C plywood that I found at Menards. It was pretty nice quality, but not the flattest stuff in the world. I really went back and forth on weather or not to glass the bottom of the flooring and decided to only coat the plywood in resin. I hope this doesn't come back to bite me.

IMG_20140323_105301_717_zpsa6f6a5d5.jpg


Once installed, I quickly mixed up a huge batch of PB (think gallon) and made short work of filleting and patching any slight gaps in the floor. I really love PB, that stuff can fix just about anything.

IMG_20140323_191238_524_zpsf3250106.jpg


Just a closer shot of how nice PB lays down when mixed thick and faired out.

IMG_20140323_191247_938_zps9b099d53.jpg


Well, that's it for now guys. I have some really exciting toys coming in the mail soon that I'm hoping to share. This really is the most fun part of the build for me.

JFas
 

bvetter

Petty Officer 1st Class
Joined
Jun 2, 2013
Messages
263
Re: 1986 Ebbtide Dynatrak 150 Restoration

Damn near on the home stretch now! Good work!
 

dro510

Cadet
Joined
May 16, 2013
Messages
26
Re: 1986 Ebbtide Dynatrak 150 Restoration

Looking nice! I have been waiting for your next update.

So I see U have removed the foam boxes and I am assuming you are going to fill up those holes on the deck with expanding foam..?
I also seen frisco boater do that. Is this to make the hull and deck more solid basically?
 
Status
Not open for further replies.
Top