1986 Ebbtide Dynatrak 150 Restoration

Status
Not open for further replies.

jbcurt00

Moderator
Staff member
Joined
Oct 25, 2011
Messages
25,111
Re: 1986 Ebbtide Dynatrak 150 Restoration

Foam is primarily the required FLOTATION for your boat, don't leave the dry dock w/out it.
So I see U have removed the foam boxes and I am assuming you are going to fill up those holes on the deck with expanding foam.... Is this to make the hull and deck more solid basically?
These are added benefits, but flotation in the event of an emergency, is the primary function.
 

jfas

Seaman Apprentice
Joined
Sep 5, 2013
Messages
47
Re: 1986 Ebbtide Dynatrak 150 Restoration

Looking nice! I have been waiting for your next update.

So I see U have removed the foam boxes and I am assuming you are going to fill up those holes on the deck with expanding foam..?
I also seen frisco boater do that. Is this to make the hull and deck more solid basically?

Hey Dro,

Glad to know that you're following along. I ended up removing every piece of wood from the boat including the foam boxes in the aft corners. I think the next update will show how I re-fabricated those. As far as the holes in the deck, I used a 2" hole saw about every 18 inches so that I could pour and fill the voids below the deck with expandable foam. As jbcurt mentioned, I did this for a couple reasons. First and foremost is additional flotation in the event of a sinking or swamped boat. Secondly was to fill any voids and creating a more solid structure. As of right now I have about 1500 pounds of additional flotation that I have added to the hull and every nook and cranny. There aren't too many other places I can fill. The boat weighs about that, so in theory in the event that the boat swamps it should remain afloat.

Jfas
 

jfas

Seaman Apprentice
Joined
Sep 5, 2013
Messages
47
Re: 1986 Ebbtide Dynatrak 150 Restoration

As I mentioned in my last post, I have been putting a lot of hours into the boat in order to make sure it's ready for this summers boating season. With that said, I already have another update.

When I left off, the deck was complete and filleted in.

Here's a shot of how I plan on mounting the bilge pump. Pretty simple, just a piece of 3/4" ply coated in resin and filleted in with PB. I will eventually cover this ply with 2 layers of CSM as well.

IMG_20140323_191257_448_zpsf2091aec.jpg


Next I cut a bunch of 1708 and did a 6" tab all the way around the deck.

IMG_20140327_183658_699_zps2d0f355f.jpg


I found this piece of masking tape in a cranny in the top cap. Apparently this boat was repaired at the factory once before. I made sure to add my signature as well. :)

IMG_20140328_200016_181_zps22177123.jpg


Once the tabbing cured, I jumped right into glassing the deck in. First layer of CSM going down. This stuff uses an absolute ton of resin. I think one layer was about a gallon and a half.

IMG_20140329_114953_695_zps5b105847.jpg


An iboats staple in the forums. 3M respirator and safety glasses. Can't tell you guys how many times both of these have saved me during this project.

IMG_20140329_122313_110_zps56e3df7e.jpg


My updates are lagging slightly behind my progress. So, this weekend I have another huge list. I plan on tackling the rub rail attachment points, the electrical system, the steering system, and some minor tweaks to the glass work on the cap. Early next week is carpet, and remounting the cap.
Cheers!

Jfas
 

Woodonglass

Supreme Mariner
Joined
Dec 29, 2009
Messages
25,929
Re: 1986 Ebbtide Dynatrak 150 Restoration

Yup and a Head Bandanna comes in handy to keep sweat droplets from getting in the eyes helps too!!!!
 

bvetter

Petty Officer 1st Class
Joined
Jun 2, 2013
Messages
263
Re: 1986 Ebbtide Dynatrak 150 Restoration

Nice progress!
 

jfas

Seaman Apprentice
Joined
Sep 5, 2013
Messages
47
Re: 1986 Ebbtide Dynatrak 150 Restoration

Well, another weekend another couple of days of progress. I'm getting really close now. The devil is in the details for sure.

When I left off, the floor was all glasses in and waiting to cure.

Here's a shot of the flotation boxes that I refabbed. Before they were just poured foam that was covered with one layer of CSM. They looked like crap and didn't really add any structural value. I decided to make the sides from 1/2" ply and the top from 1/4".

IMG_20140330_085423_057_zps0c52b60f.jpg


Once I had the hull locked down, I created ribs and PB'd them in. It's crazy how much strength this added to the sides of the hull.

IMG_20140330_085752_733_zpsa720a8d6.jpg


Tabbing in the flotation boxes.

IMG_20140330_123411_017_zps87aa897f.jpg


Filling the flotation boxes with expandable foam. I filled them most of the way up and then closed the top and filled them the rest of the way.

IMG_20140330_192248_755_zps693bca1a.jpg


My braces removed after the PB and tabbing cured.

IMG_20140330_192254_761_zps41bac455.jpg


After a long weekend. A tall cold one.

IMG_20140323_192646_616_zps9c754078.jpg


More progress on the way!

JFas
 

89 resorter

Petty Officer 1st Class
Joined
Oct 3, 2013
Messages
287
Re: 1986 Ebbtide Dynatrak 150 Restoration

Very nice work JFas! I think I just figured out from your last pic how to speed up my rebuild project......wait till AFTER the work is done before cracking open the tall cold one.

Keep up the good work!
 

jfas

Seaman Apprentice
Joined
Sep 5, 2013
Messages
47
Re: 1986 Ebbtide Dynatrak 150 Restoration

Hey everyone,

resorter, I may have had a few that day.

Anyways, still pushing really hard to get everything done as quickly as possible. So, here's another update!

Most of the major fabrication is now complete and it feels great. I'm spending time on the electrical system, some small repairs on the top cap, the interior, plumbing, and etc.

So, here's we I left off. the deck was complete and glassed in, the flotation boxes were mostly complete and the side ribs were tabbed in.

Here's a shot of the flotation boxes complete with glass and flotation foam most of the way to the top.

IMG_20140330_192308_331_zps46df4cd0.jpg


This next shot does a great job of showing how I fabricated the side panels to give the interior a nice finished look. A couple of other benefits are the huge amount of strength this created to the sides of the hull as well as a nice little hiding spot for a couple more cubic feet of foam. Also notice the natural light, yes that is the garage door open for the first time since I started the project.

IMG_20140331_155433_409_zps55492698.jpg


The first layer of tabbing going down for the sides.

IMG_20140401_140244_179_zps705a77a7.jpg


The CSM going down.

IMG_20140402_110733_803_zpsf0439edc.jpg


I picked up some bilgekoat and painted the aft section of the boat. Some of this may end up carpeted, but I haven't decided yet. I just painted the whole area for now. Also note that the flotation boxes are complete, filled with foam and capped.

IMG_20140404_193756_662_zps6381721a.jpg


If anyone was wondering how much the foam from US Composites expands, here's a great example. I would say there was about a 1/2" of liquid left in the bottom of my mixing bucket and it expanded this much. Pretty nuts!

IMG_20140401_165458_056_zps03d947ae.jpg


Well, that's it for another day of updates. You guys keep reading and I'll keep posting.

JFas
 

glnbnz

Chief Petty Officer
Joined
Oct 4, 2011
Messages
458
Re: 1986 Ebbtide Dynatrak 150 Restoration

Wow your project is really coming along nicely. Thanks for the updates, I will keep reading!
 

SAT_Bob

Seaman
Joined
Jul 17, 2013
Messages
67
Re: 1986 Ebbtide Dynatrak 150 Restoration

Excellent work! Keep it up. I'll be following along.
 

jfas

Seaman Apprentice
Joined
Sep 5, 2013
Messages
47
Re: 1986 Ebbtide Dynatrak 150 Restoration

Thanks guys for following along, I hope that maybe I might be able to help someone else.

I have to apologize, I have been so focused on getting the black bomber wrapped up that I have been neglecting to take photos. I do have a few to share though.

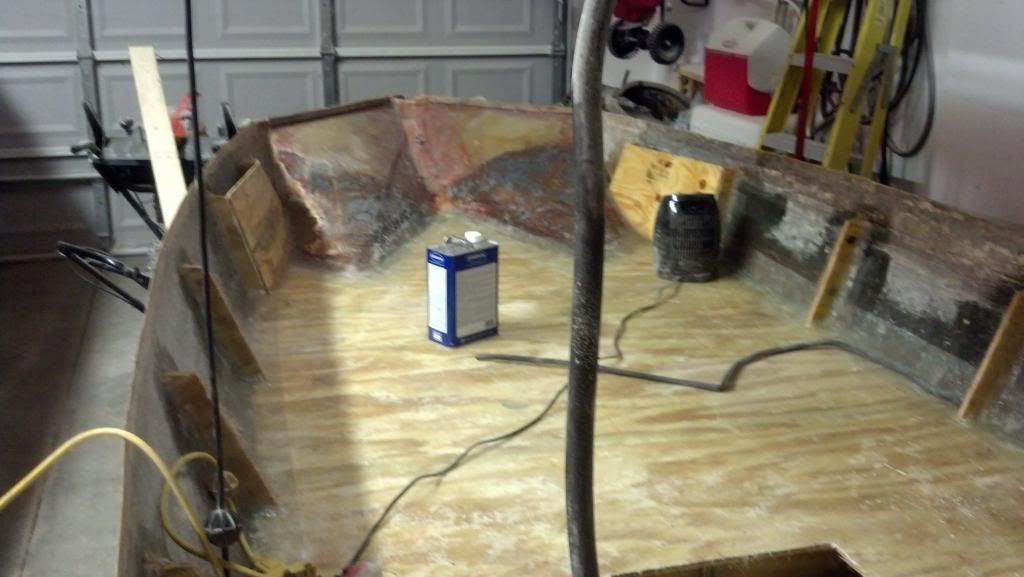
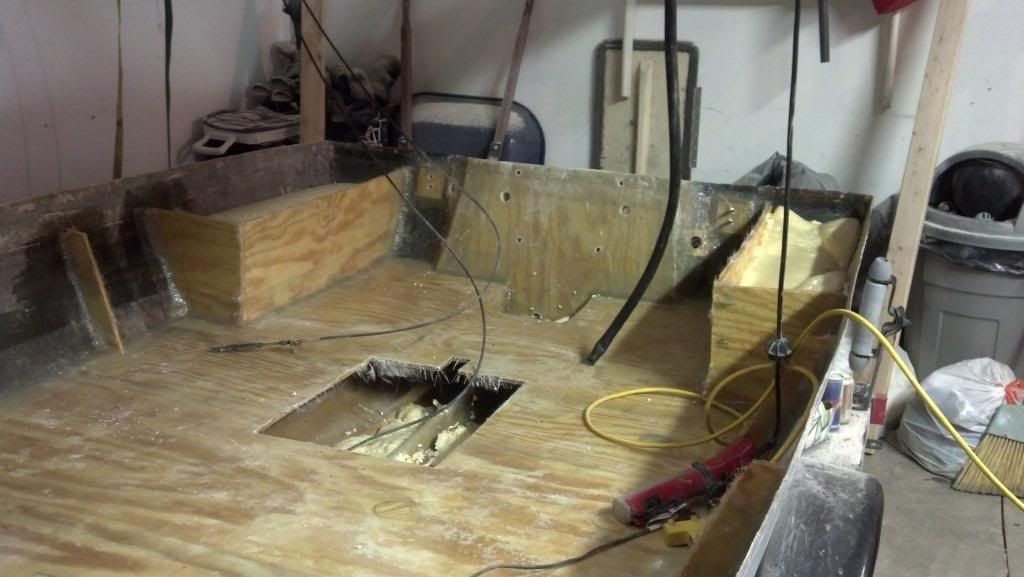
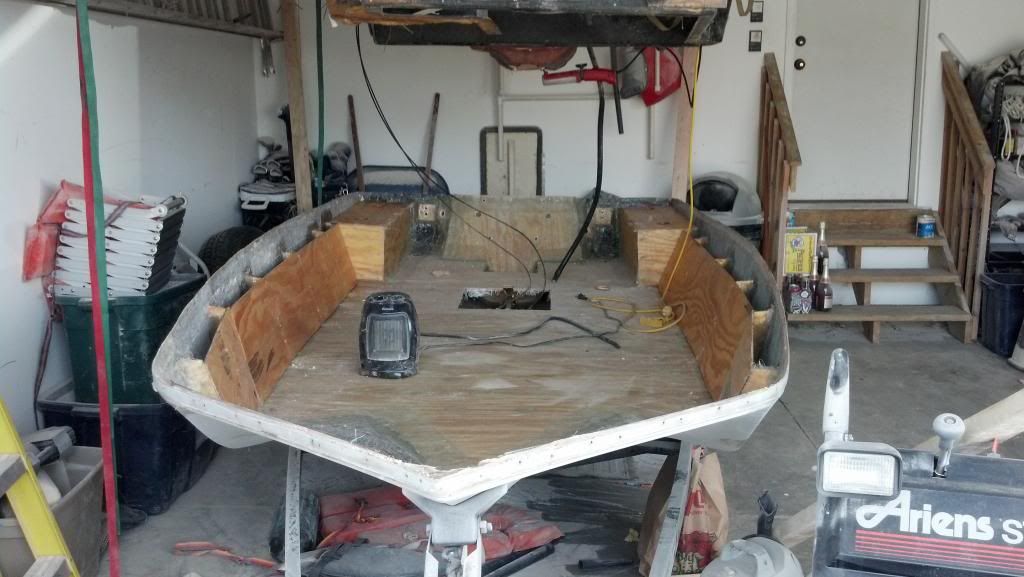
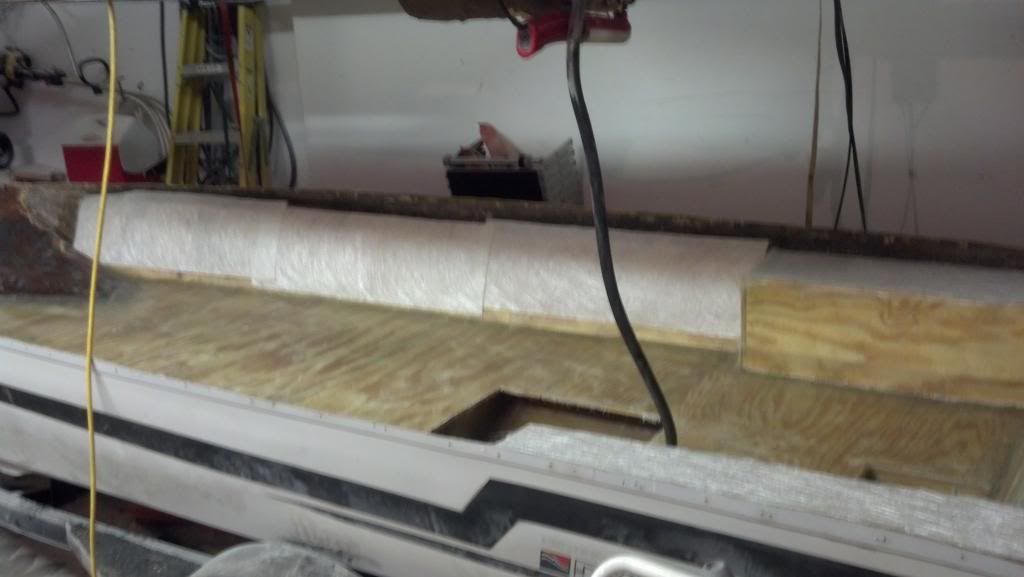
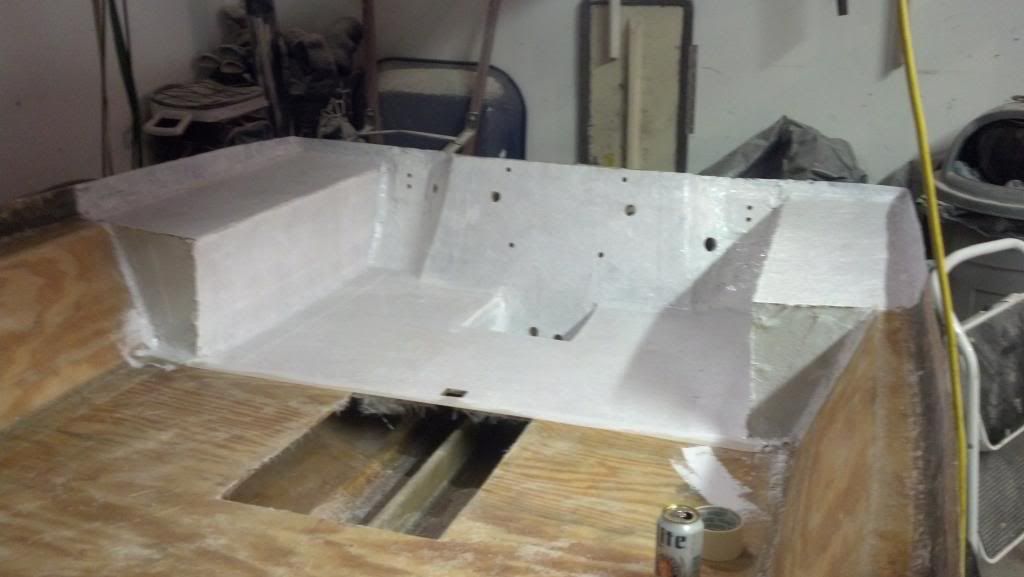
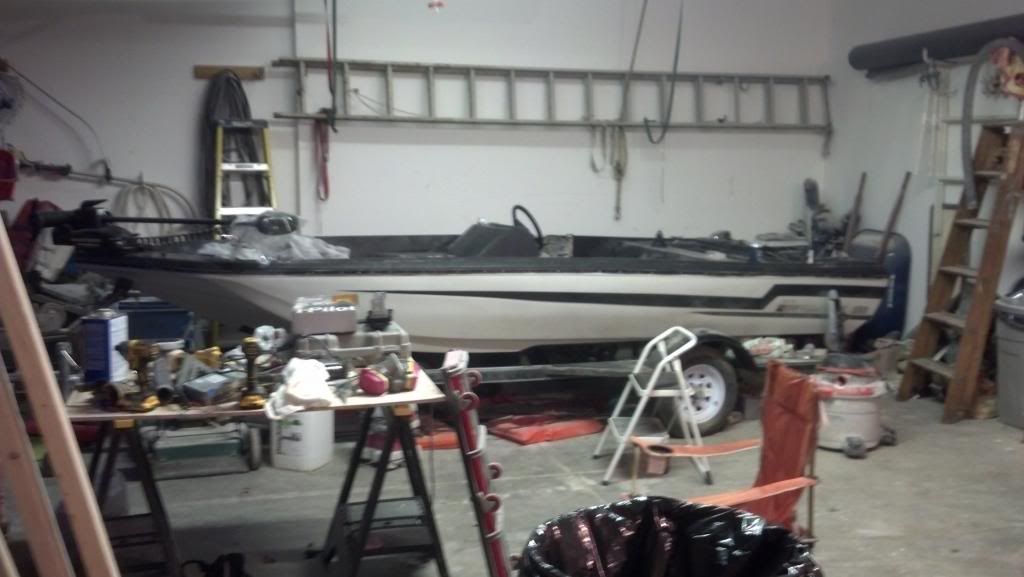
When I left off last time I had the rear of the hull deck painted and ready for carpet and finishing touches.

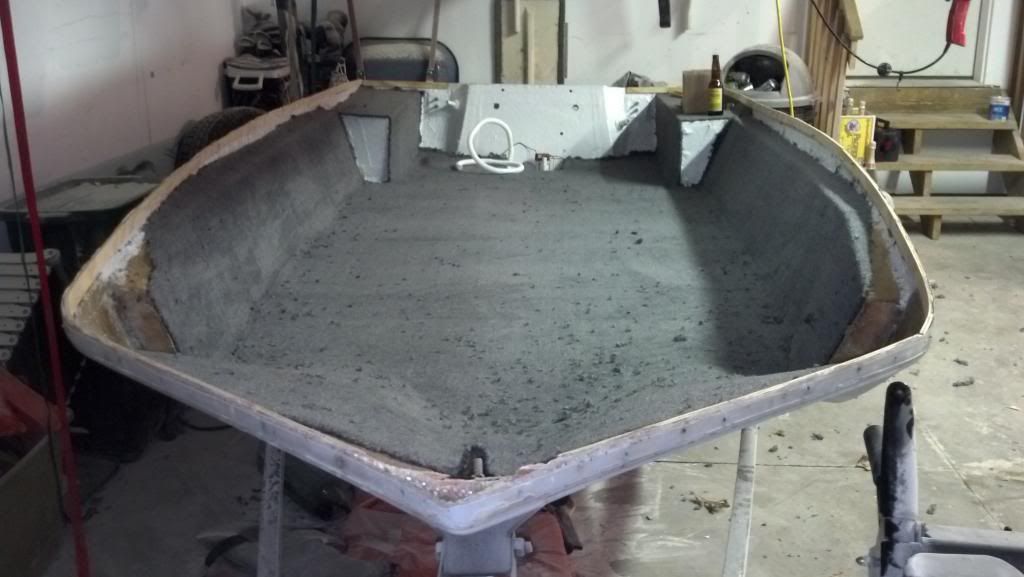
Here's a shot of the carpet laid down. The dark spots are just fuzz balls from cutting and rolling the carpet. I got the carpet from Amazon and it turned out really nice. It's just a 20oz rubber backed marine outdoor carpet. I picked up some outdoor glue from Menards, troweled it on and then rolled it all out flat. The carpet really conformed well and laid down nicely.

IMG_20140410_183440_824_zps933a1465.jpg


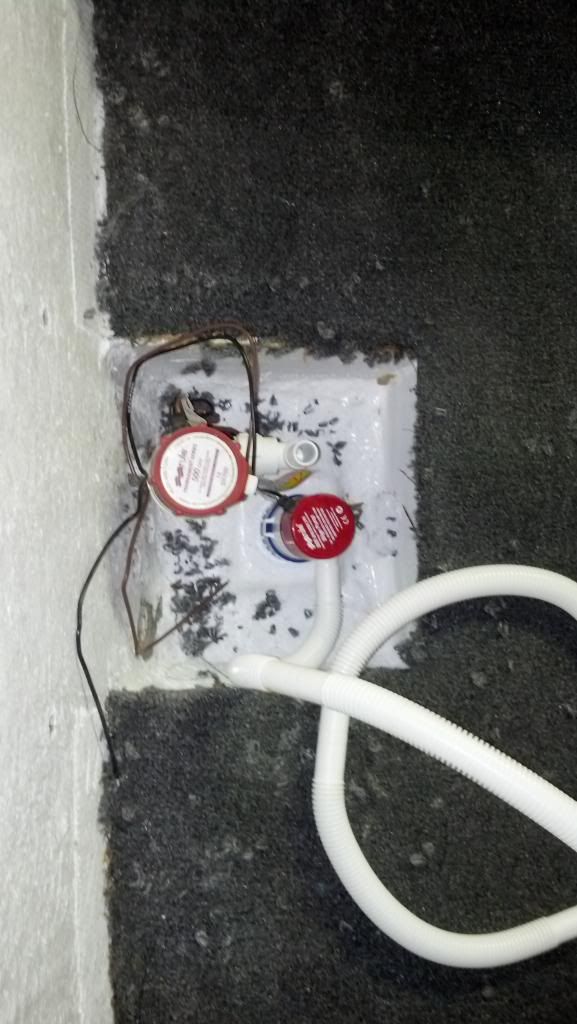
After getting the carpet all laid in and the 24 hour cure time, I started to tackle the wiring. I have always been good with wiring and really enjoy it. I may have gone a bit overboard. Here's a shot of the bilge.

IMG_20140410_183500_337_zps7fb22036.jpg


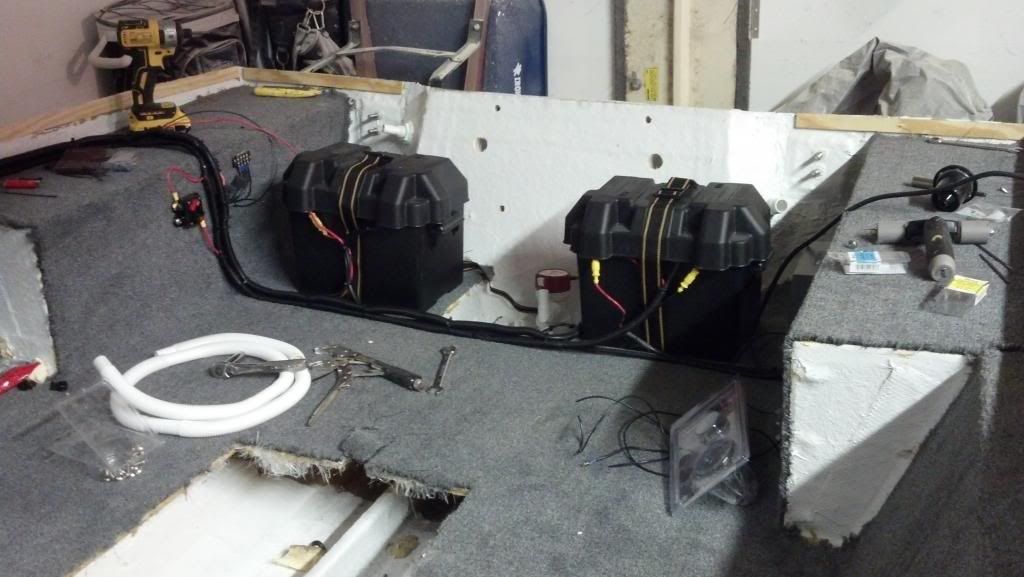
Here's a shot of my battery setup with boxes. Notice that all of the wiring is contained inside of wire loom. Keeps everything nice and tidy.

IMG_20140413_133011_313_zps598f3393.jpg


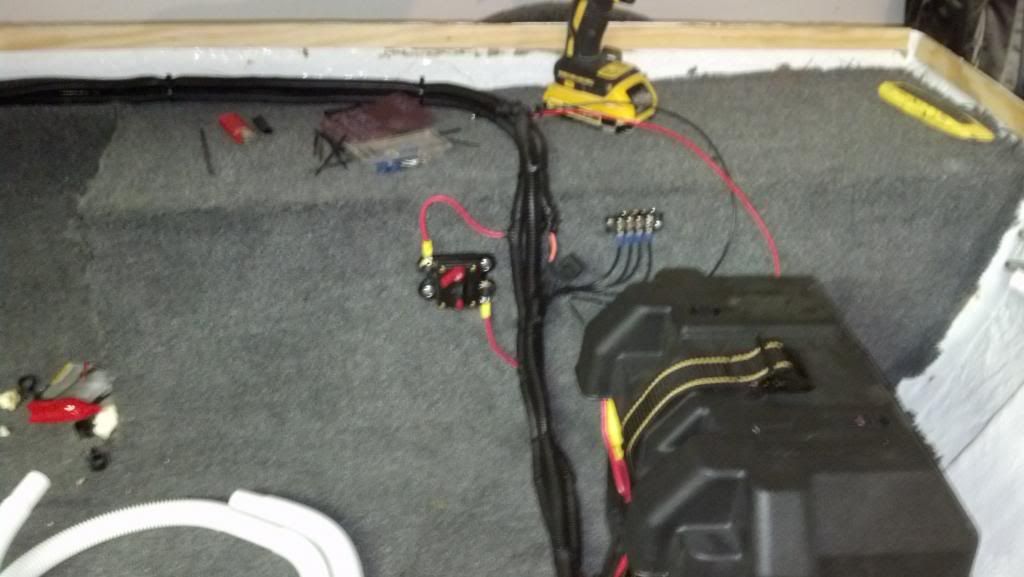
Just a shot of the circuit breaker for my trolling motor and a ground buss bar for the ground circuit in the aft of the boat. Having a buss bar really eliminates the need for all of those wires being connected directly to the battery.

IMG_20140413_133018_872_zpsca534b6c.jpg


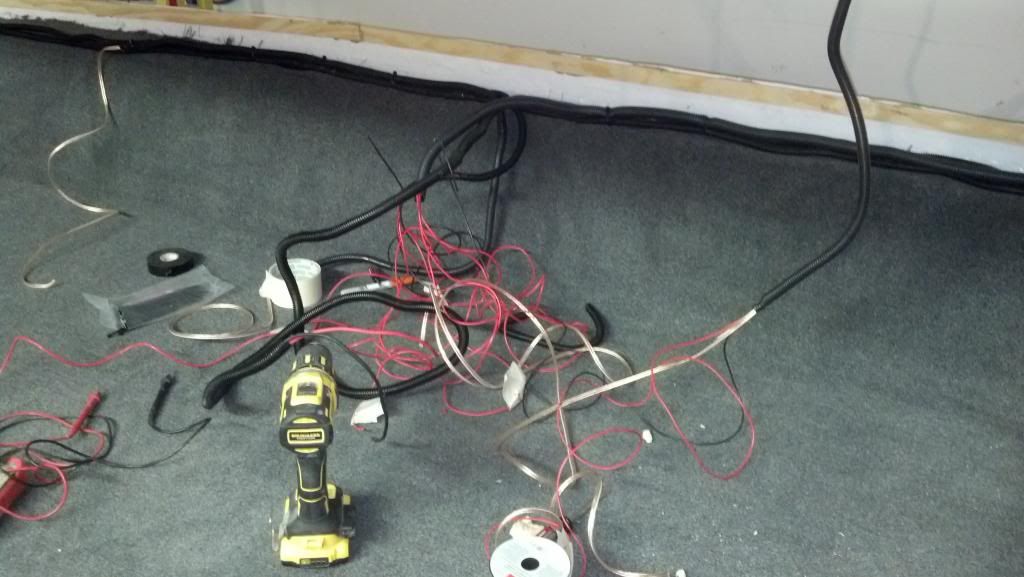
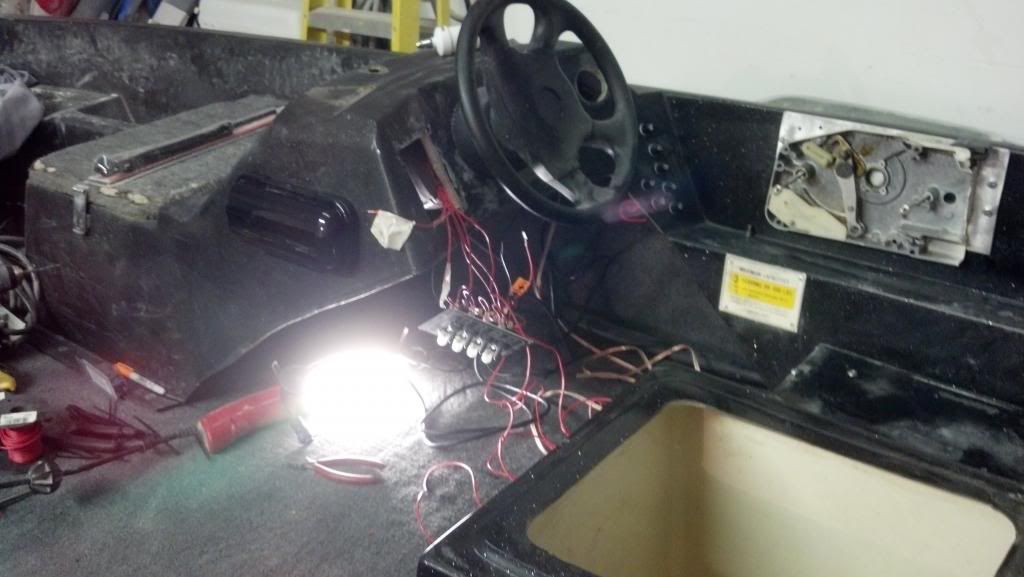
I know it's hard to tell from this picture, but this is the area in the boat that the wiring converges on the helm. Looks like spaghetti junction right now.

IMG_20140413_133026_563_zps1075901e.jpg


So, that's basically where I'm at now. On the agenda for this weekend is to finish terminating all of the wiring, finish the plumbing installation, repair the cap in the rear that I had to cut to remove it, and hopefully fully re-install the cap.

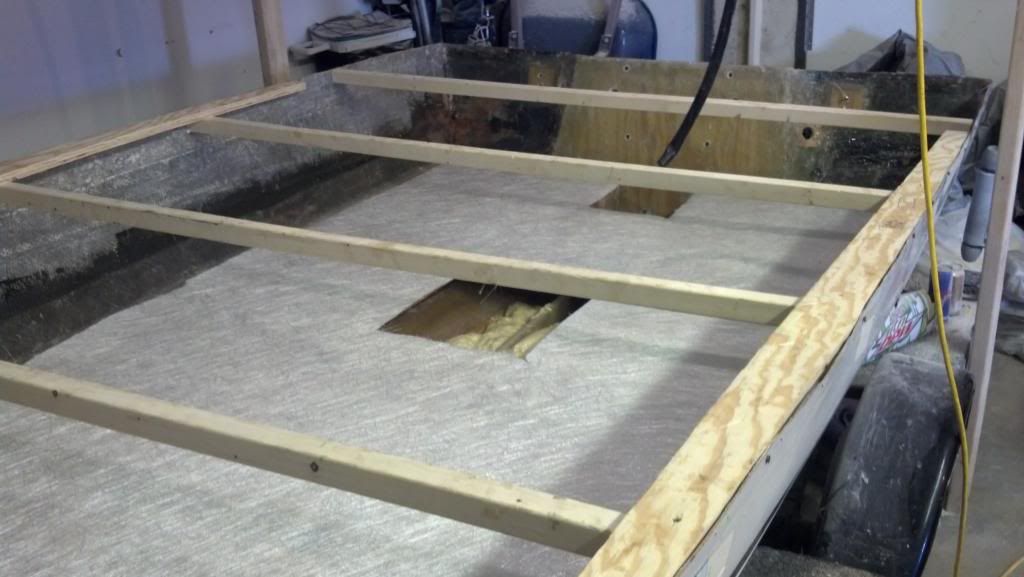
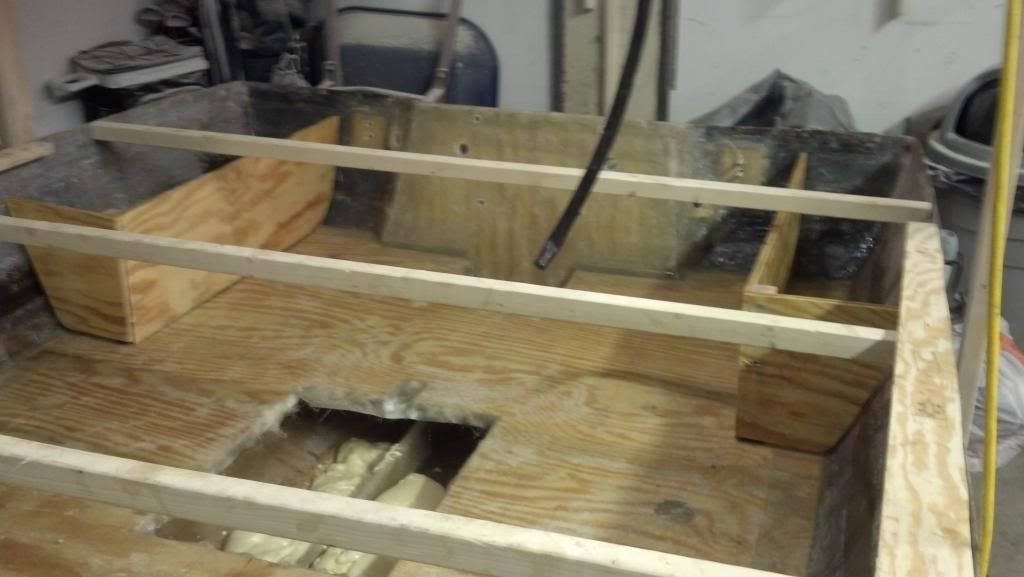
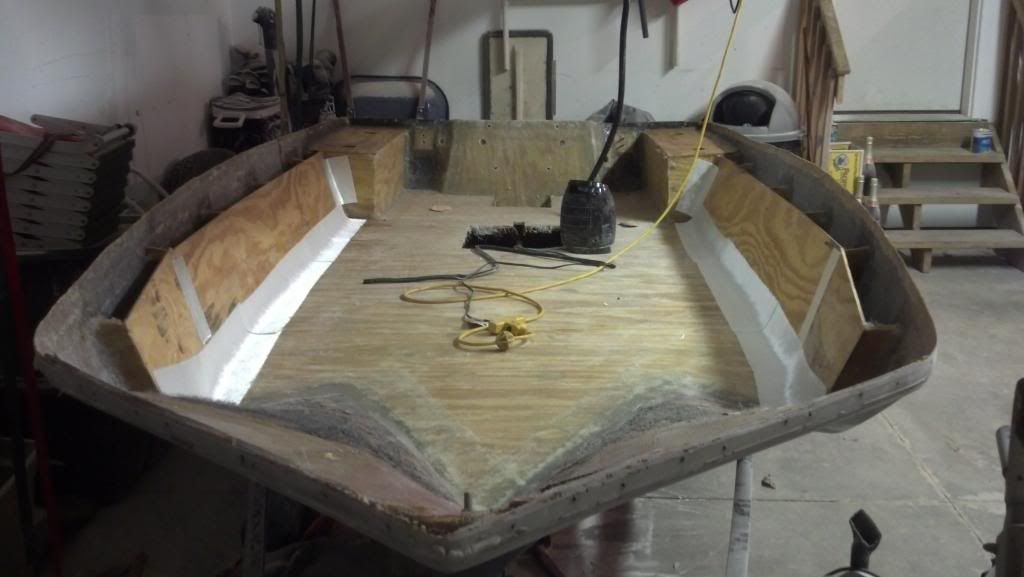
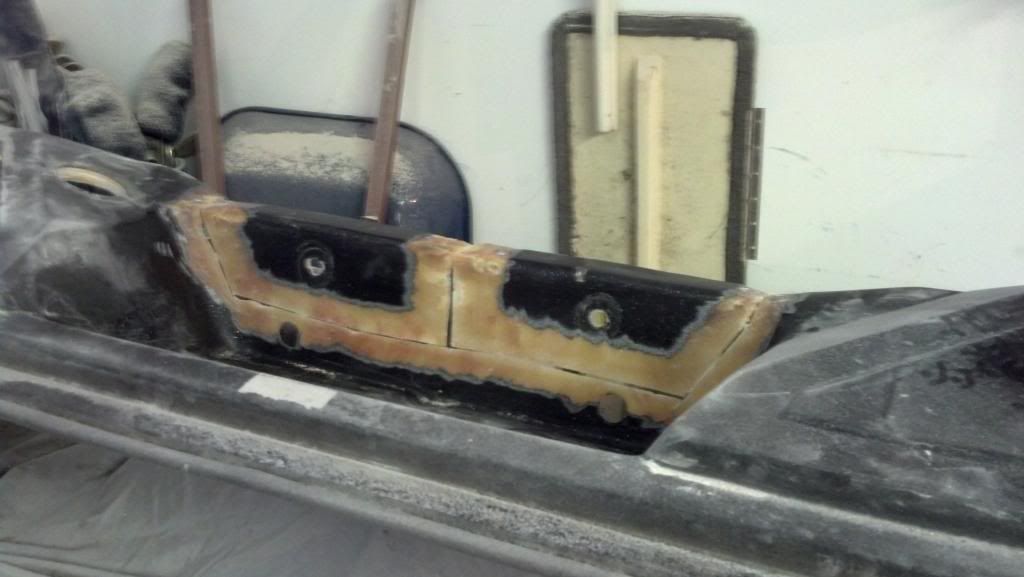
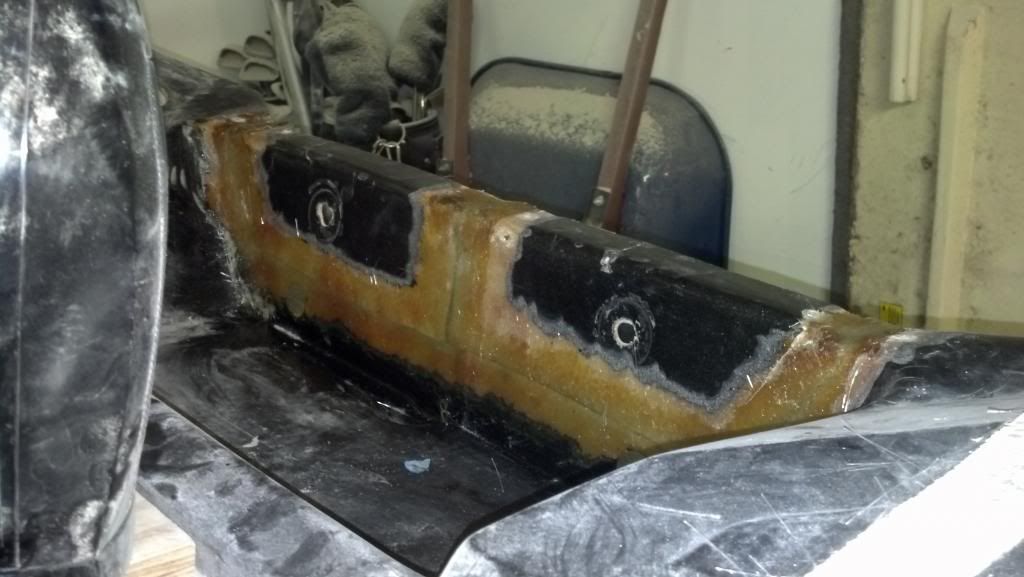
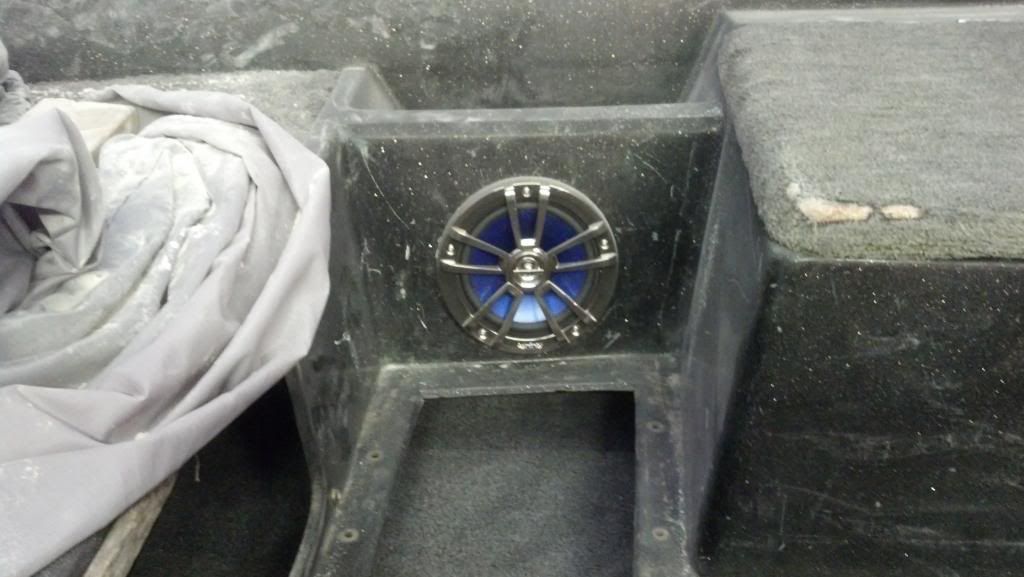
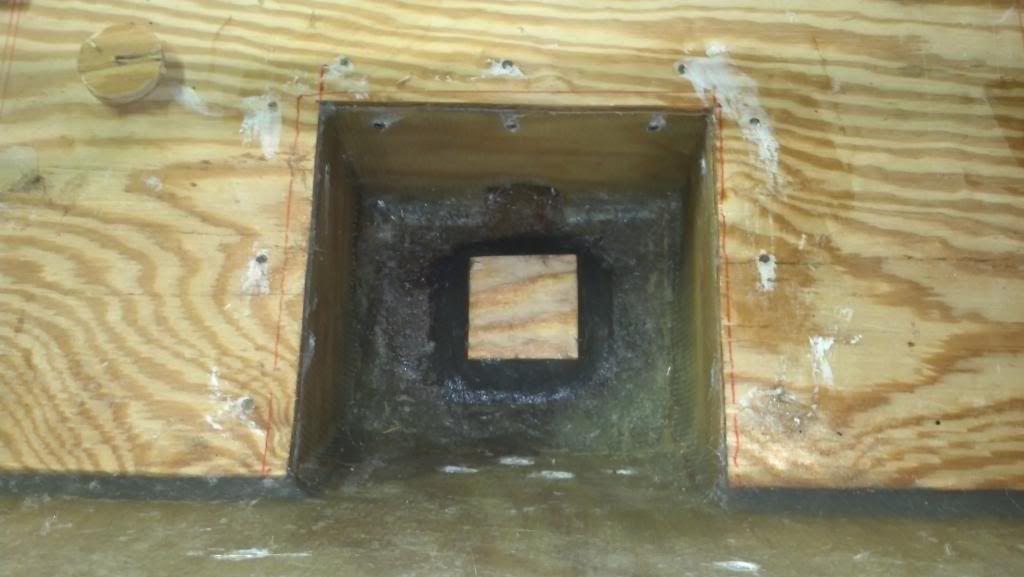
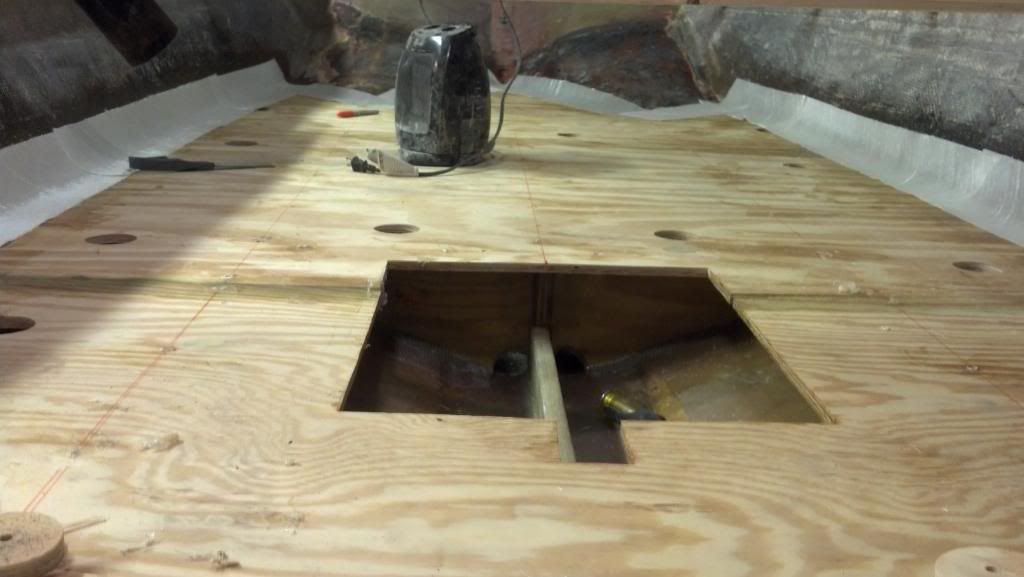
I did run into a small snag. I got a little over zealous with the wiring and decided at the last minute to pull wire for speakers. Well, I didn't take the time to measure very well before installing the port side speaker and ran into some clearance issues with the side bulkheads of the hull. I was pretty annoyed at first, but I have come up with a work around. I plan on just cutting a small part of the ply out to relieve for this speaker. I don't think it will have any impact on the structure, since there was nothing there before. Anyways, still lots to do.

JFas
 

jfas

Seaman Apprentice
Joined
Sep 5, 2013
Messages
47
Re: 1986 Ebbtide Dynatrak 150 Restoration

Big news! The cap is installed on the boat. I'll get to the pics in a minute, but I can honestly tell you that I really underestimated the amount of time that some of the details would take. The wiring, plumbing, little odds and ends, man they really add up.

Anyways, I do have some progress pics to share.

This is one of the things that I sort of forgot about. It ended up being about a 3 hour project. When I removed the cap, I really tried not to cut any of the cap or hull. The way it was installed and the amount of peanut butter they used near the transom made it all but impossible to remove without cutting out the motor well.

Here's a shot of the 2 pieces fit back together and ready for glass.

IMG_20140418_103123_383_zps246f9de9.jpg


Here's a shot of everything glassed back together before any sanding.

IMG_20140418_133711_211_zps9803ffad.jpg


Picked these beauties up from Amazon for $49 bucks. They sound awesome too.

IMG_20140418_103143_219_zps73fc4a8d.jpg


The cap fitted. sealed, and screwed down for the last time!

IMG_20140419_201005_312_zpsd0bd880f.jpg


About mid-way through the wiring on the helm. Almost everything is hooked up and working, now to just get all of the wires routed and cleaned up a bit.

IMG_20140420_124242_633_zps9c386edb.jpg


I can see the light at the end of the tunnel. I plan on hanging the motor this week, installing the shift cables, steering cable, and controls. I also have to finish the wiring, test run the engine, and then it's off for a tune-up.

JFas
 

glnbnz

Chief Petty Officer
Joined
Oct 4, 2011
Messages
458
Re: 1986 Ebbtide Dynatrak 150 Restoration

Yeah the odds and ends can be just as challenging. Keep up the good work you'll be boating in no time :)
 

Heff610

Recruit
Joined
May 5, 2020
Messages
1
This post is truly inspirational as I need to do the exact same thing, I’m very new to every thing on this and thank god I found this post as it’s to the point to what I need to do. Only thing I need to know is the name of the materials that was used so I can start purchasing and cost of it all of this full restoration any help would be appreciated as I know not much at all
 
Status
Not open for further replies.
Top