vandentr
Petty Officer 3rd Class
- Joined
- Jul 26, 2010
- Messages
- 88
Well, she was gone, but not forgotten...
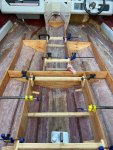
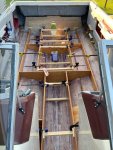
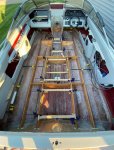
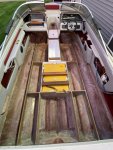
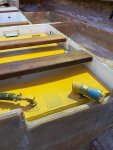
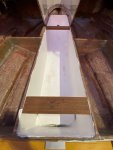
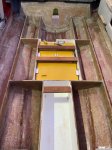
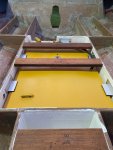
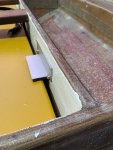
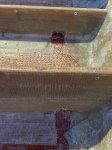
So to bring you up to date, the last thing I was able to do before putting her into storage for the winter was getting the transom bowling pin routed out to match the fiberglass cut out, as well as PB'ing the parameter and then fully tabbing and glassing it in with 1708.
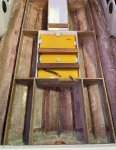
Unfortunately, while completing the second layer of 1708 across the transom the resin started to kick before I was able to get the glass fully wet out on the starboard side, hence there is a lack of transparency that you can see on that side of the board.
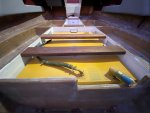
I made the best of it and completed the task with a new batch of resin, but was frustrated with myself for not paying closer attention to what was going on with the timing and allowing myself to be in too much of a hurry.
Oh well, lesson learned. In spite of the error, I'm not concerned about any structural integrity as the strength of the 1708 versus the chop-gun garbage that was in there from the factory is not even comparable.
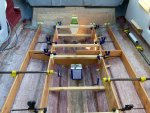
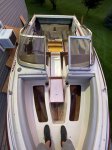
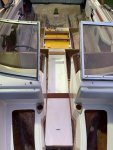
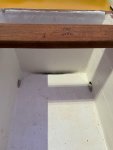
At any rate, I have her back now and am getting ready to begin the stringer and bulkhead placement, which will be interesting to figure out as I'm feeling a bit rusty after 9 months of hibernation and all of this COIVD nonsense.
Will I get this sucker done and be able to enjoy it before the end of summer?
Time will tell!
So to bring you up to date, the last thing I was able to do before putting her into storage for the winter was getting the transom bowling pin routed out to match the fiberglass cut out, as well as PB'ing the parameter and then fully tabbing and glassing it in with 1708.
Unfortunately, while completing the second layer of 1708 across the transom the resin started to kick before I was able to get the glass fully wet out on the starboard side, hence there is a lack of transparency that you can see on that side of the board.
I made the best of it and completed the task with a new batch of resin, but was frustrated with myself for not paying closer attention to what was going on with the timing and allowing myself to be in too much of a hurry.
Oh well, lesson learned. In spite of the error, I'm not concerned about any structural integrity as the strength of the 1708 versus the chop-gun garbage that was in there from the factory is not even comparable.
At any rate, I have her back now and am getting ready to begin the stringer and bulkhead placement, which will be interesting to figure out as I'm feeling a bit rusty after 9 months of hibernation and all of this COIVD nonsense.
Will I get this sucker done and be able to enjoy it before the end of summer?
Time will tell!
Attachments
-
 photo331051.jpg312.4 KB · Views: 18
 -
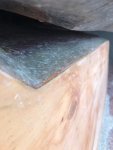 photo331052.jpg190.1 KB · Views: 17
 -
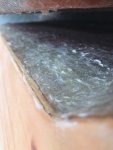 photo331053.jpg225.3 KB · Views: 17
 -
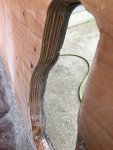 photo331054.jpg303.1 KB · Views: 17
 -
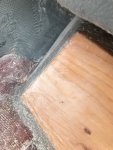 photo331055.jpg309.2 KB · Views: 16
 -
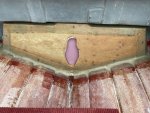 photo331056.jpg588.6 KB · Views: 16
 -
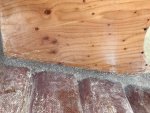 photo331057.jpg453.8 KB · Views: 16
 -
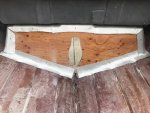 photo331058.jpg441.3 KB · Views: 16
 -
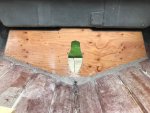 photo331059.jpg433 KB · Views: 16
 -
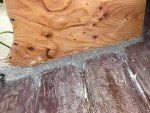 photo331060.jpg521.7 KB · Views: 17
 -
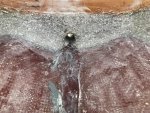 photo331061.jpg577.6 KB · Views: 19