Re: 1990 Bayliner Capri restore in progress w/pictures now!!
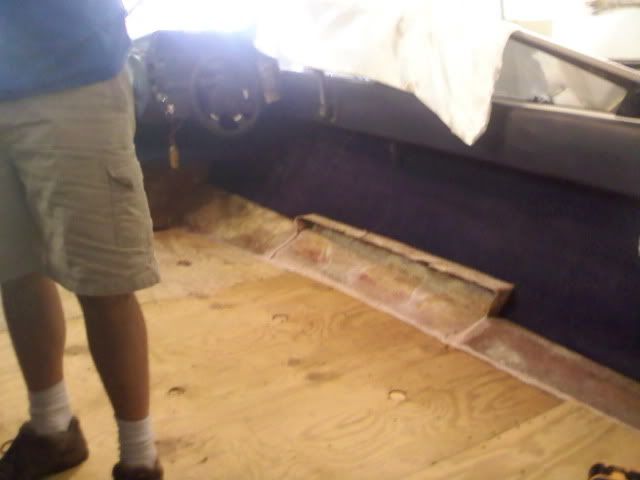
New transom is glassed in I laminated the ply with CSM and poly-resin prior to install and its plenty strong. I used peanut butter to fillet around the transom and I ended up using a layer of CSM, tabbing with Roving, and then 2 layers of CSM on top of that.
Now i just need to glass in the transom knee brace, cover the floatation boxes with plywood and fiberglass, and clean up the hull/deck joint and I can put the cap back on!!!!! Whoohoo!!! After that... Stringers!
My garage is a total mess, Fiberglass, resin, wood, dust, tools. Wife is ready to kill me but I'm making progress.
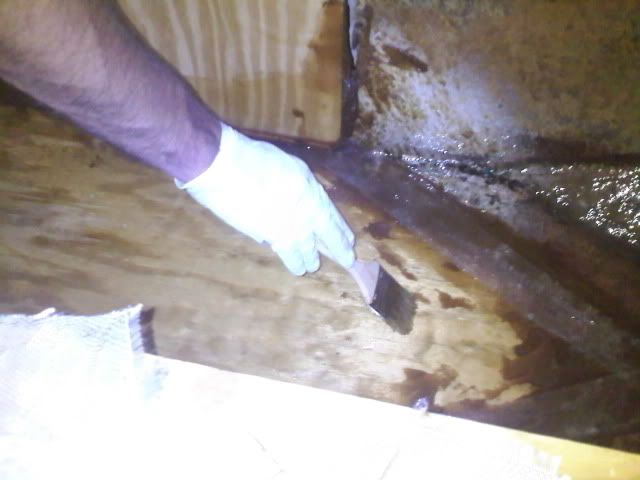
I've got to say uscomposites is great! They shipped fast, and their 435 poly resin is easy to work with compared to the all purpose stuff i bought locally to practice with.


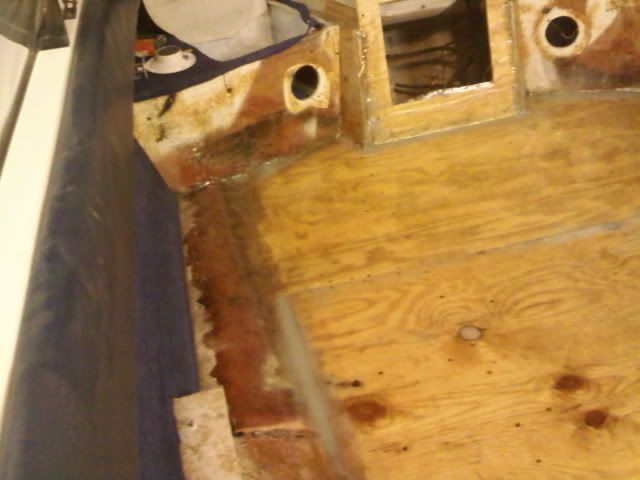
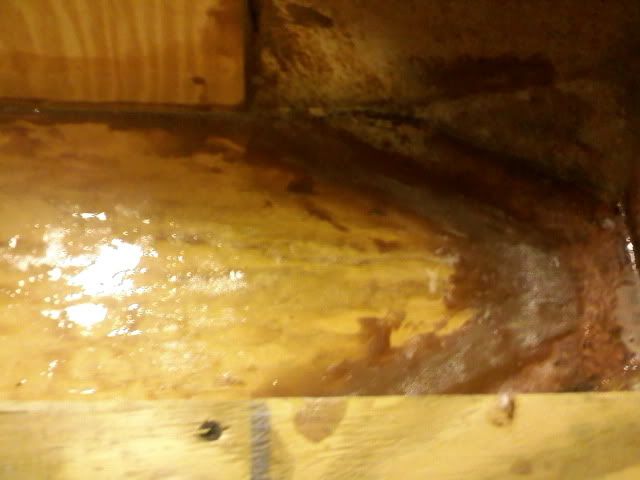
New transom is glassed in
I laminated the ply with CSM and poly-resin prior to install and its plenty strong. I used peanut butter to fillet around the transom and I ended up using a layer of CSM, tabbing with Roving, and then 2 layers of CSM on top of that. Now i just need to glass in the transom knee brace, cover the floatation boxes with plywood and fiberglass, and clean up the hull/deck joint and I can put the cap back on!!!!! Whoohoo!!! After that... Stringers!
My garage is a total mess, Fiberglass, resin, wood, dust, tools. Wife is ready to kill me but I'm making progress.
I've got to say uscomposites is great! They shipped fast, and their 435 poly resin is easy to work with compared to the all purpose stuff i bought locally to practice with.