RollTide13
Cadet
- Joined
- Jan 13, 2010
- Messages
- 14
Re: 1994 Bayliner Capri 1850 LS restore
I don't know any secrets but I can tell you what I did.
I went to Walmart and bought the Singer sewing machine they had for $89. I bought some marine vinyl from my local Hancock Fabrics and heavy duty upholstery thread.
Then I took apart the seats. Most of the wood was rotten so I used the old pieces as a template and rebuilt the backing with PT ply and painted them with oil based paint.
Next, I cut the old vinyl along the seams and used the pieces as a template for the new pieces. I added an extra half inch all the way around to account for the seams. I made sure to save all of the old piping.
Inside the piping fabric is like a sort of styrofoam rope. I folded a six inch wide and very long length piece of vinyl in half for my new piping. I pinned the long piece and left enough gap to easily string the styrofoam rope piece through the fold when it was stitched.
All that was left was to pin the other pieces together with the piping, turn the vinyl inside out and then sew it all together. I learned through trial and error to make sure to sew as close to the styrofoam piece of the piping as possible. If you get it right it looks really good.
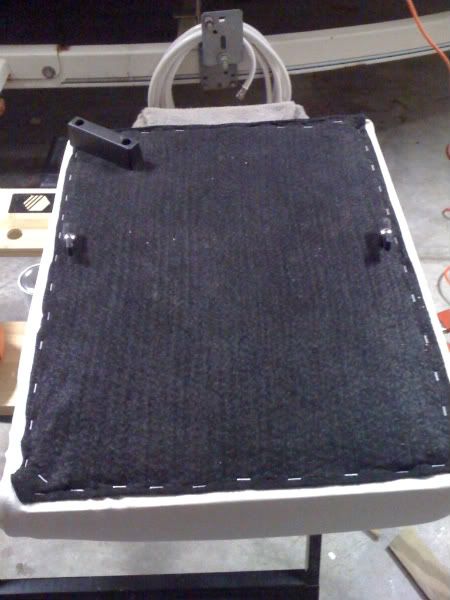
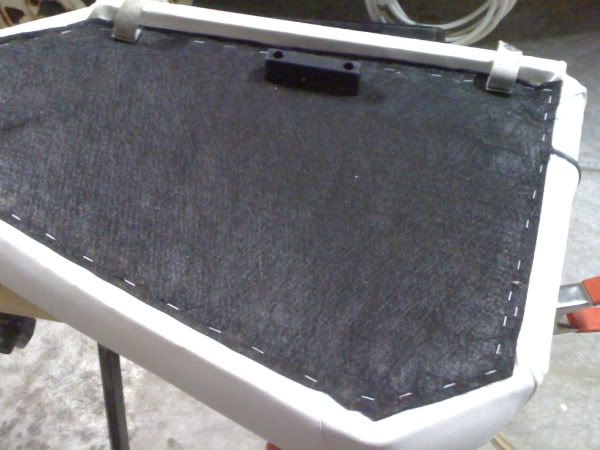
Once the vinyl was finished, I used spray adhesive to adhere the cushions to the wood backing. Then I fit plastic over the cushion and stapled it to the back of the wood. The plastic keeps the foam from rubbing on the vinyl and disingrating. Next, I pulled the vinyl tight and aligned the seam all the way around the cushion and stapled it down with SS staples.
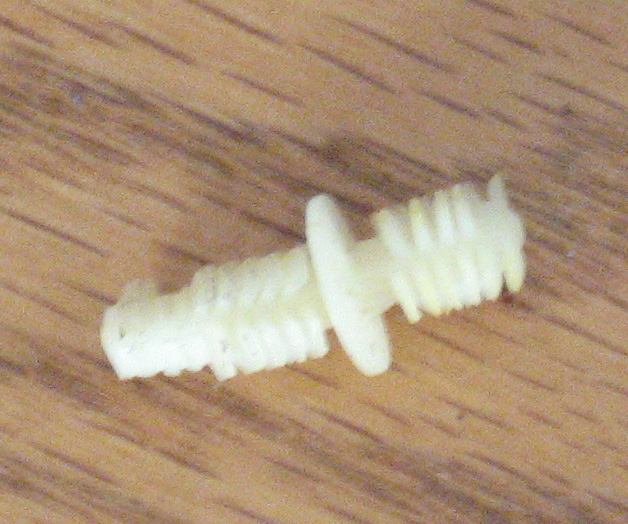
The last thing to do was replace the black upholstery backing and any hardware to the bottom of the cushion.
-RT13
Old cover
Cut into pieces
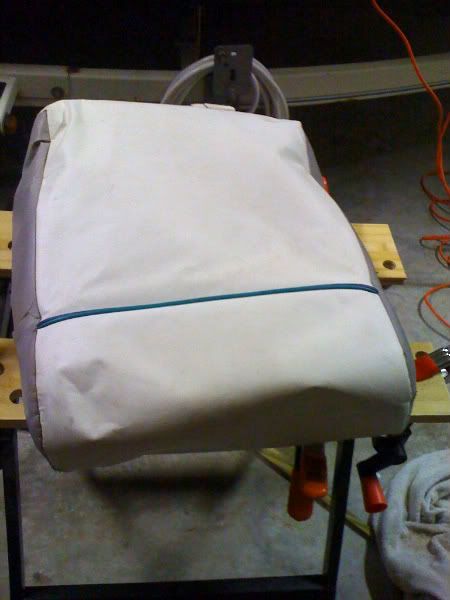
New cover for jump seat cushion - Top
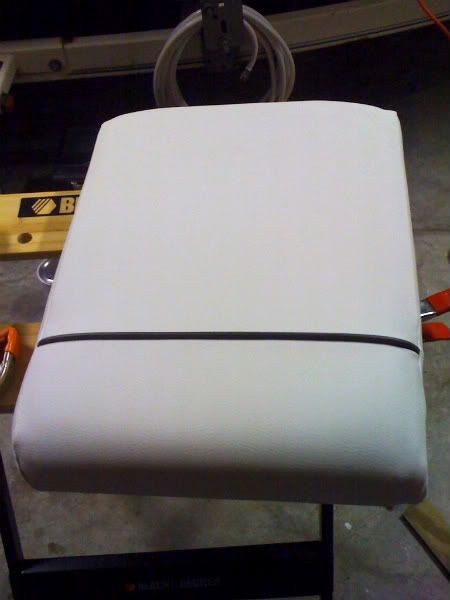
New cover for jump seat cushion - Bottom
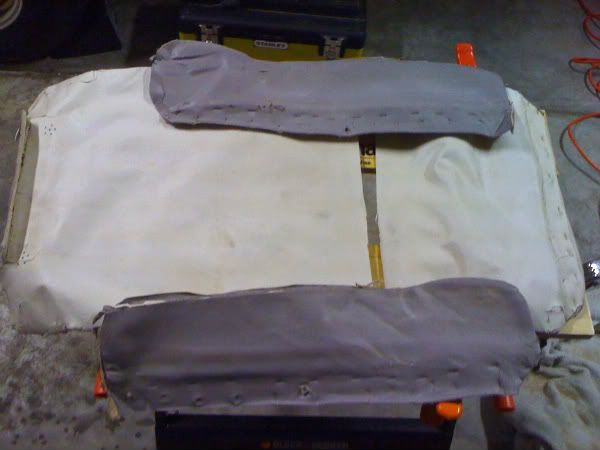
New cover for side bow cushion - Top

New cover for side bow cushion - Bottom
rolltide,
I have a 93 1850 Capri and at some point would like to re-do the seats, etc. Maybe next year, because right now I am in the teardown stage for stringers and transom (just got past the denial stage about a week ago). Anyway, I'm very comfortable working on engines and fairly comfortable with this project I'm diving into right now. But when it comes to upholstery I have no idea. Are there any secrets to it, or is it mostly initiative with some wise judgement?
Thanks, lgrouper
I don't know any secrets but I can tell you what I did.
I went to Walmart and bought the Singer sewing machine they had for $89. I bought some marine vinyl from my local Hancock Fabrics and heavy duty upholstery thread.
Then I took apart the seats. Most of the wood was rotten so I used the old pieces as a template and rebuilt the backing with PT ply and painted them with oil based paint.
Next, I cut the old vinyl along the seams and used the pieces as a template for the new pieces. I added an extra half inch all the way around to account for the seams. I made sure to save all of the old piping.
Inside the piping fabric is like a sort of styrofoam rope. I folded a six inch wide and very long length piece of vinyl in half for my new piping. I pinned the long piece and left enough gap to easily string the styrofoam rope piece through the fold when it was stitched.
All that was left was to pin the other pieces together with the piping, turn the vinyl inside out and then sew it all together. I learned through trial and error to make sure to sew as close to the styrofoam piece of the piping as possible. If you get it right it looks really good.
Once the vinyl was finished, I used spray adhesive to adhere the cushions to the wood backing. Then I fit plastic over the cushion and stapled it to the back of the wood. The plastic keeps the foam from rubbing on the vinyl and disingrating. Next, I pulled the vinyl tight and aligned the seam all the way around the cushion and stapled it down with SS staples.
The last thing to do was replace the black upholstery backing and any hardware to the bottom of the cushion.
-RT13
Old cover
Cut into pieces
New cover for jump seat cushion - Top
New cover for jump seat cushion - Bottom
New cover for side bow cushion - Top
New cover for side bow cushion - Bottom