1997 Chaparral 2330 Bowrider - Minor Restore and Refit

NorthwestChap

Petty Officer 1st Class
Joined
Mar 7, 2011
Messages
224
It's hard to tell from the photo, but the insert has a texture very similar to a sprayed drywall texture with a slight knockdown.


NorthwestChap

Petty Officer 1st Class
Joined
Mar 7, 2011
Messages
224
I picked up one of these texture guns at Harbor Freight. It took a bit of trial and error to find the right mix of fumed silica and gelcoat to use in the gun. I think I started with about 50% by volume and added more to get the right consistency. I then played around with the air pressure and the different nozzles of the texture gun. I eventually figured out something that looked good.


NorthwestChap

Petty Officer 1st Class
Joined
Mar 7, 2011
Messages
224
I sanded the last finish coat to remove the orange peel and to prepare the surface for the texture spray. This is just before the texture spray after masking.


NorthwestChap

Petty Officer 1st Class
Joined
Mar 7, 2011
Messages
224
This photo shows the area where the gunwale and deck meet. This is after I sprayed the texture, and wet sanded and buffed the gunwale.


WOEISMEIGOTTA470

Petty Officer 1st Class
Joined
Aug 31, 2012
Messages
375
Dude...your deck turned out freaking amazing! :hail:
Also, quite the update after 2 years!! :lol:

Really cool how well you matched the texture and color of the front bow insert. Looks factory fresh. Could you explain in a bit further detail on the technique used to get that texture? You only mixed in fumed silica (cabosil) for the texture? How many hours you spend on that deck haha...I'm a bit jealous of your work, I might need to add the texture to my deck too, I love how it turned out in your photos.
 

NorthwestChap

Petty Officer 1st Class
Joined
Mar 7, 2011
Messages
224
Thanks Woe, It was quite a job. It took way more hours than I care to admit. Most of that was spent grinding and sanding. It's all in the prep.

So, my idea was to try and match the consistency of joint compound using the fumed silica and gelcoat. The silica would not only help to make larger droplets from the texture gun, but also increase the strength and durability of the finished texture. It really was a trial and error to get the consistency correct. I think I ended up close to 100% by volume of silica and gelcoat, so close to a 50/50 mix by volume. Of course, when mixed together, the total volume doesn't increase very much due to the very low density of the fumed silica. The viscosity changes quite a bit though.

Because of the relatively small volumes of material (gelcoat, fumed silica mix), I used a plastic bag to hold and help feed the mixture when spraying. To explain: I used plastic bags that are designed to act as a liner for the dump gun cup. Basically just a deep, narrow, and fairly heavy duty plastic bag. I placed the bag in a quart cup and added the mixture. I then fed the top of the bag through the hopper of the texture gun, squeezed out the air, and attached the gun portion to the hopper with the bag end folded back. This accomplished three things. First, it allowed me to squeeze the bag while spraying to get the mixture into the gun, second, it allowed for much easier clean-up because the hopper stayed mostly clean, and I could throw away the bag, and third it made for less wasted material.

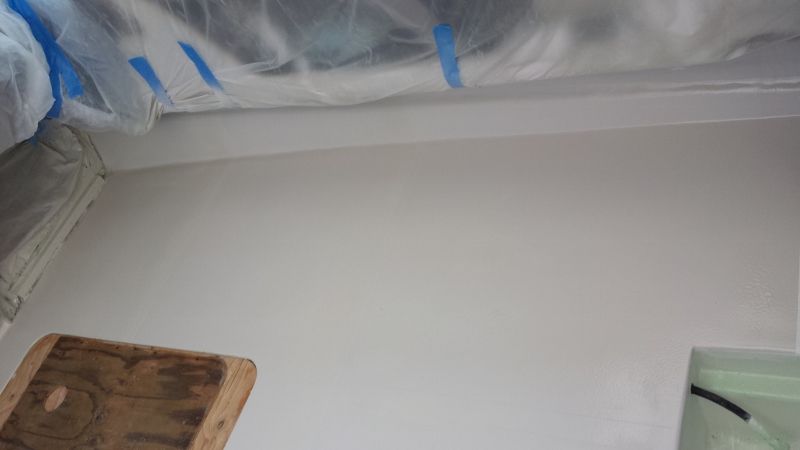
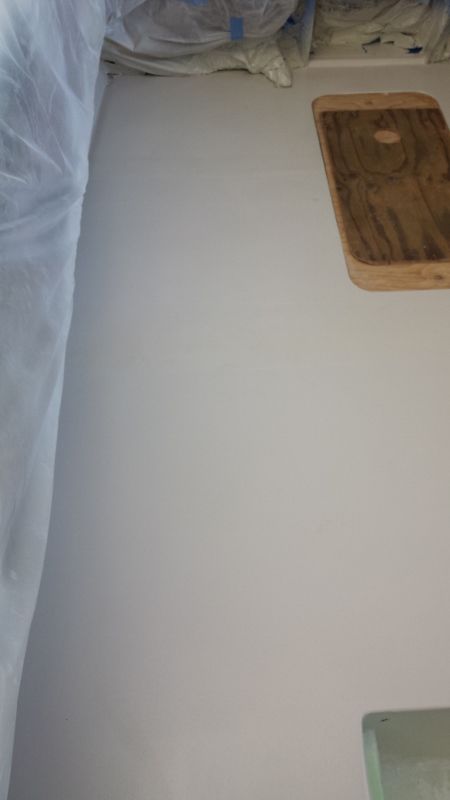
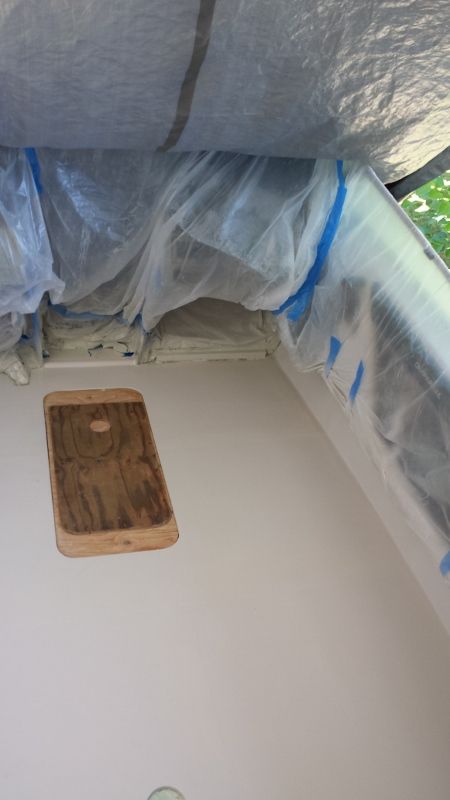
Spraying was the same as texturing drywall, get the coverage that you want, and keep the gun moving. After spraying the texture, I sprayed a light coat of PVA to allow for the gelcoat mixture to cure. After it was cured, I used a wet sander and 320 or 400 grit sandpaper to smooth down the peaks and level out the texture. Simple. :eek:
 

NorthwestChap

Petty Officer 1st Class
Joined
Mar 7, 2011
Messages
224
I was tired of having to cover everything in the garage for spraying, so my team and I threw together a small spray booth.


NorthwestChap

Petty Officer 1st Class
Joined
Mar 7, 2011
Messages
224
I had previously fiberglassed the dual seat base. Because the hatch opening was too large with the carpet removed, I had to reduce the size to allow for a tighter fit.


sprintst

Commander
Joined
Apr 18, 2009
Messages
2,066
That's going to be one sweet boat when you're done. The kids will have an attachment to it too.
 

NorthwestChap

Petty Officer 1st Class
Joined
Mar 7, 2011
Messages
224
The drum brake actuator was in poor shape with some water leakage, so I cleaned and flushed the brake lines and wheel cylinders, and replaced the bearings and seals.


Top