AeroCraft York 1960ish Transom, Stringers, Deck

saginawbayboater

Senior Chief Petty Officer
Joined
Mar 8, 2012
Messages
677
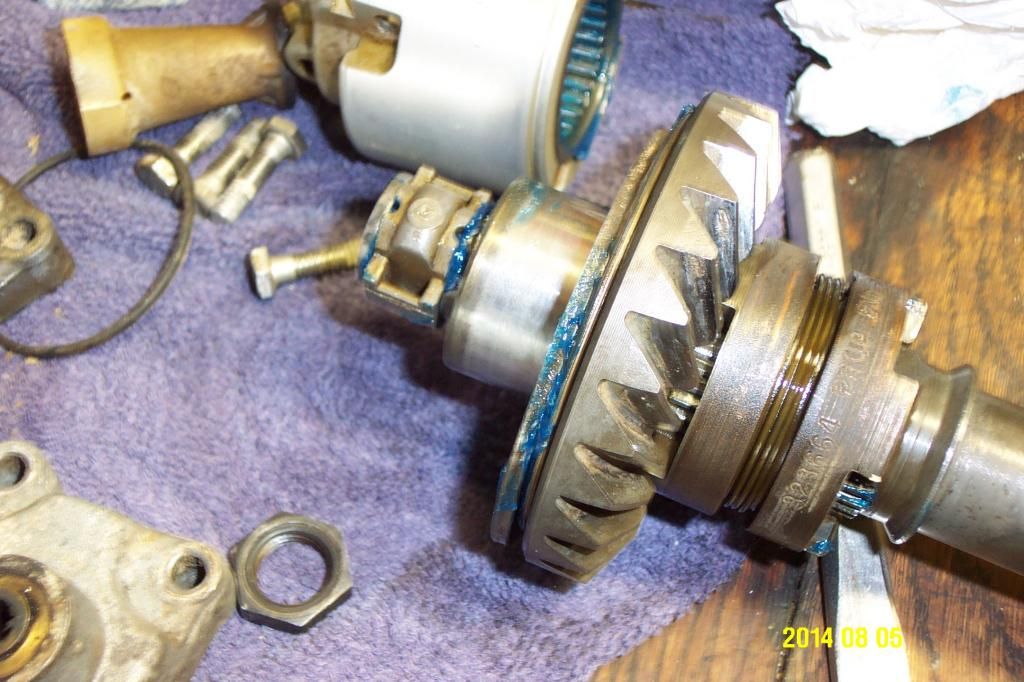
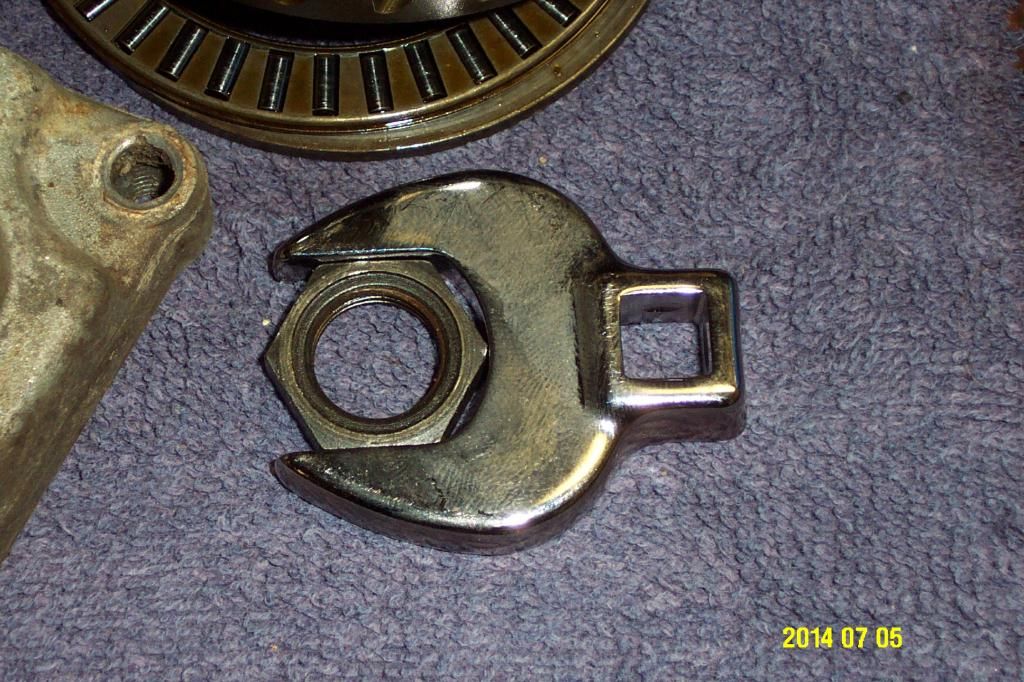
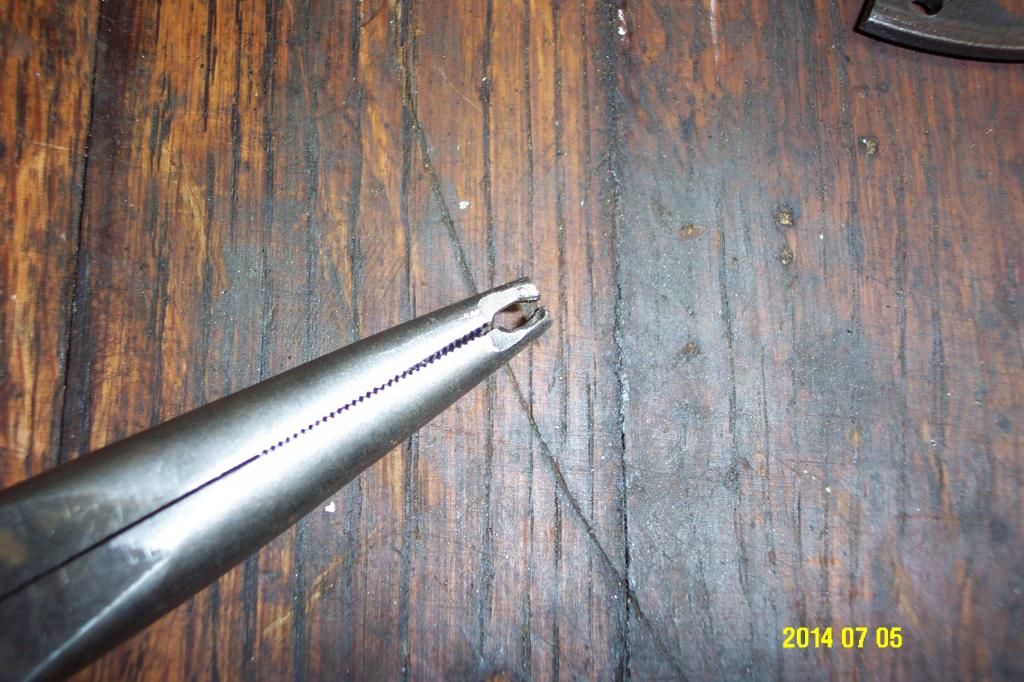
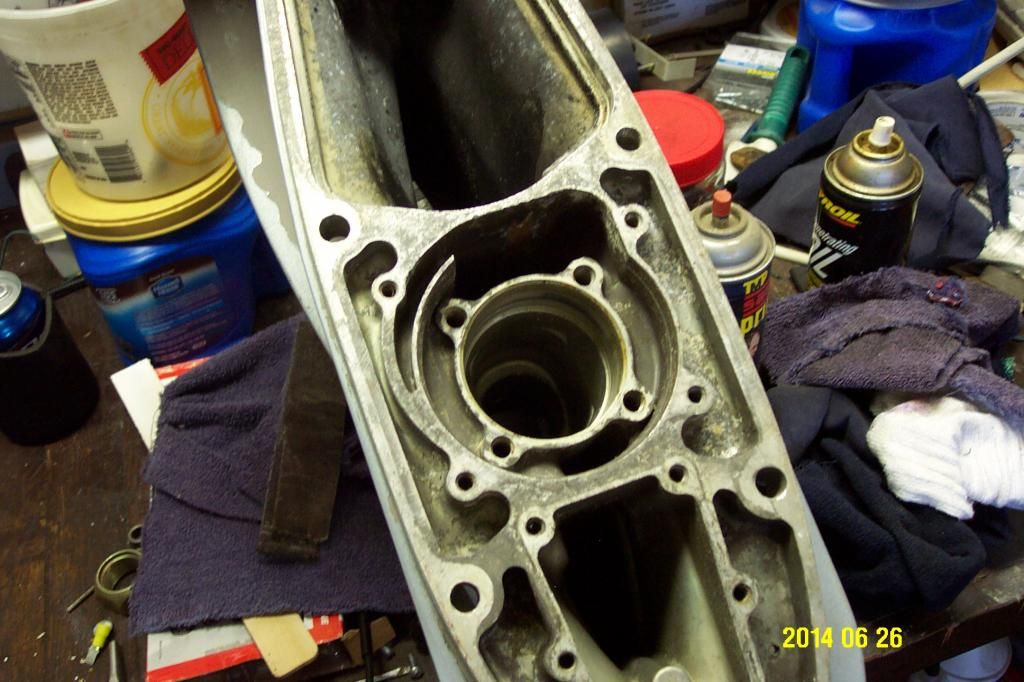
I will be using the original basket case housing from the four winns because it's in much better shape then the unit i purchased for parts. "see the broken bolts and corrosion"


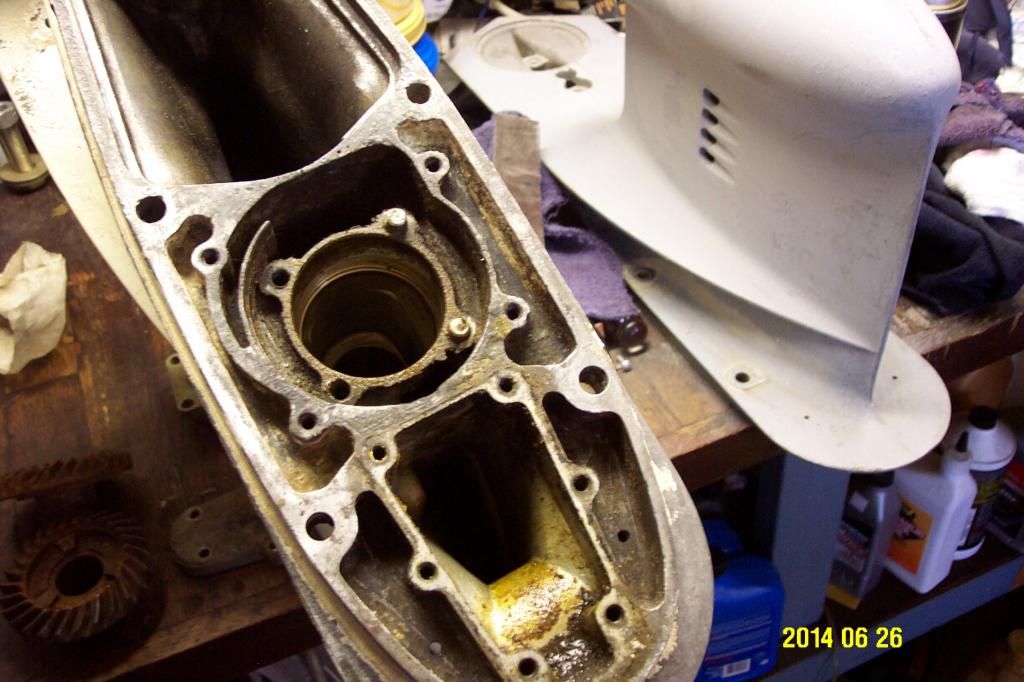
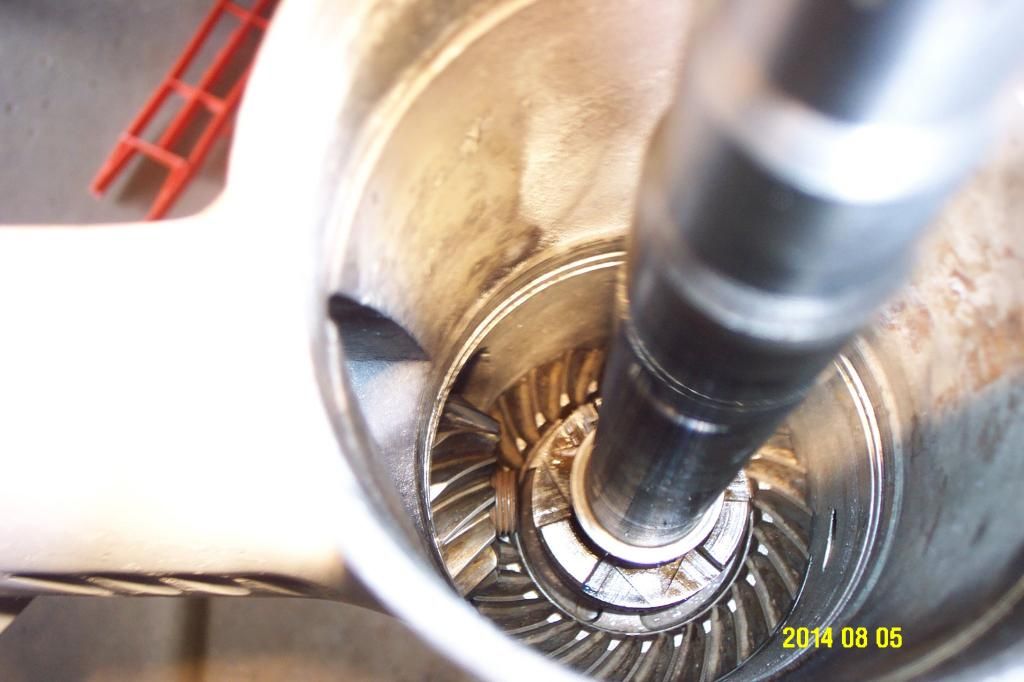
This case has nice threaded holes and a lot less corrosion.
 

GT1000000

Rear Admiral
Joined
Jul 13, 2011
Messages
4,916
Morning SBB,
Glad to see you making good progress on the gear case. :cool:
Thanks for sharing the reconditioning steps, hope it goes as smoothly as possible...I may be tackling a similar project in the distant future with my old gear case and have already picked up a great trick from your dis assembly by using the all thread rod as long pulling bolts for the puller...funny how I have been in automotive industry for the better part of 4 decades and that had never occurred to me...ingenious!:eek:
You have probably already thought of this, but I have to ask...are you going to run a tap in all the bolt holes? ;)
Happy Friday!:D
 

saginawbayboater

Senior Chief Petty Officer
Joined
Mar 8, 2012
Messages
677
You have probably already thought of this, but I have to ask...are you going to run a tap in all the bolt holes? ;)

Hi GT, I power washed the housing and each bolt hole looked really good. I also ran a bolt down each hole by hand to be sure they aren't jimmied up.:thumb:
 

saginawbayboater

Senior Chief Petty Officer
Joined
Mar 8, 2012
Messages
677
I'm glad to be going back together with this Evinrude Lower unit. Today I was able to install the NOS pinion bearing I picked up on the web.


In order to install this bearing I needed a bearing puller of some sort to pull it into place. So not wanting to spend big money on OMC tools that may never get used again i went to HF and picked up a bearing and bushing installer set for like 19 bucks. Then with some all thread and angle iron I was able to pull it into place.


saginawbayboater

Senior Chief Petty Officer
Joined
Mar 8, 2012
Messages
677
This is the empty housing where the new bearing needs to go.


Then I set the bearing and installer in the housing.


Next the all thread was fished up from the bottom and the wing nut was started with a long needle nose. A few four letter word inserted hear.


Then slip a angle over the all thread and draw the bearing into the housing.


saginawbayboater

Senior Chief Petty Officer
Joined
Mar 8, 2012
Messages
677
Here you can see the bearing is all the way in. After drawing the bearing in it stops against the screw inside the bore.


you can just barely see the bearing stop screw thread on the left side of the bore.


This the screw head on the outside of the housing near the water inlet.
 

saginawbayboater

Senior Chief Petty Officer
Joined
Mar 8, 2012
Messages
677
Assembly of the lower unit is coming together!

DCP_2257_zps0d1a85cc.jpg


DCP_2258_zpsc1a422c9.jpg


DCP_2259_zps49e5f85b.jpg


DCP_2260_zpscf28f3ae.jpg


Dropped the output shaft assembly in the housing and then the input shaft and pinion.

DCP_2261_zpsad914652.jpg
 

saginawbayboater

Senior Chief Petty Officer
Joined
Mar 8, 2012
Messages
677
OMC uses a special tool to hold the pinion nut, but I made due with a crow foot welded to some rebar. Also had to buy a input shaft splined socket so the pinion nut could to be torqued to 100 ft lbs. Also used thread locker on the pinion nut. The crowfoot worked good up to about 90 some ft lbs but up around 100 the nut rounded off and slipped out of the wrench. Oh well close enough.

DCP_2245_zps891813d0.jpg


DCP_2246_zpsc24f4348.jpg


DCP_2264_zpsafa5832f.jpg


DCP_2265_zpsc35f7181.jpg
 
Last edited:

saginawbayboater

Senior Chief Petty Officer
Joined
Mar 8, 2012
Messages
677
There are two big snap rings that hold the output shaft bearing retainer in and of course there is a large snap ring pliers you can buy. But I bought a inexpensive long needle nose and ground the tips down. They work great!!

DCP_2238_zps5619d373.jpg


DCP_2242_zpsa0f1f9df.jpg
 

saginawbayboater

Senior Chief Petty Officer
Joined
Mar 8, 2012
Messages
677
Had to take a break and rented a pontoon on Houghton lake for some R n R. The admiral and daughter and daughters friend had some fun too.

DCP_2271_zps837197f3.jpg
 

saginawbayboater

Senior Chief Petty Officer
Joined
Mar 8, 2012
Messages
677
No Title

Little update. Bolted up the input shaft bearing mount with a little free play up and down.
 

Attachments

  • photo208329.jpg
    photo208329.jpg
    41.6 KB · Views: 0

saginawbayboater

Senior Chief Petty Officer
Joined
Mar 8, 2012
Messages
677
next add the exhaust adapter.


Tommorrow hopefully we can install the lower unit on the Outboard!! Until then Peace Out!!:very_drunk:
 

Woodonglass

Supreme Mariner
Joined
Dec 29, 2009
Messages
25,929
SBB, Been there DoneThat very recently!!! Ya Dun Rite Good!!!! Ya gunna give the motor a fresh coat of paint when she's all rebuilt??
 

saginawbayboater

Senior Chief Petty Officer
Joined
Mar 8, 2012
Messages
677
Ya WOG I will give it a paint job. I haven't decided on colors yet, but I will keep it simple like maybe all white with black or blue EVINRUDE.


we will see.
 
Top