can of worms?

jrttoday

Lieutenant Junior Grade
Joined
Feb 8, 2010
Messages
1,081
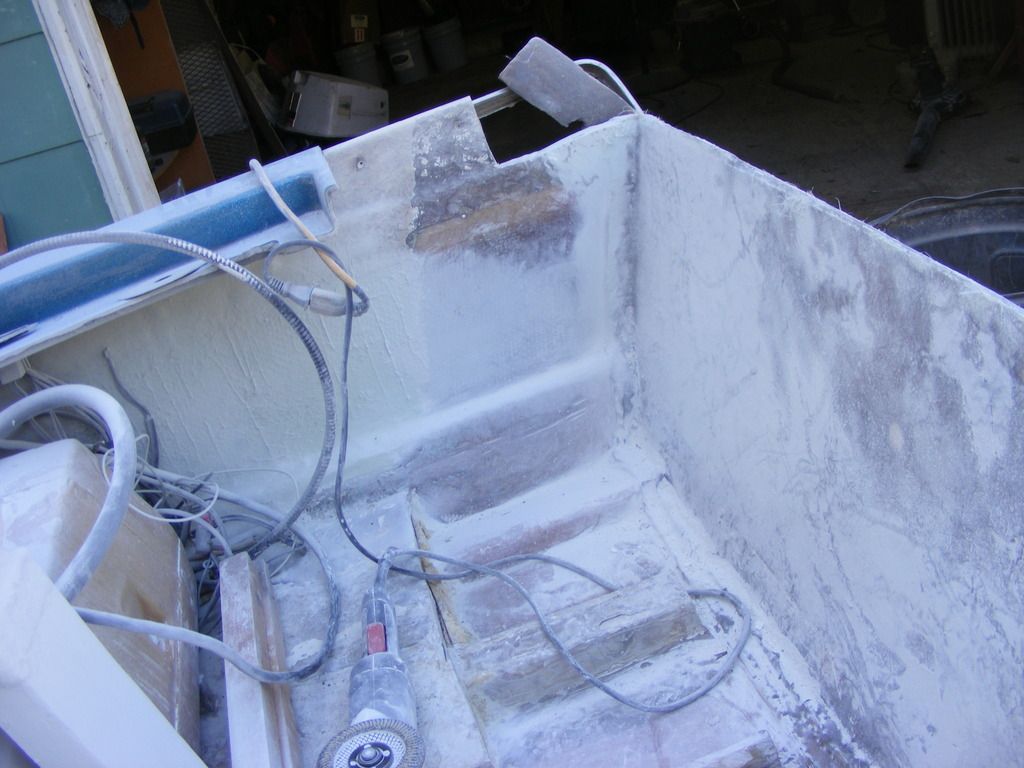
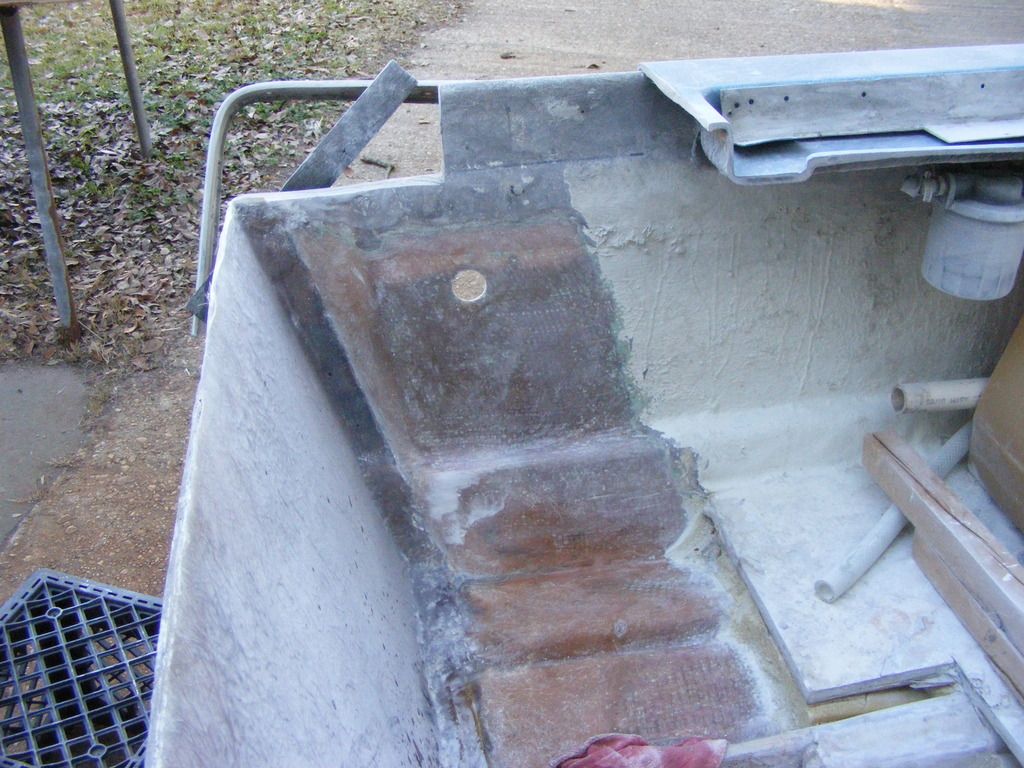
between cleaning and more cleaning, spent some time re-imagining that compartment. Doesn't sound like much, but..... battery to be moved to port side, fuel tank to be elevated on starboard side for a total of 5? inches. Will most likely remove sump and make new one - under deck plumbing probably won't happen. Plan on Herculiner over deck in case I do have a leak somewhere, which I don't think I do.
What very little dampness I felt back aft is long gone.
Will paint over Herculiner because I don't want a black floor.
​Stripped carpet from rear casting deck and hosed it off; leaving the backing for now - dark spot at bottom is from a minor oil spill.

http://
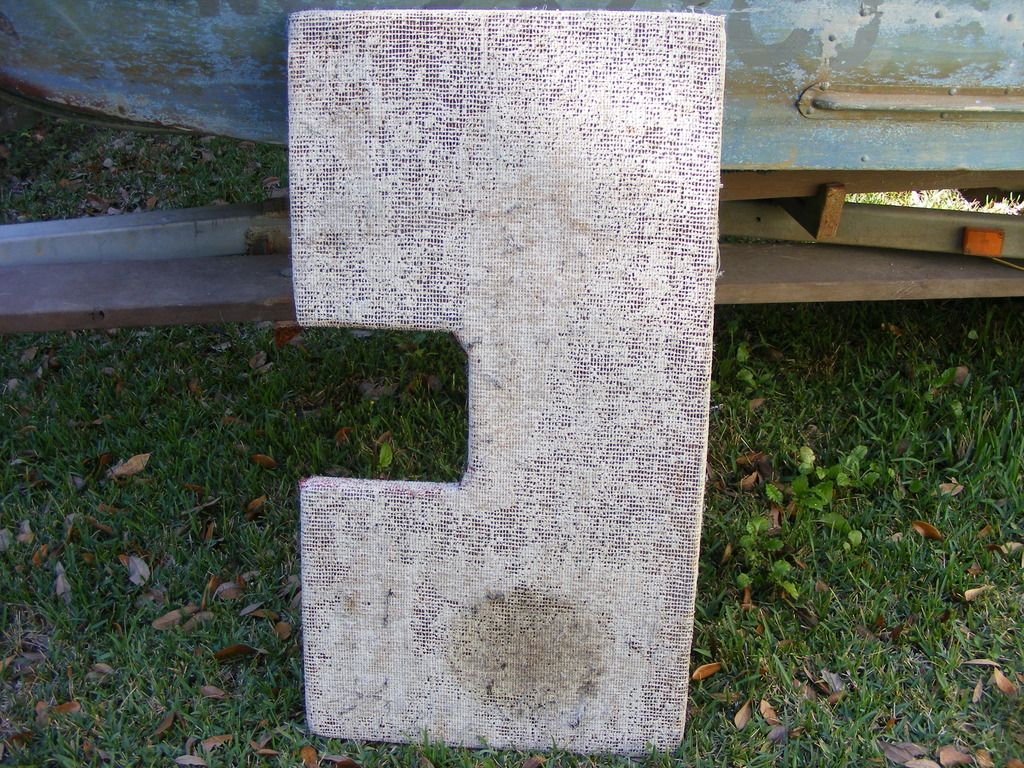
am thinking painting over might give me the traction desired??? Wonder how it would hold up? Color recommendations? lol
ps - boat it's leaning on has had Herculiner inside for 15 or 16 years now, no leaks! :D
 
Last edited:
jrttoday

Lieutenant Junior Grade
Joined
Feb 8, 2010
Messages
1,081
sorry, but I don't polish the brass or trash! for the Brass!! Revisiting Life's Lessons today :lol: "trying to get out of work or avoid it often creates more work"
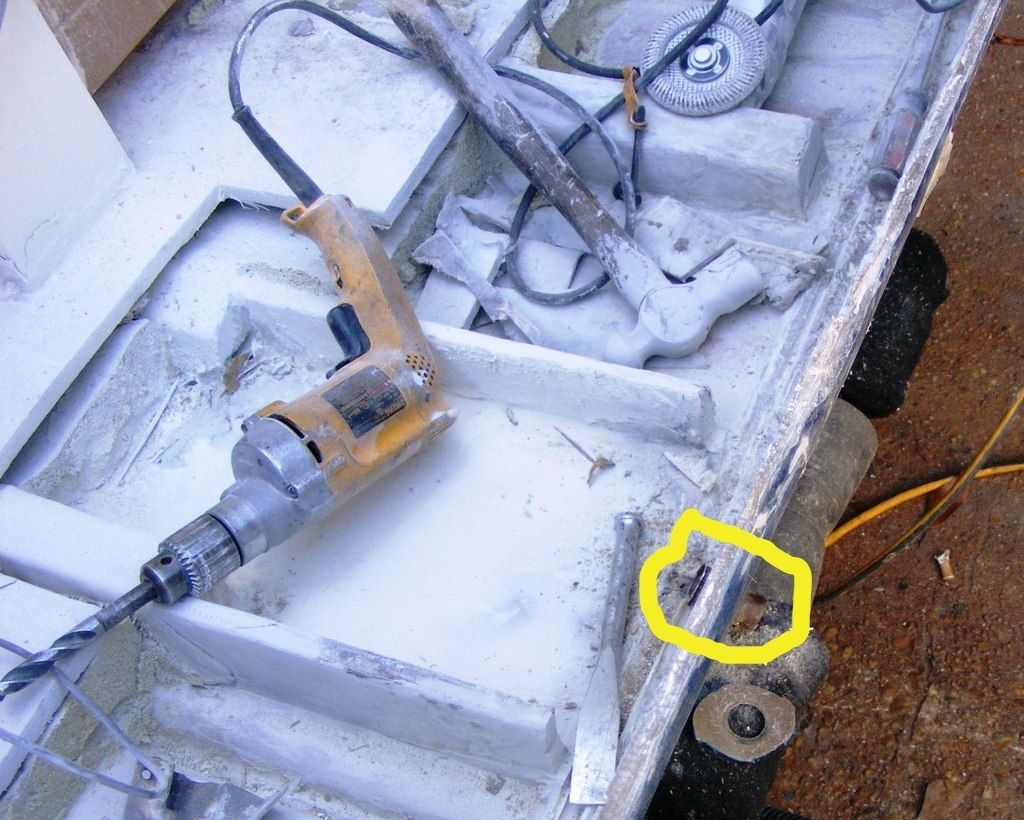
Got tired of negotiating with the sump box - cut it out and the drain. Was really only waiting to to figure out "how I want to do the gusset".
http://[URL=http://s173.photobucket.com/user/jrttoday/media/fc7b930f-1da6-4754-af1b-37ead626856f_zps9x5gxyll.jpg.html]

the drain is circled so you can see it better - that's epoxy below the yellow that popped off when knocked out :mmph: [/URL]
Plan on tying gusset into keel stringer - all the way to the 2x4 that stops to the left of drill handle. Will also add 2x4 to port stringer back to skin. New sump box, but will pass on additional plumbing. Wood in stringers all solid and never wet.

Starboard side stringer measures 2.65" thick; plus or minus a fraction, all three are the same bow to stern
 

jrttoday

Lieutenant Junior Grade
Joined
Feb 8, 2010
Messages
1,081
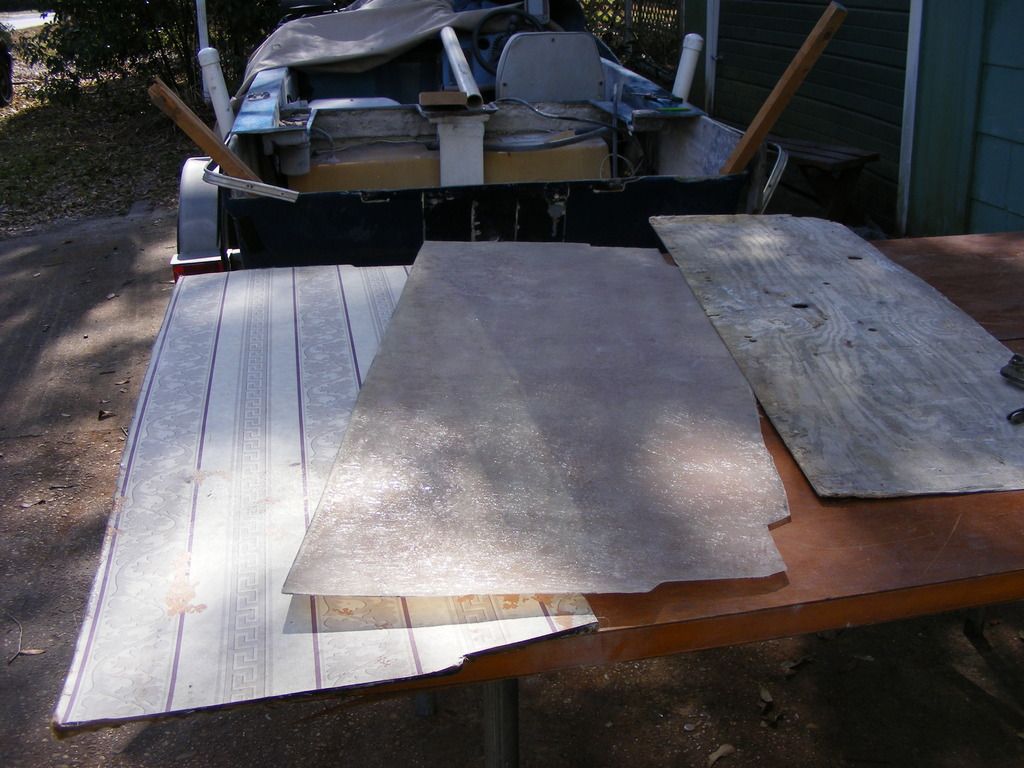
Glass Guy was here for two days and this is all we got done :facepalm: .....it was more of a social visit, anyway. He brought the piece on the left for a template and we used the piece on the right for a template for the template! We used some old wax I had (almost had to add water to use it :facepalm: and waxed the template. Barely stuck to it...
http://[URL=http://s173.photobucket.com/user/jrttoday/media/DSCF0026_zps9j13i75t.jpg.html]

The idea here is to install the piece in the middle - duh JS.
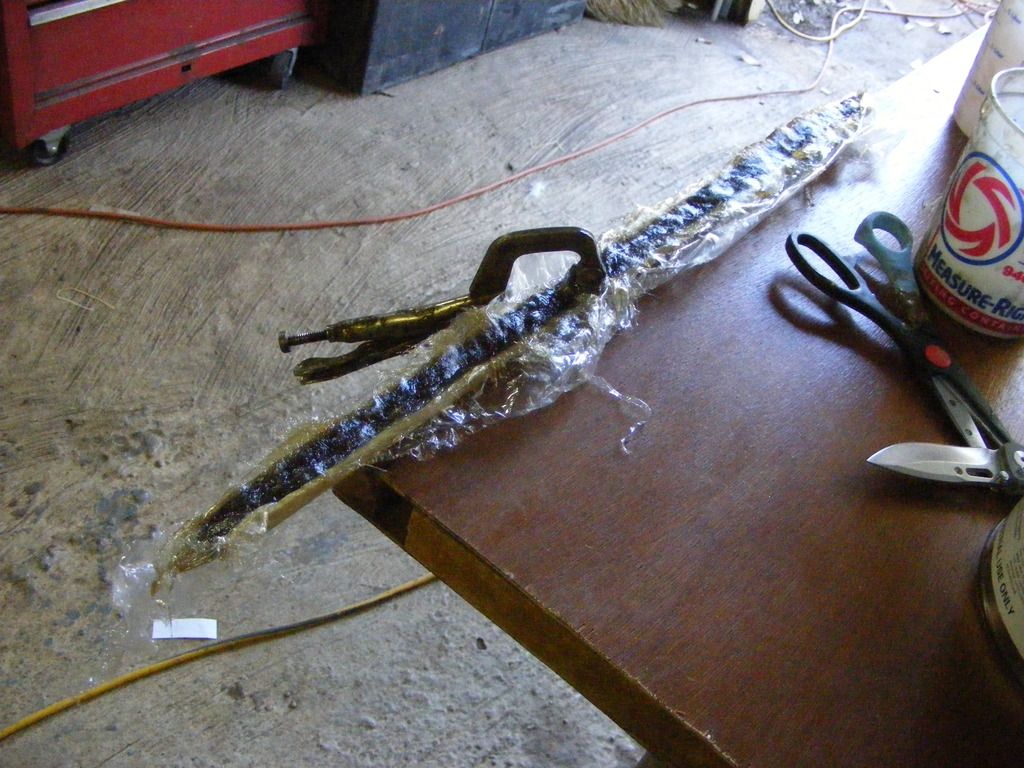
I made spacers out of very thick PB splitting the top 40% of 3/4" PVC lined with very thin plastic. Cut spacers a tad over 1.5" to grind down later because they had to be cut freehand.
split the PVC because I wanted to pack the PB and see that there were no air pockets - those pieces are permanent.[/URL]


not shown yet, PB'd the spacers to that piece (4 rows of 3 and 3" from top at 12 22 32 and 42". Top to bottom at 3 9 and 15" - bottom has a lip on hull to keep it at 1.5". For the sides, those square pieces of wood are 1.5" and will leave them in while tabbing that first piece in.
That piece is 2ply csm; will lay one more csm, roven, csm, roven, and csm to finish. FINISH!! lol will then cut slot in skin 8" down from top in center approximately 2.25" wide and 5 to 8 inches long - not there yet. the gusset should go forward 14", give or take. Leaving a rat hole for water in bilge.
ps; trust me lol, those spacers came out better than they look in the picture:lol: glare etc
 

jrttoday

Lieutenant Junior Grade
Joined
Feb 8, 2010
Messages
1,081
a day of thought, thinking and re-thinking, and researching other pours.... again!! Had to load up the driveway party and push (cram) it all in the garage LOL!! A tornado might be helpful in cleaning up this mess, but am not wishing for....
The questions I have - the mixing blade was my design, but in seeing others mix SeaCast, am wondering if another would be better? Does it mix better at high rpms or no? I could just buy one or change mine easily.
Because of its thickness, am wondering about air pockets. I've seen it tamped down with sticks etc and tapping on the transom with a rubber mallet etc.
I watched a guy do a vacuum assisted pour; not in my budget, but thinking a hole or two drilled near bottom would allow SC to flow more freely to the bottom; necessary?
For the gusset, am thinking of leaving the top open and directly pouring that - then glass cap like the transom.
Am going to install transom tie downs; do I need have them in before pouring? doubt they'll ever come back out, the brass drain and livewell fill are drilled afterwards anyway, correct?

edit - and come to think of it, those spacers could come out after the skin is completed?
 
Last edited:
sphelps

Supreme Mariner
Joined
Nov 16, 2011
Messages
11,475
Leave the pb spacers in ... Take the wood ones out ... You can drill whatever hole you need after the pour or install now and pour around ,, Completely up to you ..
Make sure you have a good dependable drill for the mixing .. You don't want to be stopping and rebuilding anything after ya squeeze the hardener in the mix ..
You can pick up a mixing paddle at home depot for less than 10 bucks I think .. Beat on the transom fairly hard as you go with your rubber mallet to help get air pockets out ... The stuff is like a thick oatmeal .. If you leave the top of the gussets off have something ready to fasten down over it to keep it from pouring out all into your bilge ... It will find a hole if there is one ... If somehow a bunch flows out just scoop it up and put it back in the transom ... Try and get as much of the shredded glass into your mix as you can ... The more fibers the stronger it will be ...

Btw , make sure you mix the seacast for the amount of time stated in the instructions ... Move the paddle all around be sure to get the sides and bottom of the bucket mixed in good ... My drill has a reverse rocker switch that helps with the mixing ...
 
Last edited:

jrttoday

Lieutenant Junior Grade
Joined
Feb 8, 2010
Messages
1,081
for my next project :facepalm::facepalm: gonna make an aluminum trailer! with Seacast bunks! :lol: My drain was over top port side bunk and the tail end has rotted, just discovered today. Need new batteries for my camera, sooooooo, no pics, but spent the day repairing the outer skin. No delamination but dark line between old bolt holes for whatever was on this boat way before I got it.
Dug it out w/o cutting through, will attack the outside tomorrow...
Best guess at this point - 1 gusset 2x5x14, has to be at least 8" down from transom cap to clear splashwell. With the bow up, angle will be close to level. Leave the top of gusset off and pour that first. Cover with part of the panel used for skin template and Ductape.
Let the bow down and do the transom.
Can't explain it here :lol: those figures aren't exact, but know what I'm after. We shall see....
Thanks again for all your help
 

jrttoday

Lieutenant Junior Grade
Joined
Feb 8, 2010
Messages
1,081
The only problem with putting your brushes in the freezer is it will make the frozen pizza's taste like poly resin ... :D
I only use the chips brushes on small little area's or corners and such to get bubbles out .. They work best when you cut off about a half inch of the bristles ..
Those resin rollers actually work pretty well on the woven roven but not so well with the csm . JMHO ... As with all things the more you practice the better you get with it ..
I tried the roller on csm yesterday - on a 10" repair; you're right.
However, Glass Guy first brushed out the csm and after brushing the second layer of csm; rolled it before it kicked off. Ten years since he's glassed, but eye-balled the resin/hardener mix and went to work. Unfortunately??? lol I can't get him back until I'm ready for Seacast pour, he's had enough fiberglass for one Lifetime :lol:
 

gm280

Supreme Mariner
Joined
Jun 26, 2011
Messages
14,605
Speaking of rollers and chip brushes. I too agree with the rollers for initially rolling poly on and even easy rolling on 1708 and CSM. But once things start to set up, don't use the roller. It seems to lift the CSM and then you have a real problem getting it all to lay back down again. At least that has been my experiences. And when I do roll over CSM, I go pretty slowly and allow the CSM to stay in place. But you will gain experience quickly for sure. Nothing better then doing things yourself and learning the techniques. JMHO!
 

jrttoday

Lieutenant Junior Grade
Joined
Feb 8, 2010
Messages
1,081
that's right, the only way you really learn is by doing; but you really learn by teaching. I doubt I've even gotten to "novice status" yet!!!
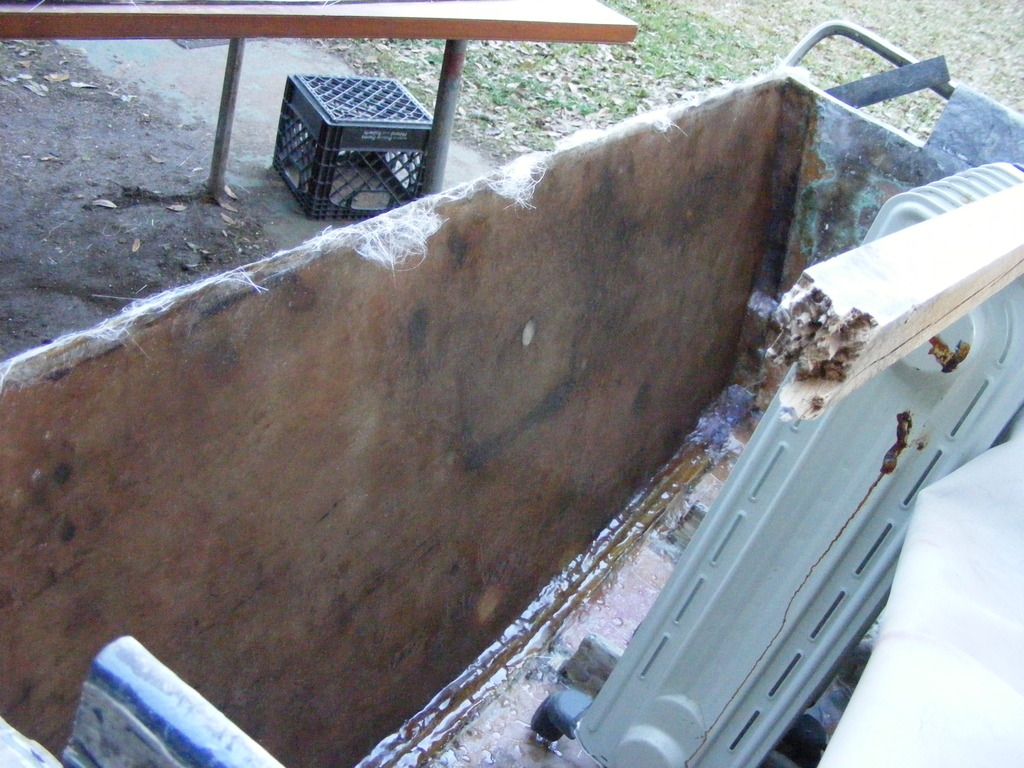
This is my single biggest layup to date and nothing to brag about. The outer skin is tighter, now. Two layers csm - the heater was used to help it kick.http://[URL=http://s173.photobucket.com/user/jrttoday/media/DSCF0027_zpscme0qgaz.jpg.html]

dark spots are repairs where I did not cut through to backside - will back gouge tomorrow. Still have 1/2 to 3/4" to take off the top.
2" chip brush worked the dog out of me on that one!! Next time I'll have a couple of 4's :lol:[/URL]
went ahead and trimmed top of gunwales back, fix after the tranny is in. I was "supposed" to be in bed last summer when I repaired 'em - and it shows....
 

sphelps

Supreme Mariner
Joined
Nov 16, 2011
Messages
11,475
Looks pretty good to me !
Make sure you grind along the edges where the transom meets the sides of the boat .. Kinda looks like it still may need a little work ... Youll need to tab that in at least 8 or 10 inches or so ...
Your getting closer and closer to being ready to pour !
 

jrttoday

Lieutenant Junior Grade
Joined
Feb 8, 2010
Messages
1,081
thanks, still not there.... wherever that is! :lol: I should also say, that those darker spots are where I feathered the epoxy and or paint outside, that resin comes out clear - where holes are.
Have been attacking edges you're referring to a little at a time. Was probably as much as 1/2" of tabbing, or more!! lol Started not to take it all off, but oh well....
Am a foot back if I go all the way? will be at least 10". Call me crazy, 115 ponies with a 17p four blade and two 27 group DC batteries, plus whatever's in the livewell... in the front half = lots of pressure on that transom....
 

jrttoday

Lieutenant Junior Grade
Joined
Feb 8, 2010
Messages
1,081
the reason for thick tabbing was due my lack of experience with fiberglass. Was raised on steel and questioned the strength of glass - no better now.
Anyway, it snowed today :lol: actually, blew it out four or five times between grinding, so this is kinda clean compared to...
http://[URL=http://s173.photobucket.com/user/jrttoday/media/DSCF0034_zpsnuj9n2wr.jpg.html]

Still have some touch-up/final sanding[/URL]


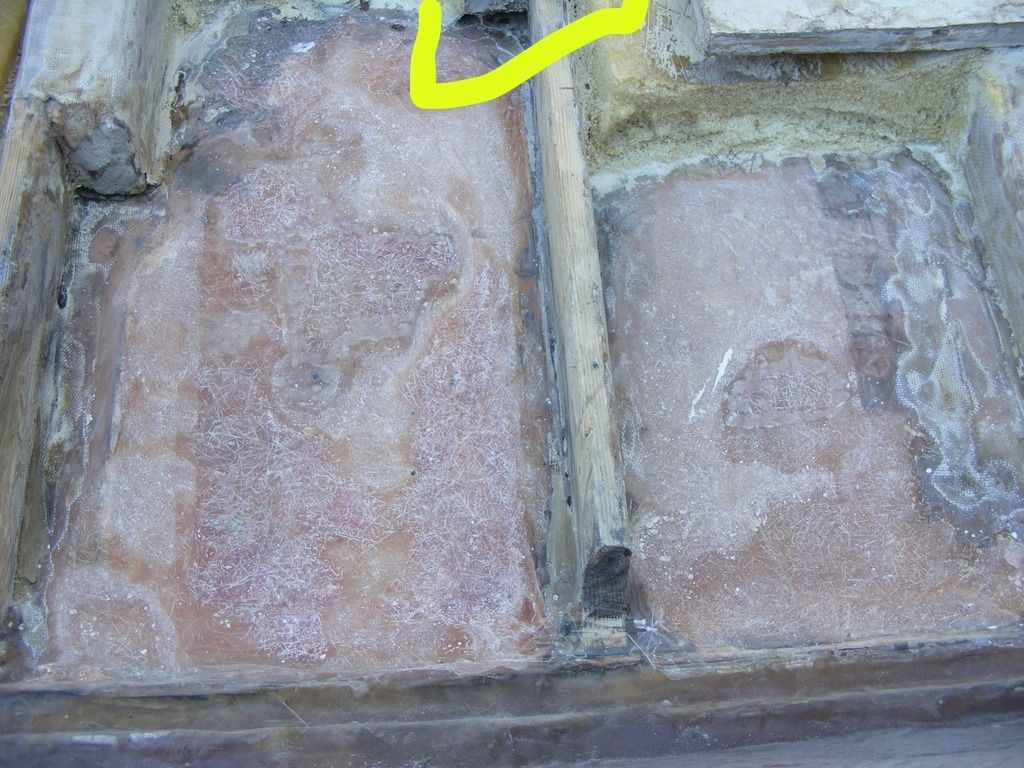
found some delamination and took that out --- port side of keel under sump box and the other on starboard of. I know a little more needs removing,
Will make a pad/foundation 6" wide both sides of keel for gusset as far forward as the 2x4 against the keel stringer - which you really can't see here. It's the notch, top center of pic in yellow - my mouse floats all over the place on photoB and I've tried adjusting speeds.. oh well lol


jrttoday

Lieutenant Junior Grade
Joined
Feb 8, 2010
Messages
1,081
ROLMAO!! at self!! Worked longer than I should've and rushed to post since I was already late :facepalm: Said "no better now" and meant KNOW!! :lol: I'm very impressed with fiberglass at this point. Having some good resin and being shown a thing or two.....
One of first things Glass Guy (he chooses to be anonymous) asked me was when did I buy my resin. Reason being that they add more cobalt this time of year to make it kick at lower temps. Properly mixed, on these 60* days, it kicks without a heat source. And dries in a reasonable amount of time, too.
 

jrttoday

Lieutenant Junior Grade
Joined
Feb 8, 2010
Messages
1,081
I cut my teeth on Los Angeles class attack subs grinding butts for welders; I know about chasing cracks. By the time I was 19, was making X-ray welds on the USS Carl Vinson. Been pipe welding since 1980 to the same caliber. This is fiberglass and I'm not building a battleship - not building the Titanic either!

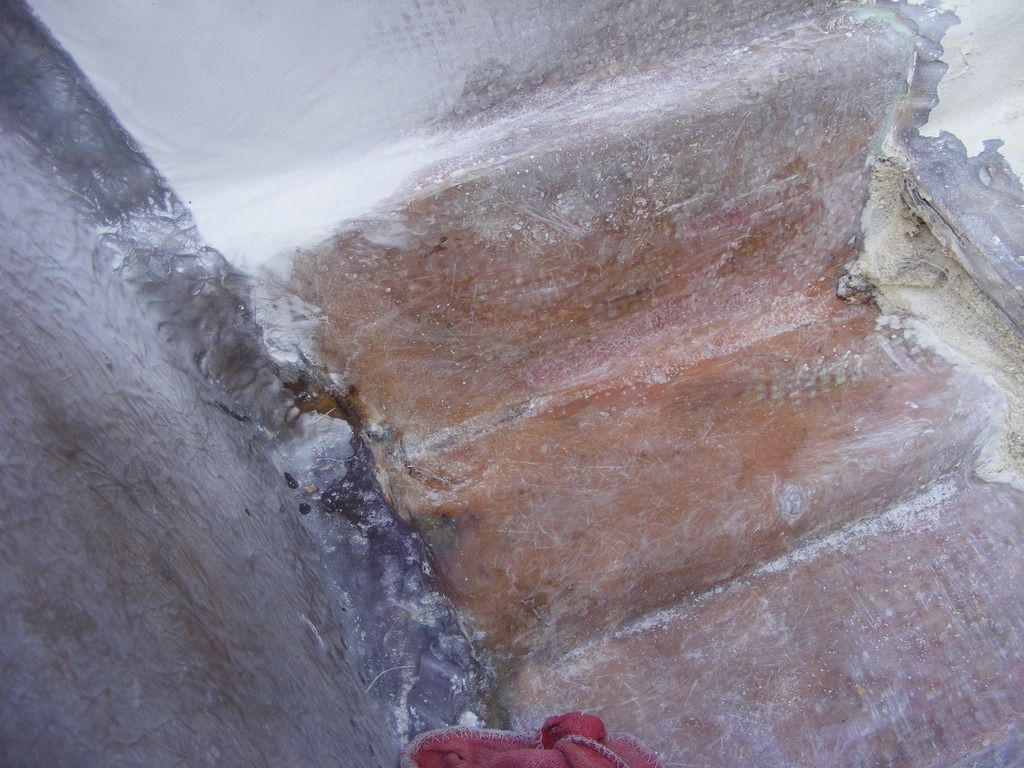
I think I got it all, but.... any recommendations on filling that back?
http://[URL=http://s173.photobucket.com/user/jrttoday/media/DSCF0001_zps7lkq0flr.jpg.html]

it isn't real deep, maybe 3/8". Might need a tad more? It's in the outboard chine and very thick[/URL]
 

sphelps

Supreme Mariner
Joined
Nov 16, 2011
Messages
11,475
Just a little pb and a layer or two of glass would be my guess ..Is it cracking through the hull to the outside ?
 

jrttoday

Lieutenant Junior Grade
Joined
Feb 8, 2010
Messages
1,081
Just a little pb and a layer or two of glass would be my guess ..
that was my guess, just way tard yesterday; new day, fresh eyes lol. First look today... thinking it was only a surface crack - nothing left visible. Musta wiped me out emotionally because I slept 14 hours :lol:
Also looking like it's less than a 1/4" at the deepest; jammed in the corner makes it look deeper and hard to measure.
i have enough 24oz to build up the entire back end and am pretty sure that I will. Bought another gallon of resin and may need another if I do? oh well... might have to get another 50 pack of BC's too
 

jrttoday

Lieutenant Junior Grade
Joined
Feb 8, 2010
Messages
1,081

jrttoday

Lieutenant Junior Grade
Joined
Feb 8, 2010
Messages
1,081
yes, it does, even with steel. Didn't count 'em, but 12/16 layers of csm in that groove. Might get the inner skin in tomorrow if the rain will hold off?
Ran into Glass Guy tonight, said he'd help me with the gusset. Overhead glassin'.... I know better :lol:
 

jrttoday

Lieutenant Junior Grade
Joined
Feb 8, 2010
Messages
1,081
took a trip in the driving rain because I thought that was what you're supposed to do - drive!!! If I'd known, would have started out with 5 gallons. Just yesterday morning, was building up corners on that first piece and am almost through the second gallon. I can't run out in the middle of laying up that 24oz and have a couple other minor jobs not related to the transom. This should do...... lol
http://[URL=http://s173.photobucket.com/user/jrttoday/media/DSCF0005_zps5zse3mme.jpg.html]

Can't even get back there to show the corners; it's looking pretty good so far - Glass Guy was impressed. I've had a lot of practice doing it wrong!!! :lol:[/URL]
 
Top