proshine43
Petty Officer 2nd Class
- Joined
- Sep 5, 2010
- Messages
- 161
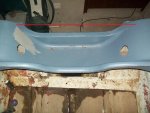
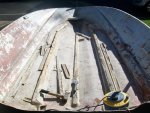
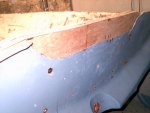
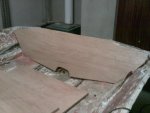
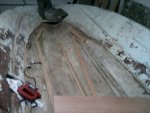
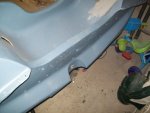
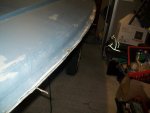
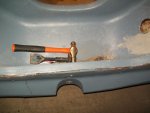
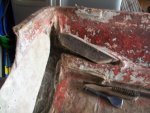
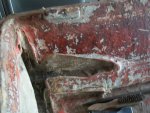
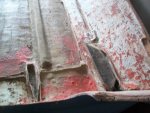
Re: deck replacement and more. 14'
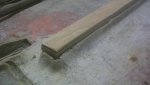
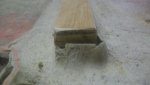
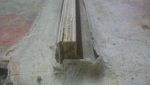
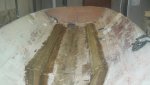
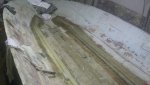
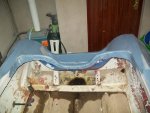
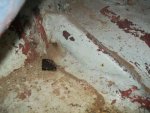
I agree with previous post. Since you allready have it apart, better safe then sorry. Im redoing my transom and my stringers had to come out. Good luck.
I agree with previous post. Since you allready have it apart, better safe then sorry. Im redoing my transom and my stringers had to come out. Good luck.


")