Racingman24
Petty Officer 2nd Class
- Joined
- Jun 23, 2009
- Messages
- 126
Re: Here we go, diving in, hope there's water in the pool... Just Another Tinny Rebui
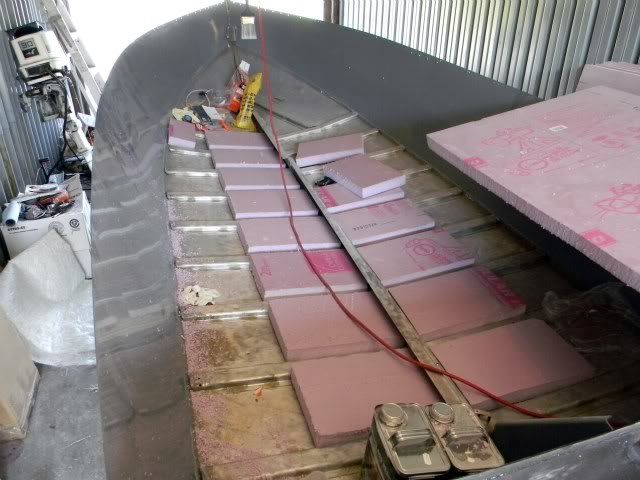
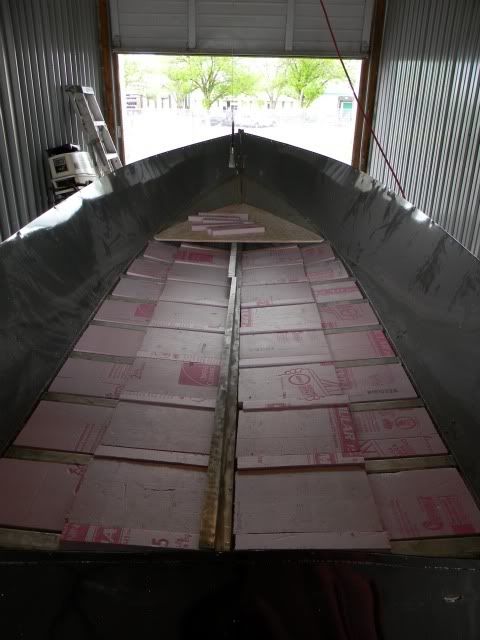
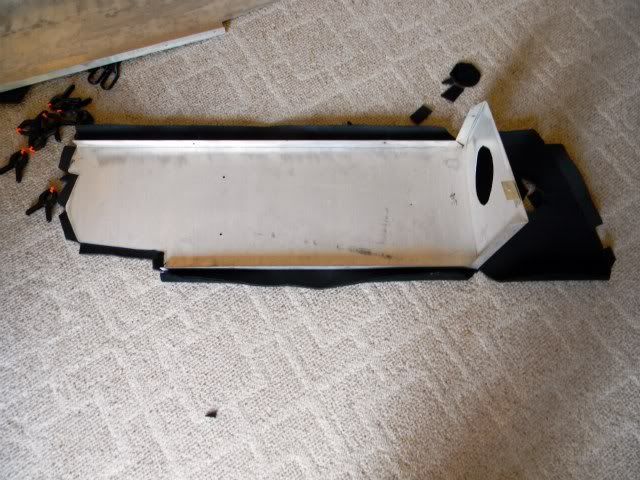
We simply MUST cover that repulsive greenish brownish...ish color...with white!
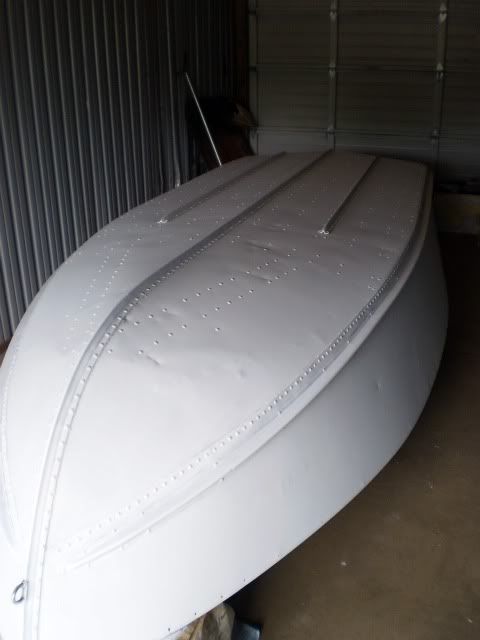

For now....
And then...

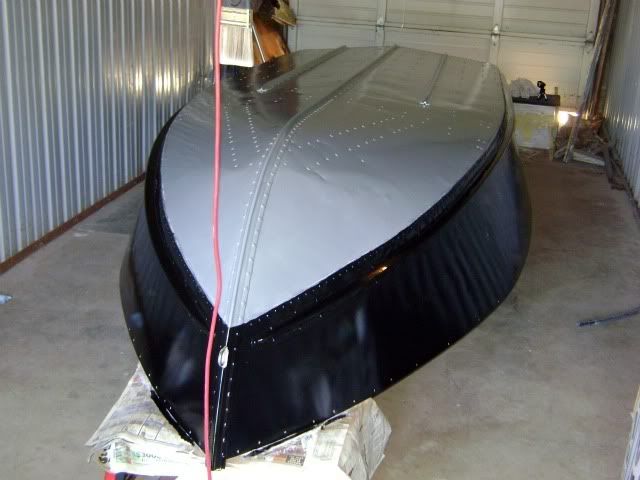
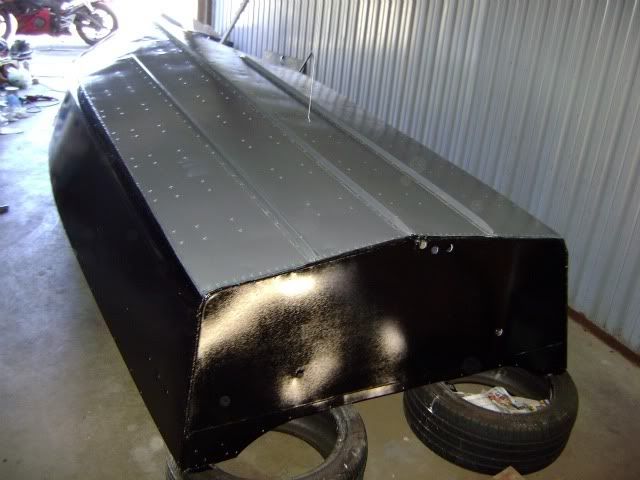
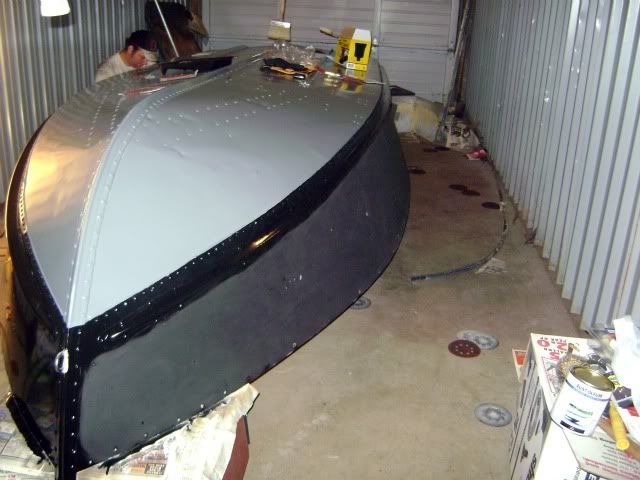
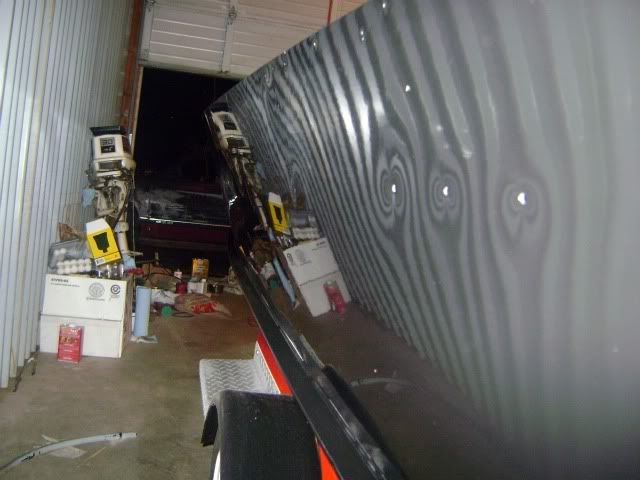
Color!
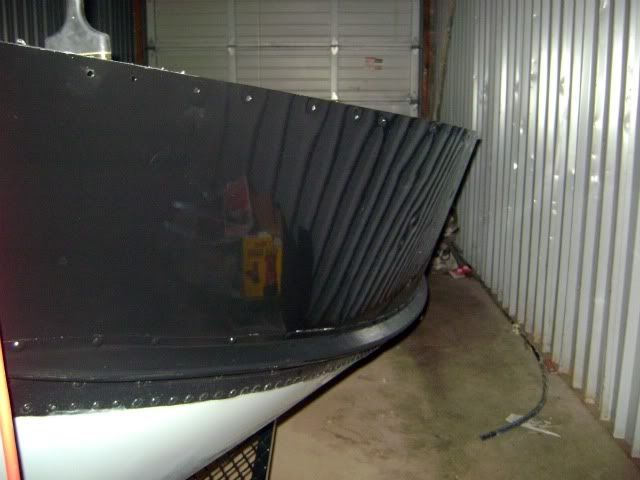
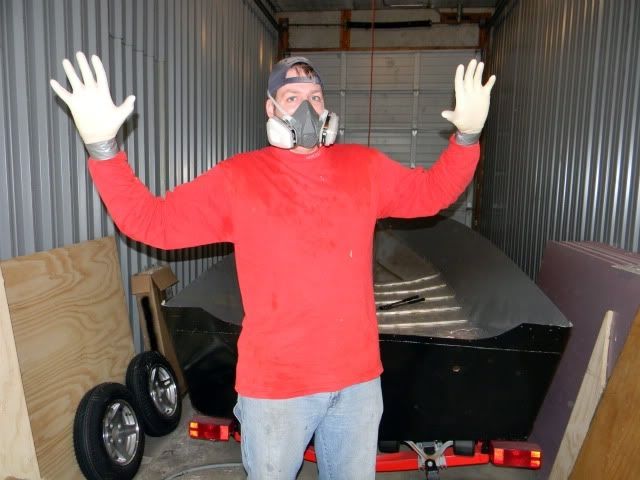
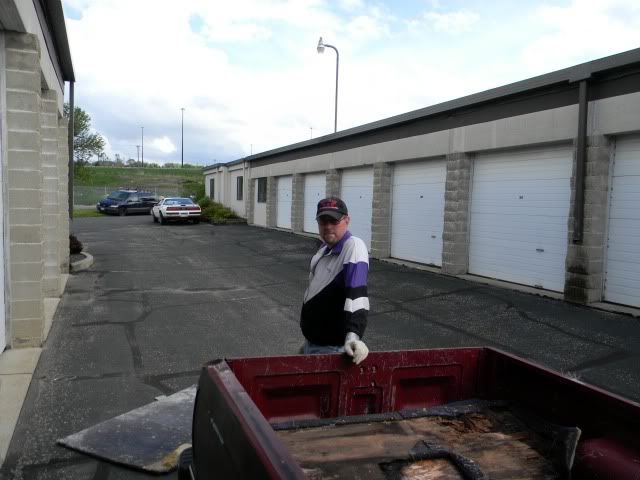
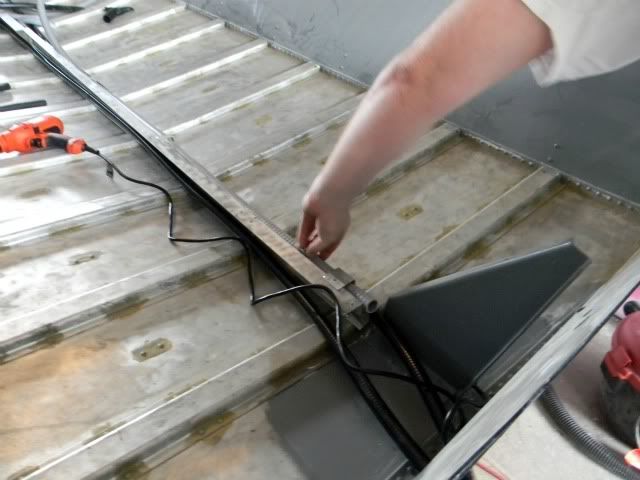
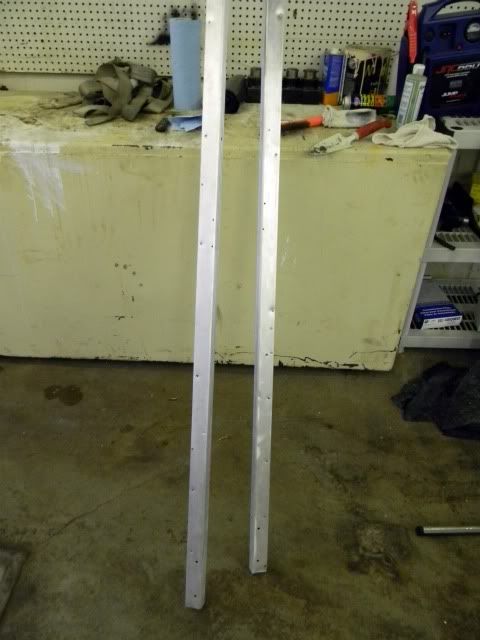
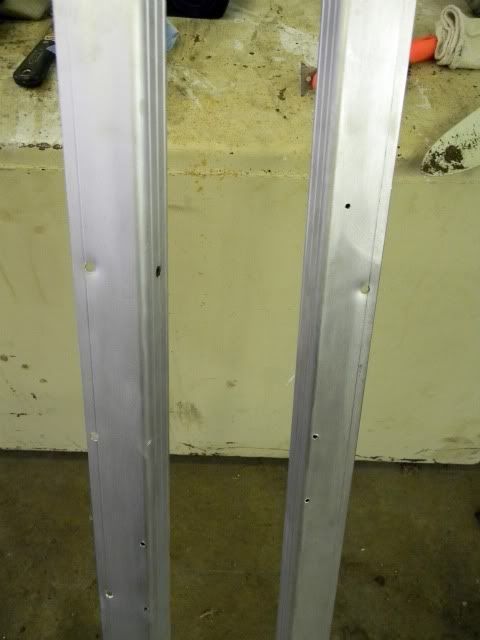
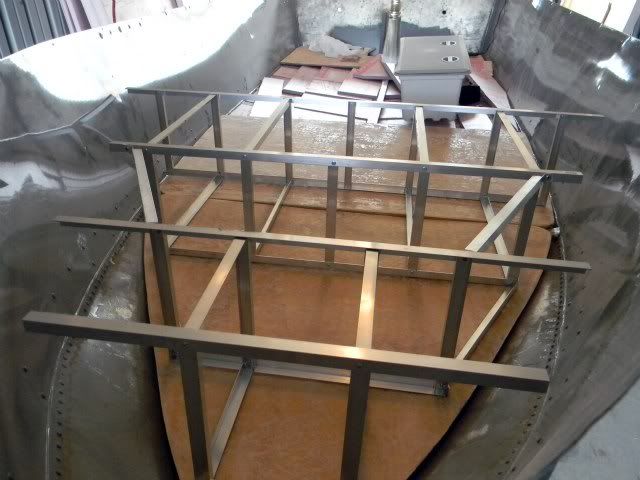
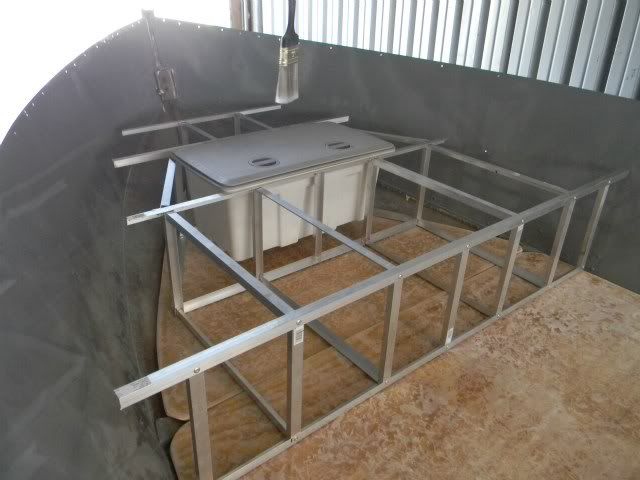
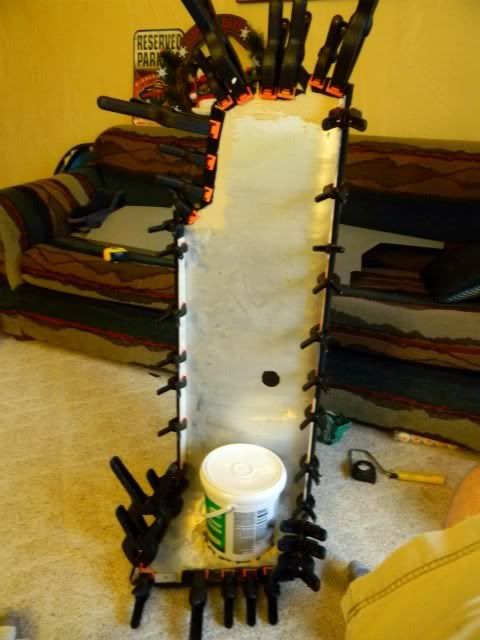
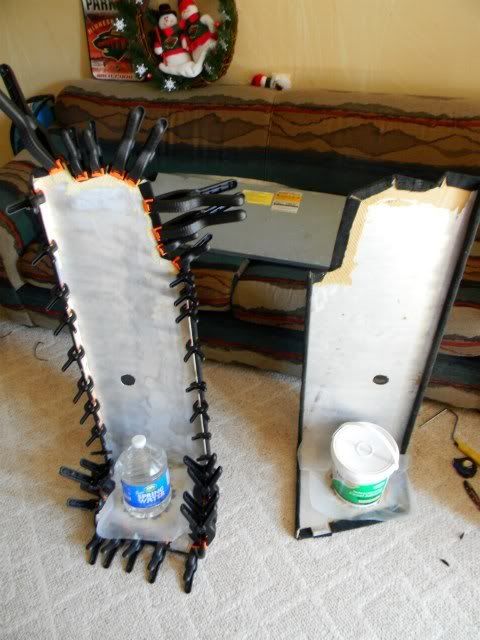
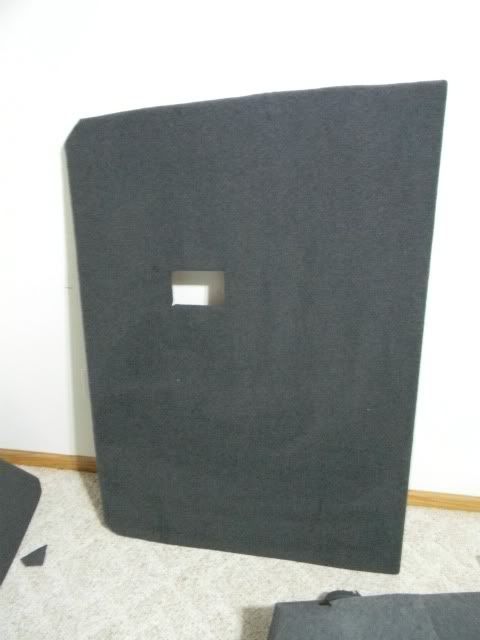
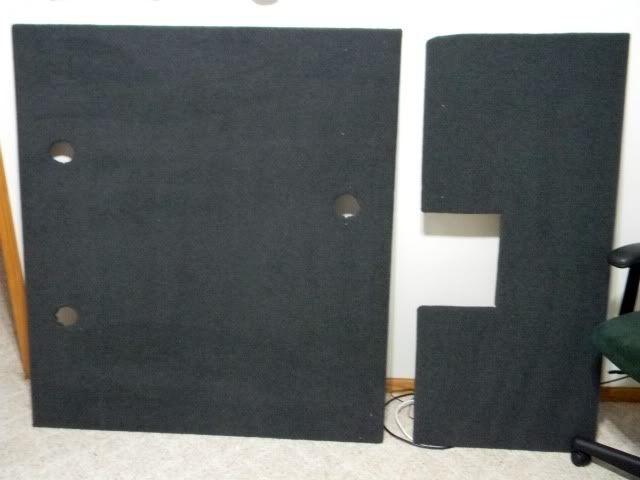
I worked on the main structure, while the "hired help" [you can see her trying to hide in various pictures] took care of the spray rails.
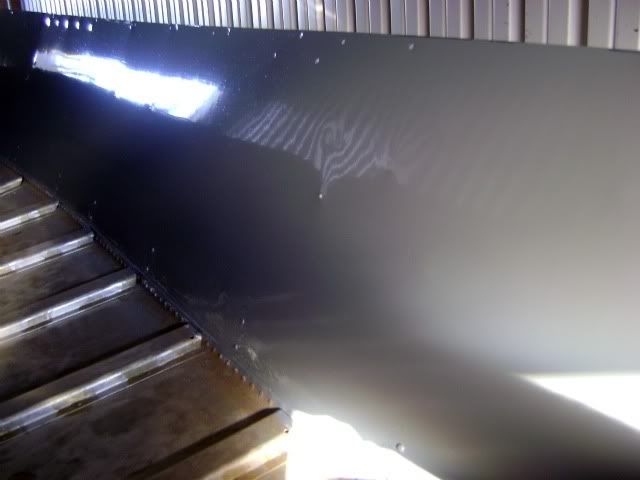
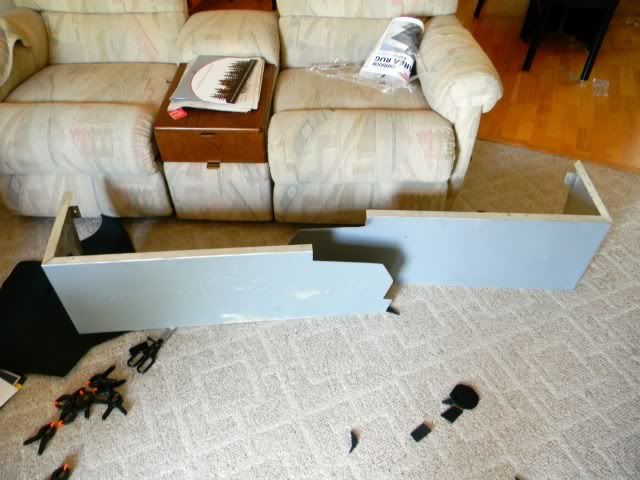
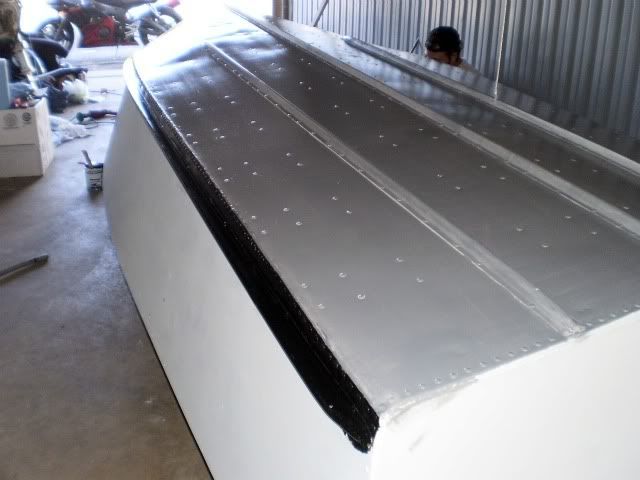
Here she is with the first full coats of paint. I started with the gray, and while that was drying went onto the black, then let it sit for the night, came back the next day, sanded and did it all over again.
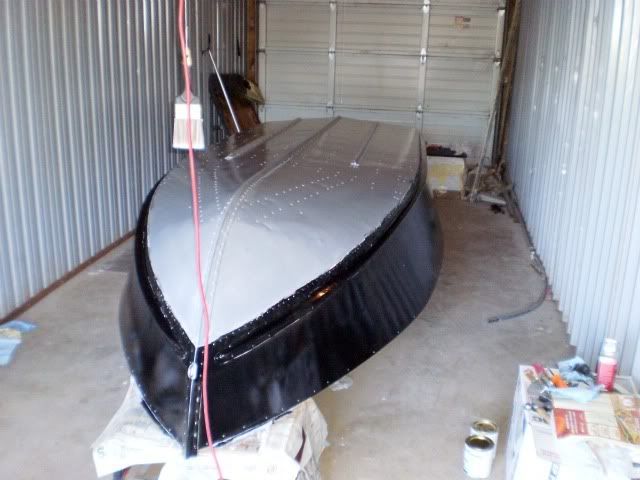
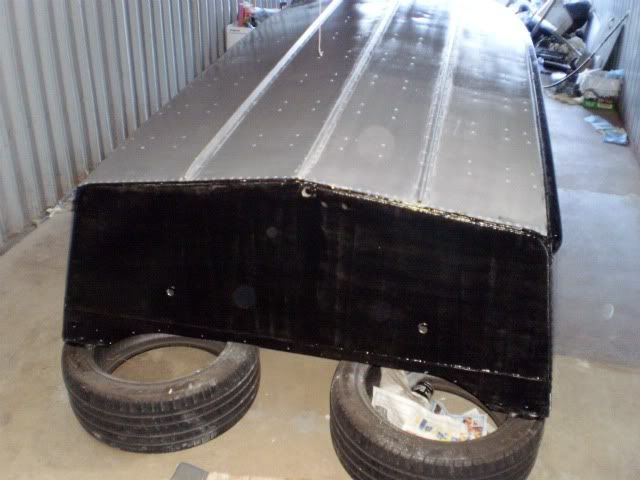
As you can see, the lines are not good, things overlap and mix, BUT, that will all get fixed. . . . . .
We simply MUST cover that repulsive greenish brownish...ish color...with white!
For now....
And then...
Color!
I worked on the main structure, while the "hired help" [you can see her trying to hide in various pictures] took care of the spray rails.
Here she is with the first full coats of paint. I started with the gray, and while that was drying went onto the black, then let it sit for the night, came back the next day, sanded and did it all over again.
As you can see, the lines are not good, things overlap and mix, BUT, that will all get fixed. . . . . .
")