Ok gang,
After lingering around here for a while, I decided it was time to post my rebuild... now, before I begin, I want to say, I started this 4 years ago, and new nothing about what I was doing... I have done some things wrong along the way, but, at this point, its too late to go back now...
That being said, feel free to chime in wherever you like, but try not to bash me too badly hehehe")
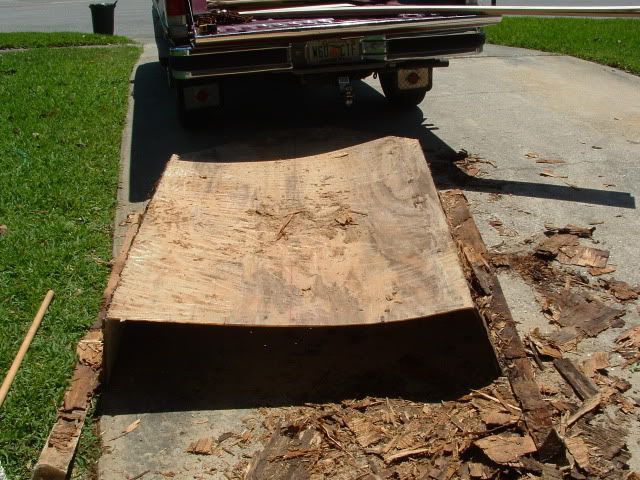
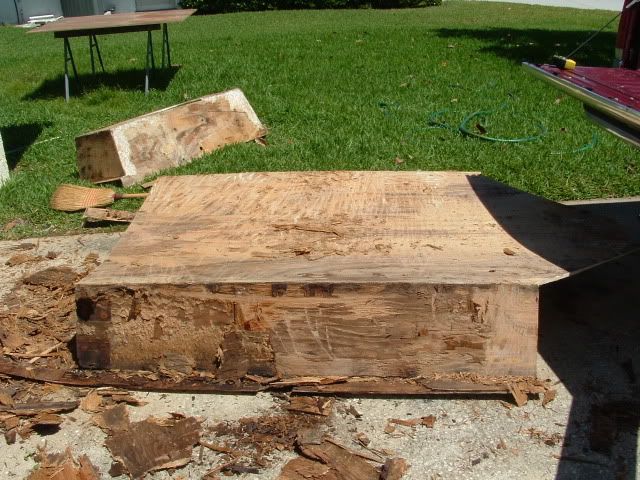
For some reason I can't seem to find a picture of the whole boat before I started, so You get to come in after most of the "yuck" had been cleaned out.
here goes:
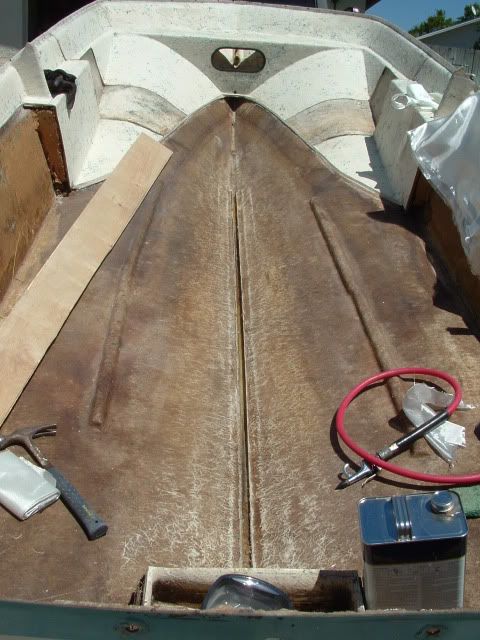
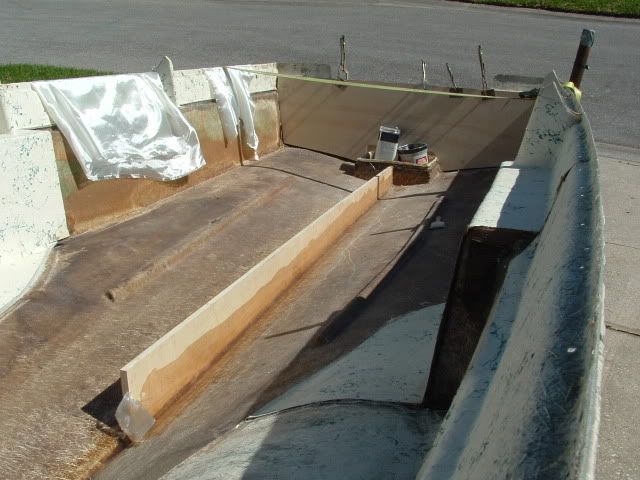
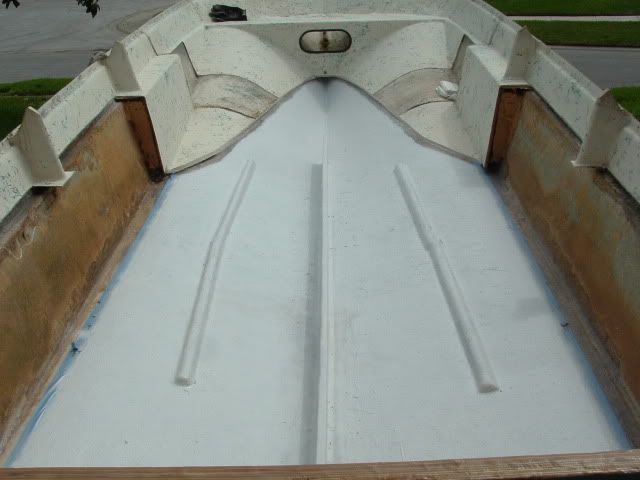
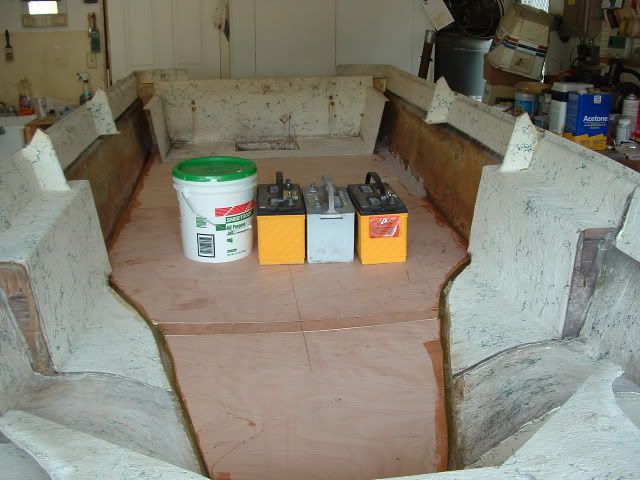
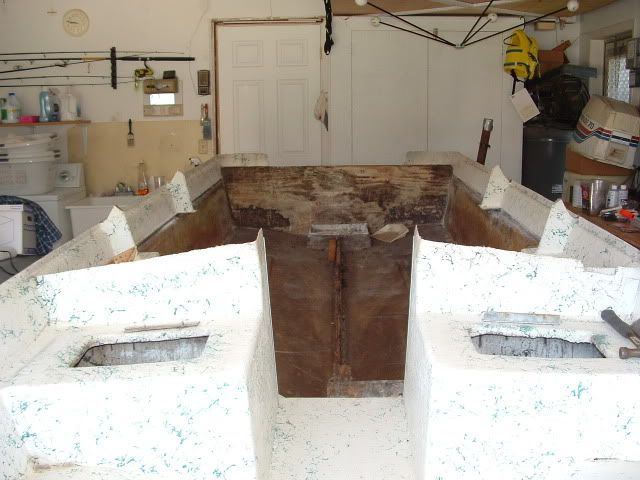
This is a picture from the bow of the boat looking aft towards the stern. Here you can see the old bowrider seat bottoms built into the boat (which had you bumping knees with the other guy, hated them).
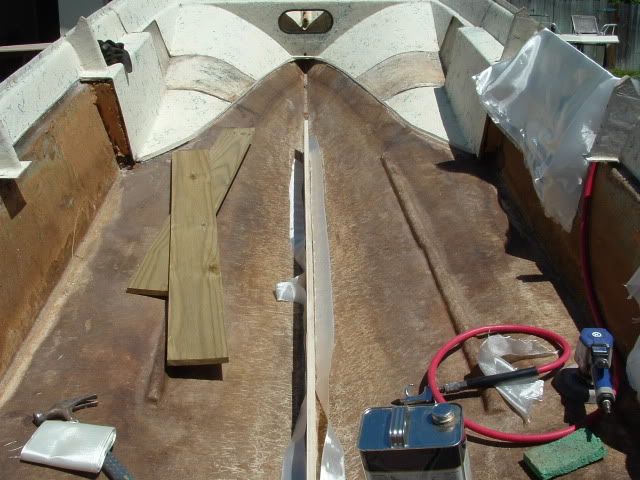
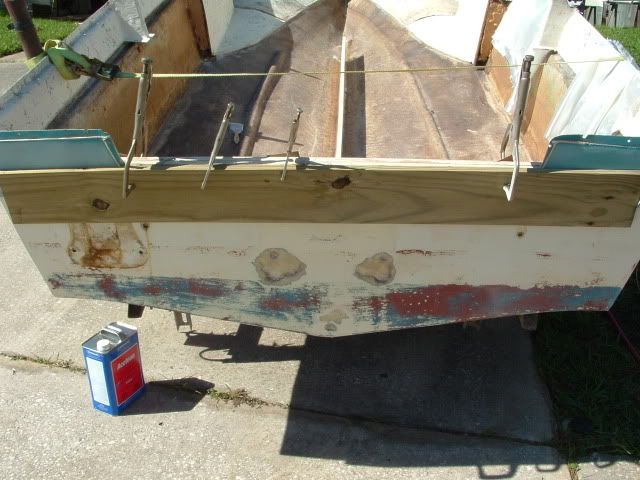
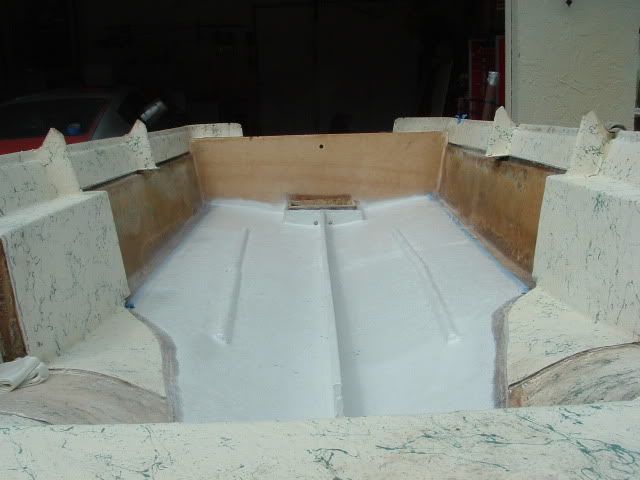
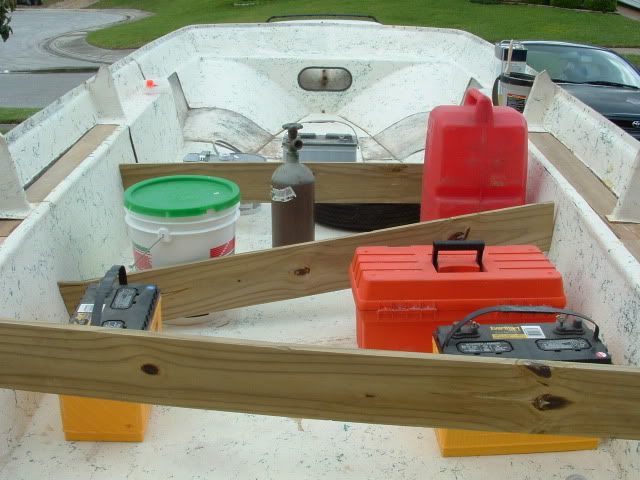
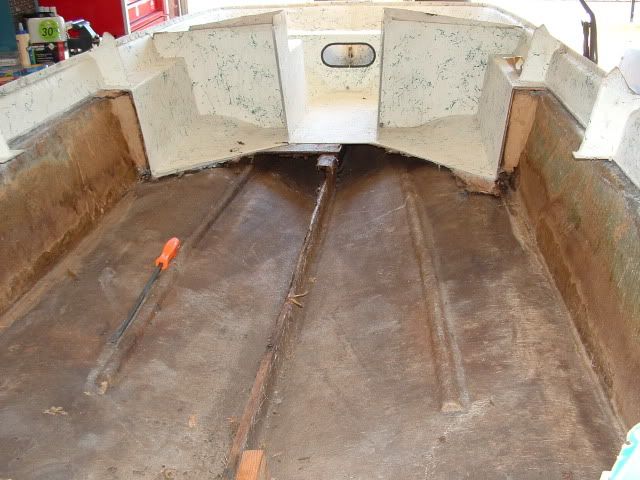
Aft view facing the bow for the removal:
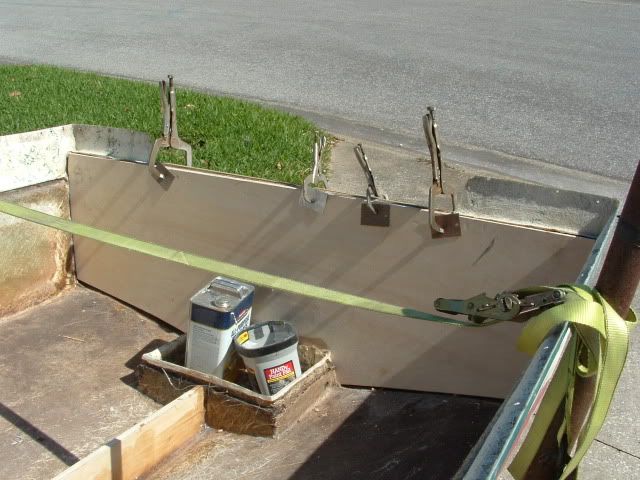
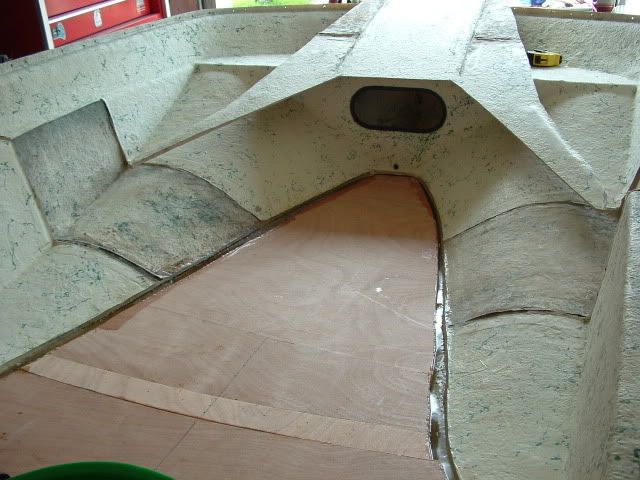
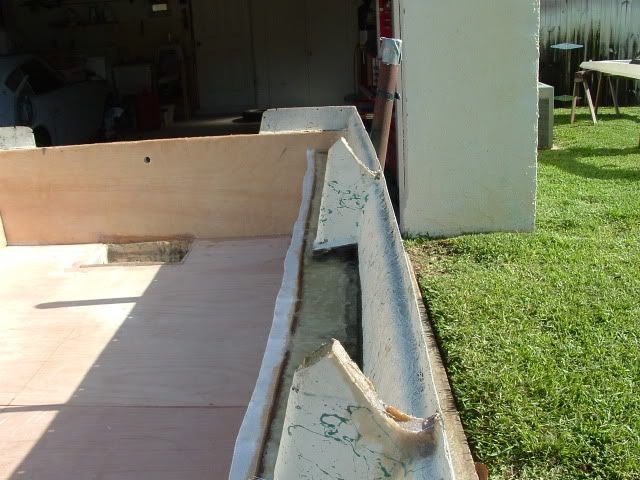
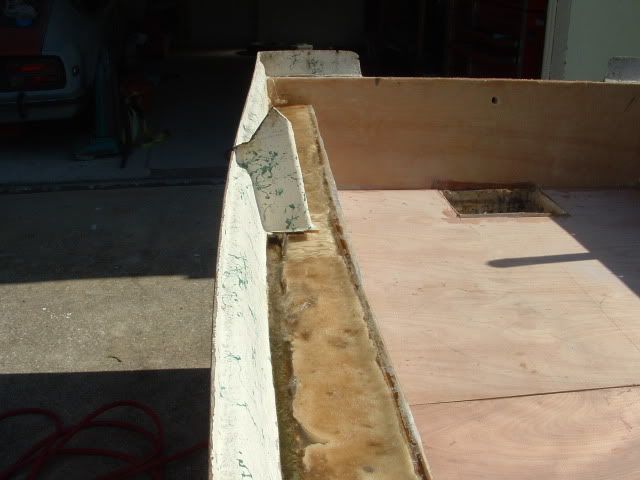
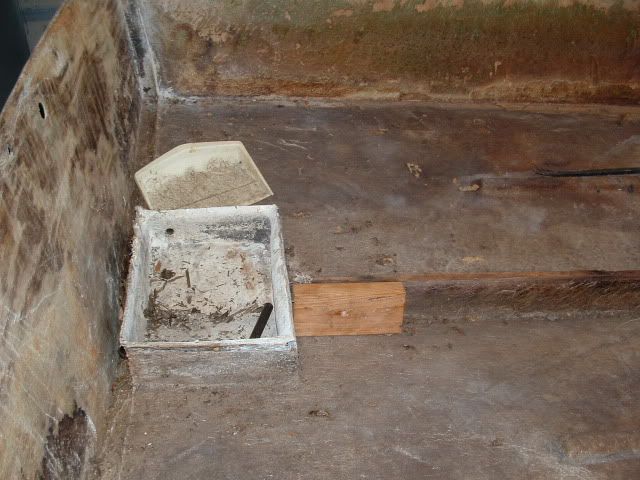
and finally my "giant" bilge for the boat which was a 12" x 12" box.
Some interesting things to note about the design on this particular boat...
1. It only had one stringer in it, that ran right along the keel, and that was only to support the deck. Also weird, was this stringer did not run all the way up to the bow.. it stopped about 2feet short of it.
2. There was NO FOAM in the boat under the deck at all... basically it was hollow, with two drain holes to let the water flow into that little bilge area. All of the foam in the boat is in the sides.
3. The drain holes for under the deck into the bilge were not at the lowest point. (You can see one in the picture, other one was directly opposite). I change the design, by filling these two holes, and made two new ones on either side of the main stringer down at the keel, this is the lowest point in the hull, and should no longer allow a couple inches of water to remain under the deck!
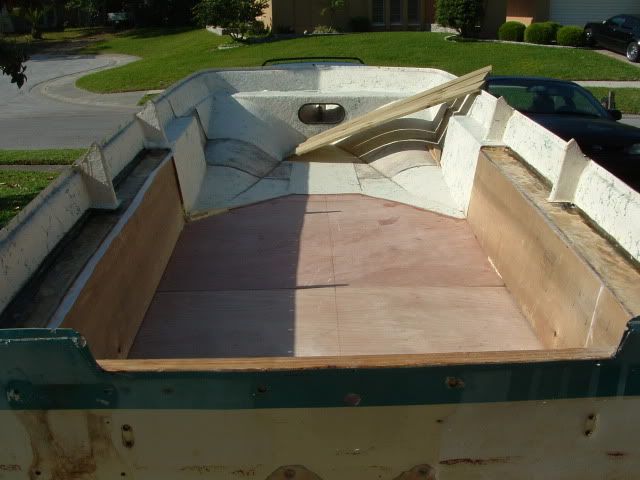
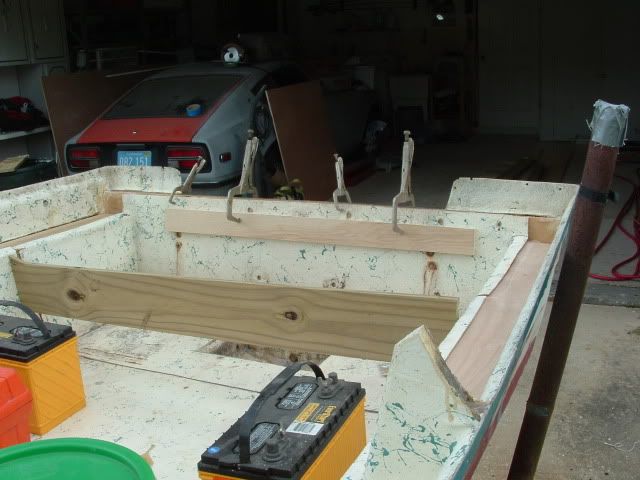
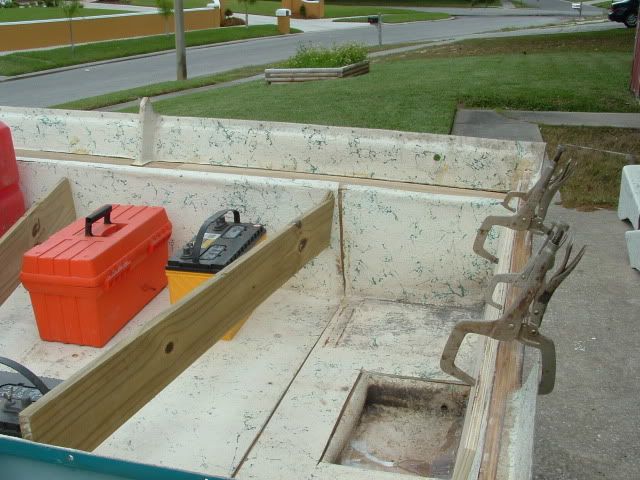
So basically where we start the journey is with me having removed the cap, cut the inner hull/deck out of the outer hull, removed the old water logged foam from the sides, and cleaned it all up inside.
After lingering around here for a while, I decided it was time to post my rebuild... now, before I begin, I want to say, I started this 4 years ago, and new nothing about what I was doing... I have done some things wrong along the way, but, at this point, its too late to go back now...
That being said, feel free to chime in wherever you like, but try not to bash me too badly hehehe
For some reason I can't seem to find a picture of the whole boat before I started, so You get to come in after most of the "yuck" had been cleaned out.
here goes:
This is a picture from the bow of the boat looking aft towards the stern. Here you can see the old bowrider seat bottoms built into the boat (which had you bumping knees with the other guy, hated them).
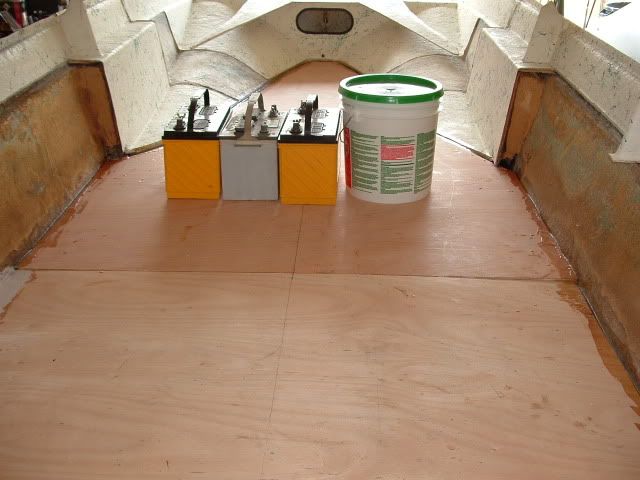
Aft view facing the bow for the removal:
and finally my "giant" bilge for the boat which was a 12" x 12" box.
Some interesting things to note about the design on this particular boat...
1. It only had one stringer in it, that ran right along the keel, and that was only to support the deck. Also weird, was this stringer did not run all the way up to the bow.. it stopped about 2feet short of it.
2. There was NO FOAM in the boat under the deck at all... basically it was hollow, with two drain holes to let the water flow into that little bilge area. All of the foam in the boat is in the sides.
3. The drain holes for under the deck into the bilge were not at the lowest point. (You can see one in the picture, other one was directly opposite). I change the design, by filling these two holes, and made two new ones on either side of the main stringer down at the keel, this is the lowest point in the hull, and should no longer allow a couple inches of water to remain under the deck!
So basically where we start the journey is with me having removed the cap, cut the inner hull/deck out of the outer hull, removed the old water logged foam from the sides, and cleaned it all up inside.