


wavebuster1
Seaman
- Joined
- Apr 19, 2011
- Messages
- 71
Re: my first time replacing a transom were to start
wow creative but thanks
wow creative but thanks


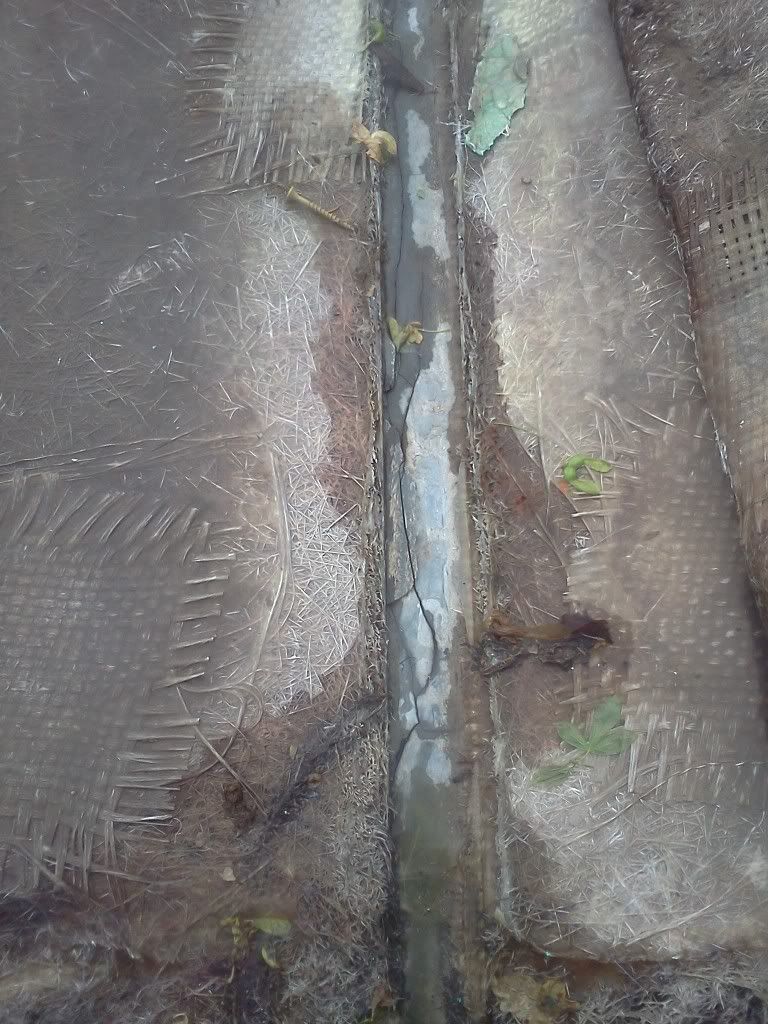
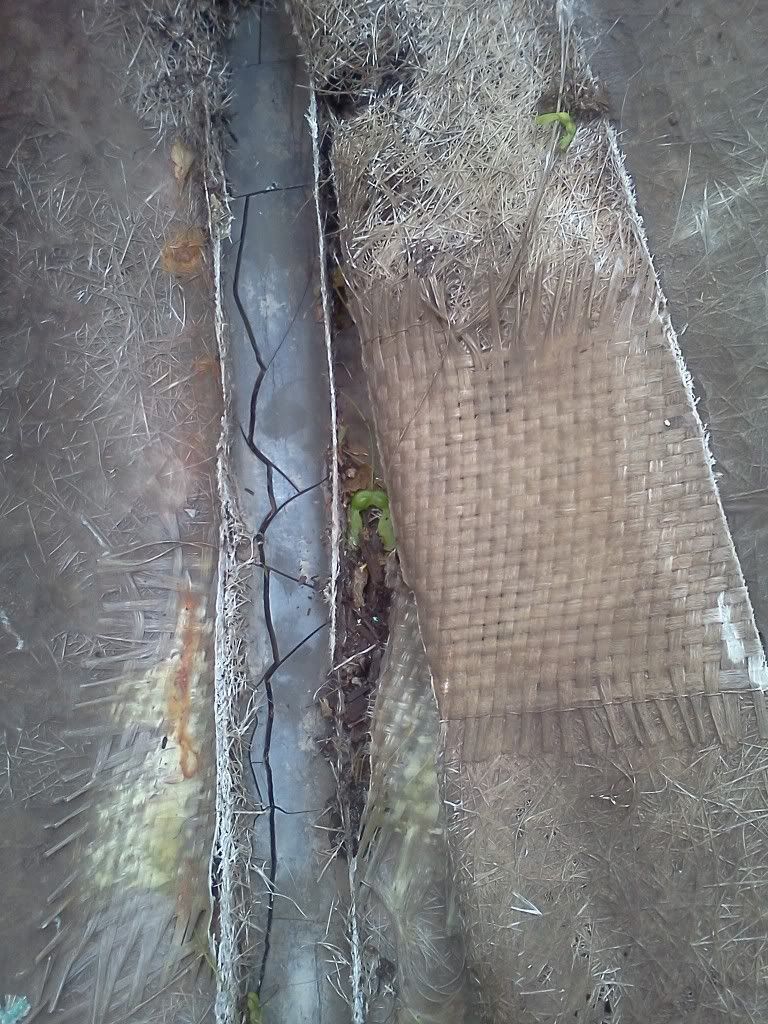

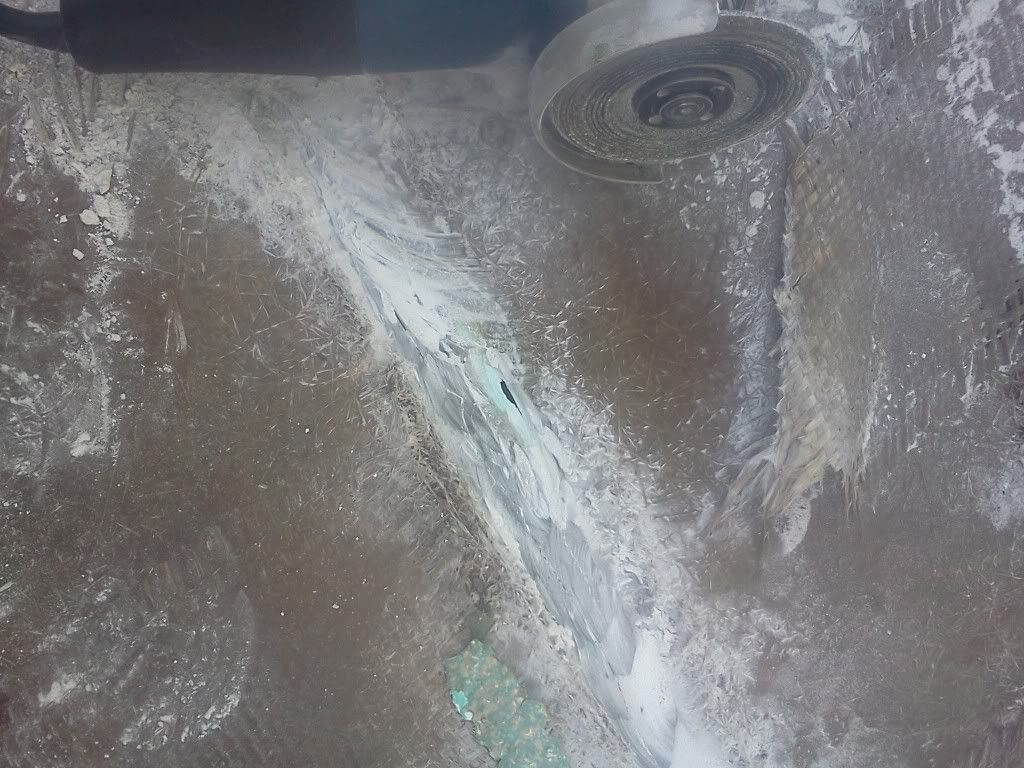


i hit i low spot in the bed and went strait thru the hull :facepalm: is this repairable and is there an easier way th remove the old bed
")