New member Richline Tin Restoration

Jigginglow

Petty Officer 2nd Class
Joined
Dec 27, 2014
Messages
106
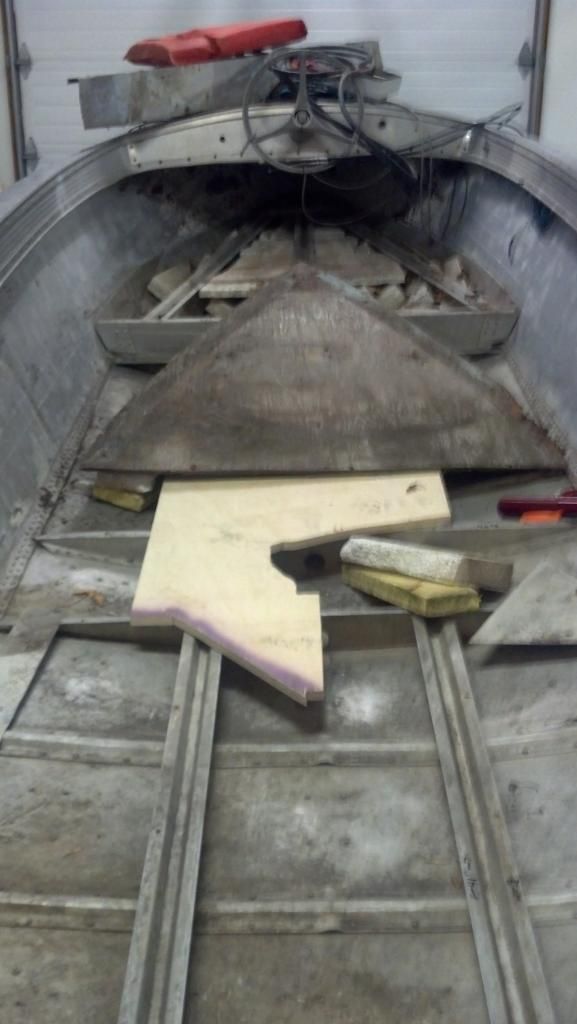
You probably checked this but make sure the clamps on your Lark open wide enough after you add thickness with csm. I have a 57 Evinrude 18 and the max my clamps will open is 2 inches or little less. You are likely fine just trying to save you some headache. Ask me how I know. 😜

Thank you for making me aware of this as I didn't pay it much attention. Strength in numbers.....I'll let you know if there is a concern!
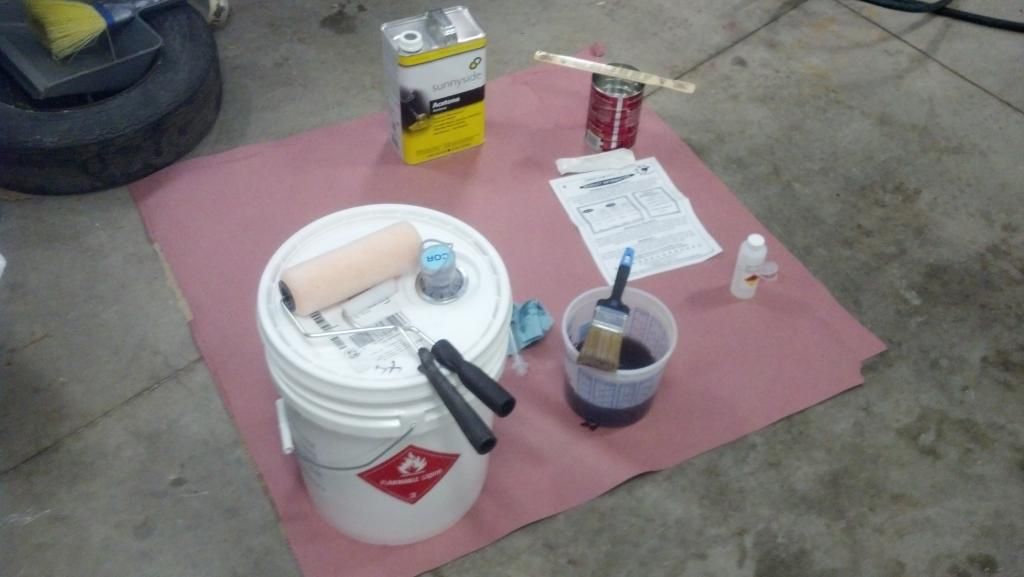
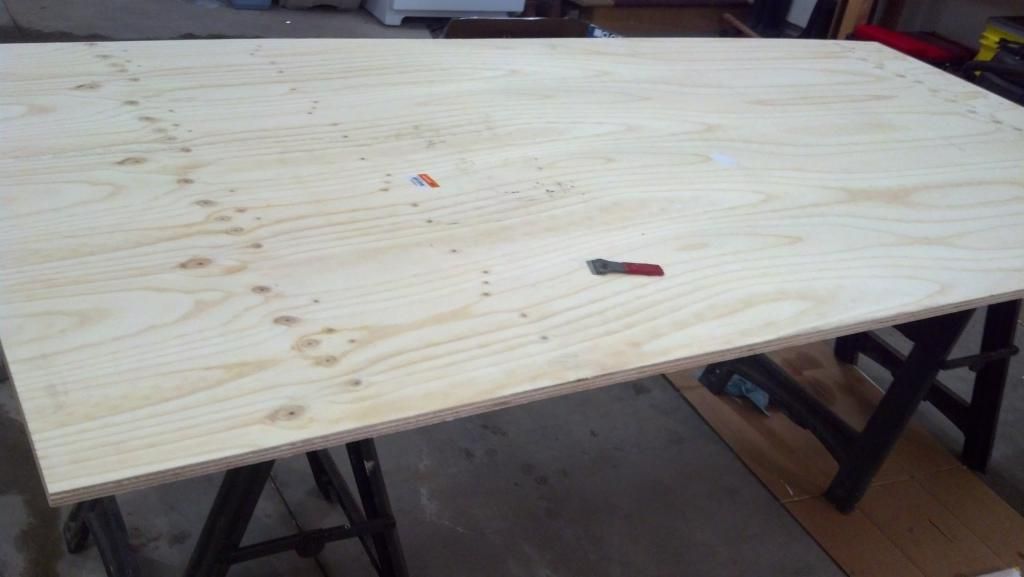
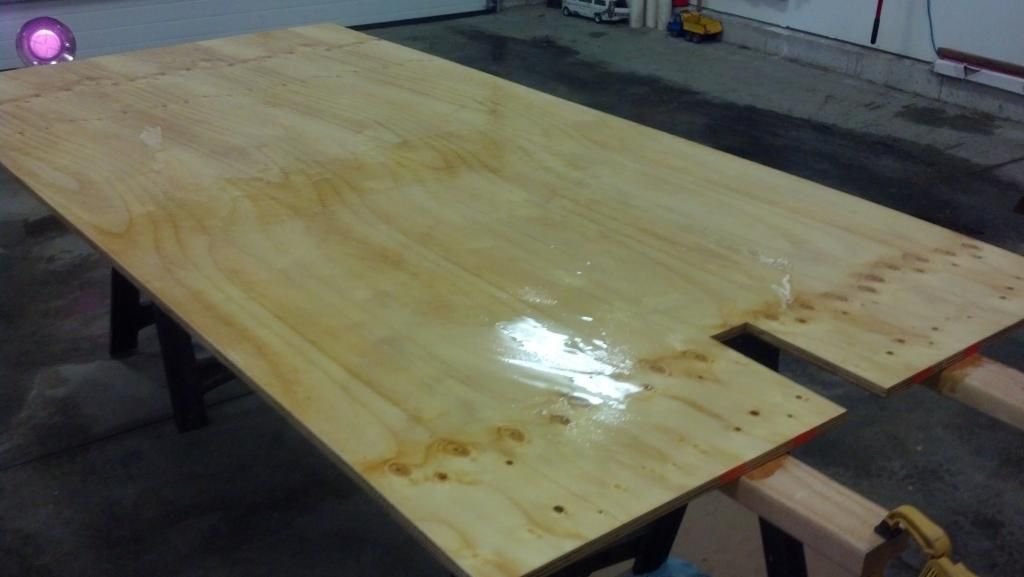
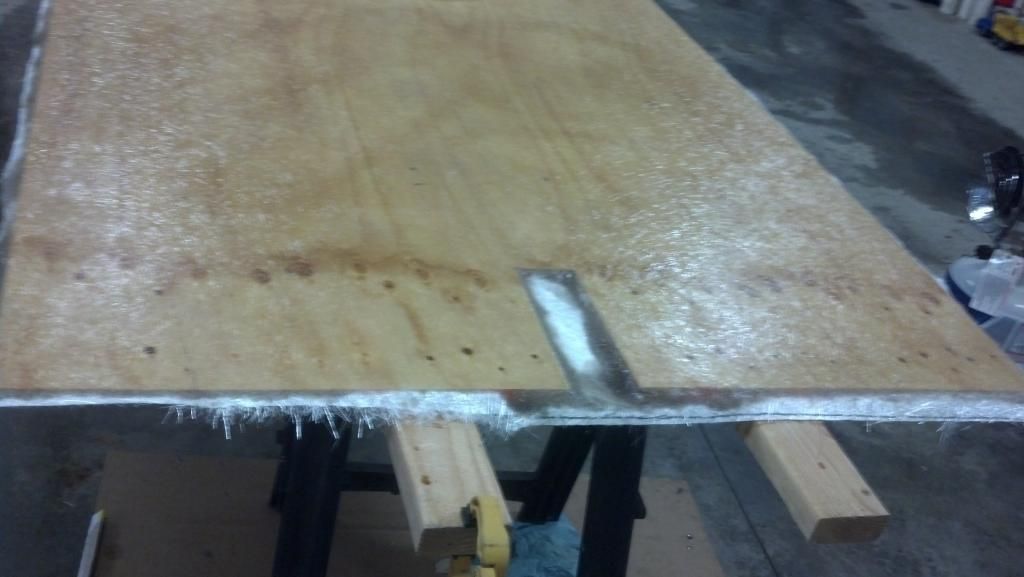
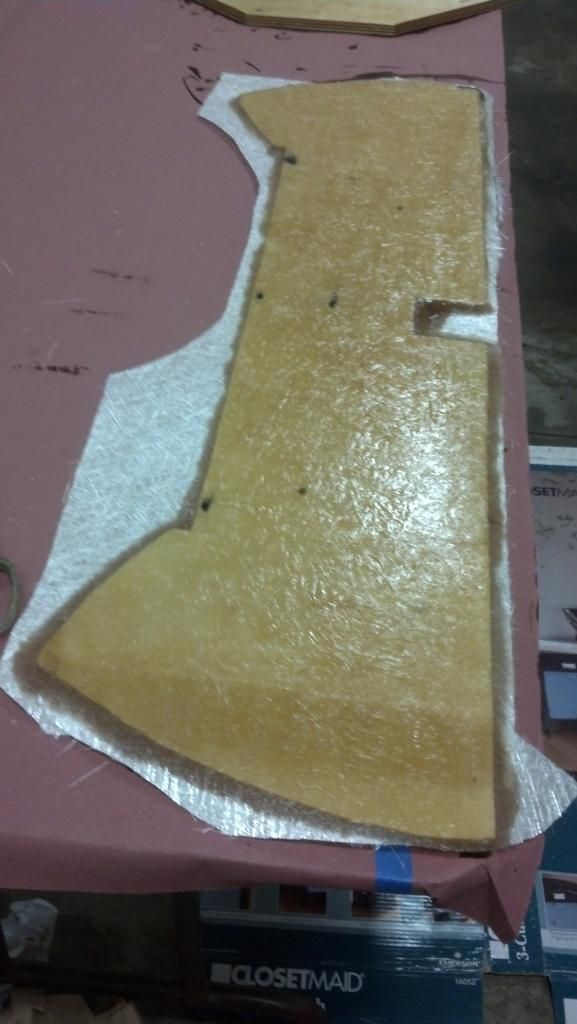
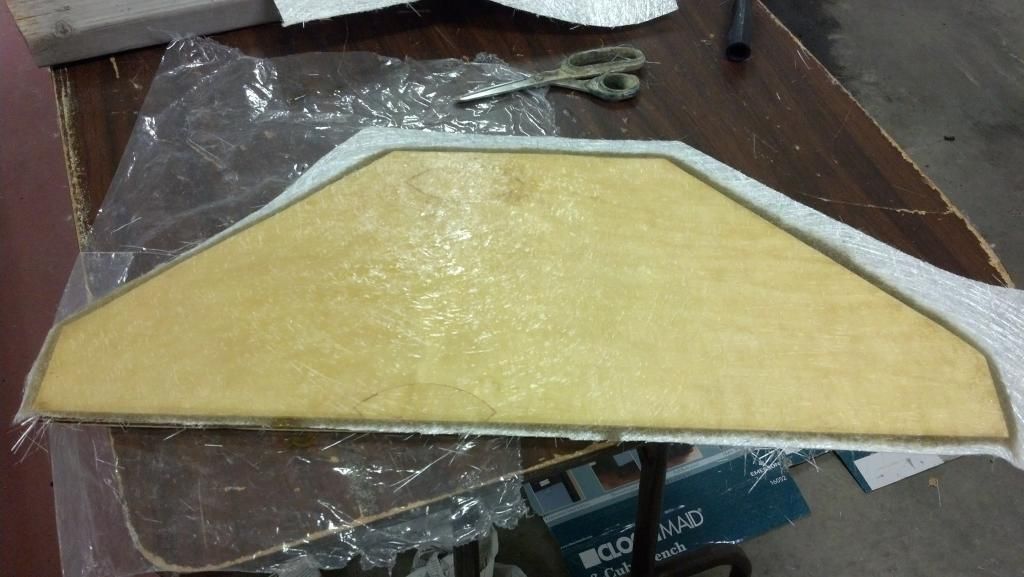
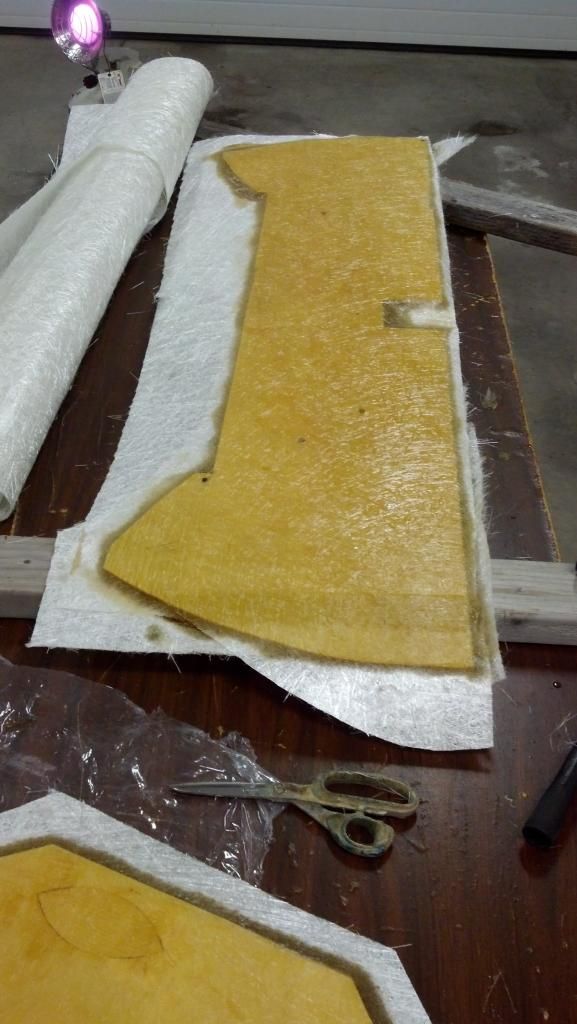
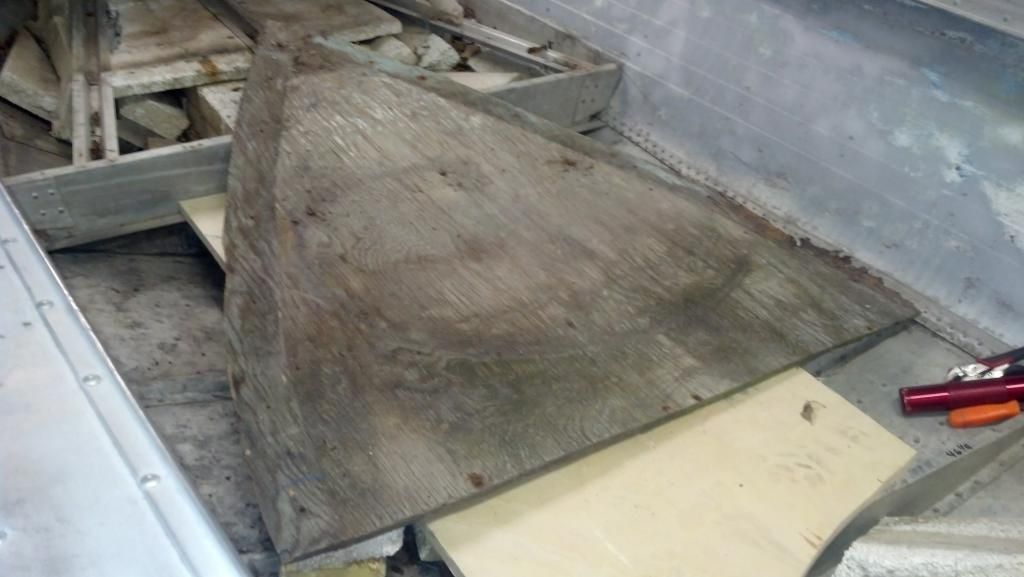
 

Jigginglow

Petty Officer 2nd Class
Joined
Dec 27, 2014
Messages
106
Supplies arrived so back to work.
image.jpg8.jpg
 

Jigginglow

Petty Officer 2nd Class
Joined
Dec 27, 2014
Messages
106
At the suggestion of some folks on the site I used Arauco ply exterior grade plywood, 3/4".
image.jpg2_5.jpg
 

Jigginglow

Petty Officer 2nd Class
Joined
Dec 27, 2014
Messages
106
I pre-sanded it with 120 grit prior to wetting it down before I laid my glass. Wondered if I should use something coarser but that was the best I had on hand. This is the bottom of the deck by the way. I'll only lay one layer of 1 1/2oz CSM down on the bottom.
image.jpg9.jpg
 

Jigginglow

Petty Officer 2nd Class
Joined
Dec 27, 2014
Messages
106
CSM pre-cut and ready to go. Man does that stuff fall apart easily and make a big mess.
image.jpg1_5.jpg
 

Jigginglow

Petty Officer 2nd Class
Joined
Dec 27, 2014
Messages
106
I mixed up two quarts of resin with 1% MEKP. This turned out to be way too much for the pre-wetting of a 4x8 sheet. How long would you predict it to take before it starts getting tacky. I had the temp at about 74. Anyways after about a half hour I grew tired of waiting and laid the glass down . Any harm in going too soon?
image.jpg5.jpg
 

Jigginglow

Petty Officer 2nd Class
Joined
Dec 27, 2014
Messages
106
The resin really stinks , the wife is not too fond of me right now. This is my first experience with this. I found that using a brush and just 'patting' the resin into the glass was most effective. They sent me a bunch of rollers with the resin but I thought that would separate the weave in the glass too much. What do you all find too be most effective? The last step was using the grooved roller to push out any air; this seemed to work well and I'm pretty happy with my first try at this. It took me an hour to do this step. That was a long time I thought. I mixed this resin a little hotter at 2%.

image.jpg4_1.jpg
 
Last edited:

Jigginglow

Petty Officer 2nd Class
Joined
Dec 27, 2014
Messages
106
I'll let this set up and move on to the transom next. I hope it's not a mistake bit I chose to glass the whole sheet. As it turns out I'm going to have to use the jigsaw and trim a little off this sheet as the boat tapers narrower slightly from back to front. I hope this doesn't wreak havoc with my work but I didn't want to start trimming when I had the shop up to temperature and I was very anxious to make some progress with the laminating.
image.jpg3_3.jpg
 

Woodonglass

Supreme Mariner
Joined
Dec 29, 2009
Messages
25,929
If you use a 6" short Nap roller and pour resin onto to surface first and then roll it out you won't lift the CSM strands as long as you don't OVER roll it. Makes things go a LOT faster.
 

Mikeopsycho

Senior Chief Petty Officer
Joined
Feb 6, 2014
Messages
738
Nice plywood! Looking good! I wonder if 1% MEKP was a bit too little catalyst? Maybe 1 1/2% would work better? At that temp I think it should have tacked up nicely. What do I know, I'm new at this too. :) I think it would have been easier to pre-cut and dry fit your plywood before glassing, but it should work out fine, as long as you seal the cut edges well prior to installing.

Like WOG said, I find the rollers work well. I used the 4" mini short nap rollers more than any other tool for glassing.
 

Jigginglow

Petty Officer 2nd Class
Joined
Dec 27, 2014
Messages
106
I used the roller method today and that made things go a lot better and quicker. I got spooked before, I think, because I didn't wet it down underneath well enough before I laid the glass and it seemed like I was pushing the strands around too much. I wet it down good today and poured plenty of resin on the Mat before I started rolling. Thanks for the help on this project guys. I can understand why folks start and give up out of frustration but I'm motivated to charge ahead. I think I found my paint scheme.

image.jpg1_7.jpg
 

Jigginglow

Petty Officer 2nd Class
Joined
Dec 27, 2014
Messages
106
Today's progress.....got the garage heated up to 75 and it's about -20F below zero amazingly enough.
image.jpg1_8.jpg

image.jpg3_4.jpg

image.jpg2_7.jpg
 

clemsparks

Petty Officer 3rd Class
Joined
Oct 14, 2008
Messages
85
Very cool project!

I just started a thread for the Rich Line that I acquired recently and found your thread. Good stuff! I'll be following along.
 

Jigginglow

Petty Officer 2nd Class
Joined
Dec 27, 2014
Messages
106
A buddy picked up this Hog greenback on the ice for some further motivation!!!!
image.jpg1_9.jpg
 

Jigginglow

Petty Officer 2nd Class
Joined
Dec 27, 2014
Messages
106
The front deck was well protected so I have a template to use for once!

image.jpg6_1.jpg


image.jpg7_1.jpg
 

Jigginglow

Petty Officer 2nd Class
Joined
Dec 27, 2014
Messages
106
I have a concern with my CSM application. After it cured I used a jigsaw to trim off the overhang. It appears as though the glass fractured a little bit due to the fast speed of the jigsaw and 'catching' on the glass and didn't stay bonded at the edge (lifted a little bit it seems). Should I have used a grinder right out of the gate? I was short on time and just wanted to return to it later with the grinder regrettably.
image.jpg3_5.jpg

image.jpg2_8.jpg
 
Last edited:
Top