New User Introduction.

1959Cherokee

Seaman
Joined
Dec 27, 2011
Messages
64
Hello everyone, Danny from North Texas here.
I have been a long time lurker around this site and felt it time to introduce myself.
Let me start by saying I am impressed with the wealth of collective knowledge on this forum.
I have read through many of the FAQ's and top secret files and they have got me out of more than one bind.
So onto the boat!!

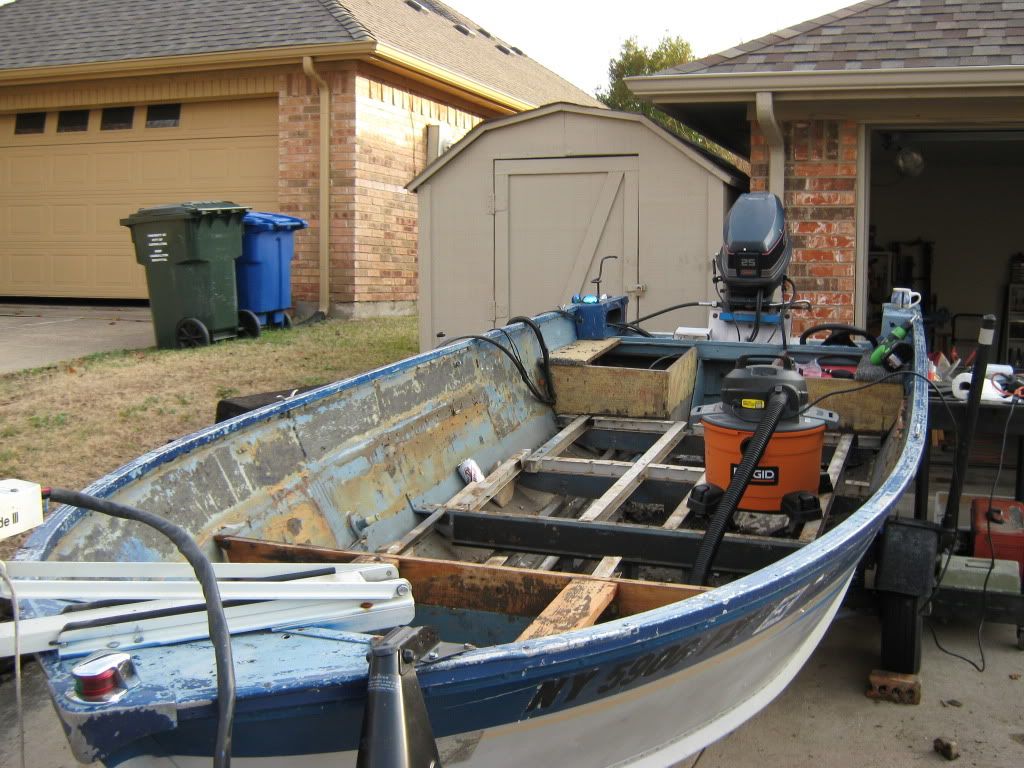
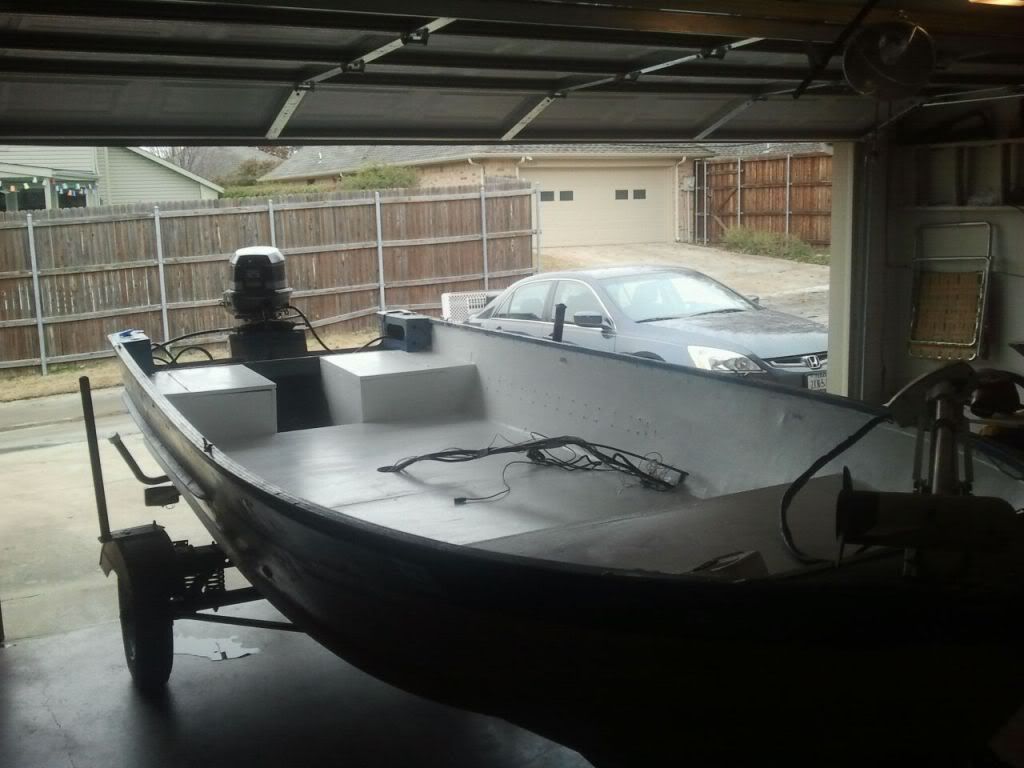
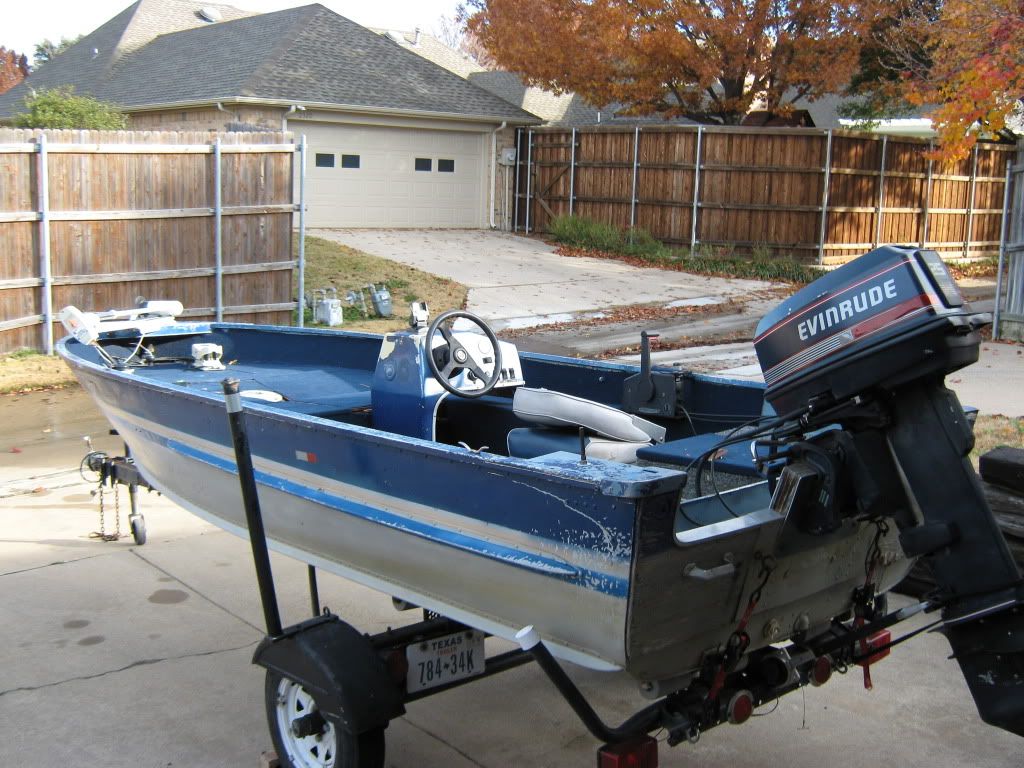
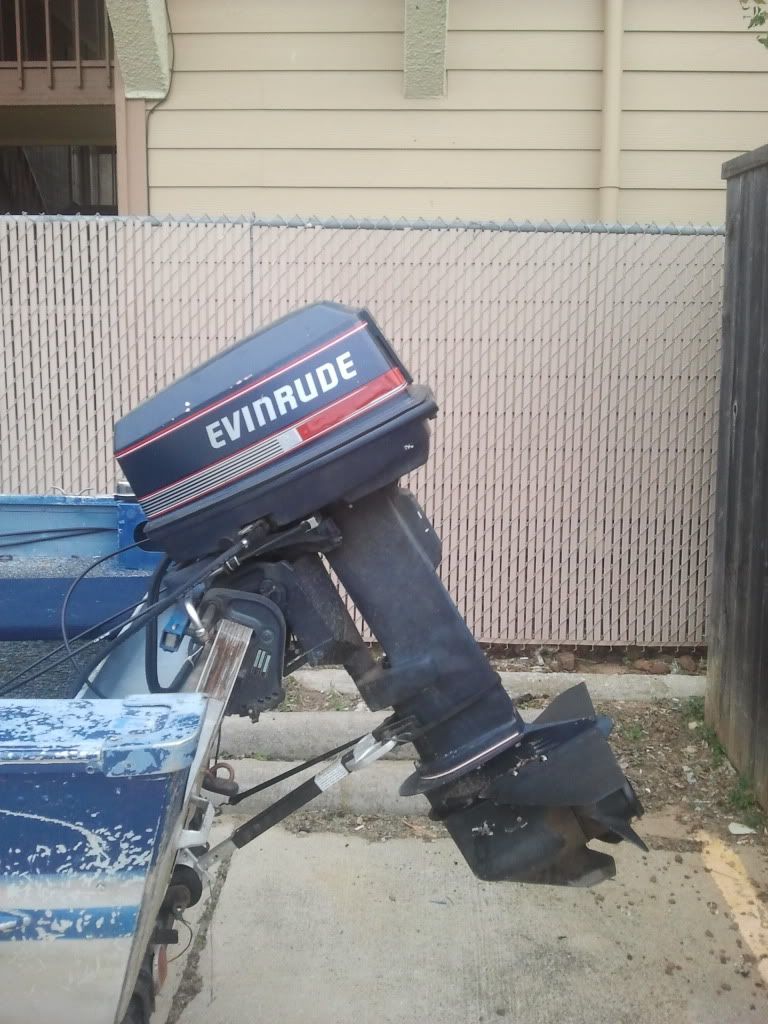
She is a 1959 15' Cherokee Aluminum V-Hull with a 1990 Evinrude 25.
I bought her from the maintenance guy at my apartment complex for 600 dollars.
2011-11-07081113.jpg


The motor is in good condition, starts easily and has 105 psi compression on both cylinders.
The trailer is also good to go.
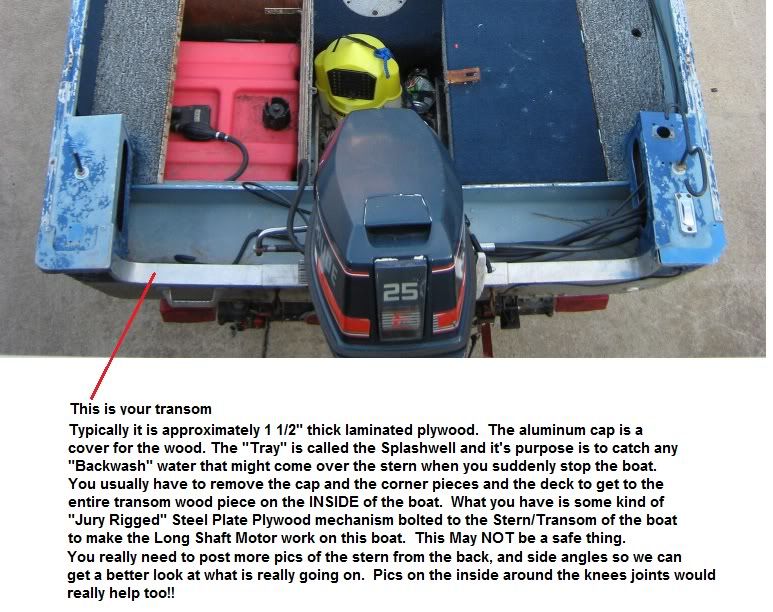
The boat's paint, interior and transom are not so good to go.

I should mention at least at this point I do not mean to restore this boat to immaculate condition.
I am fully aware of how I get with projects and sometimes things do get out of hand but would just like to make her into a capable, reliable and functional fishing boat.
That being said the exterior will certainly need some work.
I have read the FAQ regarding painting aluminum boats and once the interior work and transom is taken care of thats next.

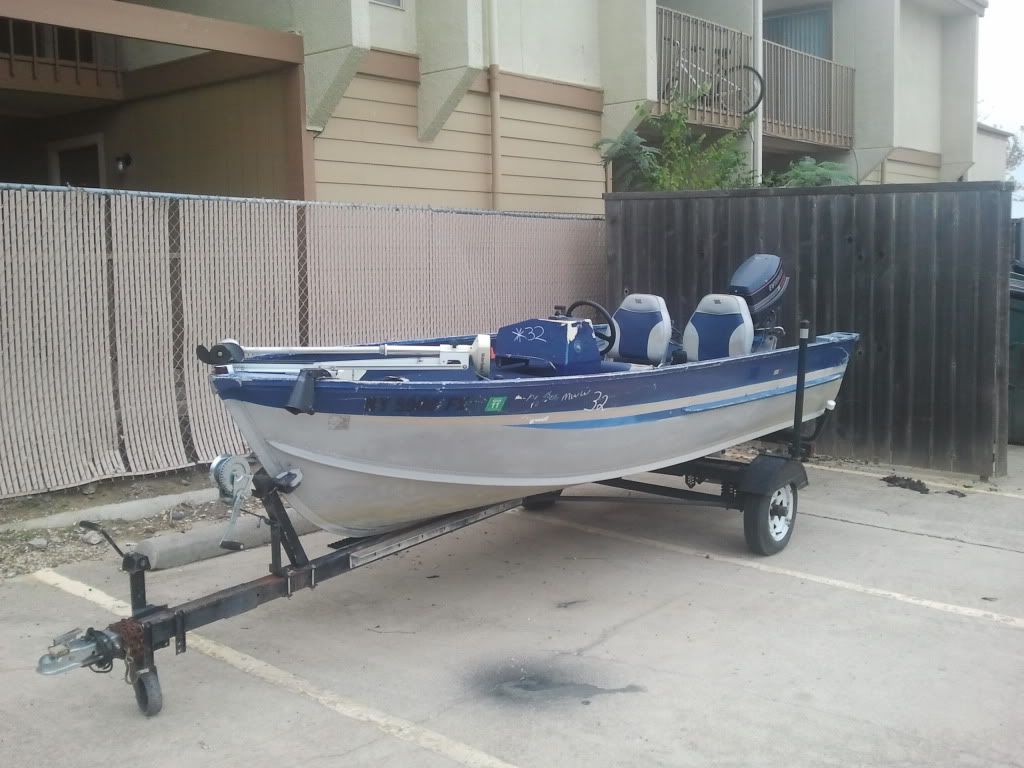
Here are a few more pics.
2011-11-07081148.jpg


2011-11-07081133.jpg


2011-11-12092211.jpg


2011-11-12112512.jpg


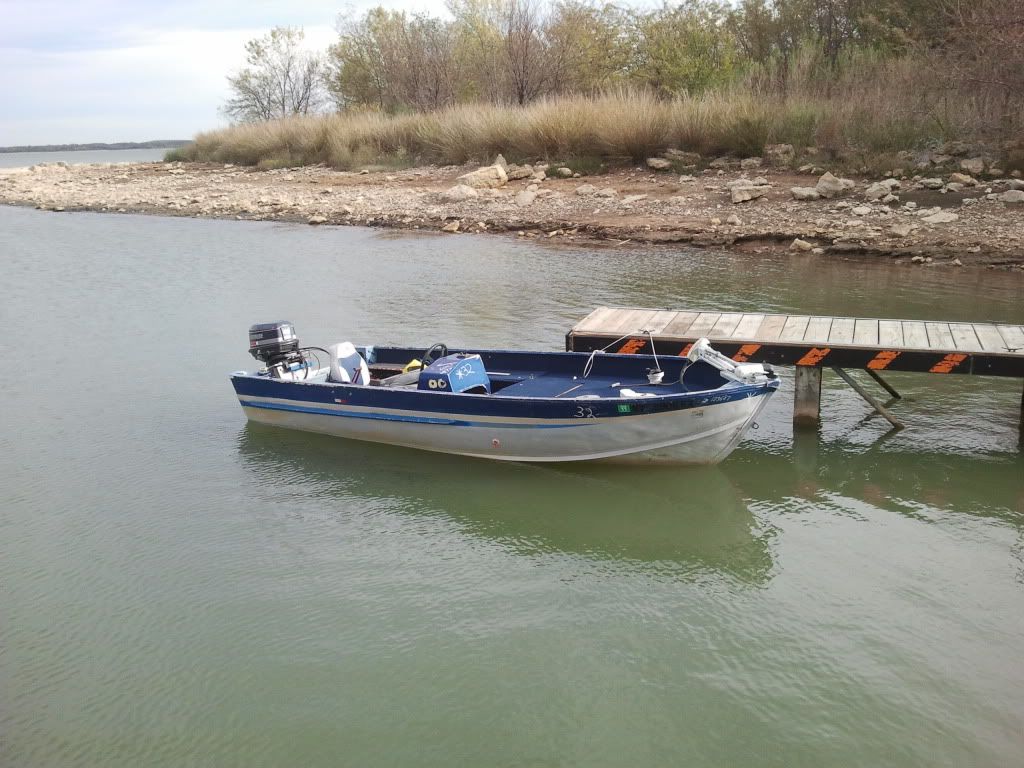
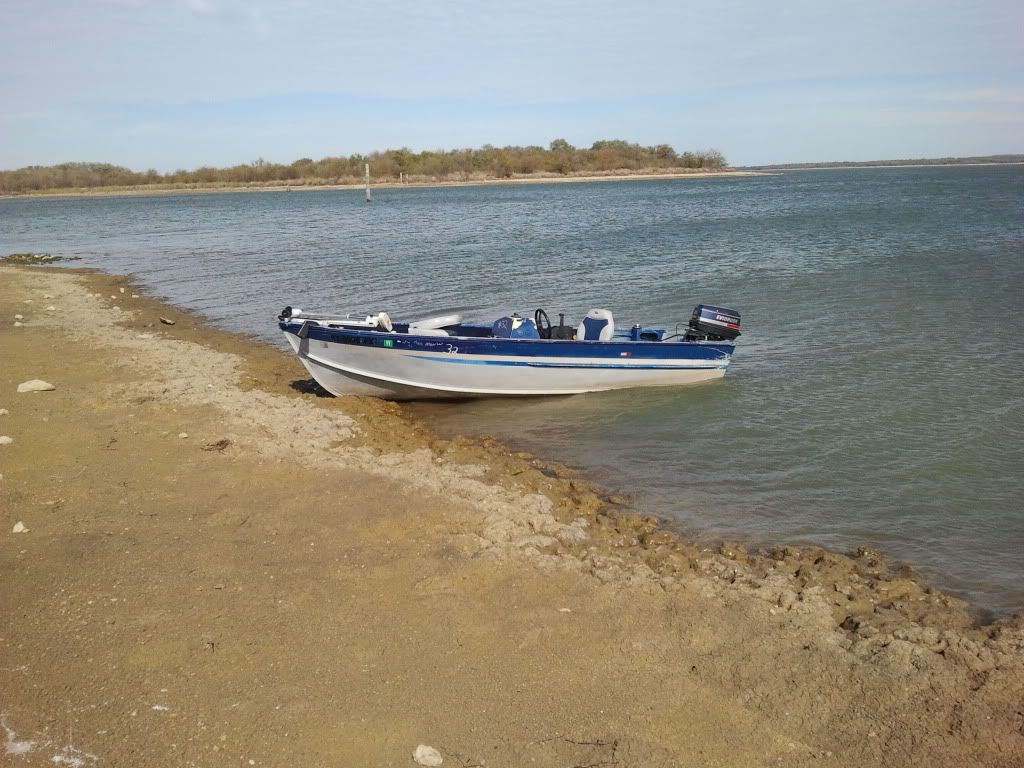
*Note* I did not put the "32" on there lol. I think the previous owner got it from an auction and they did that.

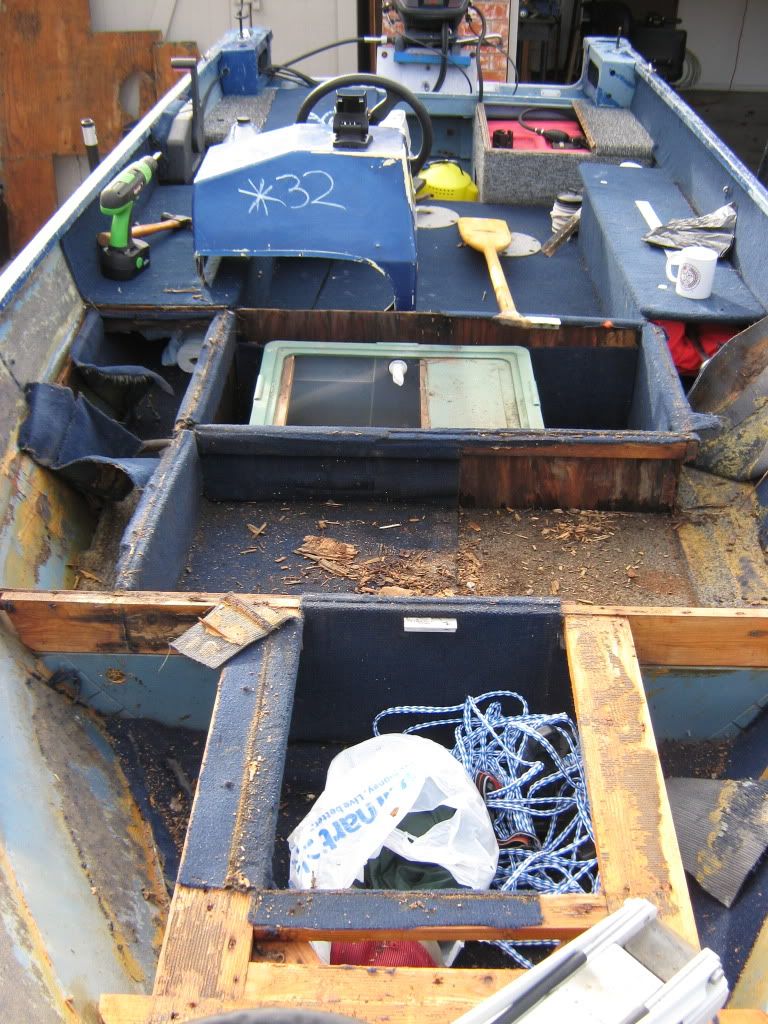
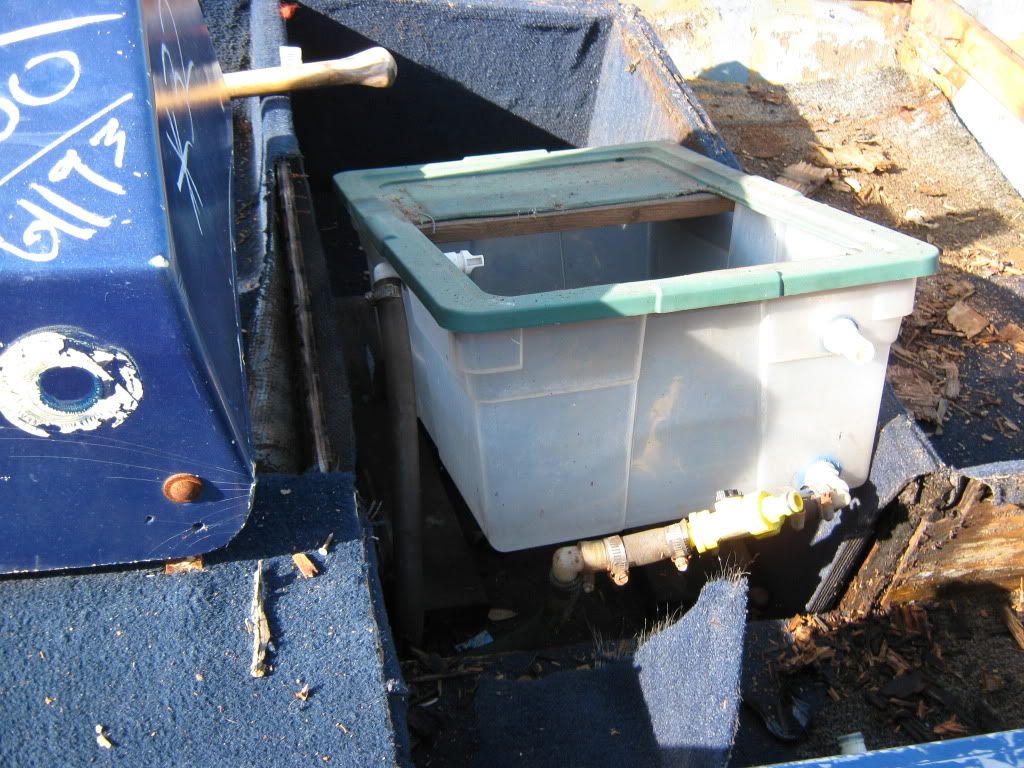
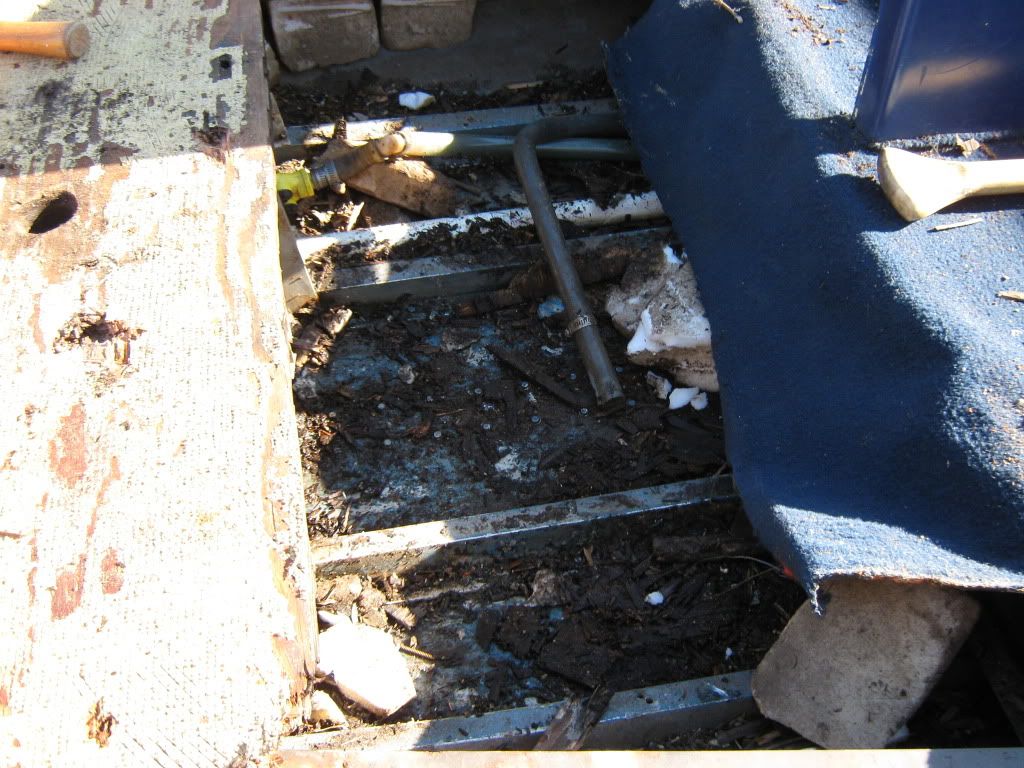
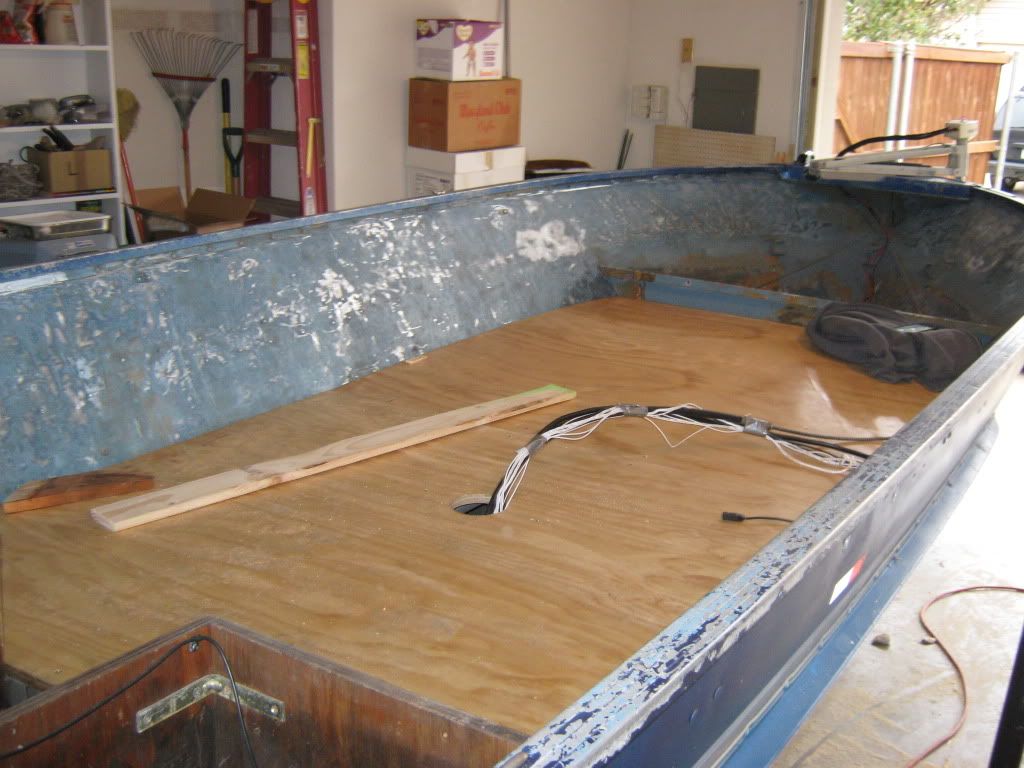
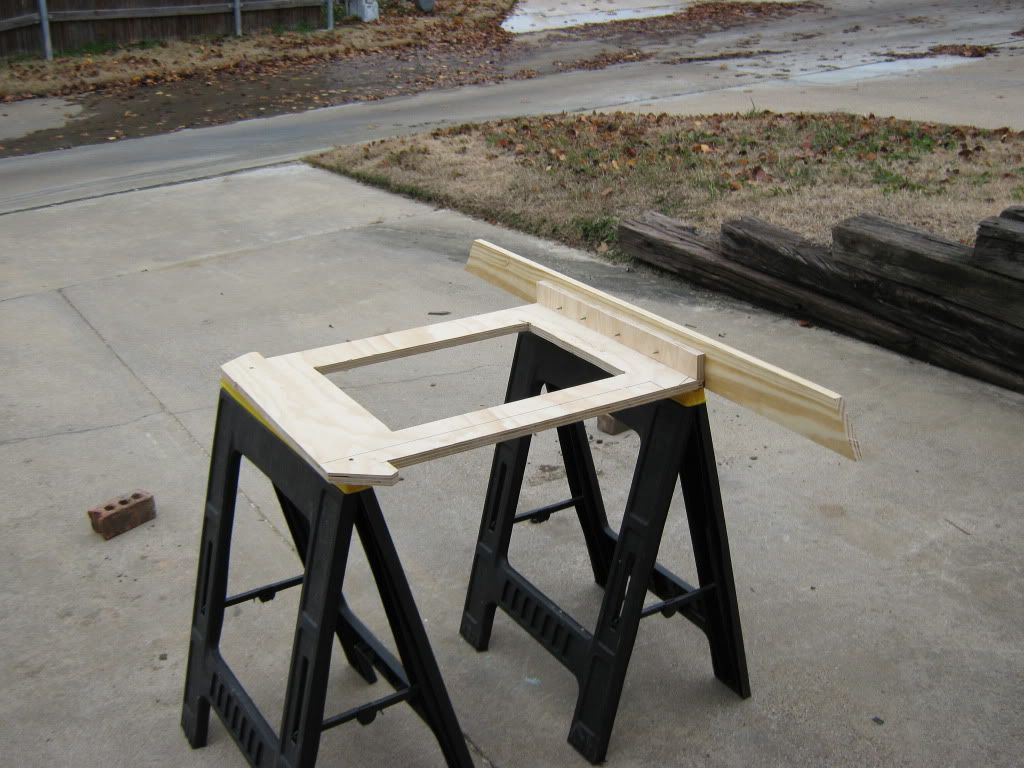
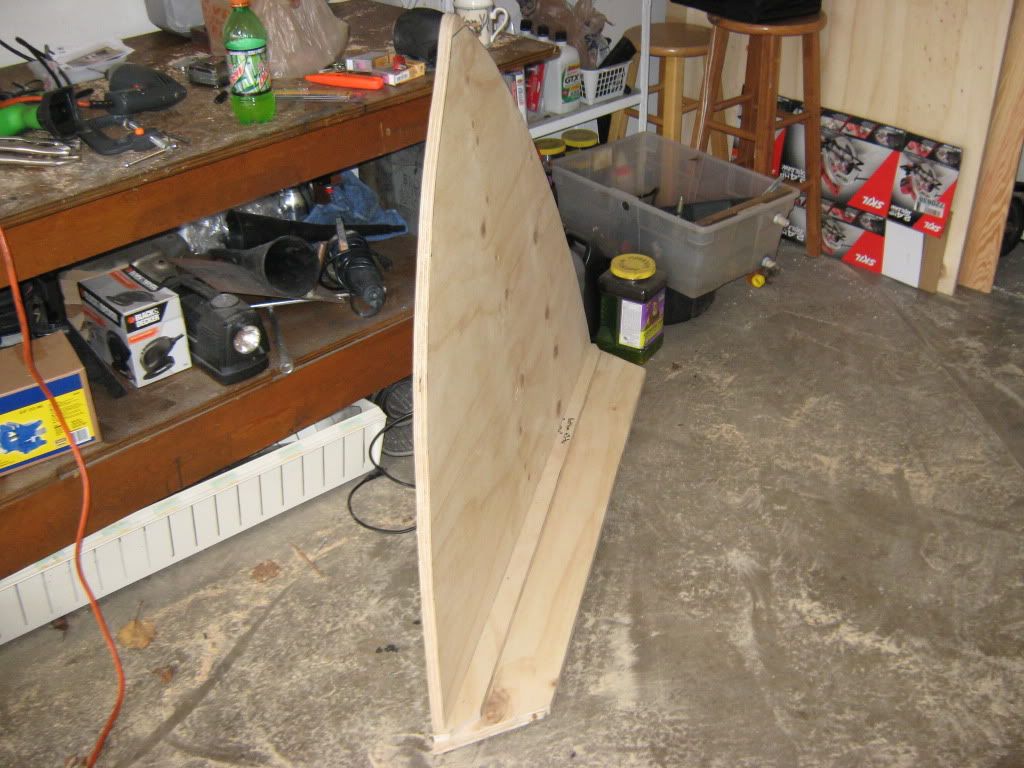
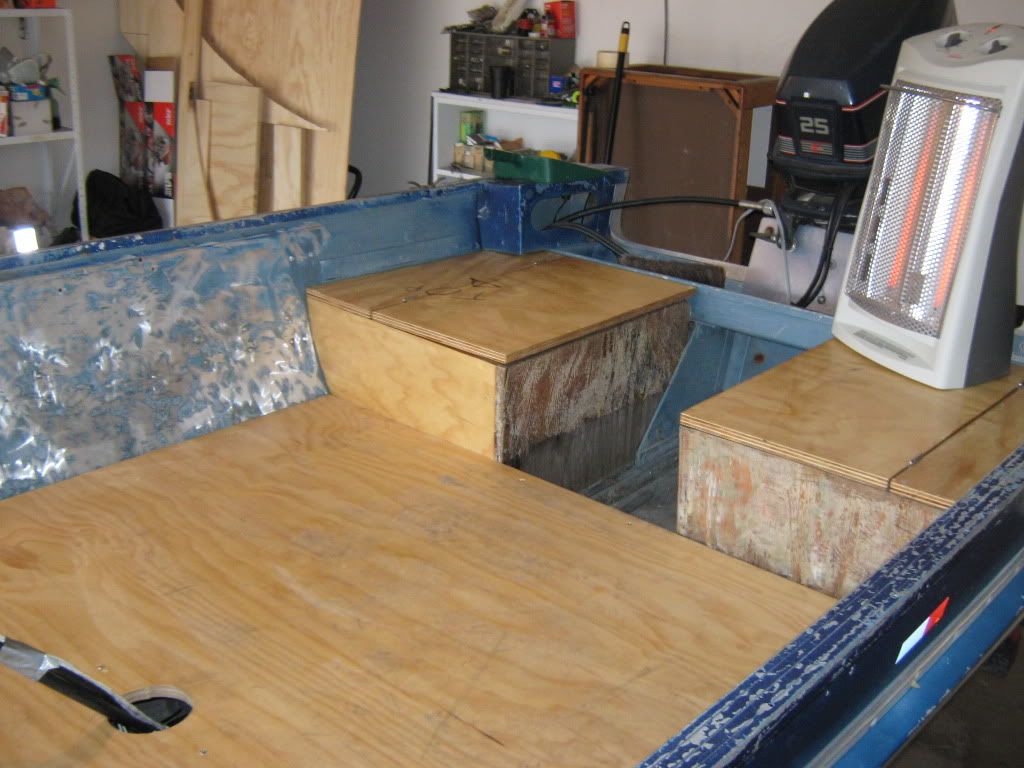
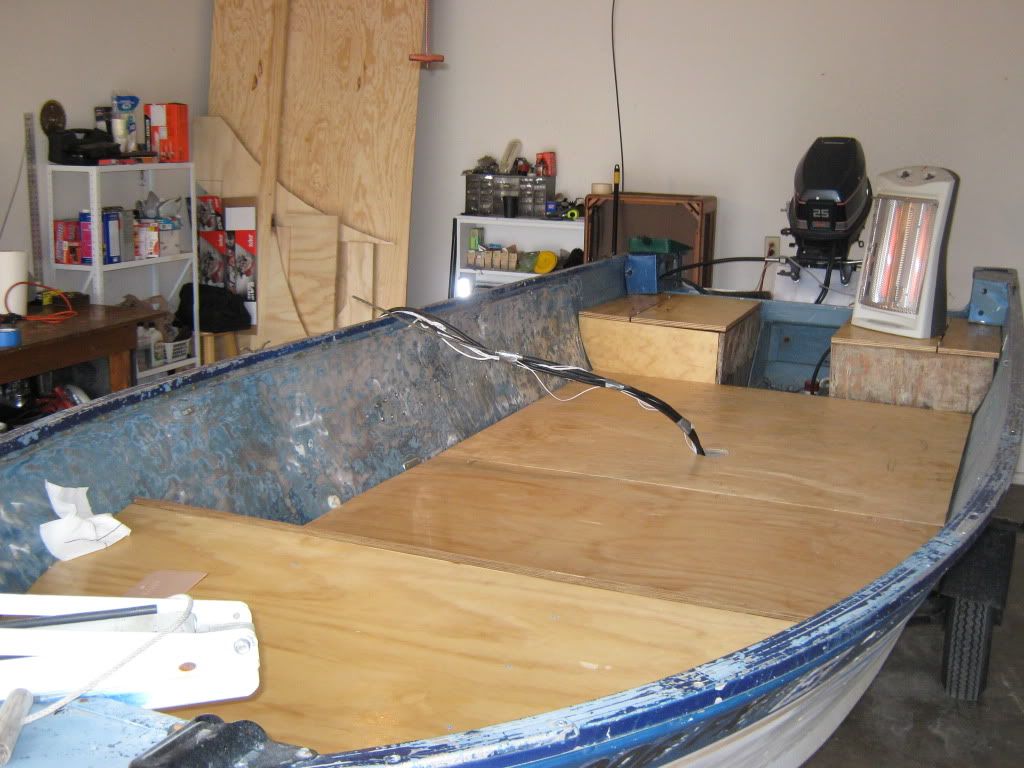
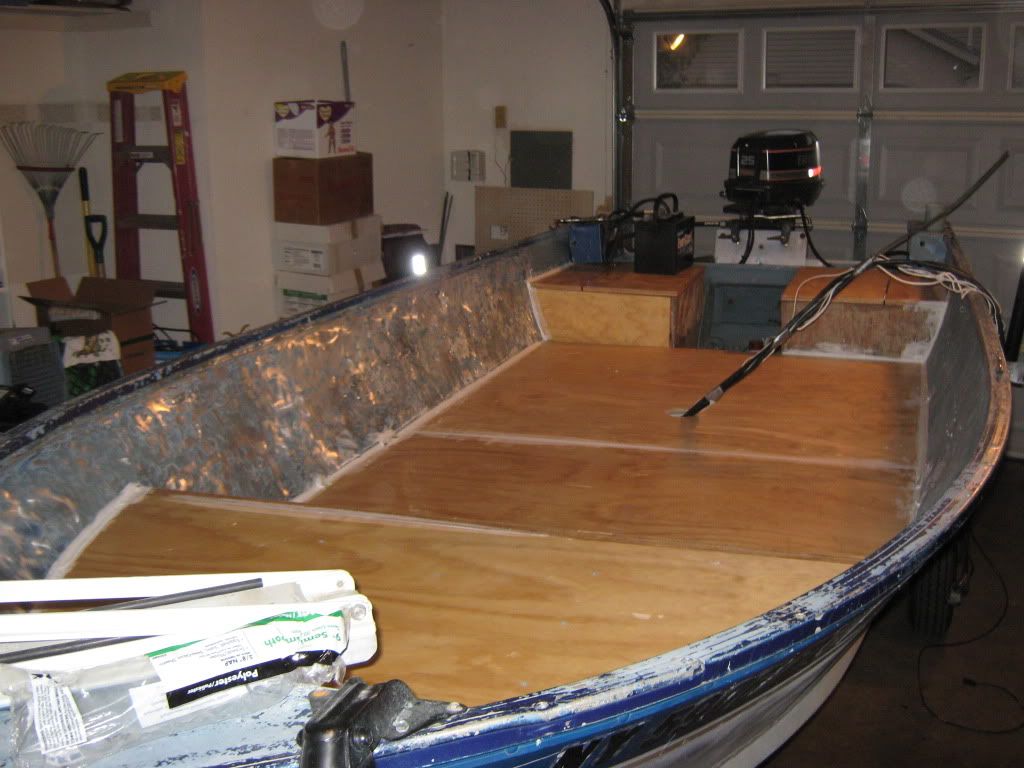
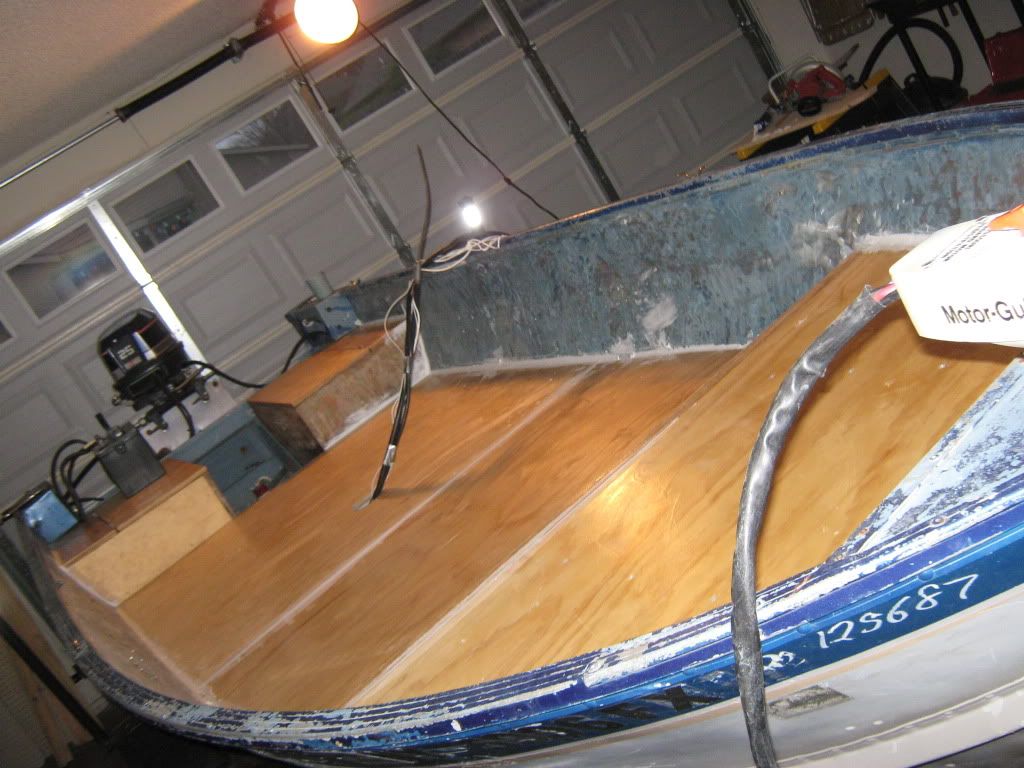
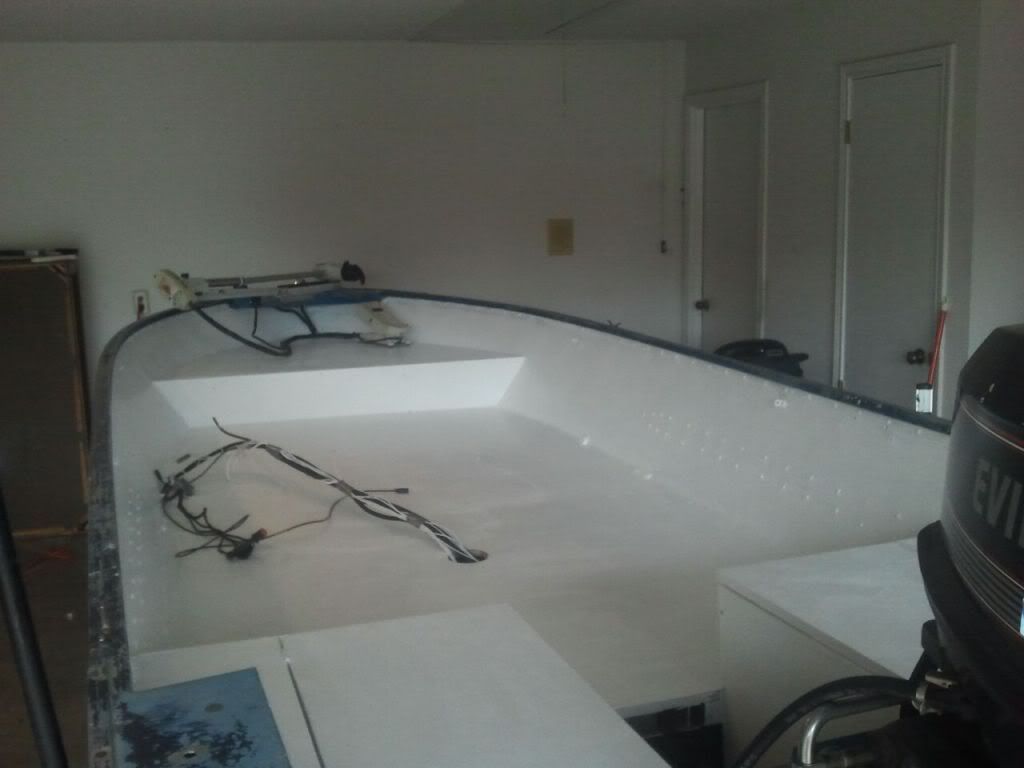
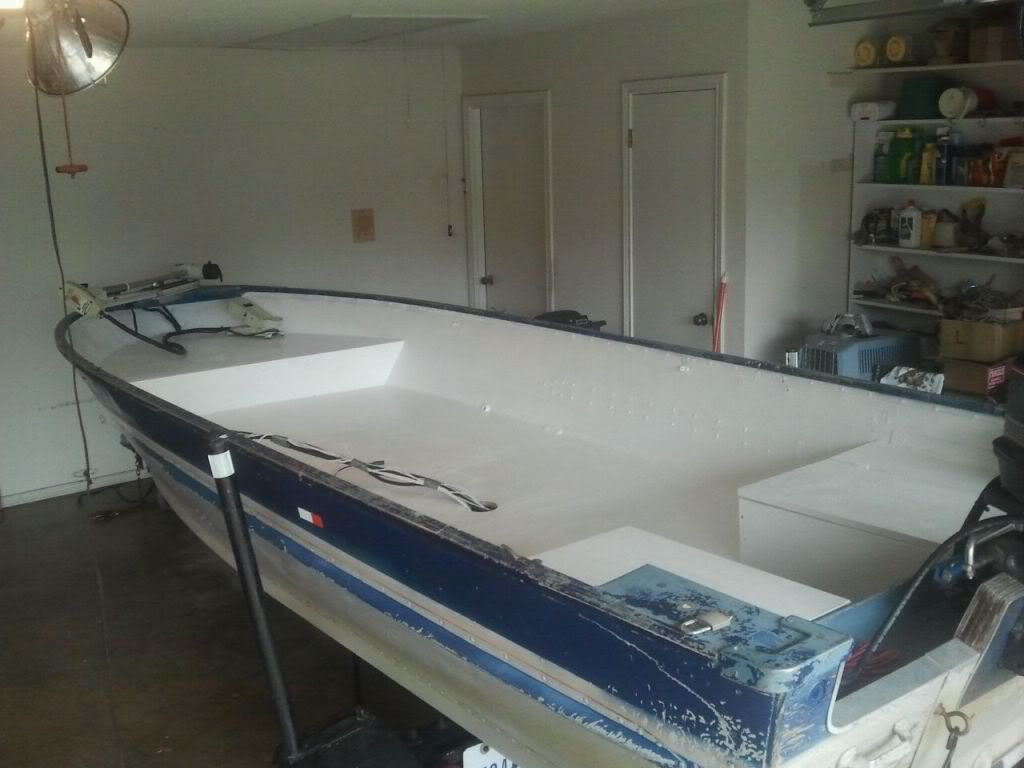
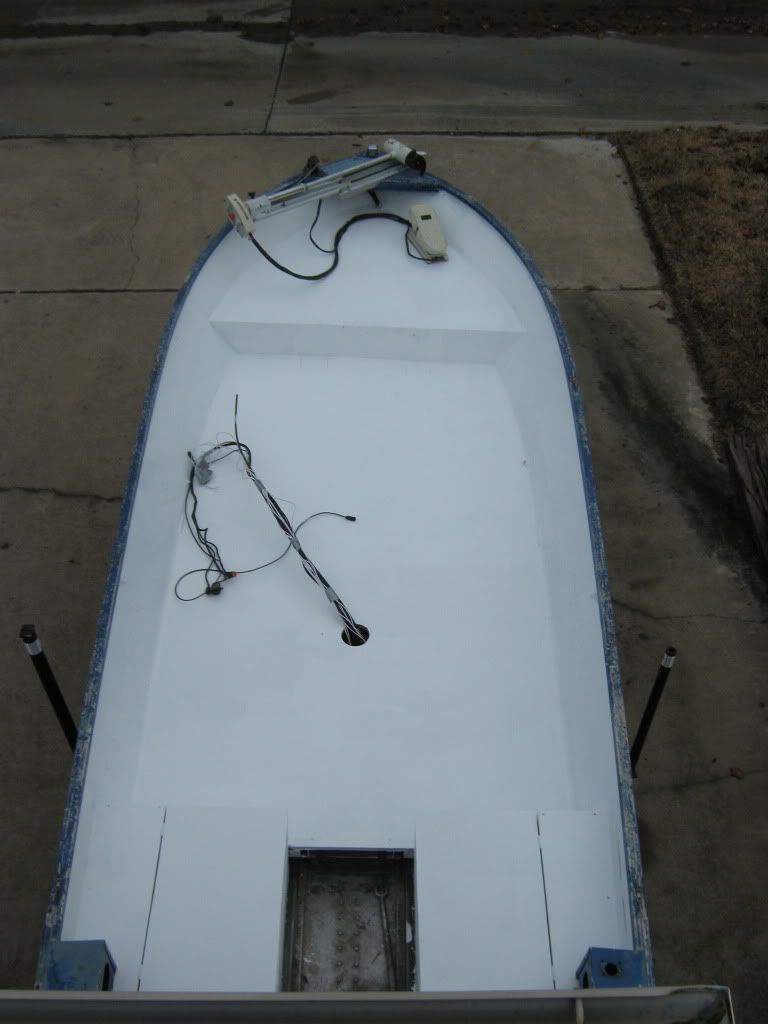
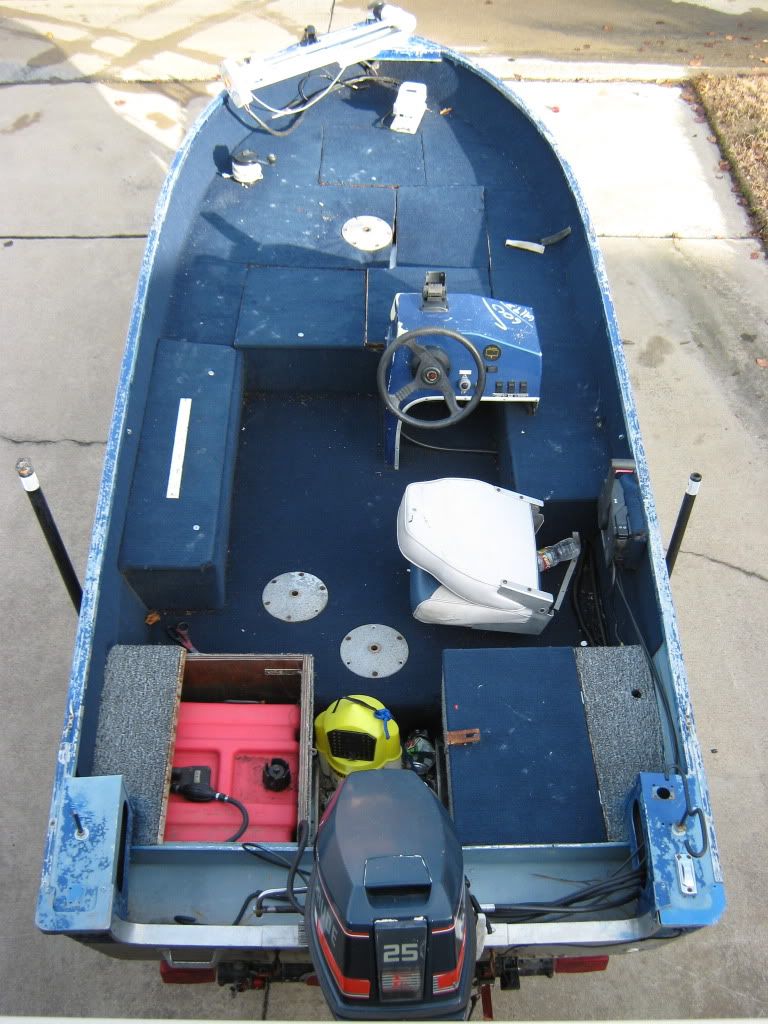
I have just finished my first leg of the interior work last week.
I had meant to simply replace the front casting deck because it completely rotted through.
However, once I started pulling off the carpet I noticed every bit of the deck was rotten and it all had to go.

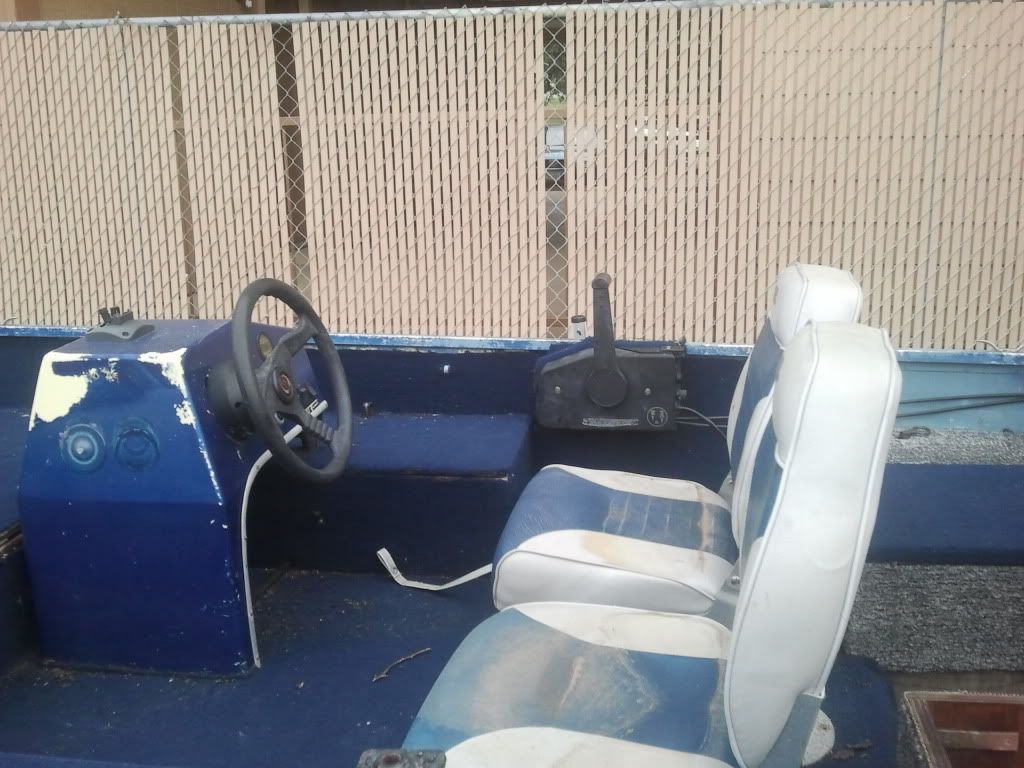
Here are some more pics of the interior before I started gutting.

IMG_0967.jpg


I'll pick this up again in another post, apparently I can only attach 6 img files.
 

kfa4303

Banned
Joined
Sep 17, 2010
Messages
6,094
Re: New User Introduction.

Hi 1959 Cherokee. Welcome to iboats! Nice toy you got there. She's a litle rough around the edges, but nothing that can't be fixed. just a few rules before you get started reinstalling the deck and transom. NEVER use pressure treated lumber on an aluminum boat as the arsenic/copper in the preservative will cause an electrolytic reaction with the aluminum hull, which can result in sever pitting and fatigue. most folks here use marine grade plywood (kinda pricey) and/or high quality non-PT, exterior grade plywood available at most home improvement stores. OSB should also be avoided due to the inferior glues used to make it. Once you've selected and cut your deck and transom, you'll want to seal them in one of two ways. you can either: 1.) seal with polyester resin, then fiberglass (paint if you like), or 2.) epoxy, then paint (preferred method by most b/c a little quicker and no f'glass needed, but a little more expensive). Once the decks are sealed, attach them to the hull using either aluminum rivets one size larger than those currently in the boat, or by using stainless steel screws. In either case the fasteners should be coated with 3M 5200, marine caulk. The through-hull fasteners used on the transom should also be SS and treated with the 5200. that's really about it. the rest is just a matter of creativity and patience. check out the Starcraft threads for ideas and inspiration too. Keep us posted. we love pics.
 

1959Cherokee

Seaman
Joined
Dec 27, 2011
Messages
64
Re: New User Introduction.

As you can see from the overhead picture the casting deck was falling apart and walking on it was like being Indiana Jones in the Last Crusade trying to walk on those letters in the temple.
It was hazardous lol.
Here are a few more of the tear down.

The casting deck removed.
IMG_0973.jpg


Some homemade livewell contraption.
IMG_0976.jpg


And a whole bunch of rot.
IMG_0980.jpg


IMG_0986.jpg


I have many more pics on my photobucket account but do to the 6 img limit I'll try and cut right to the chase.
Here is what I got down to that was good after tearing out hundreds of pounds of waterlogged wood and foam.
IMG_0990.jpg


I was pleased to find the boat had a fantastic set of aluminum floor joists or stringers to attach the new deck I would be building to.
Also the forward casting deck subfloor was removed but first I used it as a template as it hadn't been rotted to complete uselessness like everything else.

Here is the main deck installed.
I used 22/32nd's exterior grade ply coated in polyester resin then painted with exterior acrylic latex enamel with non-skid additive for the entirety of the replacement deck and panels.
IMG_0992.jpg


Im at 6 img files again, I'll pick it up in a bit, does anyone know if thats the limit or can it be changed?
 

1959Cherokee

Seaman
Joined
Dec 27, 2011
Messages
64
Re: New User Introduction.

Hi 1959 Cherokee. Welcome to iboats! Nice toy you got there. She's a litle rough around the edges, but nothing that can't be fixed. just a few rules before you get started reinstalling the deck and transom. NEVER use pressure treated lumber on an aluminum boat as the arsenic/copper in the preservative will cause an electrolytic reaction with the aluminum hull, which can result in sever pitting and fatigue. most folks here use marine grade plywood (kinda pricey) and/or high quality non-PT, exterior grade plywood available at most home improvement stores. OSB should also be avoided due to the inferior glues used to make it. Once you've selected and cut your deck and transom, you'll want to seal them in one of two ways. you can either: 1.) seal with polyester resin, then fiberglass (paint if you like), or 2.) epoxy, then paint (preferred method by most b/c a little quicker and no f'glass needed, but a little more expensive). Once the decks are sealed, attach them to the hull using either aluminum rivets one size larger than those currently in the boat, or by using stainless steel screws. In either case the fasteners should be coated with 3M 5200, marine caulk. The through-hull fasteners used on the transom should also be SS and treated with the 5200. that's really about it. the rest is just a matter of creativity and patience. check out the Starcraft threads for ideas and inspiration too. Keep us posted. we love pics.

Thanks very much for the input on the fastener coating.
I will use that 5200 as she is still in progress.
I decided to use polyester resin and exterior paint with non-skid.
I also used exterior grade ply as opposed to pt bc I had read about the aluminum interaction with pt wood on this forum, thanks iboats!!

Back to the boat!!
I should also mention I had about ten frustrating hours of sanding with flap disks and thinning with MEK to get all the old carpet adhesive off the sides of the hull.
Watching Friscoboater's youtube videos about getting his carpet adhesive gave me comfort lol.

Here is the new casting deck sub-floor ready for resin.
IMG_0994.jpg


And the new casting deck itself.
I made the new one considerably smaller to give myself more room down in the boat.
IMG_0993.jpg


Here are the new rear compartments I built, still not 100% happy with the design.
I would have preferred something cleaner in appearance and may still change the design, ideas??
IMG_0997.jpg


Here is everything coated in resin, installed, and ready for caulking around the edges.
I just used cheap white silicone latex caulk at the joints and around the edges.
I hope I wasn't too far off, we'll see how it holds up.
IMG_0995.jpg


Here is the new deck caulked, and ready for paint.
IMG_0998.jpg


IMG_0999.jpg
 

1959Cherokee

Seaman
Joined
Dec 27, 2011
Messages
64
Re: New User Introduction.

And finally here she is with her first coat of paint.
Yes this is also a center console conversion and I suppose I will be building my own since I can't find anything used near me.
That brings me all up to date!!
Anyone with good ideas on building a center console I'd love to hear them.

2011-12-25_113645.jpg


2011-12-25_113735.jpg


2011-12-25_113702.jpg


IMG_1002.jpg
 

Woodonglass

Supreme Mariner
Joined
Dec 29, 2009
Messages
25,929
Re: New User Introduction.

If you only used the resin without CSM mat then you wasted your time. It will NOT last. It will become brittle and crack and allow water to penetrate your deck. If you used the resin from the Big Box stores then it has Wax in it so you will have to sand it down thoroughly and then apply another coat WITH CSM and then a layer of 6oz cloth would be perfect to finish it off. This would aid in the strength and the waterproofing of the deck. If you decide to use the cloth you should apply it before the previous coat drys or you will have to sand again due to the wax. OR you could go to www.uscomposites.com and get the good stuff.
 

1959Cherokee

Seaman
Joined
Dec 27, 2011
Messages
64
Re: New User Introduction.

Well thats unfortunate information to hear.
I used 3m polyester resin from hd on the bare wood and then painted over top of that.
I'm assuming it has the wax in it you are referring to and I would have to sand it down to re-apply resin with the chopped mat.
With what I have now how long would it last if left unaltered?
 

GT1000000

Rear Admiral
Joined
Jul 13, 2011
Messages
4,916
Re: New User Introduction.

Welcome to the Iboats dry dock Danny,

The title to your thread is very appropriate by stating "User"...because this boat thing is like an addiction and one quickly becomes a "User"...LOL:D

You got yourself a real nice deal with that tinny, and it looks like it won't take much to get it all purdy, ...BUT...

I have to agree 100% with woodonglass and kfa4303...if you want this refurbish to last, you absolutely, positively need to apply at least a couple of layers of fiberglass matting with resin...the reason is that the resin alone becomes extremely brittle when dry and just the act of trailering and walking and bouncing on few waves, it will begin to crack, water will seep in during the first bit of night time dew or rain and you will be back at square one pretty quick... just my 1/2 cent's worth.

Best of Luck,
GT1M
 

1959Cherokee

Seaman
Joined
Dec 27, 2011
Messages
64
Re: New User Introduction.

Well I feel like face palming myself for not consulting you guys first

2010-05-17-facepalm-hi-res.jpg


Ok so the plan will be to sand back down to bare wood, but here is where I would like to know if since I am going to get back to bare wood anyway, would poly resin and csm OR epoxy and paint be a better route to take.

If I'm gonna do this over again I really want to get it right.
If I go the poly resin and mat route, what weight mat would be ideal for decking?
How many layers are needed?

Thanks guys.
 

oops!

Supreme Mariner
Joined
Oct 18, 2007
Messages
12,932
Re: New User Introduction.

hi.....welcome to iboats....

sorry to hear about not using glass....

remember when you were resin coating.....and the next day your resin bucket had a thin film of cured resin around the edge?......and you took it out of the bucket cause you thought it was cool?.....you crumpled it up in your hand?.......that is what is on your deck.

you will get 5 years out of what you have with good care.....10 with perfect care ....lots of air flow around and under it......but covered or garage kept all the time.

if the boat is left uncovered ......and the resin cracks.....the moisture will be trapped inside the resin coated wood and the clock starts ticking....could be a season.....could be 5

the 6ix photo limit is kinda a drag.......but you were posting really well.......just do your 6 images and hit reply to post....and start all over.......the reader is not bothered by it...
personally .....i like the big photo bucket images far better than the small thumbnails.... it is just a far better read imho.

what you did to the boat looks really good (besides that small mistake)
did you do anything to the transom?
 

GT1000000

Rear Admiral
Joined
Jul 13, 2011
Messages
4,916
Re: New User Introduction.

Let me jump in real quick...

Applying Fiberglass or epoxy, needs to be done to all the surfaces of the plywood, top, bottom and edges...

Therer is some excellent information here... http://forums.iboats.com/showthread.php?t=288451

NO you do not need to sand all the way to bare wood, just rough up the surface. Get an inexpensive D/A sander and some 60 or 80 grit sand paper.

To make the fiberglass mat go over the edges better, you should slightly round over the edges...a 1/4 inch round over is sufficient. After sanding, wipe every thing down real good with Acetone, the freshly rounded over edges are going to need to get wet with some resin first, let it start to gel[firm up], then wet out a layer of CSM[1.5 ounce, Chopped Strand Mat], large enough to overlap the edges, gently loosen[tear a little] the CSM where it wraps over the edges, and lay it down on the ply wood.

Use a fiberglass roller, looks like like a bunch of small pizza wheels side by side, http://search.yahoo.com/r/_ylt=A0oG...p&sigi=15qan4qh4&sigb=11r46gv0v&fr=att-portal and roll out the CSM quickly but carefully to get rid of all the air bubbles and get it wrapped over the edges as best as possible...

Once it starts to gel, you MUST STOP or you will be going backwards...

Let it harden slightly, then wet out a layer of 6 ounce mat and repeat...

Once the first side is done, flip and repeat...

If the edges didn't turn out too great, don't worry, do some grinding, to get rid of the stuff that didn't lay down, and tear some CSM up and make a kind of Peanut Butter with the resin and Finely chopped CSM.

Add to the edges, wait for it to set up... next day, preferably...and re-install the decking.

Make sure you use 5200 on all your attaching screws and pre-drill all your holes.

OR, you could sand completely down to bare wood, Or, start with new wood, and buy Epoxy and coat all the wood several times on each surface, and install...

Either way you do it will cost time and money, but it should easily outlast most of us, I say most of us, because I don't know how old you are...and if you are young enough, you MIGHT outlast the boat...:eek:
 

1959Cherokee

Seaman
Joined
Dec 27, 2011
Messages
64
Re: New User Introduction.

hi.....welcome to iboats....

sorry to hear about not using glass....

remember when you were resin coating.....and the next day your resin bucket had a thin film of cured resin around the edge?......and you took it out of the bucket cause you thought it was cool?.....you crumpled it up in your hand?.......that is what is on your deck.

you will get 5 years out of what you have with good care.....10 with perfect care ....lots of air flow around and under it......but covered or garage kept all the time.

if the boat is left uncovered ......and the resin cracks.....the moisture will be trapped inside the resin coated wood and the clock starts ticking....could be a season.....could be 5

the 6ix photo limit is kinda a drag.......but you were posting really well.......just do your 6 images and hit reply to post....and start all over.......the reader is not bothered by it...
personally .....i like the big photo bucket images far better than the small thumbnails.... it is just a far better read imho.

what you did to the boat looks really good (besides that small mistake)
did you do anything to the transom?

No, as of yet I have not begun any work on the transom.
It needs work though, from what I can tell it is 22/32nd's ply and rotting at the lower edges.

I should also mention at this point I think the most reasonable thing for me to do is sand down the deck side of the plywood and recoat with poly resin and glass.
I dont think I have the stomach to rip the whole deck back out again to coat the underside.
Hopefully it will be serviceable for a few years to come.
 

Woodonglass

Supreme Mariner
Joined
Dec 29, 2009
Messages
25,929
Re: New User Introduction.

1959Cheokee,
Let's talk about some things. It appears from your previous pics that you will need to remove the side boxes to get to your transom when it is time to replace it. It would really be alot easier to do the transom when the deck is out of the boat. If the transom is already rotting you should really replace it now and probably should have done it before you put the deck in. If you want to do this right you should slow down and make a plan to stick to and then stick to the plan. Normally on Tin Boats the deck is not sealed to the hull sides. This allows water from the deck to get down below and flow back to the bilge for drainage. IMHO you should order 10 yds of 1.5 oz of CSM and 5gallons of resin from www.uscomposites.com and a glass roller. This will be enuf to put down two layers of resin and glass. If you sand off the paint and get down to the resin (don't have to go to bare wood but you can if you want) then lay a coat of resin and immediately lay the CSM and roll it down. As soon as you get the first layer done you can start right back with the second cuz by the time you get the first done, where you started will be dry. You'll need a helper if you want it to go quickly, one to mix and one to apply. Resin sets up in 20 mins, so you got to be quick. Mix about a 1/2 quart at first till you get the hang of it or you'll have a lot of waste. Pour it out use a short nap paint roller to roll it out and then use the glass roller to smooth it and get rid of any air bubbles. Once you get used to it you can mix more and apply more. Getting the bubbles out is VERY important.
 

1959Cherokee

Seaman
Joined
Dec 27, 2011
Messages
64
Re: New User Introduction.

1959Cheokee,
Let's talk about some things. It appears from your previous pics that you will need to remove the side boxes to get to your transom when it is time to replace it. It would really be alot easier to do the transom when the deck is out of the boat. If the transom is already rotting you should really replace it now and probably should have done it before you put the deck in. If you want to do this right you should slow down and make a plan to stick to and then stick to the plan. Normally on Tin Boats the deck is not sealed to the hull sides. This allows water from the deck to get down below and flow back to the bilge for drainage. IMHO you should order 10 yds of 1.5 oz of CSM and 5gallons of resin from www.uscomposites.com and a glass roller. This will be enuf to put down two layers of resin and glass. If you sand off the paint and get down to the resin (don't have to go to bare wood but you can if you want) then lay a coat of resin and immediately lay the CSM and roll it down. As soon as you get the first layer done you can start right back with the second cuz by the time you get the first done, where you started will be dry. You'll need a helper if you want it to go quickly, one to mix and one to apply. Resin sets up in 20 mins, so you got to be quick. Mix about a 1/2 quart at first till you get the hang of it or you'll have a lot of waste. Pour it out use a short nap paint roller to roll it out and then use the glass roller to smooth it and get rid of any air bubbles. Once you get used to it you can mix more and apply more. Getting the bubbles out is VERY important.

Woodonglass, thank you for the clear ideas and direction.
I do need to take a moment and evaluate, and come up with a plan long term for my goals.
In regards to the transom, the rotten wood I noticed is actually on the outside of the hull.
Is this still the actual transom?
 

Woodonglass

Supreme Mariner
Joined
Dec 29, 2009
Messages
25,929
Re: New User Introduction.

Is there any wood on the inside of the stern where the knee braces are? Some of the Tin Boats have Exterior wood plates in addition to the interior wood transoms. If you can post some pics of the inside of the stern by the knee braces and also investigate what the motor is mounted too on the inside of the stern, that would really help.
 

1959Cherokee

Seaman
Joined
Dec 27, 2011
Messages
64
Re: New User Introduction.

Is there any wood on the inside of the stern where the knee braces are? Some of the Tin Boats have Exterior wood plates in addition to the interior wood transoms. If you can post some pics of the inside of the stern by the knee braces and also investigate what the motor is mounted too on the inside of the stern, that would really help.

Unfortunately I can't get to the boat to look at the inside of the stern, but if memory serves I dont believe there was any wood inside.
If you look at this picture you can see the exterior wood panel that I called the transom.
It only goes about halfway, ehh three quarters of the way, down the stern.
You can see its in pretty bad shape.
The wide chunk of wood the motor actually attaches to is clamped on either side by large steel? plates I believe.
That wood actually looks to be in good condition.
So what do ya think, should there be an inner wood transom as well?
IMG_0965.jpg
 

Woodonglass

Supreme Mariner
Joined
Dec 29, 2009
Messages
25,929
Re: New User Introduction.

Uhmmm I think you forgot to post the pic!!!! Looking at someof your previous pics it appears the motor you have on the boat might not be the correct motor for the boat, in that it is a Long shaft and that is why the PO has made some kind of alteration to the transom to have the motor sticking up above the normal transom line. I can't really tell for sure but it looks like something has been rigged and is Not "Factory"
2011-11-07081133.jpg


IMG_0973.jpg
 

Woodonglass

Supreme Mariner
Joined
Dec 29, 2009
Messages
25,929
Re: New User Introduction.

Unfortunately I can't get to the boat to look at the inside of the stern, but if memory serves I dont believe there was any wood inside.
If you look at this picture you can see the exterior wood panel that I called the transom.
It only goes about halfway, ehh three quarters of the way, down the stern.
You can see its in pretty bad shape.
The wide chunk of wood the motor actually attaches to is clamped on either side by large steel? plates I believe.
That wood actually looks to be in good condition.
So what do ya think, should there be an inner wood transom as well?
IMG_0965.jpg

Yep, that's what I thought. That is NOT how the boat is designed. The PO has rigged this up and IMHO this is NOT a safe or desirable method for mounting this motor. This boat is designed for a short shaft motor and this is a Long shaft motor.
 
Top