Re: Seafarer transom and deck replacement - Updated
Re: Seafarer transom and deck replacement - Updated
I would have overlapped. This will ensure that your corners are in good condition and more likely not to crack in the future if done right. Also when the transom-core is bonded in place you will not be able to do anything with the corners. Make sure that you overlap all your layers to come also to be sure you get a good bond without any delamination.
Even a shape can contribute to the construction. Think of a sheet of metal that you will try to bend on the height. You can't. Laying flat it's a child job. Same goes for a laminate.
This is why many stringers are hollow. The shape is a square profile beam and is very hard to bend when locked at all 4 sides.
Yep I think overlapping it will be the way to go, I'm just not too keen on overlapping more than 2 inches as I don't really think it's a good idea for the transom tabbing to join to the new glass that's attached to the outside skin.
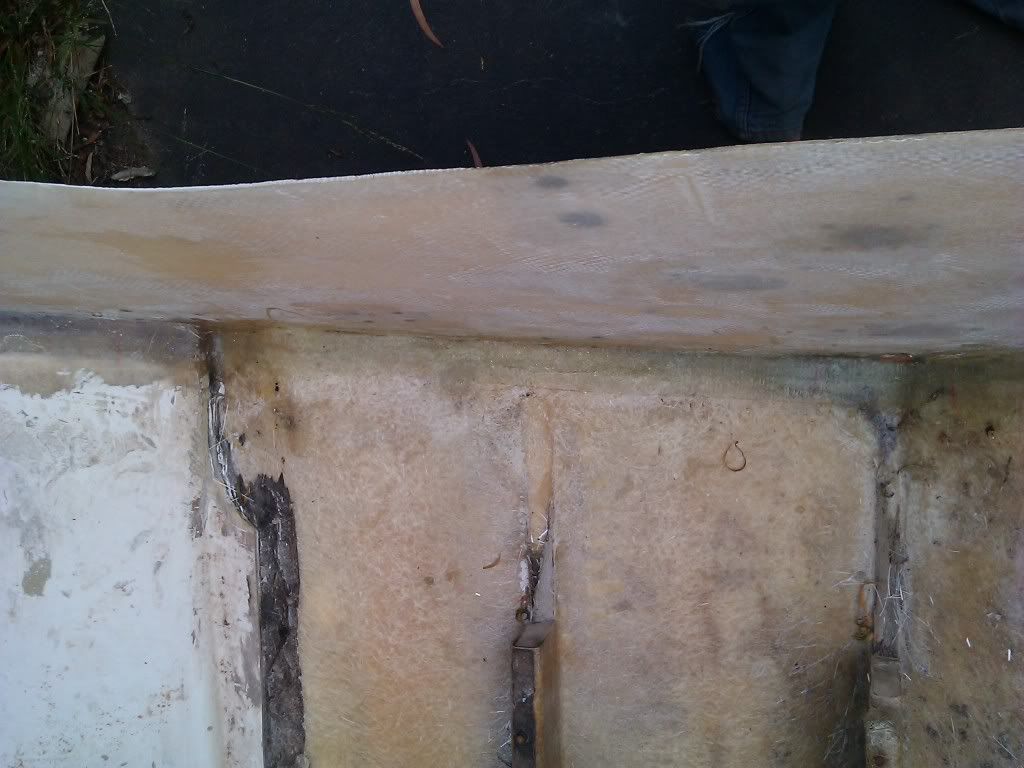
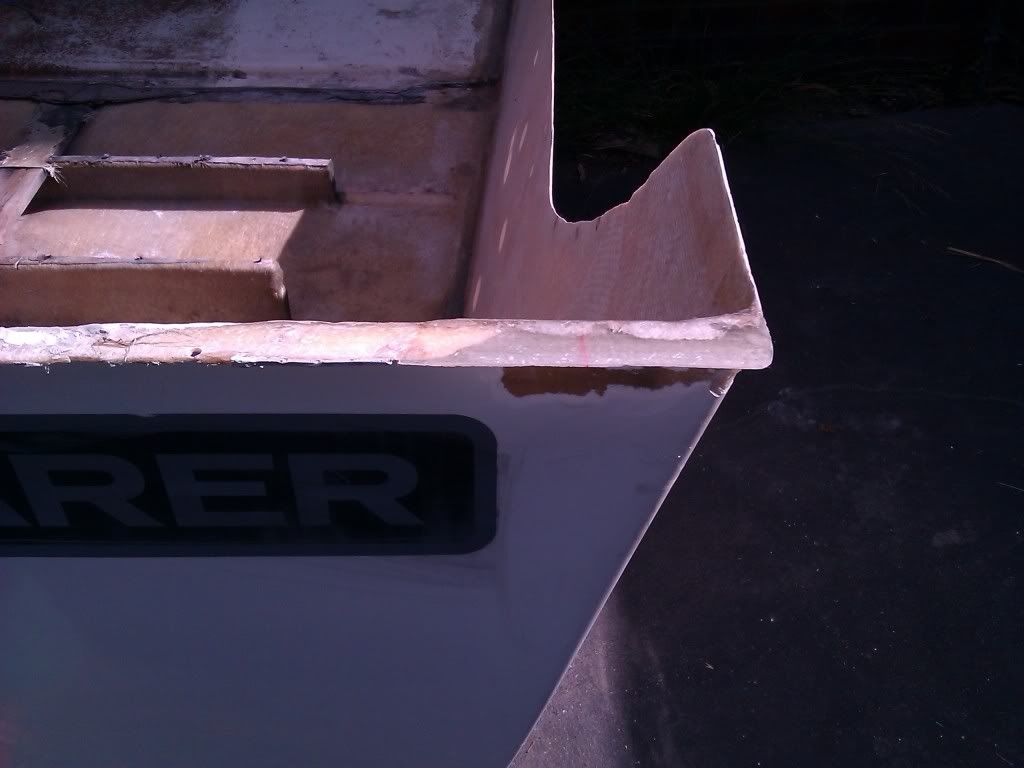
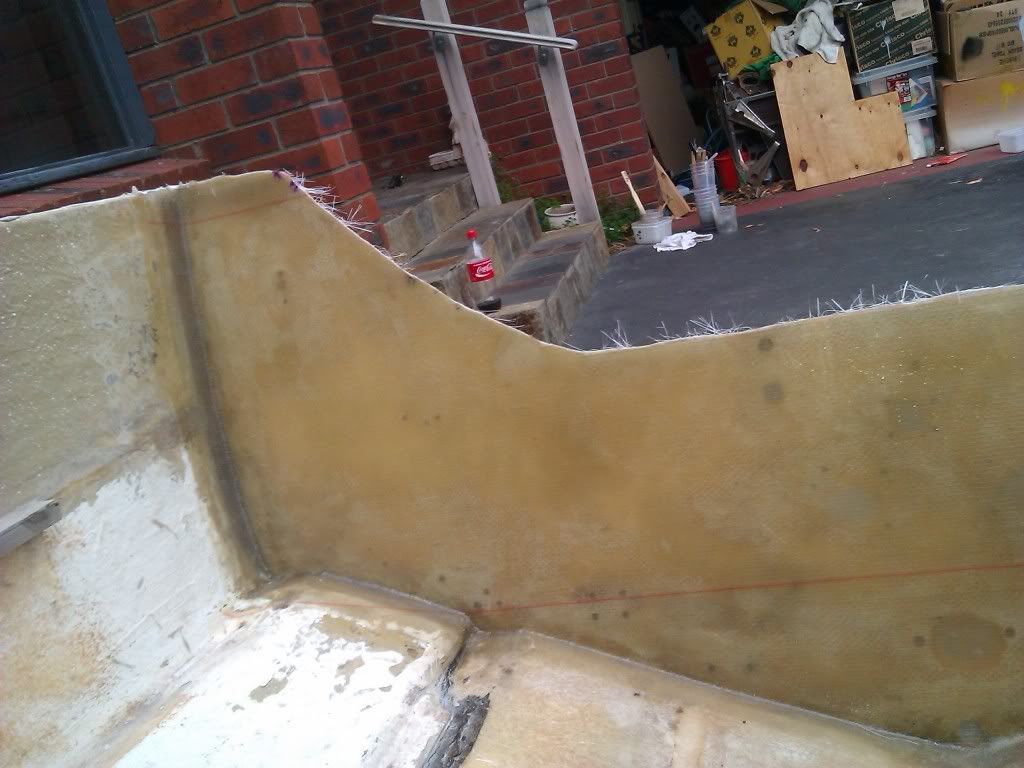
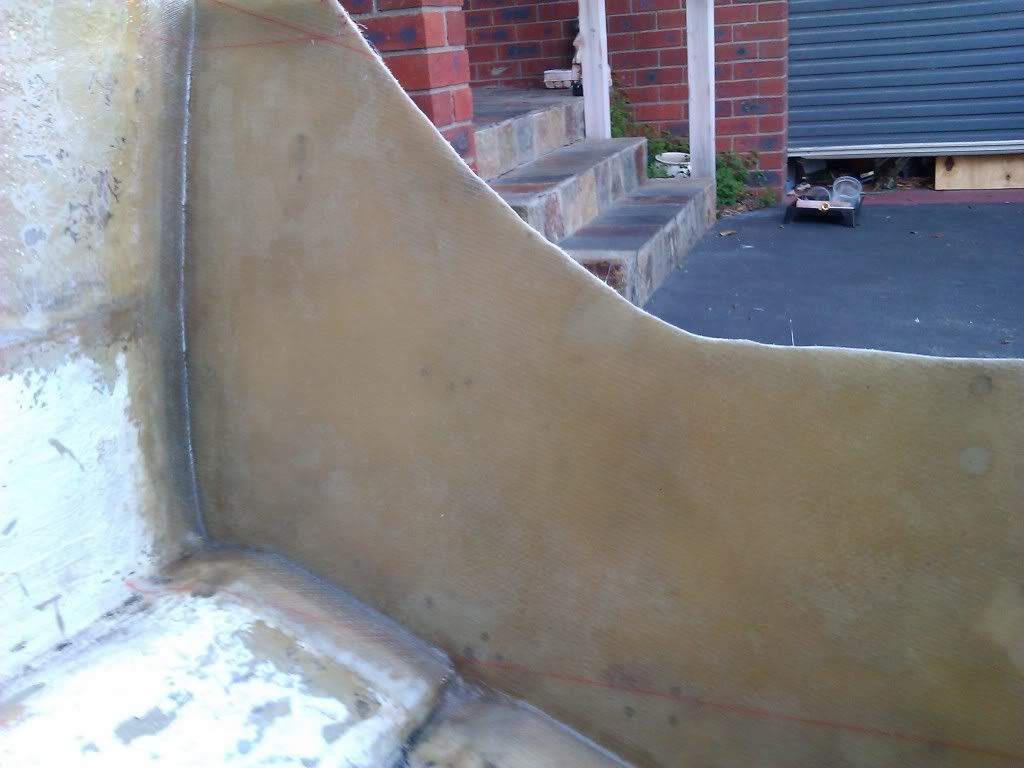
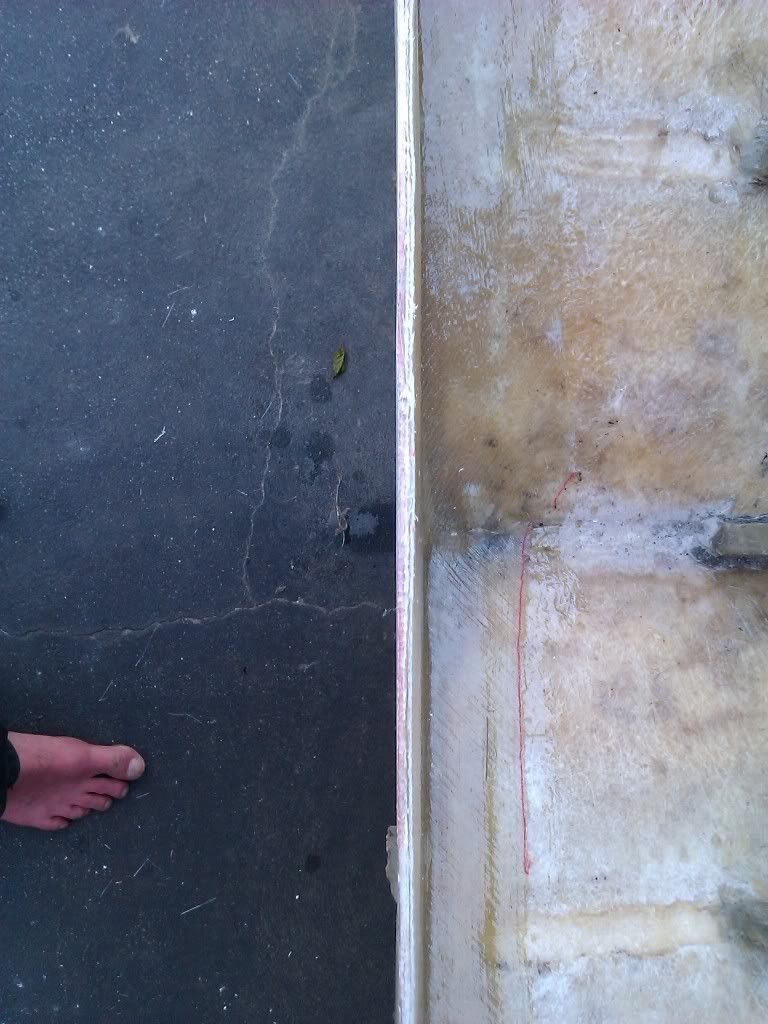
Started fixing the damage I did removing the cap, as I wanted the new glass for it to be under the new glass thats going on the transom. This is a little over size but I'll wait until the cap is back on before trimming it anymore, wouldn't want to take off too much by mistake.
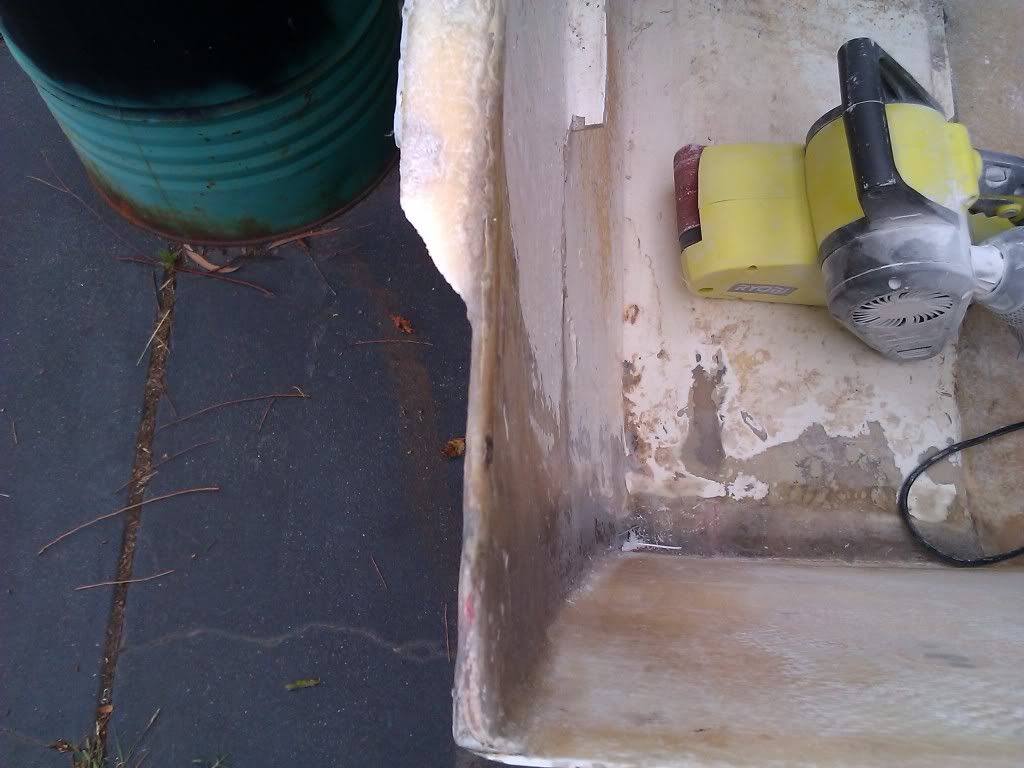
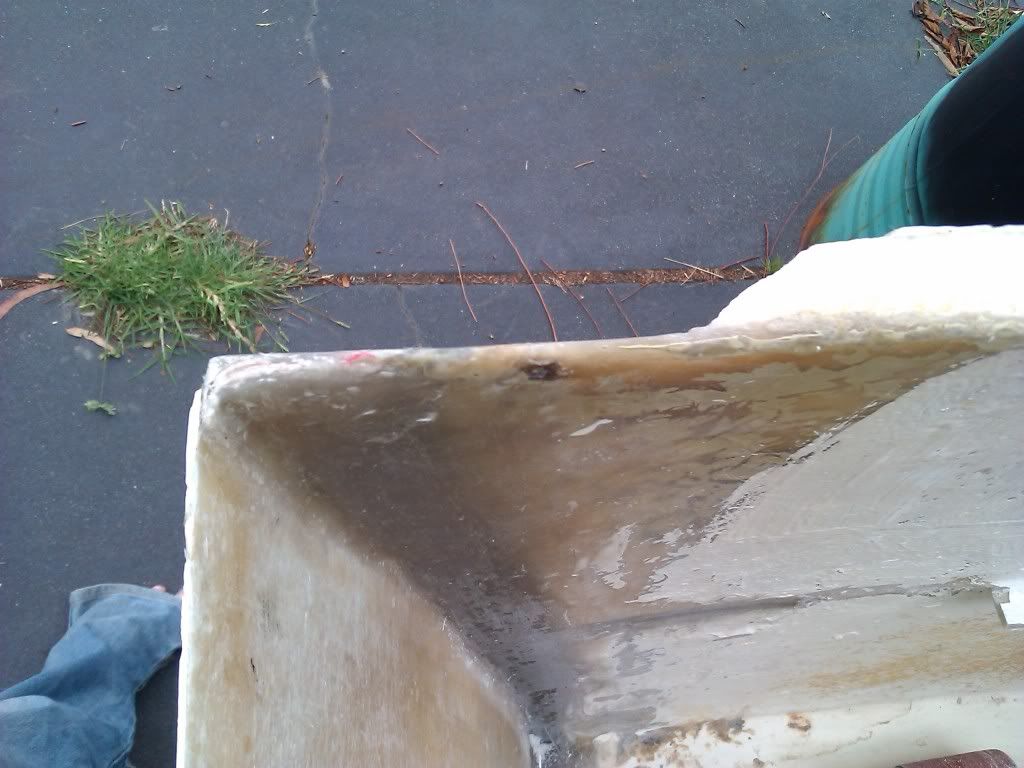
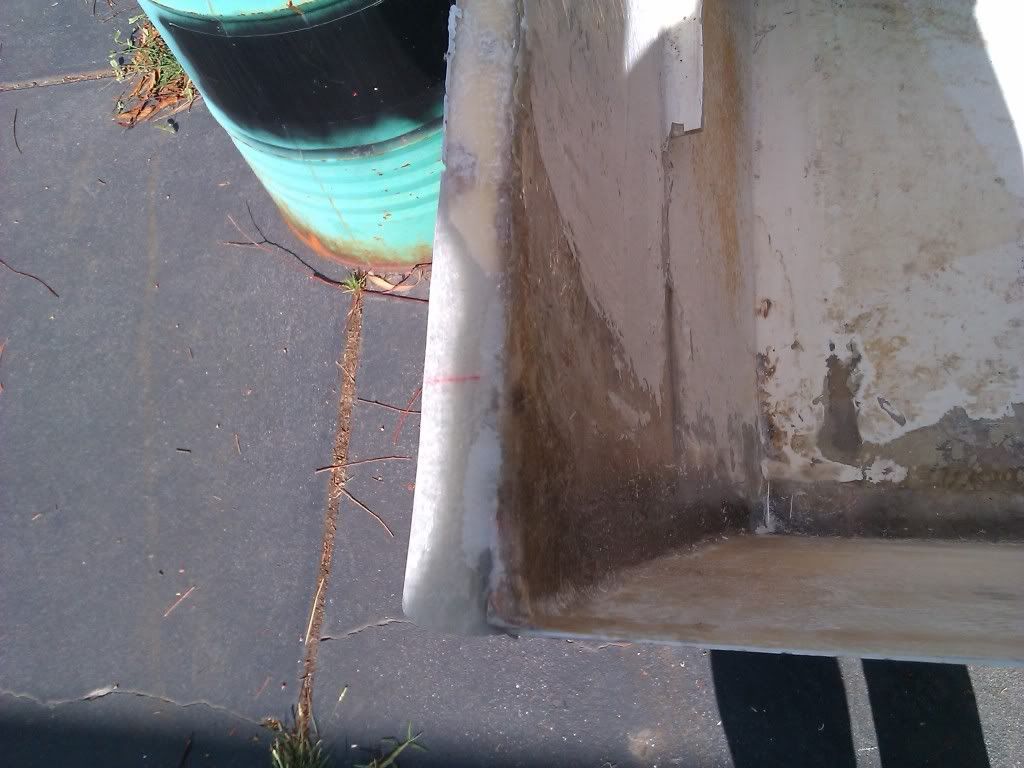
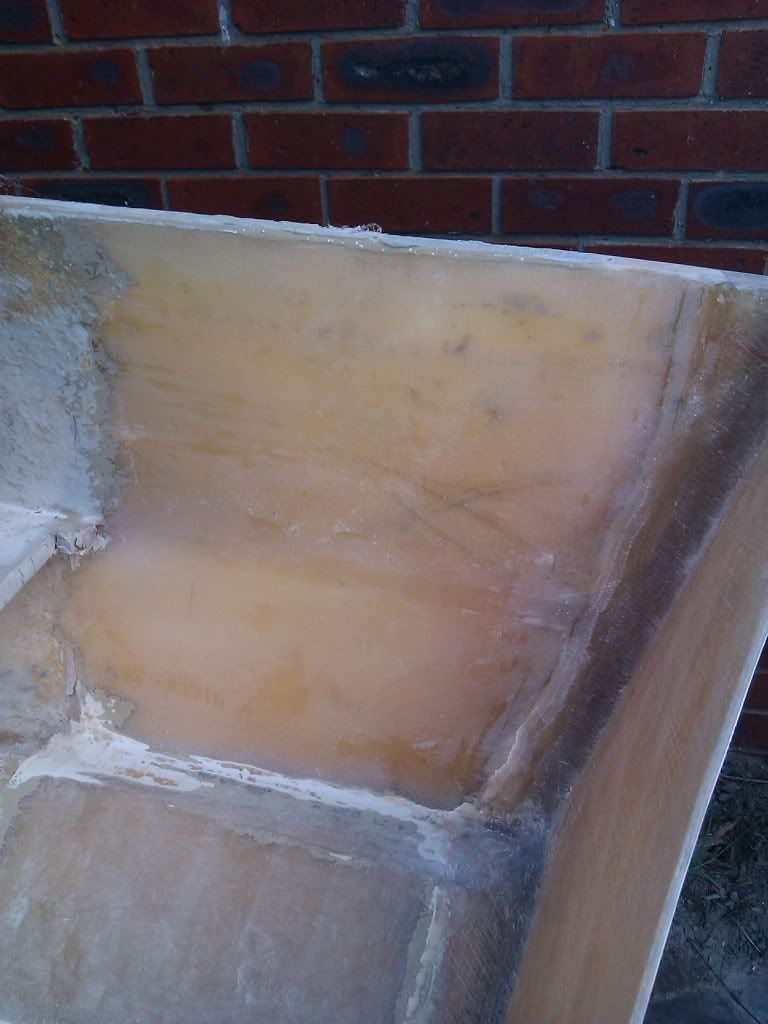
The damage in the next 2 pics was caused by me when taking off the cap, it riped because of all the pb
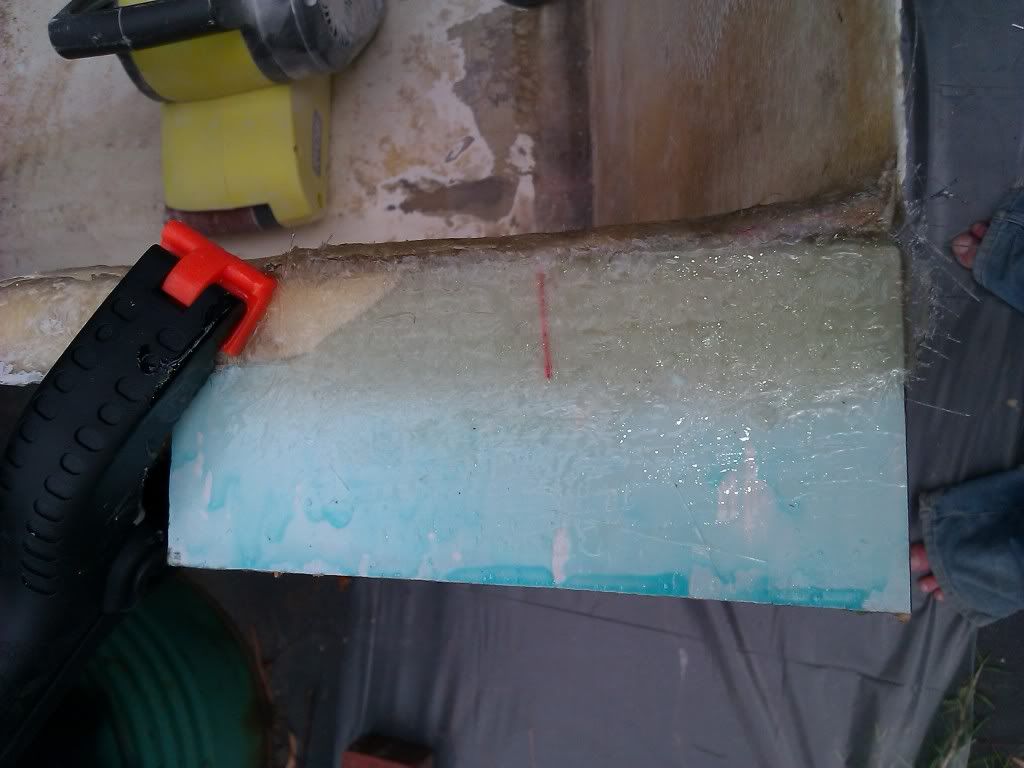
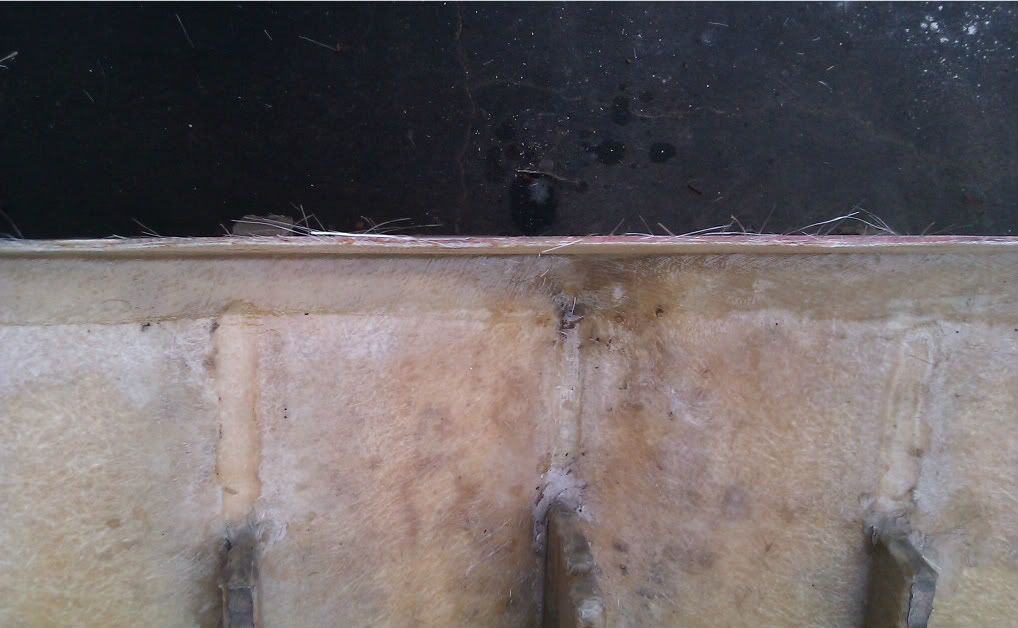
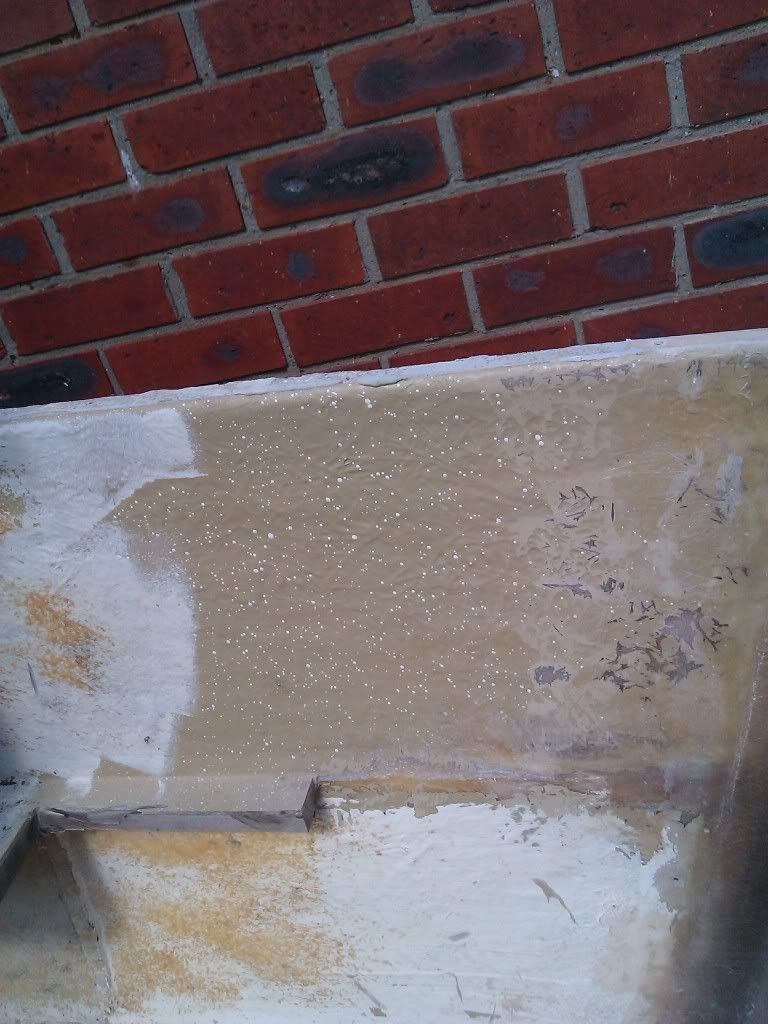
Waiting for the glass to set and getting very worried about the air bubble near the top edge.
That's a formica type board, it's like thin wood with a shinny white coating on one side. On the edge that's against the hull it's glued to the skinny end of a 1x2 for support and to hold it in place. Reason for the air is I didn't round the inside of the hull where the csm was wrapped around.
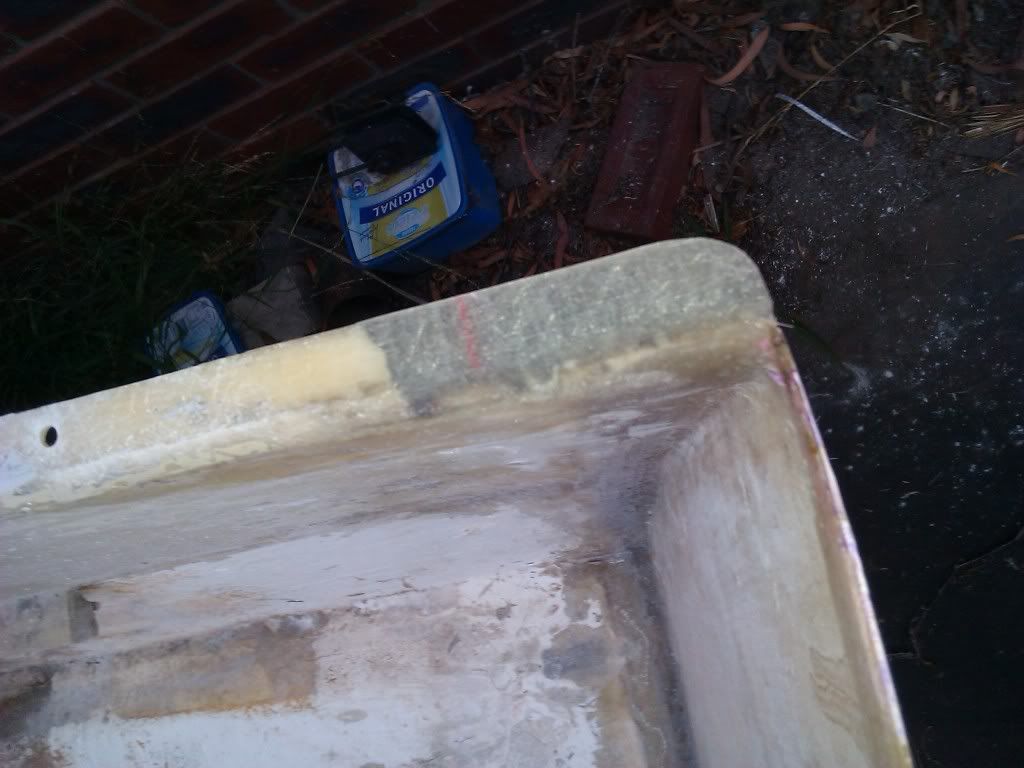
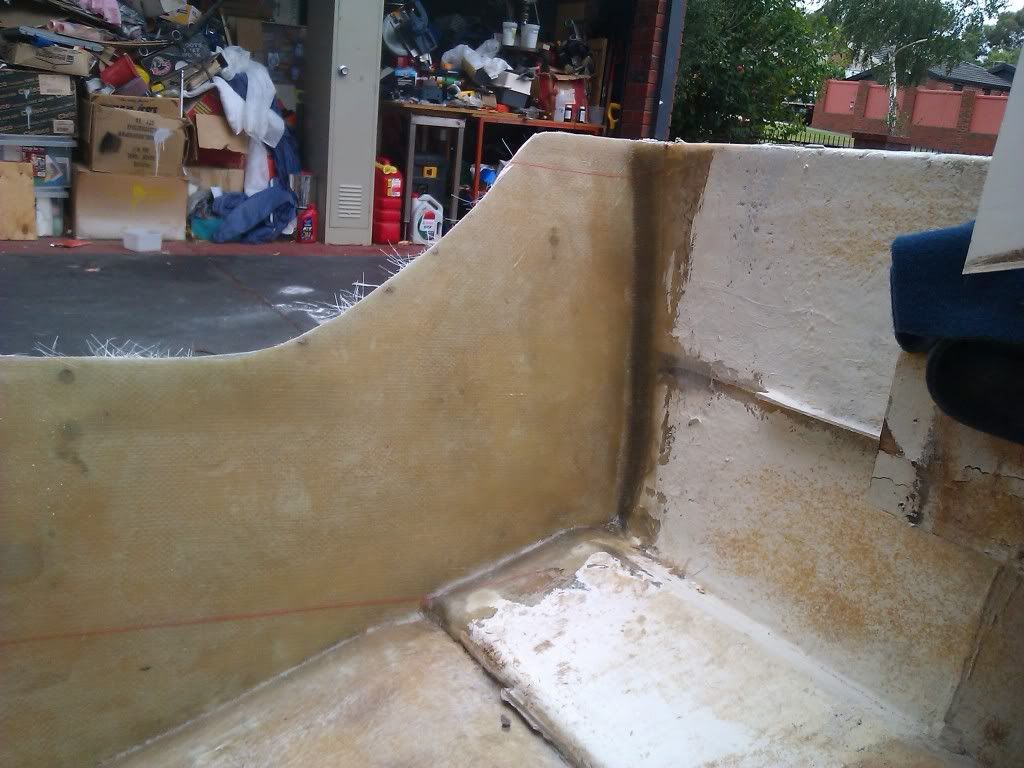
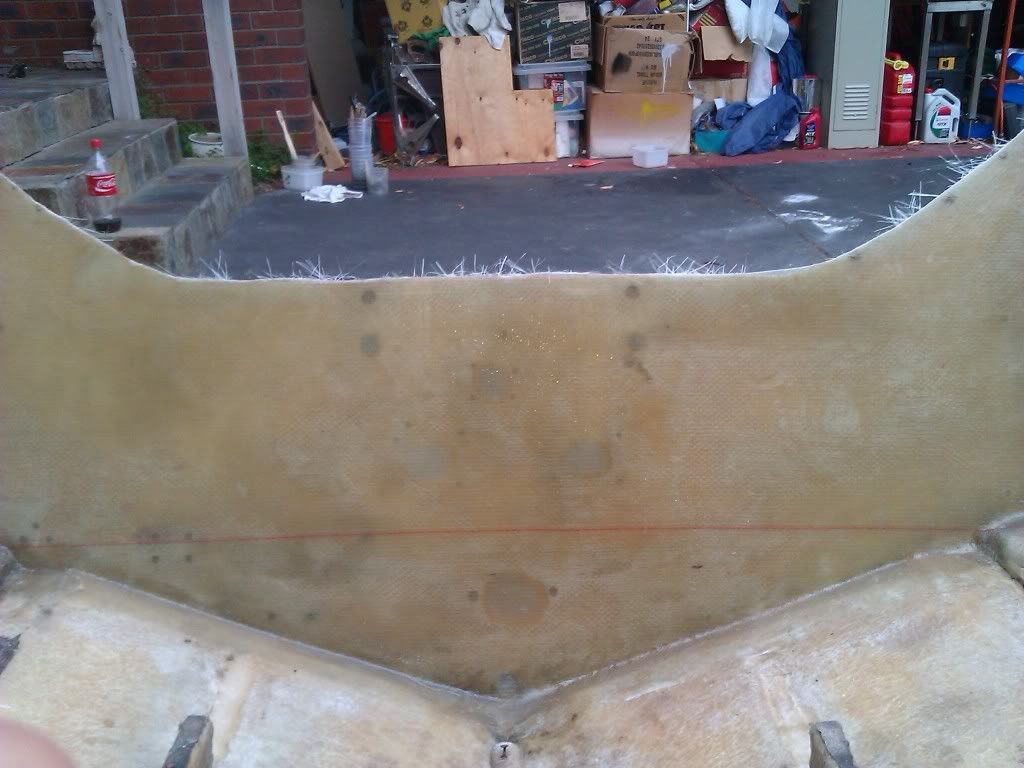
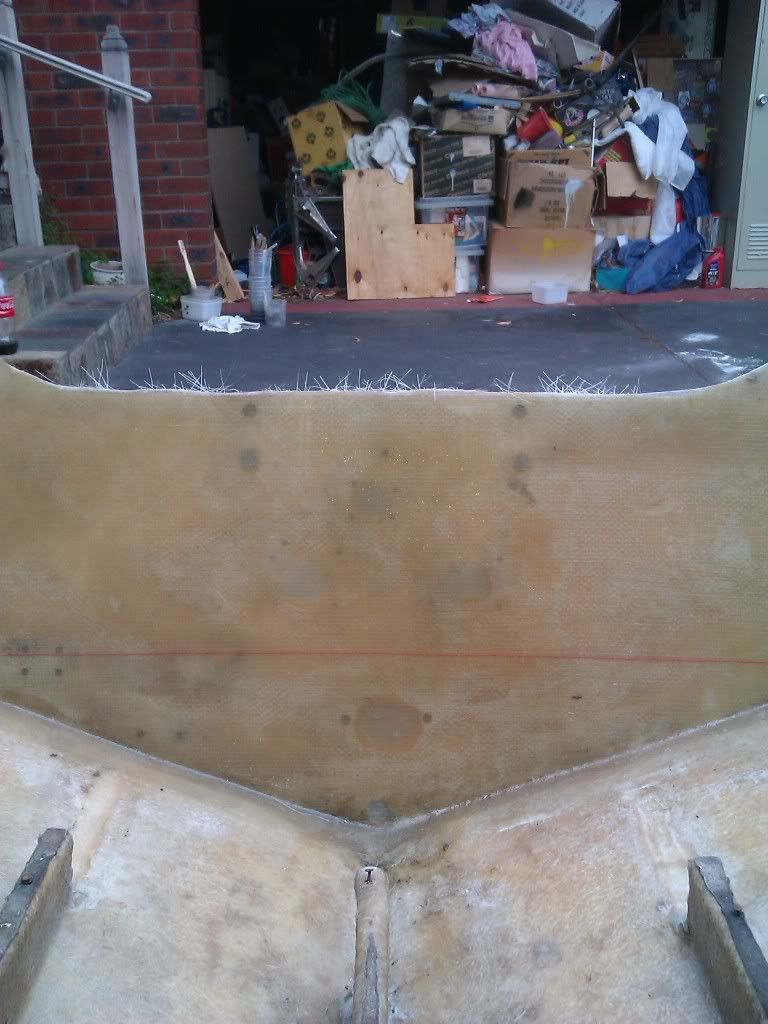
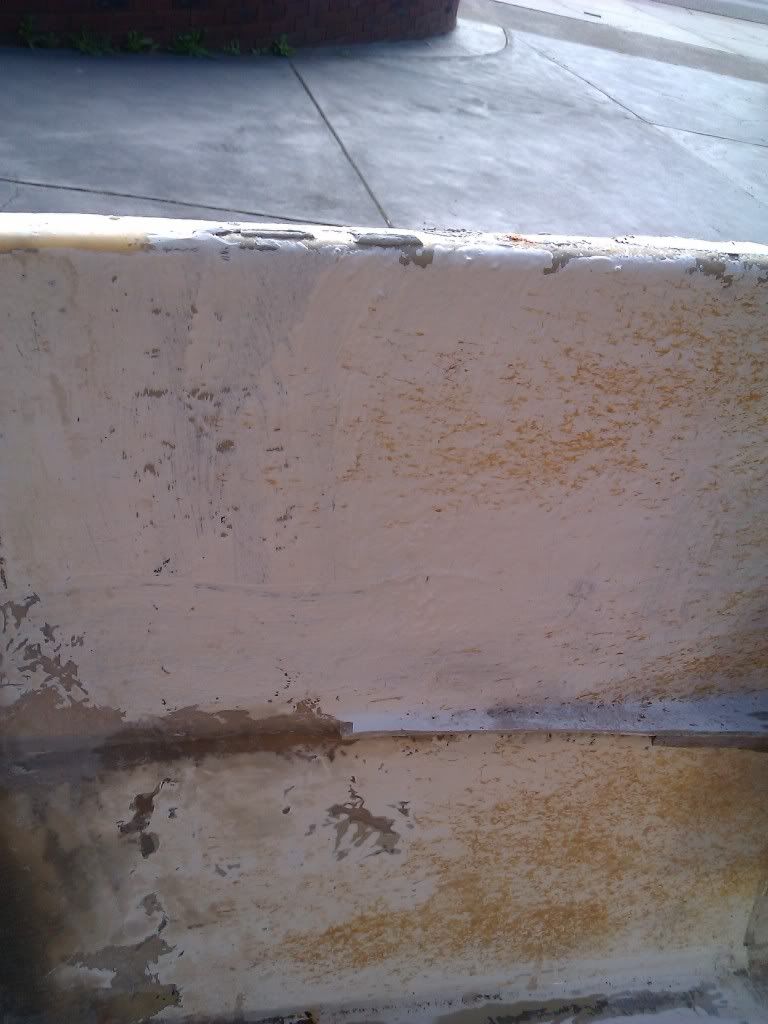
The next 2 show the finished product, except I have to grind out that air bubble and fix it up and it could use 1 more layer of csm too.
I clamped the mold to the undamaged section of the flange, then I built up the new section until flush with the top of the hull using 2 layers of 1808 the first butted against the outside of the hull and fitting inside the missing section but not going over to the inside of the hull, and just stretching over the old section of flange a tiny bit.
The second layer is basically the same but a little longer so it over laps the old flange a little more and with the fibers just stretching onto the top of the hull.
To finish it off I used 2 layers of 1 oz csm, each with a little more overlap than the last and this time wrapped around to the inside of the hull.
This is where I went wrong, I didn't round off the inside top of the hull so I had a square corner and ended up with air bubbles that I have to fix tomorrow but it's really strong and (other than the bubble) looks good. made it over sized and then sand it back flush.
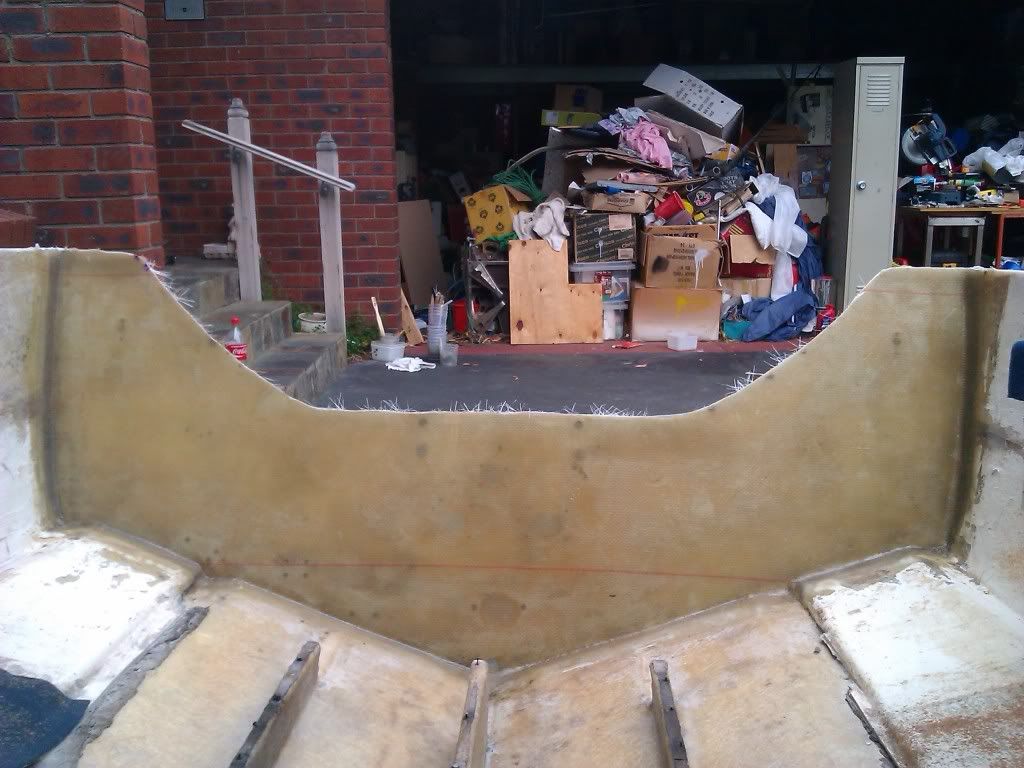
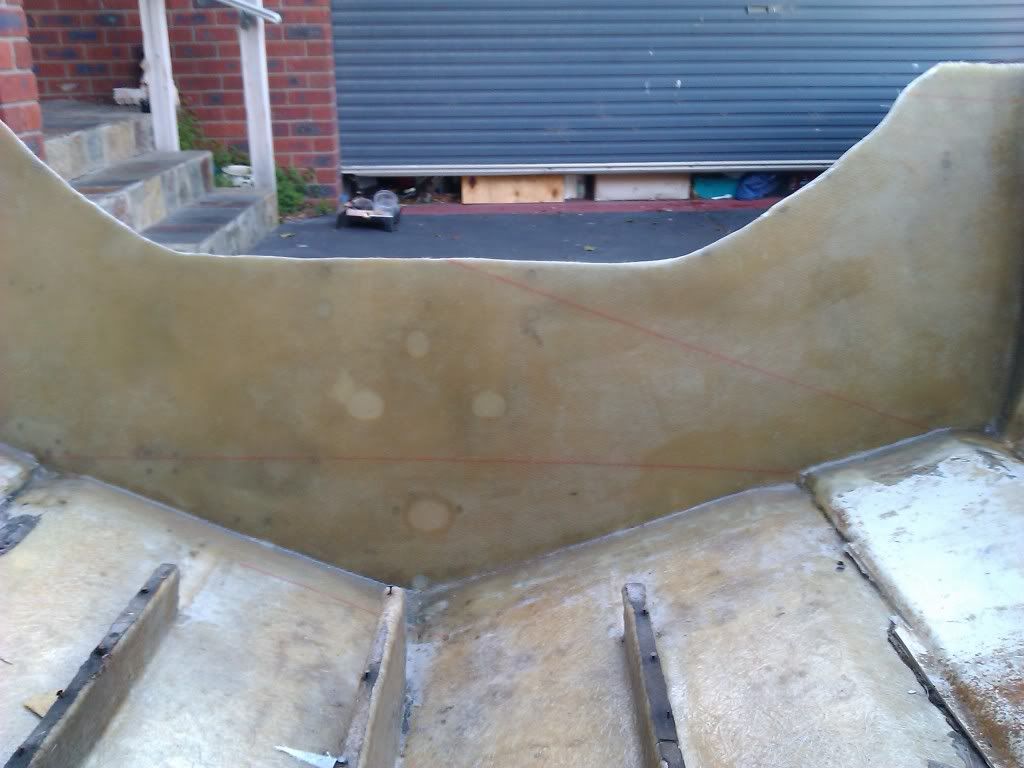
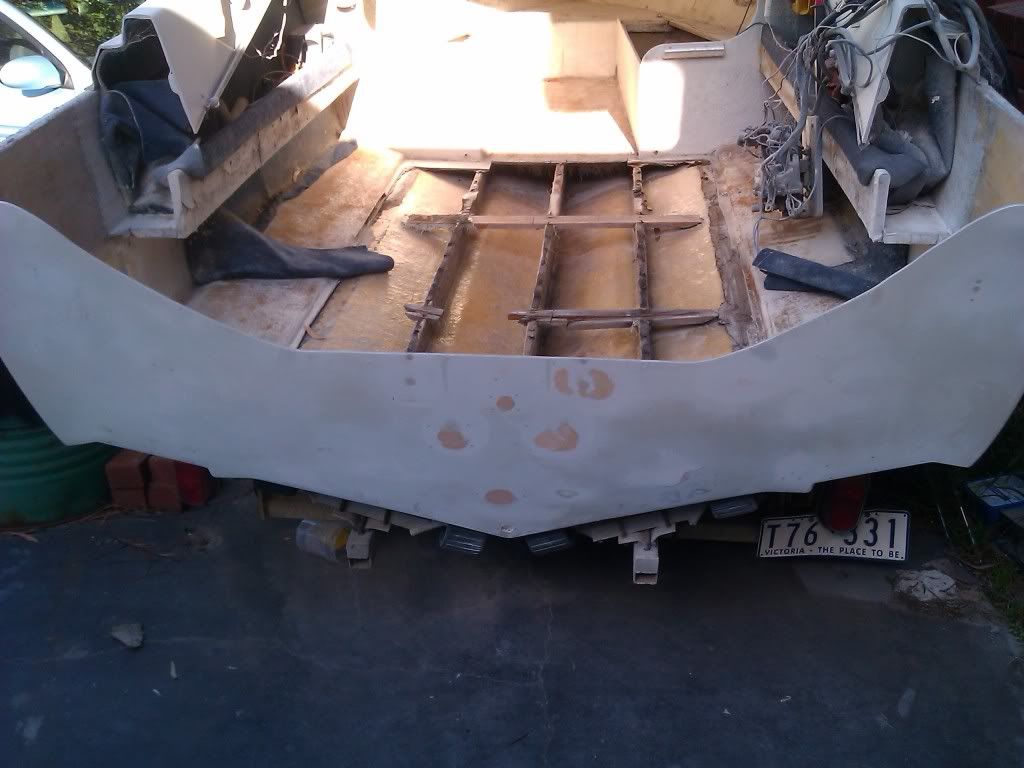
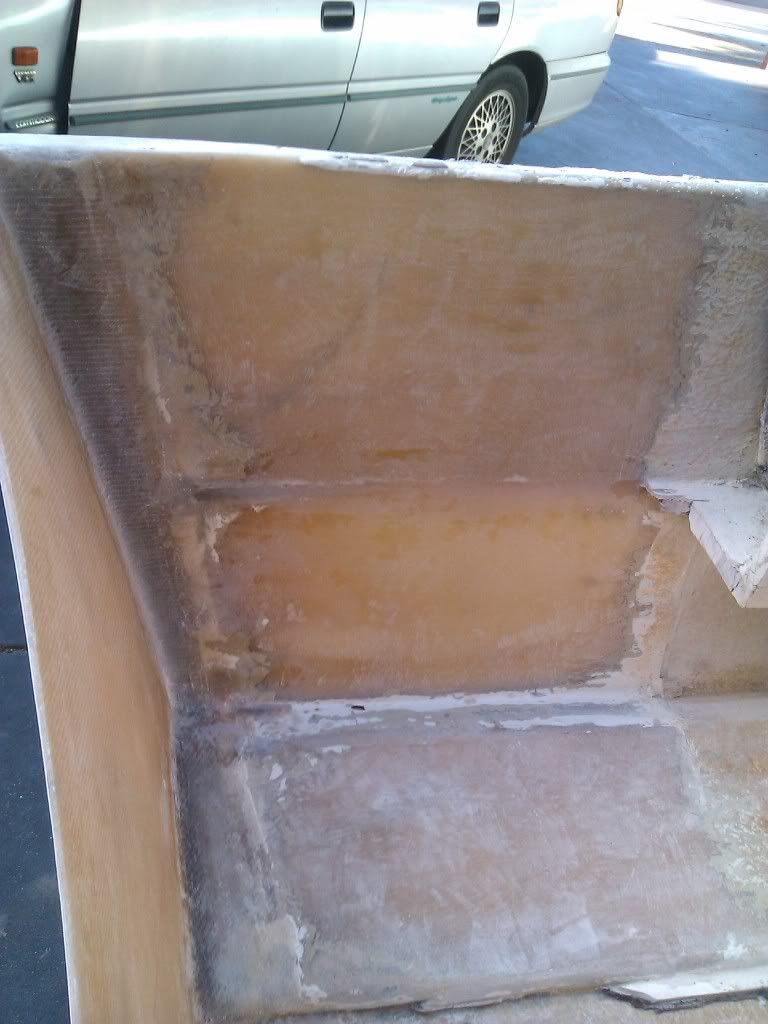
Did some more grinding where the stringers have been cut back so I can fill in the slight low spots to allow for tabbing the transom in.


