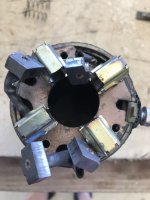
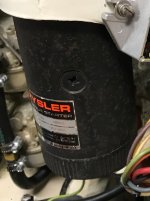
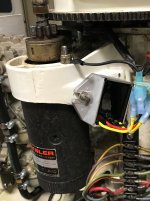
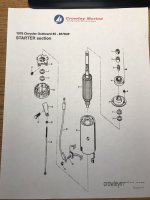
Appreciate your input dingbat.....very good advice. Took the starter off to check the positive terminal connection on the back, and to get to the main engine ground connection....much easier with the starter removed. Since I had it off, and it's 42 years old, might be a good time to have it checked out. Called several starter/alt repair shops.....as soon as I said "Chrysler" you could tell they didn't want to mess with it. "That's an antique" or "Just buy a new starter". If there is ONE thing I have learned about owing a Chrysler outboard, it's that you are pretty much on your own. I would have replaced the brushes since I was right there, but one of the sets has to be either brazed or spot welded to the body.....not simply bolted on. I don't have the equipment or knowledge to do either, so I decided to get opinions on this forum to see if they were still serviceable. Not ideal for sure, but sometimes you have to improvise, adapt, and overcome! Lol


")