dOb
Petty Officer 1st Class
- Joined
- Jun 14, 2010
- Messages
- 244
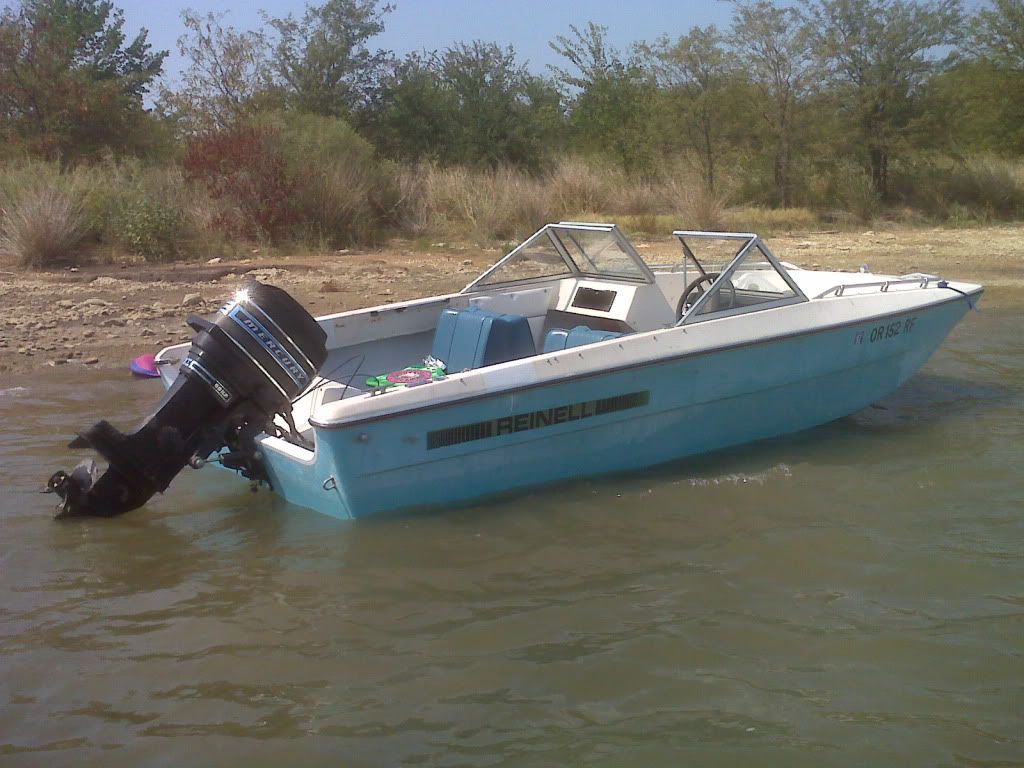
Re: The inevitable 1973 15? Reinell tri-hull restoration!
Re: The inevitable 1973 15? Reinell tri-hull restoration!
I?m back at it. I took some time for a little R & R. I spent last week at the gulf coast with the family for a much needed break. We tried to get a fishing trip in, but the times just didn?t work out.
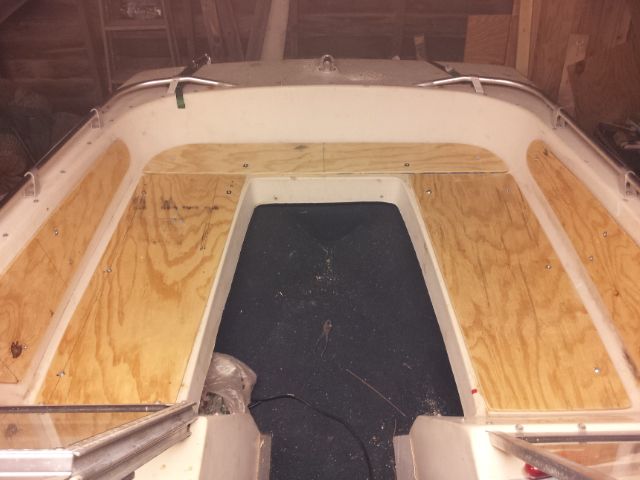
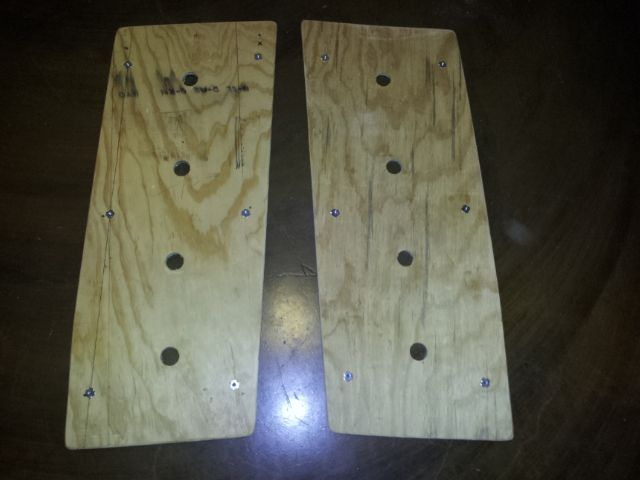
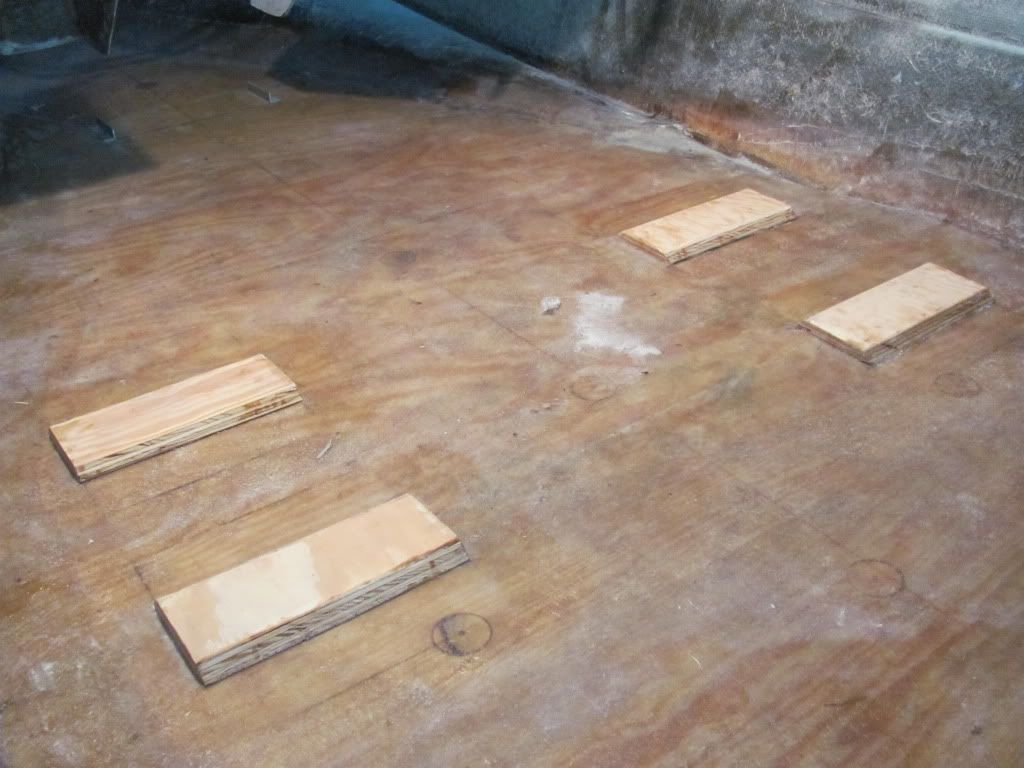
I made a little progress yesterday. I PB?d the seat mounts in place and got the battery pad glassed in. The battery box is the basic black box from WM. It was kind of big, and didn?t want to fit under my splashwell, so I cut it down about an inch. Now it fits perfectly.
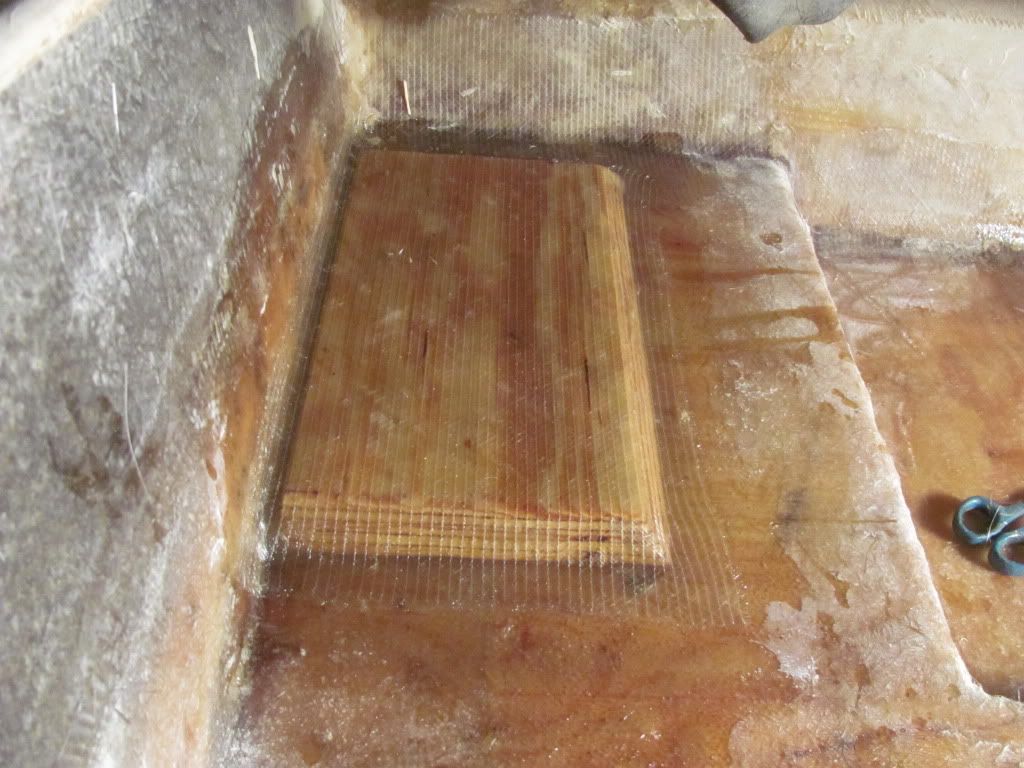
I used 1708 to cover the battery pad. I wet out the glass before laying it down. For small sections, this is the way to go. Very few bubbles to work out. And it conformed to the edge of the wood without having to be cut. One piece, no cuts, no bubbles. I like it.
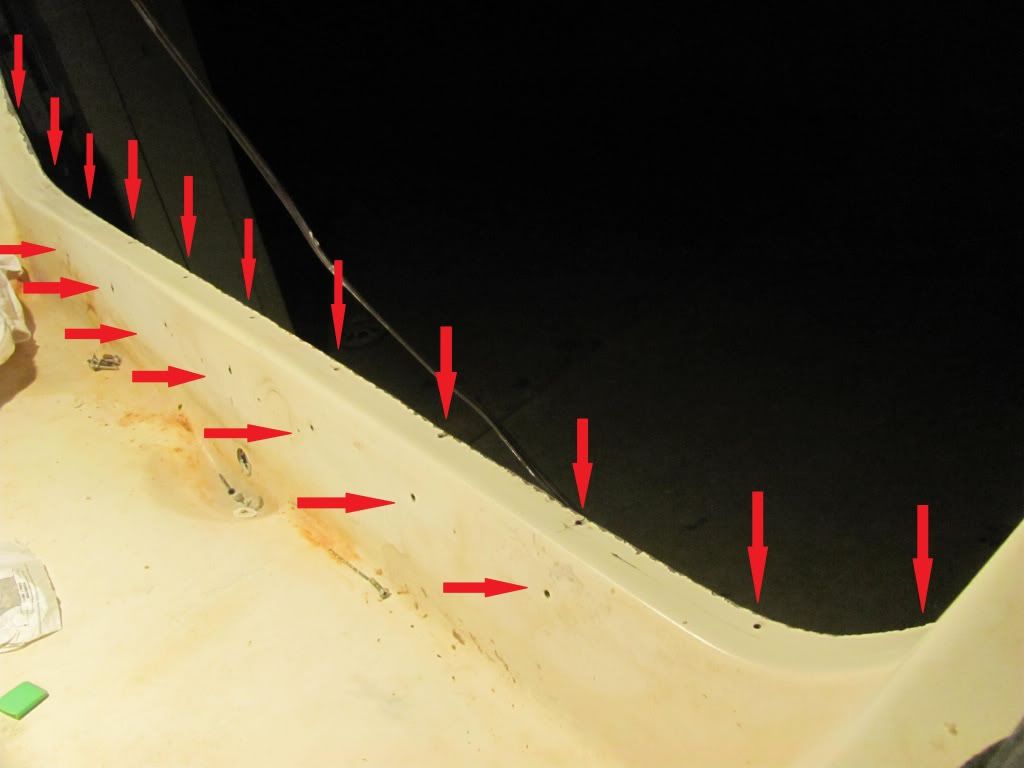
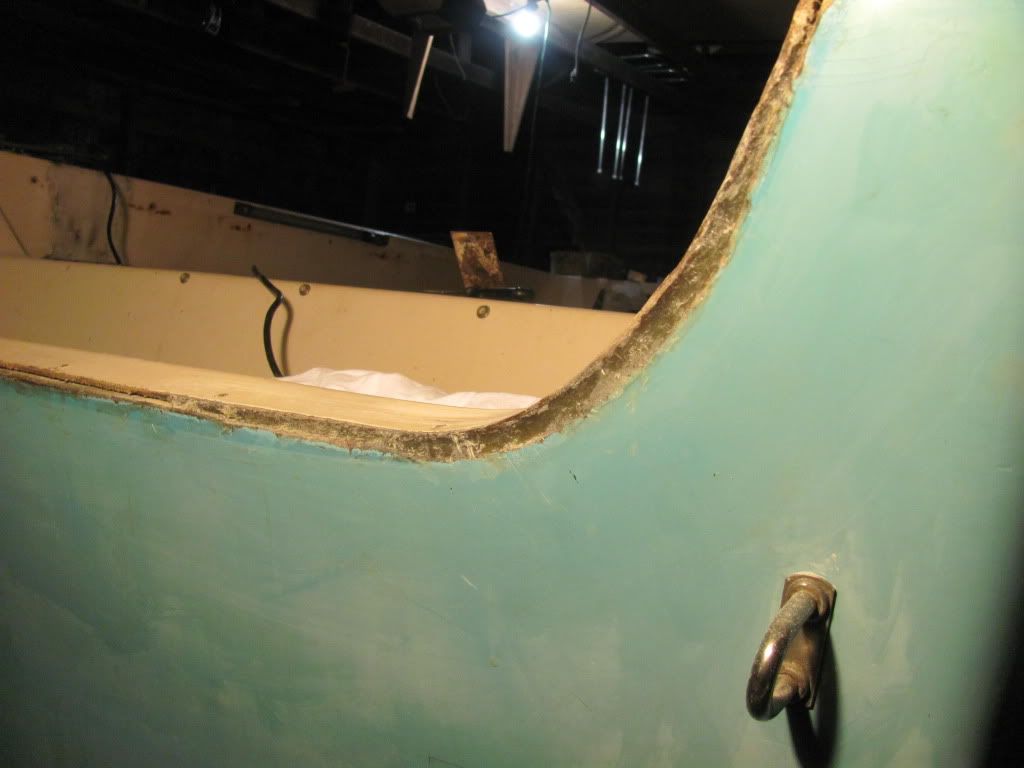
Sorry for the mess. I used the grinder to prep the area for the battery pad, and as usual, I found a few bumps and edges that I wanted to smooth out. Again, a boat load of dust.
Here?s a question: now that the deck is sealed, can I wash out the dust. There?s some under the bow seats that I can?t reach with the shop vac. Is it OK to spray it out, or at least wet mop? It should be around 102 when I get off work today, so I think it?ll dry up pretty quick.
Re: The inevitable 1973 15? Reinell tri-hull restoration!
I?m back at it. I took some time for a little R & R. I spent last week at the gulf coast with the family for a much needed break. We tried to get a fishing trip in, but the times just didn?t work out.
I made a little progress yesterday. I PB?d the seat mounts in place and got the battery pad glassed in. The battery box is the basic black box from WM. It was kind of big, and didn?t want to fit under my splashwell, so I cut it down about an inch. Now it fits perfectly.
I used 1708 to cover the battery pad. I wet out the glass before laying it down. For small sections, this is the way to go. Very few bubbles to work out. And it conformed to the edge of the wood without having to be cut. One piece, no cuts, no bubbles. I like it.
Sorry for the mess. I used the grinder to prep the area for the battery pad, and as usual, I found a few bumps and edges that I wanted to smooth out. Again, a boat load of dust.
Here?s a question: now that the deck is sealed, can I wash out the dust. There?s some under the bow seats that I can?t reach with the shop vac. Is it OK to spray it out, or at least wet mop? It should be around 102 when I get off work today, so I think it?ll dry up pretty quick.
")