The inevitable 1979 16? DeckCraft restoration!

nurseman

Lieutenant Junior Grade
Joined
Jun 2, 2013
Messages
1,045
Cool project dOb! I kinda like that deck boat design. Hull and trailer look good! Can't wait to see the rest of it.
 

dOb

Petty Officer 1st Class
Joined
Jun 14, 2010
Messages
244
I started the day with a whole lot of glassing. It ended up being about 8 yds. of csm. It went faster than I expected, probably because it was large , flat pieces. This will be the underside of the deck. These pieces will be flipped over and re-installed when the time comes. It was just convenient to glass them in the boat. It was big enough, and I didn't worry about drips.


I also sanded, primed and painted the motor this week. It's not perfect, but better tan it was. These pictures make everything look better than they do in person.


I used two rattle cans of the "original" color for a 1979 Johnson. It still doesn't have much shine to it. I saw that rustoleum had rattle cans of "clear coat" at the local store. Would this stuff give me shine and protection? Or would it bake off in the Texas sun and look like junk after one summer?
 

dOb

Petty Officer 1st Class
Joined
Jun 14, 2010
Messages
244
I've been debating the best way to run the conduit below deck for the controls and wiring from the console. After staring at it for days, I finally decided to cut through the stringer. This will give me the least amount of bend in my steering cable. I used “filler” or “PB” around the tube to fill the gaps. Then I used strips of 1708 to reinforce the stringer. I think the stringer is as strong if not stronger than it was before.


I cleaned the PVC connections with acetone and used Attwood 7200 (3M 3200) to secure the joints. It may be overkill, but if water gets in the tube (and it will) I don’t want it to leak below deck. I cut back the ends of the tube to make it easier to install the sub-deck. I vacuumed out the entire below deck surface and wiped it down with acetone. I want a clean surface below the deck so that when I pour the foam, it will “stick”. It makes for a very solid feel.


I used PB to glue down the sub-deck. Since the edges will be tabbed later, I was more concerned that the deck grab on to the stringers. It was hot and I was afraid that the PB would kick, so I grabbed the closest thing I could find to use as weight.


Woodonglass

Supreme Mariner
Joined
Dec 29, 2009
Messages
25,929
Like they say..."Whatever Floats yer Boat!!!" Yer makin progress in the right direction and she's lookin Good!!! What Paint did you use on the motor?
 

dOb

Petty Officer 1st Class
Joined
Jun 14, 2010
Messages
244
I used Moeller Marine Engine spray paint. It should be the color for a 1979 Johnson. It is still a little dull and showing some spray lines. I was debating getting another can just for the cap. Or wet sanding and then using the rustoleum spray can clear coat. Any thoughts?
 

Woodonglass

Supreme Mariner
Joined
Dec 29, 2009
Messages
25,929
I used plain old Rustoleum Pro Gloss white with Added Hardener. Didn't worry about matching the original Johnson Color. Did not use clear coat either. Found a place in Canada to reproduce the decals in Blue so it would match my boat. I like the results...
 

dOb

Petty Officer 1st Class
Joined
Jun 14, 2010
Messages
244
That looks great! I considered using white, but the boat is already white and I wanted a little contrast. Do you have a link for the decals?
 

dOb

Petty Officer 1st Class
Joined
Jun 14, 2010
Messages
244
Just noticed it's been ten months since my last post. It's been kind of a roller coaster since last summer. A couple of weeks after my last post we had a kitchen sink that wouldn't drain. That lead to tunneling under the house, which somehow ended up with me doing a full kitchen remodel including removing a wall. And to top it off, at the end of last year my job moved to Lithuania, with out me.

But that's just how it goes sometimes. I have a lot to be thankful for.

This year I started a new career. The sun is shinning and the lakes are up. And I just put in an order for foam and more resin!
I'm looking forward to catching up on some of the great projects here on iboats.

I'll keep you posted.
 

dOb

Petty Officer 1st Class
Joined
Jun 14, 2010
Messages
244
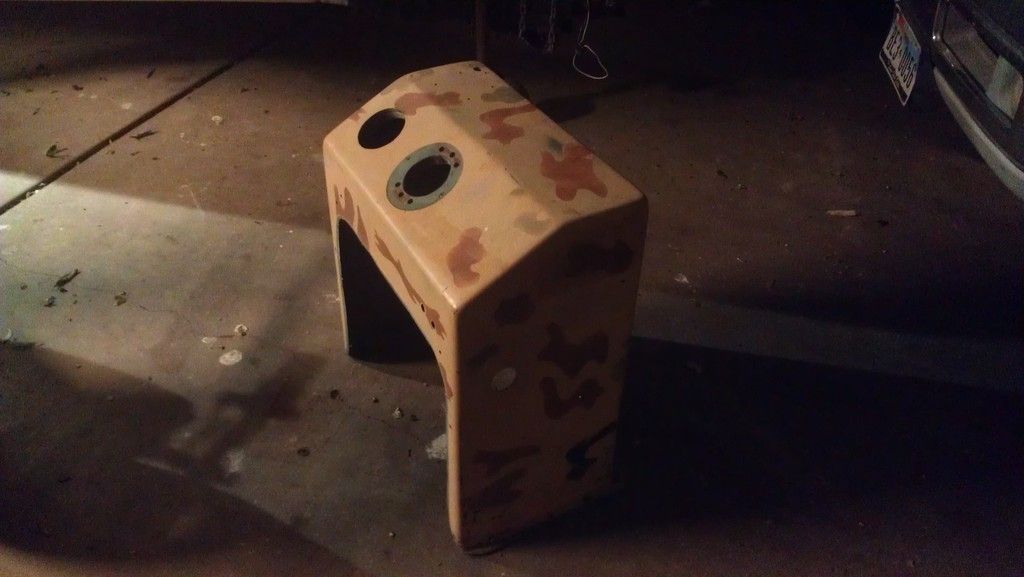
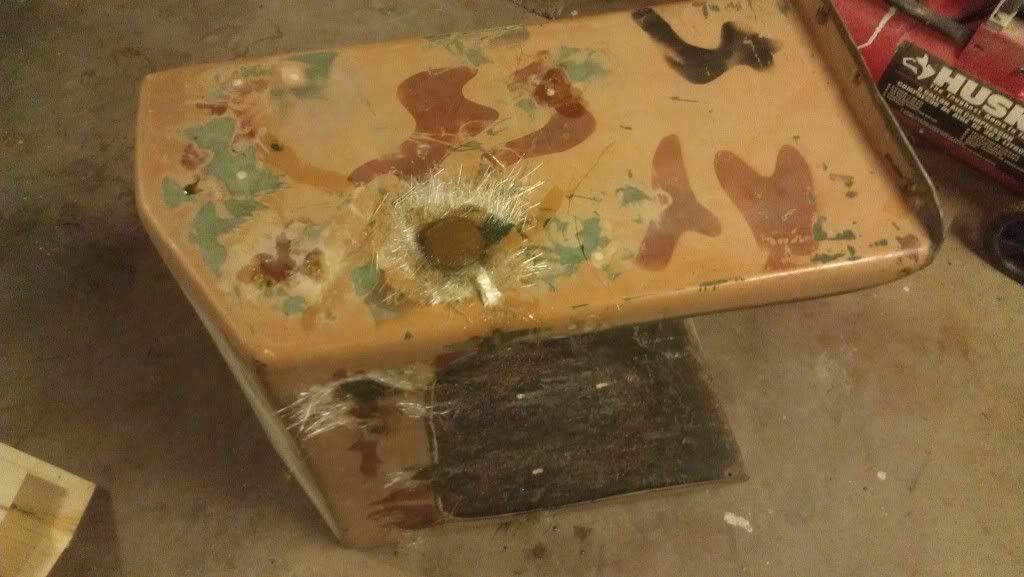
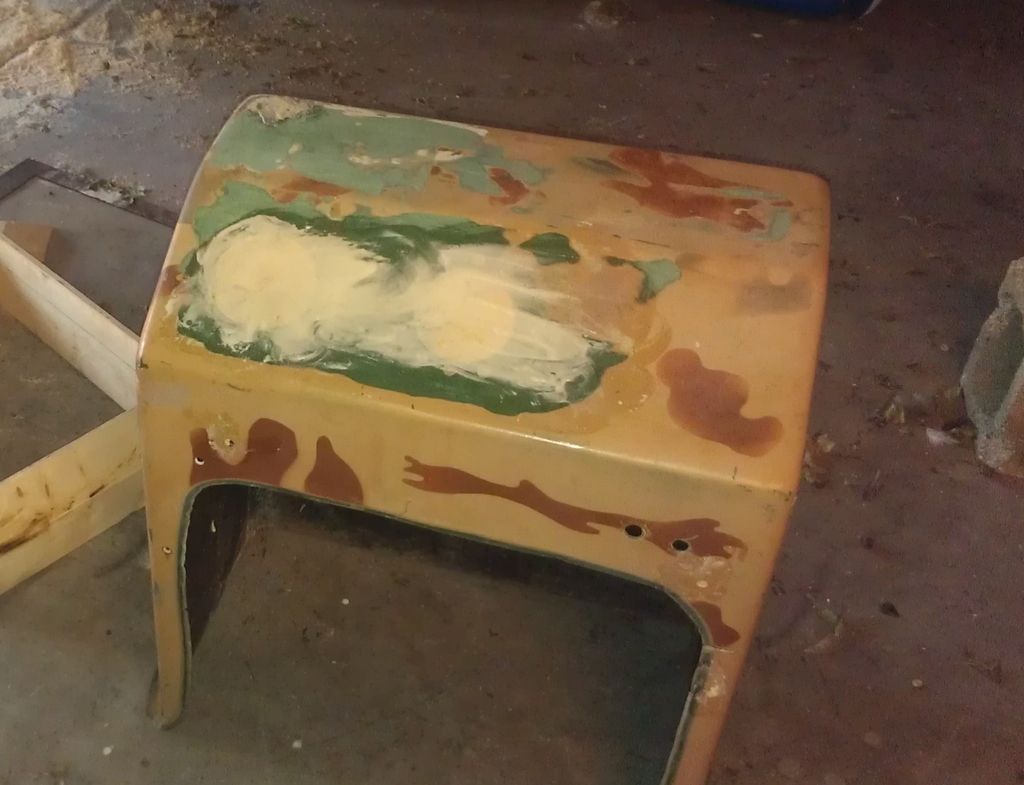
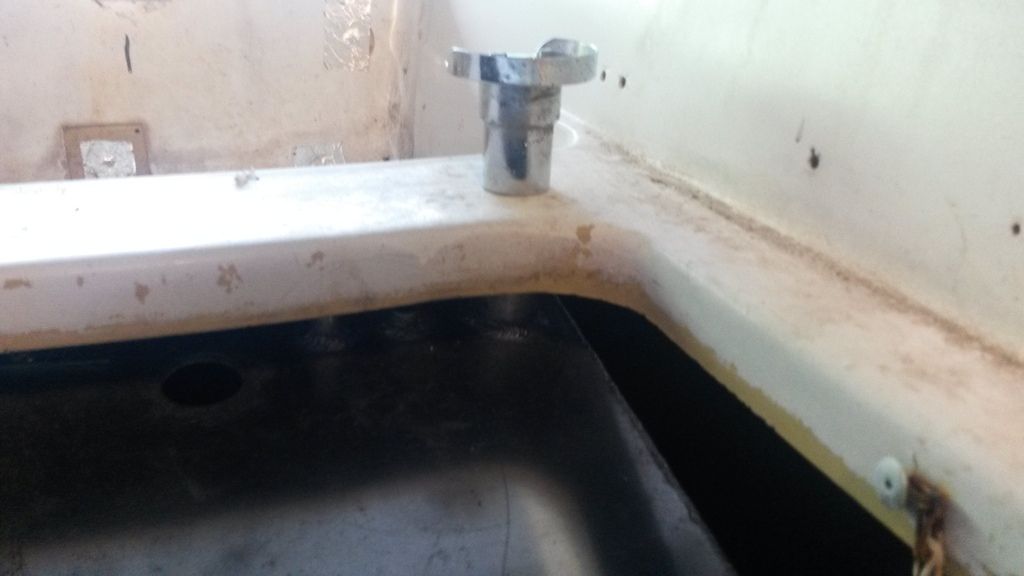
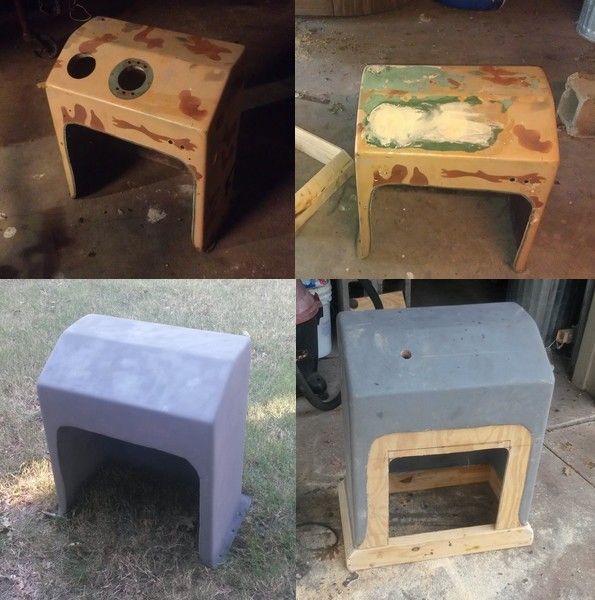
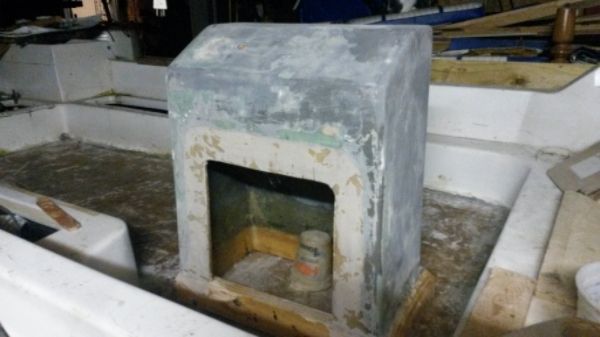
I?ve been working on the console off and on since I brought the boat home. It came with the boat, but it wasn?t made for this boat. I decided to cover all of the holes and re-cut as needed.

IMAG0128_zpslkp3xauz.jpg


IMAG0141_zps8d9f822e.jpg


da0199a6-9d25-4ab0-9374-4381cffa5f62_zpsh7fmq7mw.jpg


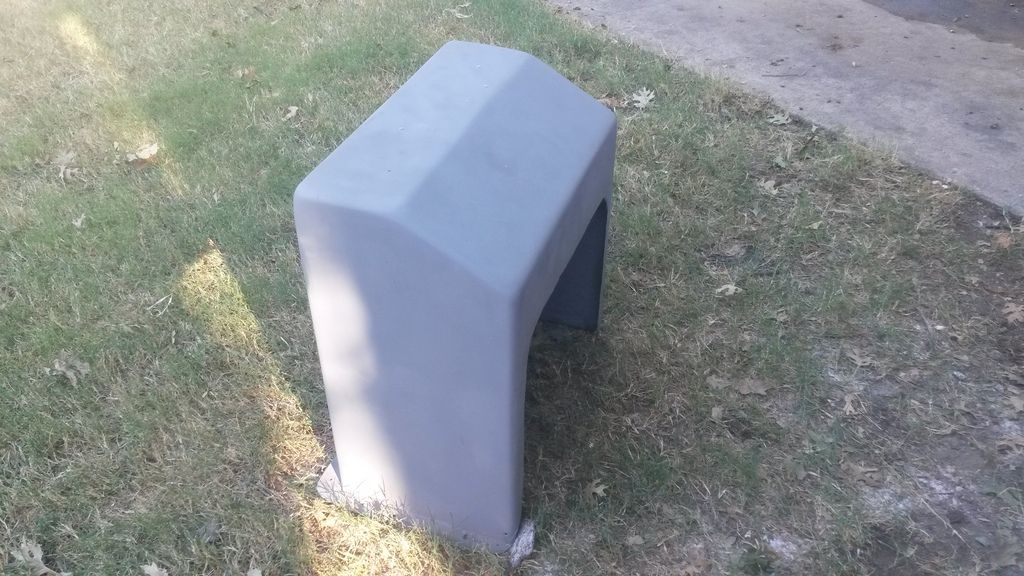
It?s been sanded and has one coat of primer. I?ll sand it again and start then decide if I want to paint it now, or wait until it?s installed. I still haven?t decided if I want to screw it in, or glass it directly to the deck.

20150801_181903_zpsrckxdro2.jpg


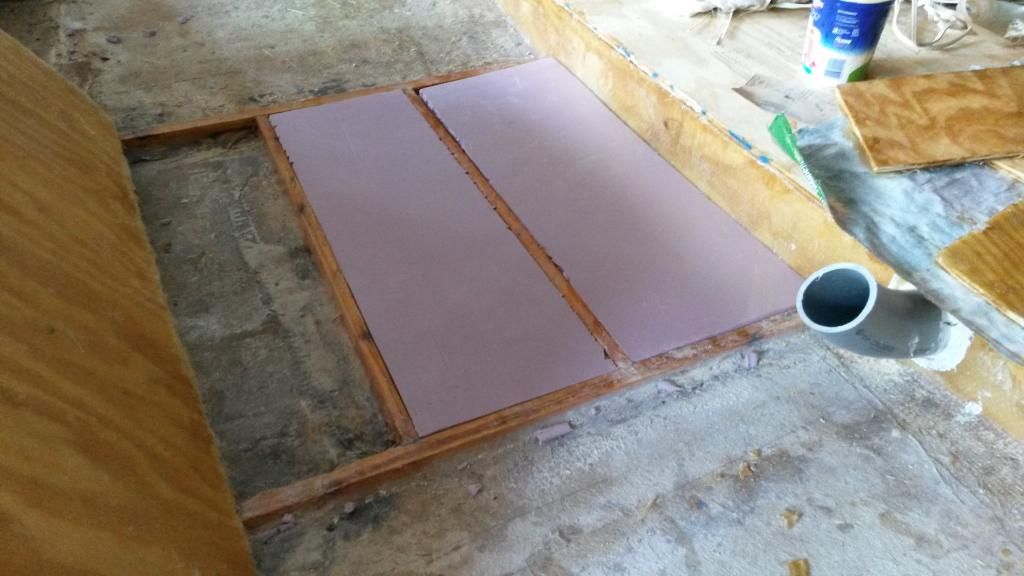
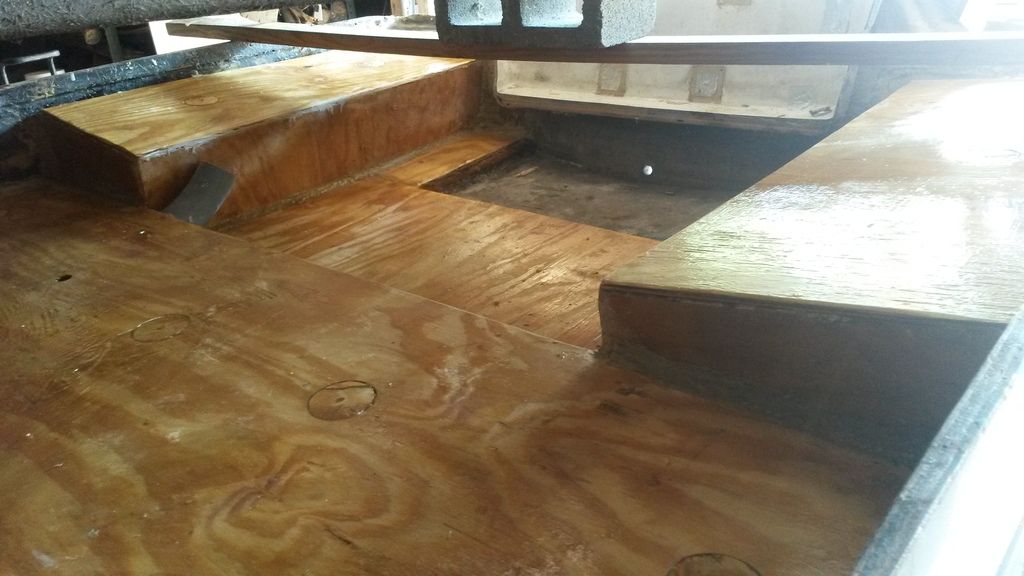
Also, before I installed the section of he deck that will eventually support the gas tank, I filled it with insulating foam sheets. I didn?t want to try to pour foam for such a small space and I also didn?t want to leave it empty. 2 sheets filled it perfectly.

20140906_125019_zpsxa2jiujk.jpg


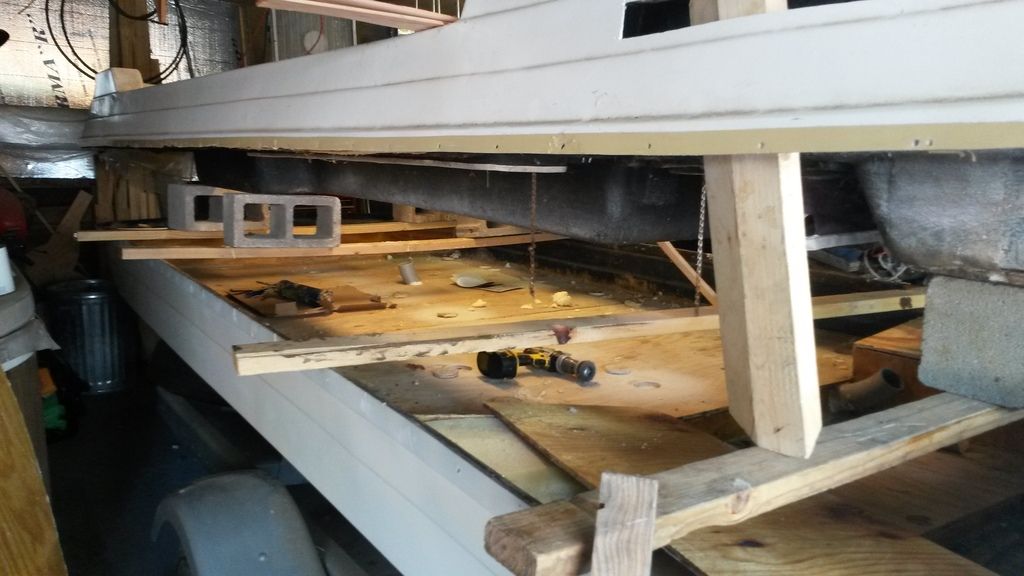
I finished foaming the deck. I still have to finish pouring foam in the bow section, and the two boxes on either side of the bilge.

20150801_135637_zpsxocmygkf.jpg


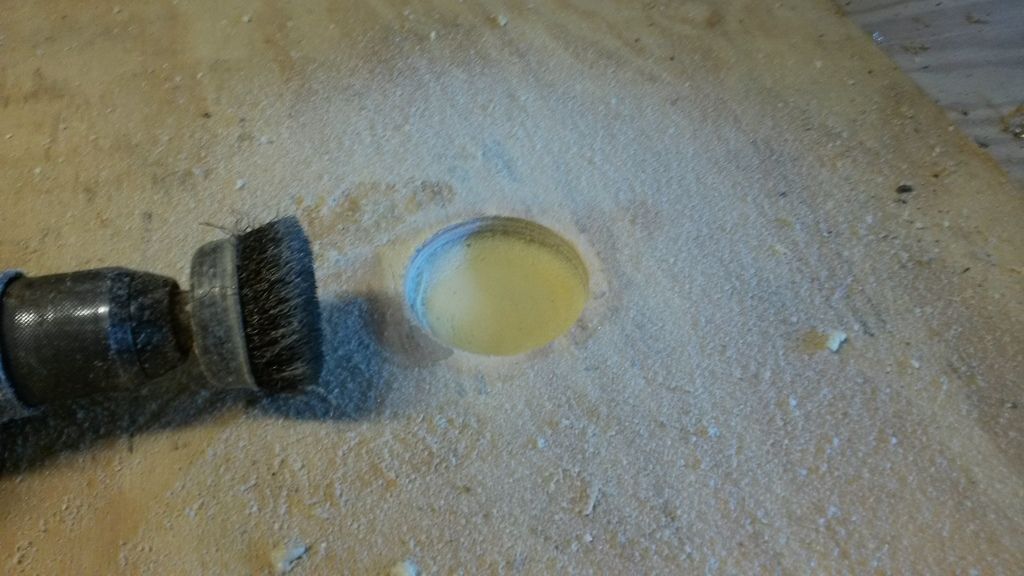
Here?s a tip ? after you pour foam, you will end up with these little mushrooms of foam that come out of your pour hole. After you cut off the mushrooms you?ll still have to cut the foam down in order to replace your plugs. I discovered that a wire brush on the end of a drill will make quick work of it. I have 23 holes, so this saved me a lot of time.

20150801_133440_zpszpsjqyor.jpg


Next step is to tab and glass everything on the deck, and then replace the cap.

It?s hot in Texas.
 

dOb

Petty Officer 1st Class
Joined
Jun 14, 2010
Messages
244
Question:
The original deck was the 1/8" molded upper half glued to a piece of 1/2 plywood, glued to the veneer that covered the lower deck. The plywood only extended as far as the actual usable deck. The veneer was paper thin.

On the rebuild, I used 3/8" plywood to cover the entire sub-deck area. Instead of building up the usable deck area with more plywood, I thought I would use some of the woven roving that I have left over to strengthen that part of the deck.

The entire thing has been filled with foam and feels sturdy to walk on.

Any reason that this wouldn't work?
deckoptions_zpsdqbdi7nk.jpg

Thanks.
 
Last edited:

dOb

Petty Officer 1st Class
Joined
Jun 14, 2010
Messages
244
Thanks. I'm glad it didn't set off any alarm bells. I also like that this approach weighs less than adding more plywood.
 

dOb

Petty Officer 1st Class
Joined
Jun 14, 2010
Messages
244
Not much progress. But I'll post what I have just to help me chronicle the build. I may need to look back here one day to see what I did.
I wet-out the sub-deck wood to get ready for fiberglass. I was also able to tab the majority of it. For a while the cap was living on a trailer in my backyard. But I needed the trailer so I had to put the cap on supports above the boat (2x4's and cinder blocks). I have to lean in under the cap to work.
Here's a picture of the boxes, gas tank platform and bilge area. I redesigned the boxes to drain towards the bilge. The boxes are filled with foam so I tried to keep the volume close to the originals. Other than the boxes, this area was destroyed when I got the boat, so I don't know what the original looked like. I think as long as the foam boxes are good, everything else should be fine.
20150815_103921_zpslzaqn57y.jpg
 

dOb

Petty Officer 1st Class
Joined
Jun 14, 2010
Messages
244
I lowered the top back onto the boat. Before lowering it, I painted the parts of the deck that wouldn't be accessible with the top back on.

This is not the original gas tank, but I knew that I would have room for it under the back seat. It also has a vent and will allow me to run a gas gauge. I knew it would be close, but this is the first time I've been able to actually see how it will fit.

20150901_183340_zpsozimmmw8.jpg


You can see that I will need to do some fiddling to make this work. The tank and filler have been moved forward for the pic so you can see the overlap.


20150901_183441_zpszkqtvsfr.jpg


I think I can cut 3/4" off of the filler, and cut the tank just above the lip, it will give me about 3/4" of clearance between the two and enough room to clamp the (very short) hose.
 

dOb

Petty Officer 1st Class
Joined
Jun 14, 2010
Messages
244
Here's a question - I cut the tank and gas filler to give me enough room for a short hose. Now I realize that the vent is also close to the top. A normal vent hose will crimp if I try to make the angle. So I bought a 90 degree PVC elbow that fits very well (I believe it was made for a manifold vacuum hose). Is there any issue with having a 90 in my vent hose straight out of the tank?
 

dOb

Petty Officer 1st Class
Joined
Jun 14, 2010
Messages
244
I've been good about making progress on the boat, but not so good about posting. I'll have more pics later.
The cap is reattached to the deck and I did some work on the console. I decided that I needed a few more inches of height and a larger areas for the switch board on the console. here are some pics -

concomb_zpss6n2w31i.jpg


e4889c17-a8e0-404a-860e-0c18167bc14f_zps3yrzk11d.jpg


The console has had another pass of filler and sanding. I plan to glue it down, and then glass it to the deck.

Most of what is left is sanding in prep for primer and paint. Just waiting for a couple of days in the 70s.
 
Top