The inevitable 1979 16? DeckCraft restoration!

dOb

Petty Officer 1st Class
Joined
Jun 14, 2010
Messages
244
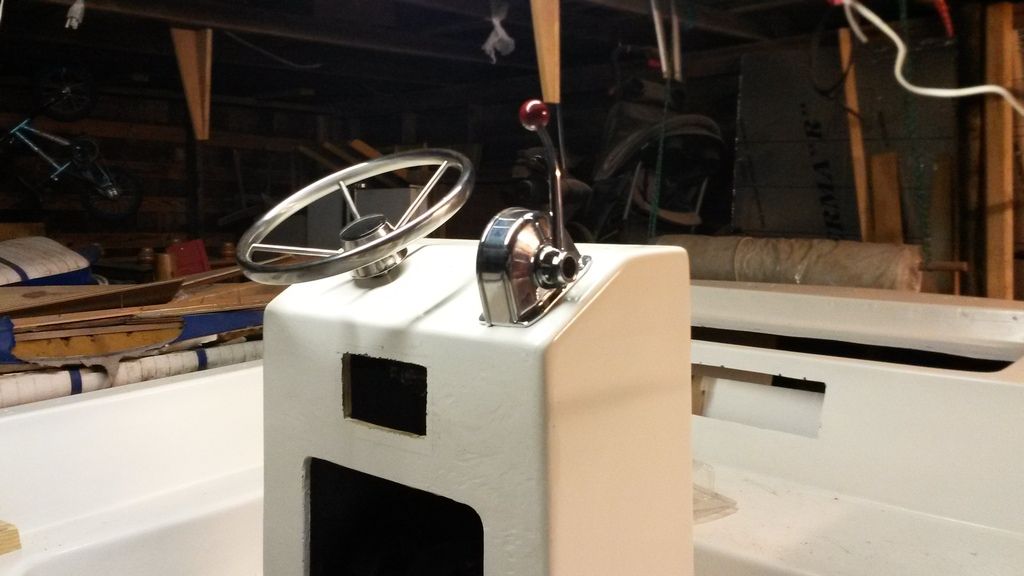
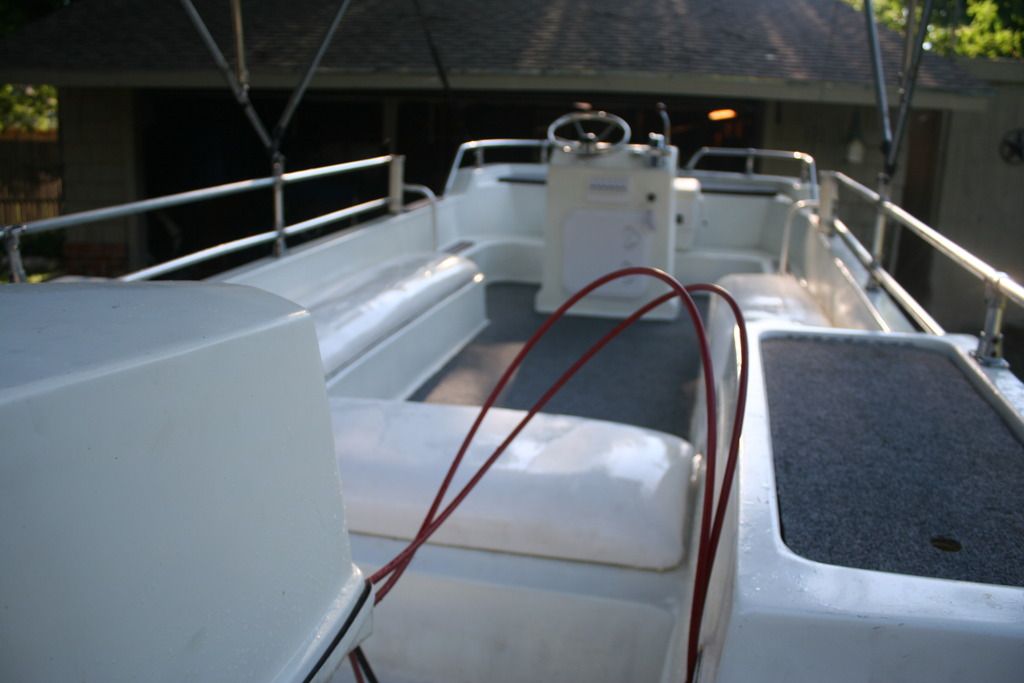
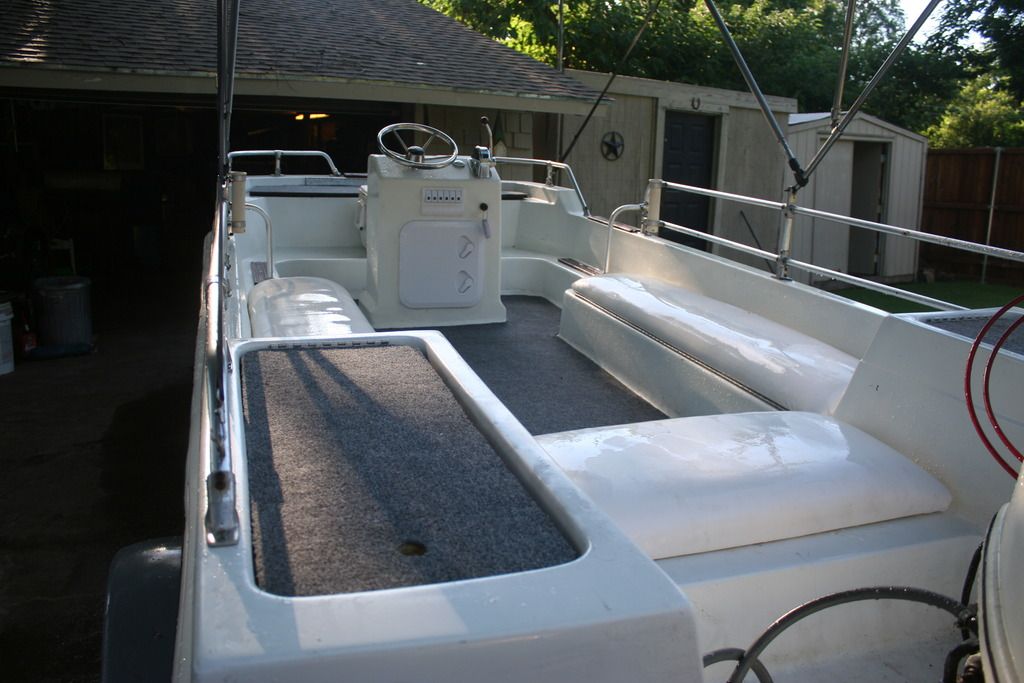
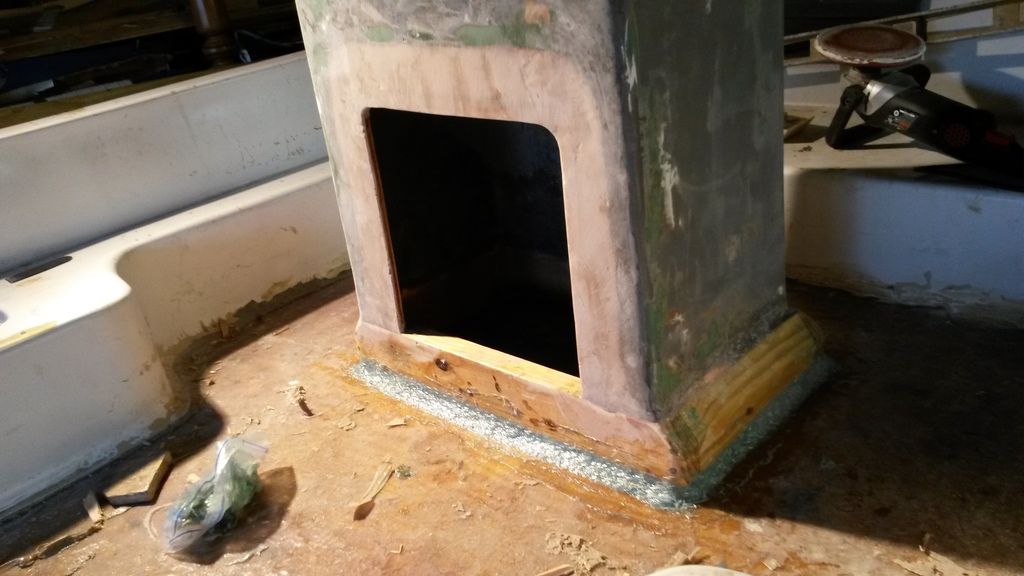
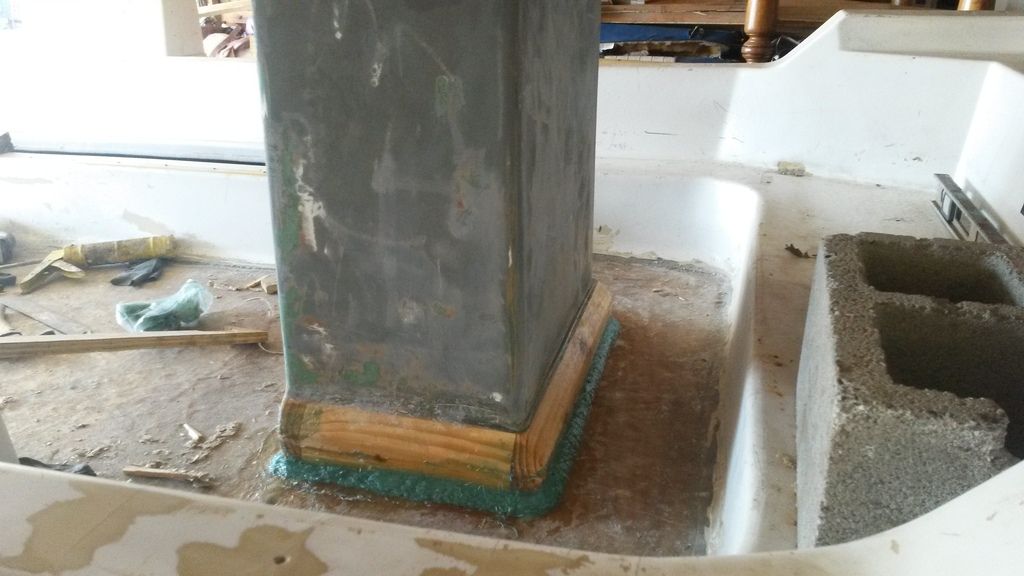
I glassed the console to the deck. I first glued it in place with PL Premium. Then I used a mixture of resin, glass fibers, cabosil and glass bubbles to fill gaps and create a smooth transition to the deck.

20160117_172240_zpstjpdgzsl.jpg

20160118_100455_zps010dm5g9.jpg


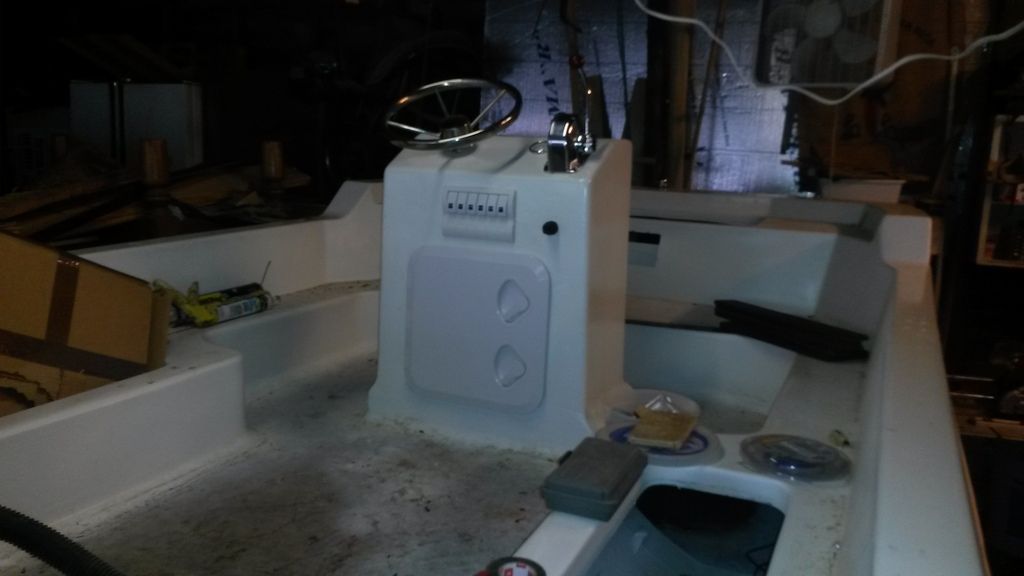
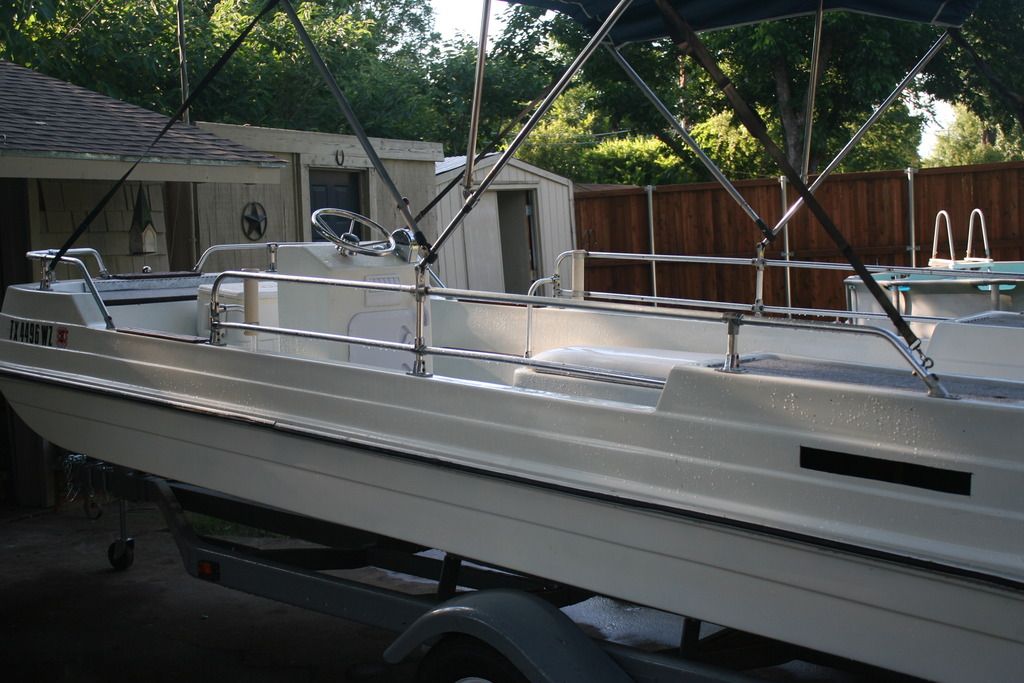
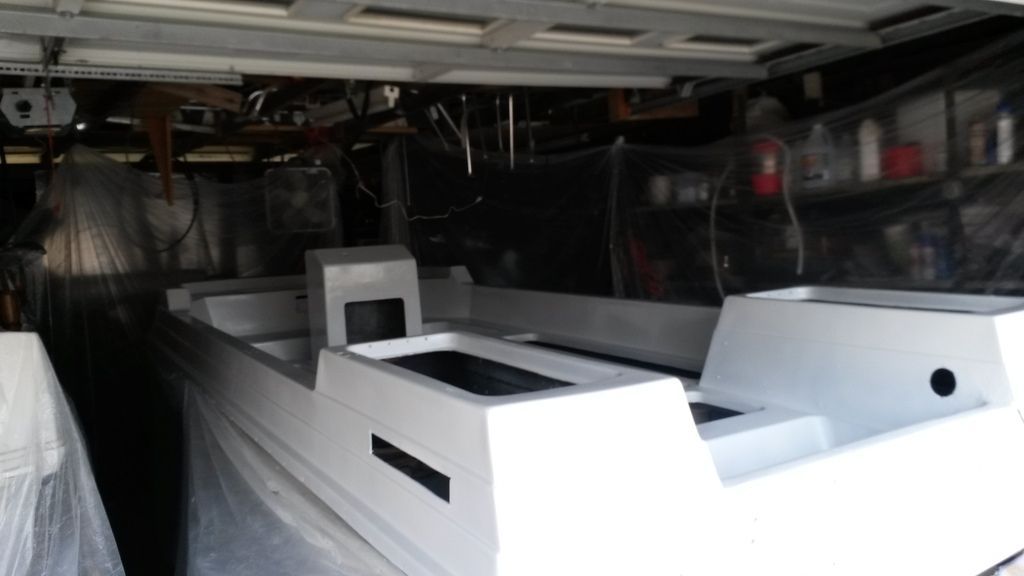
After some sanding and filling and sanding and filling and....I decided to take advantage f the warm spell we had and go ahead and paint.
It's not perfect. I could have spent another month sanding everything smooth, but I needed to get on with it.

20160220_144651_zps7atew6zx.jpg


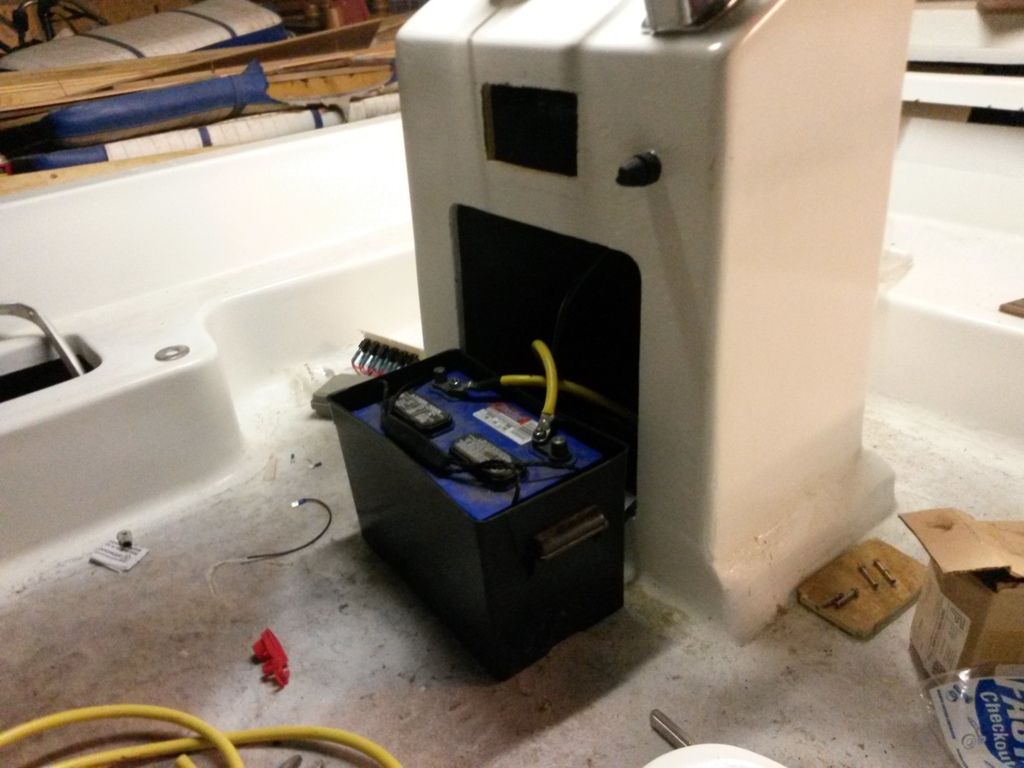
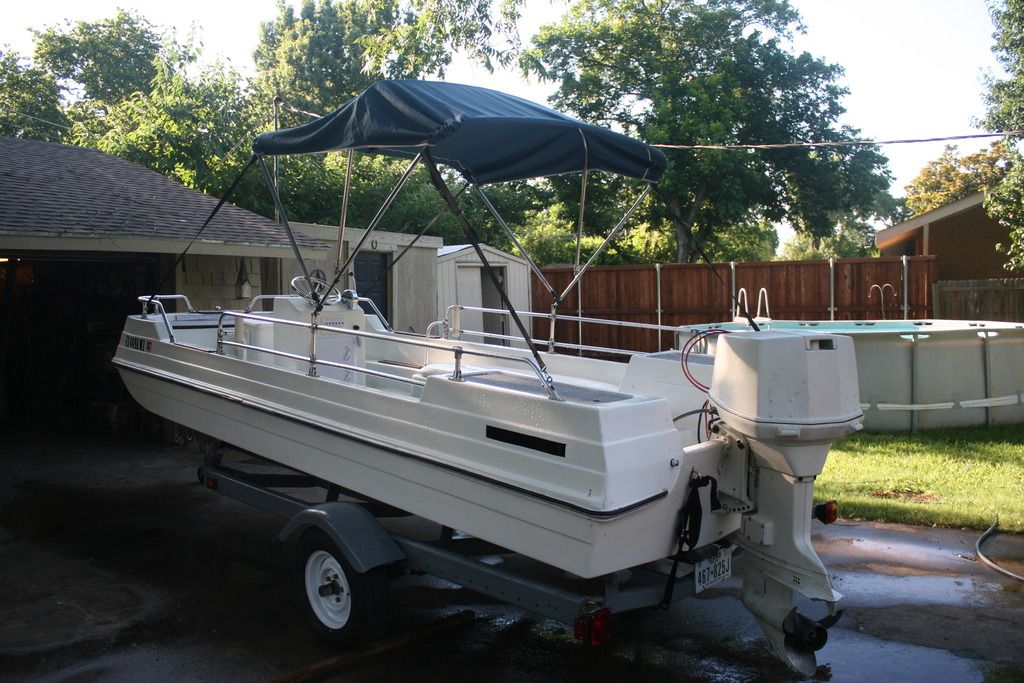
This past week I managed to get the motor back on. I'll post some pictures soon. I also finished installing the gas tank. I hope to have the controls an steering installed this weekend.
 

dOb

Petty Officer 1st Class
Joined
Jun 14, 2010
Messages
244
Here's an update. Since last posting I installed the steering, controls and battery cables.. I'll try to get better pictures up soon. I also wired and installed a new ignition switch. When I drilled through the console for the ignition, I used the wrong drill bit and over-drilled the hole. After about a week of staring at it, I decided to use a metal washer to allow me to tighten the ignition switch. Now that it's done, I'm kind of glad it worked out that way. I like the way it looks and I think it's probably a better hold than the original plan. Here are some pictures.

20160323_230955_zpsorr9uucd.jpg


20160416_221923_zpsz19cedvz.jpg


The battery cables run under deck and attach to these posts in the stern. This will allow me to connect the motor locally and also to ground anything in the aft section of the boat. I'll be sealing the wood with polyurethane and shrink wrapping the cables at the terminals, red and black.

20160323_231022_zpsk42rlsnj.jpg


After the battery and controls went on, I gave the motor a try. I charged the battery and added a little seafoam to the gas. She came to life and peed like a champ. The idle sounded a little high, but I can mess with that latter. This week I'm putting the rub rail back on. Then it's time for seats and carpet.
 

dOb

Petty Officer 1st Class
Joined
Jun 14, 2010
Messages
244
Not a great picture. I may have to use a real camera from now on.
I wired the bow lights, anchor light, bilge pump and gas gauge. I found a hatch cover online that was just about the same size as the opening that I made in the console. I had to build up the inside walls a little to give me something to attach it to.

20160519_120757_zpsakwvtybc.jpg


The switch box has built-in fuses for each line.
Here's a question: I have attached an inline fuse coming from the battery to the switch box. The fuse is from the original boat wiring. I'm sure it's fine, but what would be the recommended size of fuse for this purpose?
 

dOb

Petty Officer 1st Class
Joined
Jun 14, 2010
Messages
244
I started work on the seats today. The three lower will have foam padding and vinyl. The three upper will covered in carpet.


dOb

Petty Officer 1st Class
Joined
Jun 14, 2010
Messages
244
I've been trying to figure out a way to run a seal around the top of my motor. The actual part is a little expensive and it seems like such a basic part. This is what I came up with.
I found some weather stripping at the hardware store. It has a 1/4 inch lip. I also found some 1/4 inch double sided tape at a fabric store. I ran the tape around the outer edge of the lid, and then stuck the weather stripping on. So far so good. The tape claims to be water resistant.


I also tore out the old foam liner and replaced it with some mylar-bubble insulation. I used spray adhesive and aluminum tape to install.


This should keep the noise down a little.

I've done a few other things and got to take her out a couple of times. I'll post more pics later.
 

dOb

Petty Officer 1st Class
Joined
Jun 14, 2010
Messages
244
Carpet and vinyl installed. The vinyl was left over from the last project. I just stretched it over the original padding and stapled for underneath. The steps are the original wood. I sanded them and used a little teal oil.
When I bought the boat it came with pieces of different bimini tops. I had to Frankenstein them together to make them fit. I also had to cut away a couple of feet of the top and stitch it together.

IMG_9129_1_zpsx2ro9rly.jpg

IMG_9127_zpsha2eprd8.jpg


IMG_9115_zpsltdmm6xg.jpg


IMG_9117_zpso0i1x1lp.jpg


IMG_9118_zps8bxmkjwr.jpg


IMG_9120_zpsu1lhndvi.jpg


IMG_9116_zpsctdwnqnv.jpg


I replaced the carb gaskets, the fuel filter/pump and all of the fuel hoses. I ran some seafoam through the motor. I also changed the water pump gaskets and drained and refilled the lower unit oil. It runs well.

There are still a lot of things that I want to do, but she's good enough to start putting the water.
 

Frey0357

Petty Officer 1st Class
Joined
Mar 13, 2014
Messages
313
Good work there dOb! Congrats on the project, splash pics?

Frey
 

dOb

Petty Officer 1st Class
Joined
Jun 14, 2010
Messages
244
Thanks. The official splash will be this weekend. I will post pics and maybe a video if my phone will cooperate.
 

dOb

Petty Officer 1st Class
Joined
Jun 14, 2010
Messages
244
Splashed last weekend, but no pics. Spent all day on Lake Texoma. Hours of pulling kids on a tube and the boat performed really well. It was a little windy for my taste but not too bad. This boat has a lot of spray off of the bow. I have a plexiglass windshield that I haven't installed yet. I'm not sure if I will. It just seems like another flat surface to slow me down.
Pictures next time for sure.
 

dOb

Petty Officer 1st Class
Joined
Jun 14, 2010
Messages
244
I guess this will count as a splash pic. Still working some things out. I think im going to pass on the windshield. More than likely it'll just stay wet and I won't be able to see through it anyway.
 
Last edited:

dOb

Petty Officer 1st Class
Joined
Jun 14, 2010
Messages
244
I've been out a few times now and I noticed that the drain on my splashwell is right at the water line. Add a couple of people and I've got a two or three inches of water. when I'm moving it all drains out. Other than making the splashwell dirty I don't really see a problem but I'd like to keep it dry(er) if possible. From what I've read it looks like a scupper valve may help. I found one with a rubber flapper that fits over the drain. Any one have opinions or experience with these?
 

dOb

Petty Officer 1st Class
Joined
Jun 14, 2010
Messages
244
It's been a while since my last post. I've made a few additions. I keep finding things to do. Pics to come later. Here's the big news - I haven't been on the water since last November. I pulled the boat out to clean it and realized the trickle charger wasn't connected. Just for grins I put some Stabil in the tank, hooked up the hose, and gave the key a turn. It cranked right up! Should be back on the water next week.
I plan to fill the tank with fresh gas, but wondering if there are any "out of storage" maintenance things to check before I head out. We didn't really get a winter this year in Texas, so I'm not concerned with any cold weather damage.
 
Top