transom and Stringers

jigngrub

Fleet Admiral
Joined
Mar 19, 2011
Messages
8,155
Also, I think that warning that a product is not for use "below the waterline" means the product is not intended to be continuously immersed in water. I don't think it means you can't use it on the dry side of the hull encapsulated in fiberglass...

The "not for below the waterline" wouldn't be that much of a concern for me either, you're supposed to keep your boat dry on the inside eh?!

My concern would be with the "Not for structural or load bearing applications", transoms are a structural member of a boat and if you hang an outboard motor on the transom I would consider that a load bearing application with both the weight of the motor and the forces applied to the transom while operating the motor.
 

jc55

Senior Chief Petty Officer
Joined
Nov 3, 2006
Messages
665
I read that many, many boat builders(ground up builders) use it. I don't have any kind of agenda but consider this.

By the time you replace your transom, it has been wet or saturated for 10+ years already. I think that's a fair assumption. If your transom has been leaching water through the back for 10 years, it will go through your Titebond III layers just like it has in your production plywood layers.

After having pulled 3 transoms, I like the idea of having a layer of glass and epoxy or resin between the back half and front half of my transom instead of essentially having one, 1.5" layer of plywood. Just conversation, don't want to offend anyone.
 

JASinIL2006

Vice Admiral
Joined
Feb 10, 2012
Messages
5,713
When I removed the factory transom from my boat, I don't believe the two layers of plywood were even glued together, much less epoxied or otherwise resined. Not that we all don't aspire to do better than original work, but they clearly weren't too worried about it.
 

CT River Runner

Petty Officer 2nd Class
Joined
Jan 5, 2015
Messages
115
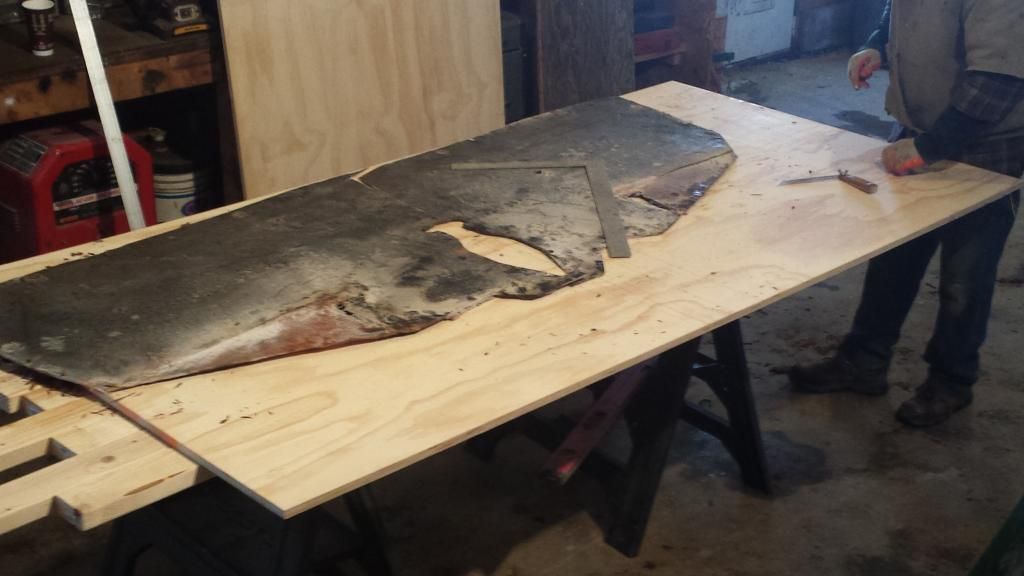
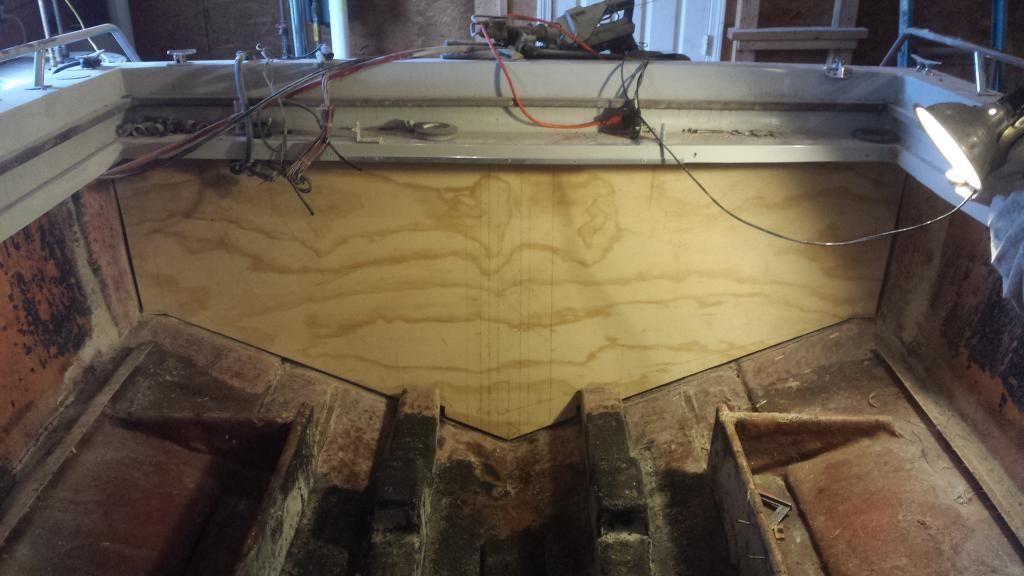
I hear ya fellas. First of all, the transom won't be submerged in water....hopefully. The ply will be completely wrapped in fiberglass. So far I've done the research, seen the all the strength tests. The tb 3 well work fine for this transom. I have an I/o, not an outboard. The stress on the transom is not as bad as an outboard, because of the outdrive Tranny being at a 45? angle takes most of the pressure. I don't know the actual specs. I'm curious to how nursemans boat is going. I'm doing it the same way. My clamping procedure will be different. Here are some progress pics for today. Please tell me what you think
 

kcassells

Fleet Admiral
Joined
Oct 16, 2012
Messages
8,738
Oh....terrible just terrible I would.... LOL! Only kidding. Looks great!
Did you do GRUBs DOO test yet?
keep er going.
 

CT River Runner

Petty Officer 2nd Class
Joined
Jan 5, 2015
Messages
115
Took me a little while to get my measurements, then pop and I dry fit it. Puzzled it back out to use asa pattern and to glue and screw.
 

jc55

Senior Chief Petty Officer
Joined
Nov 3, 2006
Messages
665
Great work and nice fit. Looks like you have good access on this transom.
 

CT River Runner

Petty Officer 2nd Class
Joined
Jan 5, 2015
Messages
115
Kcassells. .....I figured I'll leave that test to him to grab a hand full of dog diarrhea, squeeze and smash it really hard, let it ooz out, then he can open his hand and smell to see if it's still there.
 

Woodonglass

Supreme Mariner
Joined
Dec 29, 2009
Messages
25,929
Looks to me like ya dun rite good!! TIP: to keep the two pieces aligned when you go to glue them up drive 4 nails in one panel about 1/2 way in and then snip the heads of so about 1/4" sticks up. Get the two pieces aligned and push the nail points into the wood then pull em apart. spread the glue then get the nail points aligned back in the holes. this way it won't slip out of alignment when you start putting in all the screws. Works Great!!! After ALL the debate that has gone on about your transom and the glue, I'll say this, Epoxy is proven to be one of the best adhesives there is today. It's also one of the most expensive. Marine Plywood is one of the best Plywoods to use when building a boat. It's also one of the most expensive. Not everyone Wants or needs to use the MOST expensive materials to do their projects. This forum has Plenty of examples of successful projects done exactly they way you're doing your's. If you follow up with proper care and maintenance you're Grandkids will be able to enjoy this boat and your efforts. Your transom will be Structurally sound and worry free. Remember 60 years ago they didn't have all these fancy adhesives and some of those boats are still going strong due to good care and maintenance. It's still not to late, sooo, if you wanna use epoxy go for it, or if you want to use poly and CSM..Go For it, or if you wanna us Construction Adhesive (PL) go for it. All of em have been used before and will be used in the future and ALL will work. They all Have their Pro's and Con's. Everyone has their preferences and ALL will work. It's YOUR boat and you should go with the one that makes the most sense to you. We as iBoats members all have our preferred methods and as you can tell, we are NOT afraid to "Put em out there". It's up to you to sort em all out and then make your best decision. It can get confusing!!!;)
 

jigngrub

Fleet Admiral
Joined
Mar 19, 2011
Messages
8,155
Let me know grub?

I'll be doing a transom replacement soon, as soon as it warms up and I'll let you know when I start and you can see how I do it... but I'm going to have to warn you in advance, it won't involve any tb3 or $130 a gallon epoxy putty so you may not want to look.

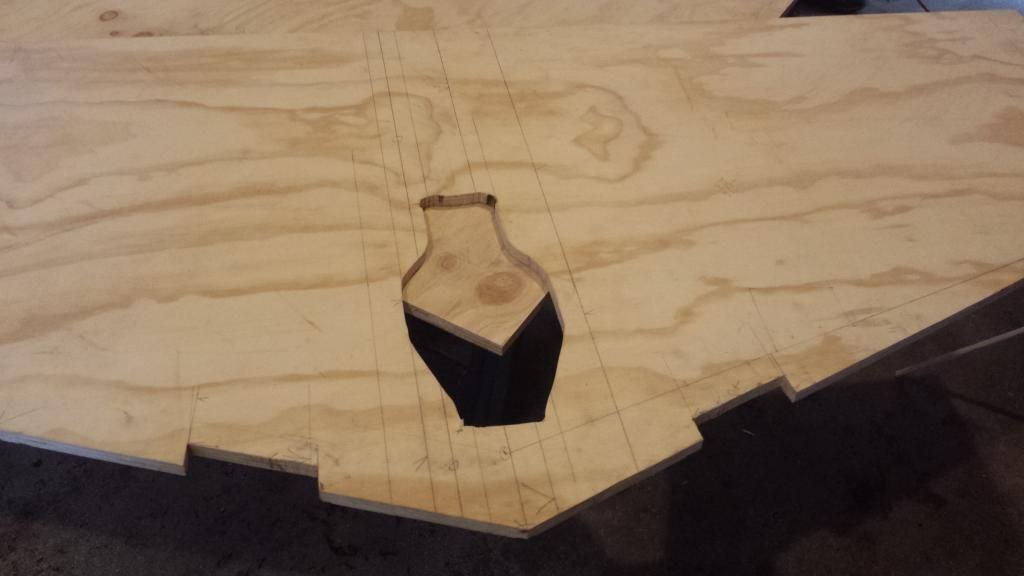
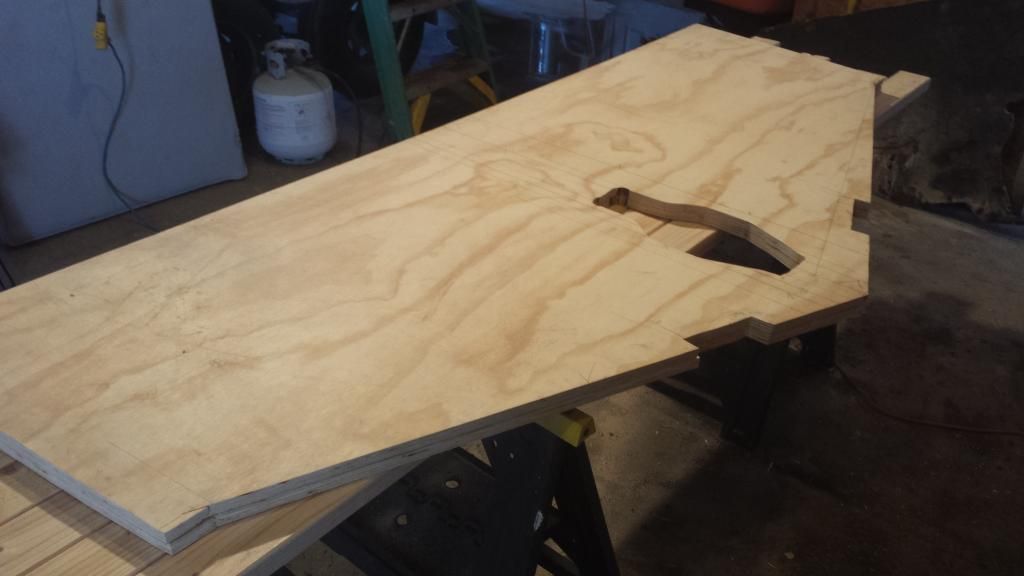
btw, what thickness plywood did you use to achieve the 2" thickness? It looks like you did a good job cutting it to fit and the key hole looks good too.
 

CT River Runner

Petty Officer 2nd Class
Joined
Jan 5, 2015
Messages
115
Grub, I used 2 sheets of 3/4 ACX in which gave me my 1 1/2". Then my hull thickness is exactly 1/2". So now I have my min of 2". Soon I will be gluing it, and laying 2 layers of 170 biaxle. I then will have my max measurement of 2 1/4". It's going to work out perfect and she's going to be as strong as an ox! When I dry fit the first sheet I cut 5/16" shims for the bottom, my old man traced or the key hole. I drilled four 1/2" holes in the corners and cut it out with a jig saw. I left it a s&*! hair to big so when it's glued I will sand it to fit prefect. Then I will put a few quick coats of resin over that end gain.
 
Last edited:

CT River Runner

Petty Officer 2nd Class
Joined
Jan 5, 2015
Messages
115
you may not want to look....grub

Grub, I'm not that type of person. I can't wait for your project! This is an excellent learning experience for me. Thanks to all of you here, I was able to make a decision that now I know will be strong and safe for me and my family. I may have made a few cheaper decisions, but all in all she will float and cruise at 45 mph like she was made to, when she was born. Please let me know when your starting your project so I can fallow.
 
Top