InMotion
Commander
- Joined
- Nov 3, 2011
- Messages
- 2,080
Re: 1964 Starcraft Jet - Rebuild
Ok guys... finally getting back at this!!! Yeh!
Tanks.... going to go with 2 tanks. Instead of under the bench seat at the back, they are going to go under the 2 foot area between the back bench and the splashwell that is going to be covered in as sort of a sundeck if you will. Vents on the top... open under the bench seat should provide sufficient air flow.
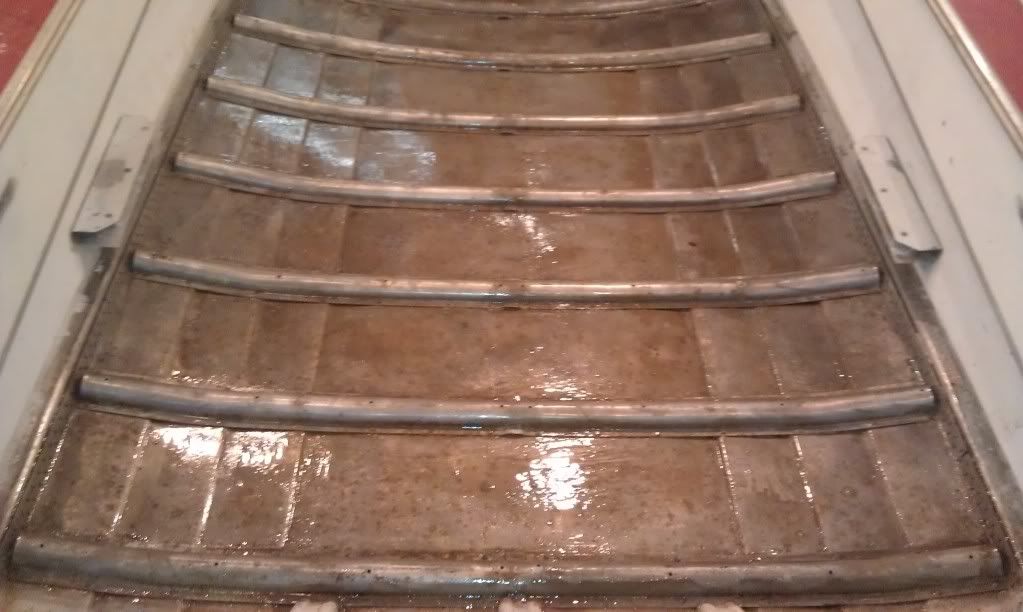
Tomorrow am --- wash of the inside of the boat.
Let dry for two days or so...
Order gluvit
Etch
Paint.
Let dry
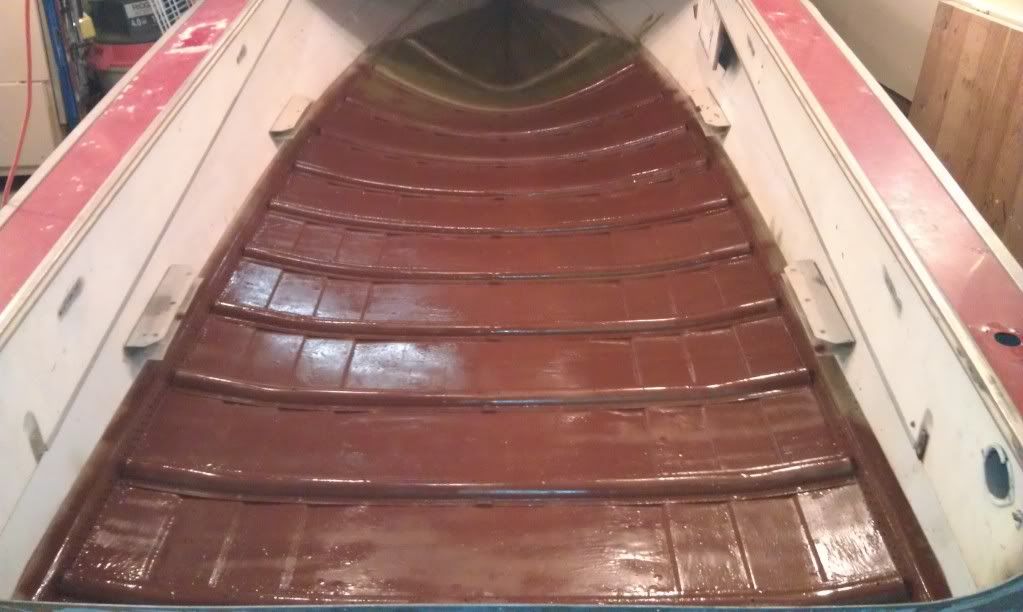
Gluvit
Let dry
Begin floor floatation etc etc...
Have a great day fellas.... spring is getting here!
Ok guys... finally getting back at this!!! Yeh!
Tanks.... going to go with 2 tanks. Instead of under the bench seat at the back, they are going to go under the 2 foot area between the back bench and the splashwell that is going to be covered in as sort of a sundeck if you will. Vents on the top... open under the bench seat should provide sufficient air flow.
Tomorrow am --- wash of the inside of the boat.
Let dry for two days or so...
Order gluvit
Etch
Paint.
Let dry
Gluvit
Let dry
Begin floor floatation etc etc...
Have a great day fellas.... spring is getting here!
")