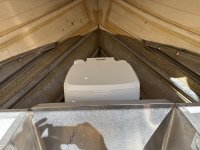
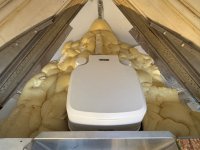
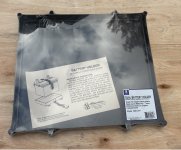
I used Total Boat's pour-in expanding floatation foam around the port-a-potty to give it some sturdiness.
Floatation foam is very strong, structural material. It helps support decking. So, with that in mind, my idea was to get it installed around the base of the port-a-potty. My idea was that when it expands, it will conform to the contours of the potty giving it a "seat" specific to both the potty and my set-up. It'll conform to both the potty and my boat specifically, giving it a seat unique to this install, and it alone would be enough to secure the potty, without the tie-down kit.
The problems I had to be aware of:
- The handle to release the tie-down has to be accessible.
- The handle to flush has to be accessible.
- The toilet flares out and then in, so the flares have to be minded so the foam doesn't lock the toilet down.
- I didn't know whether or not the foam would stick to the toilet, so that had to be dealt with.
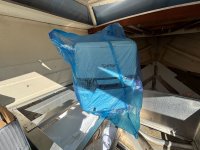
This is going to be pictures say 1000 words, but here goes my explanation. My solution to the presented problems was to mutilate the box, that the potty came in, so it could be taped to the upper half of the toilet minding the upper flare and allow the backend of the box to come down leaving space for rear tie-down access. Then the entire potty was placed into a garbage bag and the box taped to it. So, it kind of looked like the potty was wearing a helmet or had a mullet. The garbage bag allowed a barrier between the foam and the potty, so the foam could form to the potty but not risk it sticking to it. The last problem was leaving access for the flush handle. This was done by carefully pouring the foam in that area.
This is all what I meant in my last post when I said, knowing the boat will have it, means I can do a better job installing it now, because my install idea effects floatation foam.
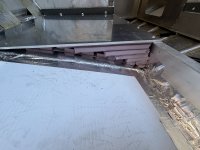
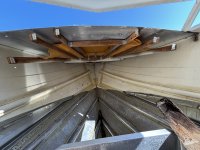
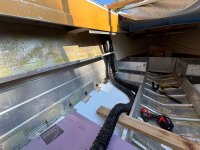
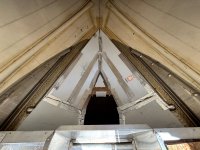
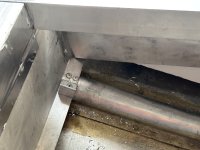
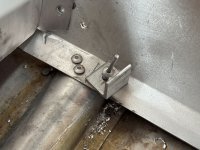
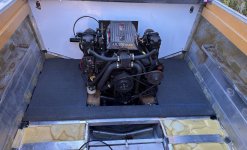
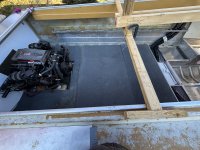
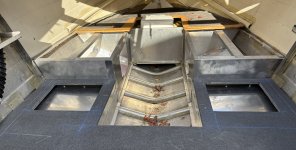
You can see my sheet vinyl in the first picture. I use that to span the ribs, so that when the foam is installed there is a cavity between the foam and the hull where any water can flow down and back to the bilge pump freely. This keeps water from being trapped between the foam and the hull and I really believe it extends the life of the hull and the foam dramatically.