eboat85
Petty Officer 2nd Class
- Joined
- Sep 1, 2013
- Messages
- 121
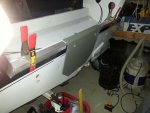
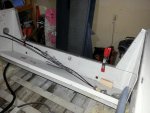
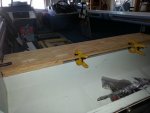
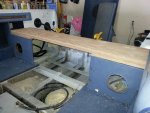
85 Crestliner 16 Project
85 Crestliner 16 Project
JB,
I gave it a try and it looks like it only has an effect on the current post and not the entire thread. I changed the first post and that too only changed that one. It might however reflect on any responses to the posts. In the mean time I am going to keep using this title ^^^^^.
Thanks for trying!
")