chriscraft254
Commander
- Joined
- Jun 4, 2011
- Messages
- 2,445
Re: 89 Fiesta Vee 250 setbacks, projects, and upgrades!
I would get everything cleaned up before you do the non skid. Do it last. Since you don't know how to read directions, maybe you can read this forum.
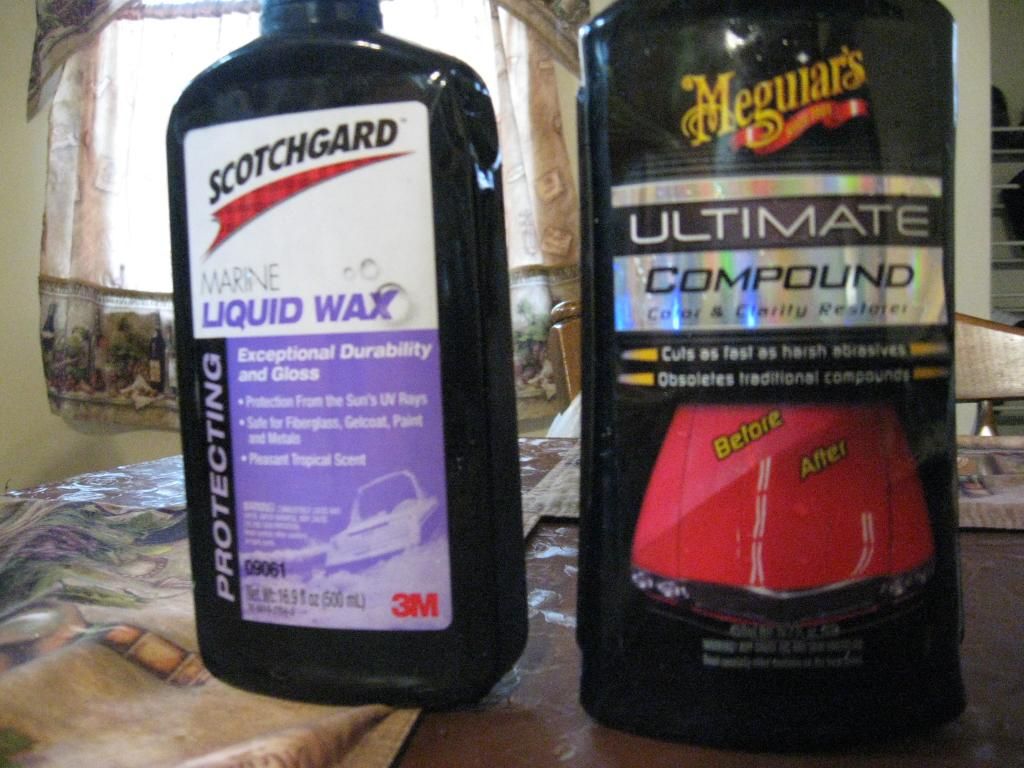
Woody wax for non skid. Start with (clean wet decks)
Spray three to four trigger pulls of woodys wax on to a soft deck brushand spread over deck area.
Use woody wax sparingly and allow water on decks to evaporate.
THOUROUGHLY rinse dried decks with heavy spray to remove excess wax. dry decks with cotton towels.
I do it twice back to back at the beginning of the season, then once every couple months. Good luck.
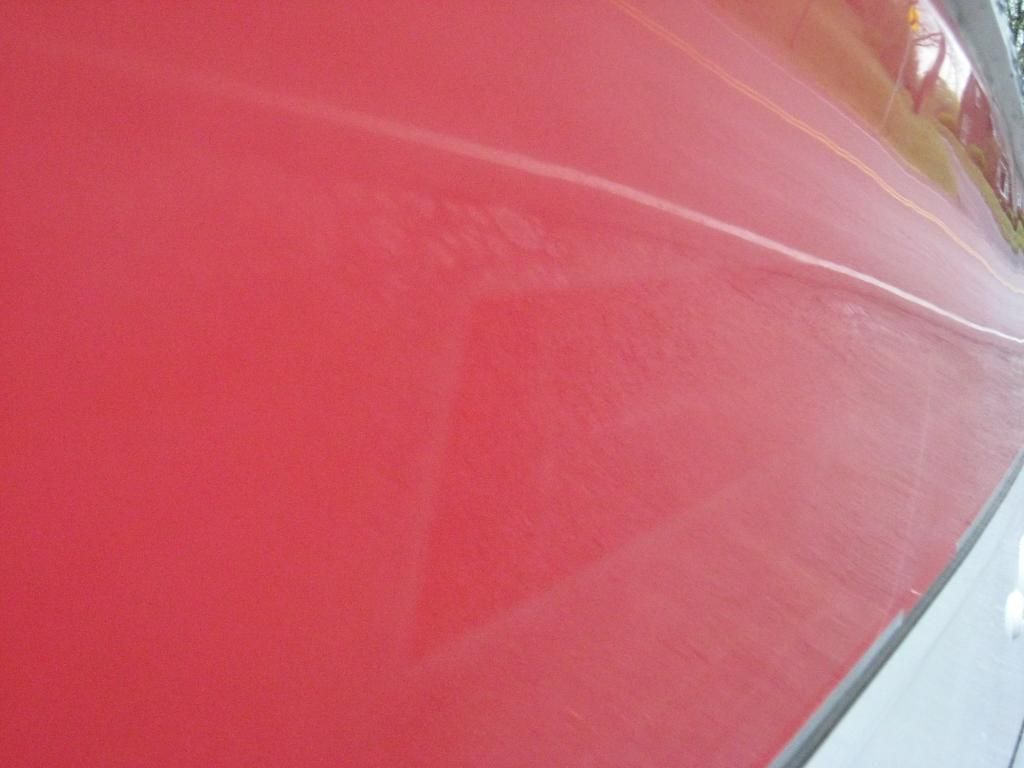
wet sanding
seriously i do need a little more grit to get down to best, but i wana get her wet
yep it's still bothering me that i didn't go deep enough:facepalm:, i am hopeing for a suprise tomorrow so i can break out the deck cleaner followed by the woodys spray. i hope the weather holds out,,, glad to hear you pushed it south,,,thanx.
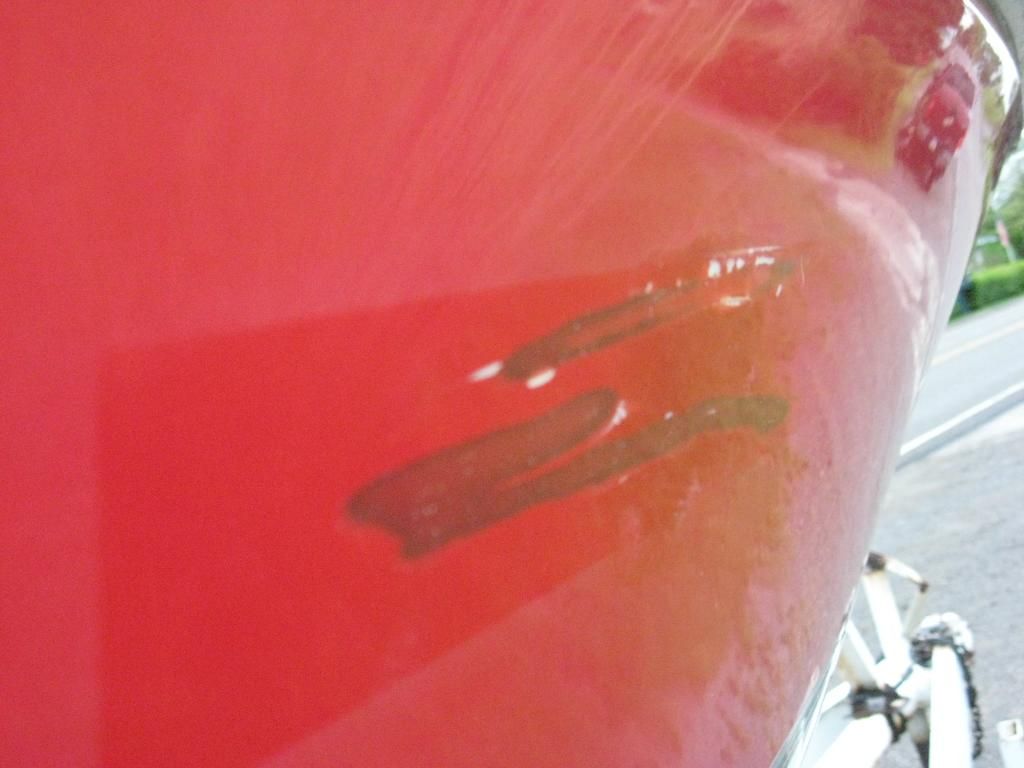
as far as the hair drier goes,,, there had to be like 5 million lil pices of that junk on there, i woulda liked to break out the torch.:facepalm:.
only thing i had going for me there was the restorer got under the edges, thank gosh, that helped a bunch. i didn't think of adding heat.
funny, i had great plans of tonites todo list and the "protective coating" wasn't on it, and i spent most of my evening dealing with it. cant wait to attack the non skid now,,, i have some renewed energy.
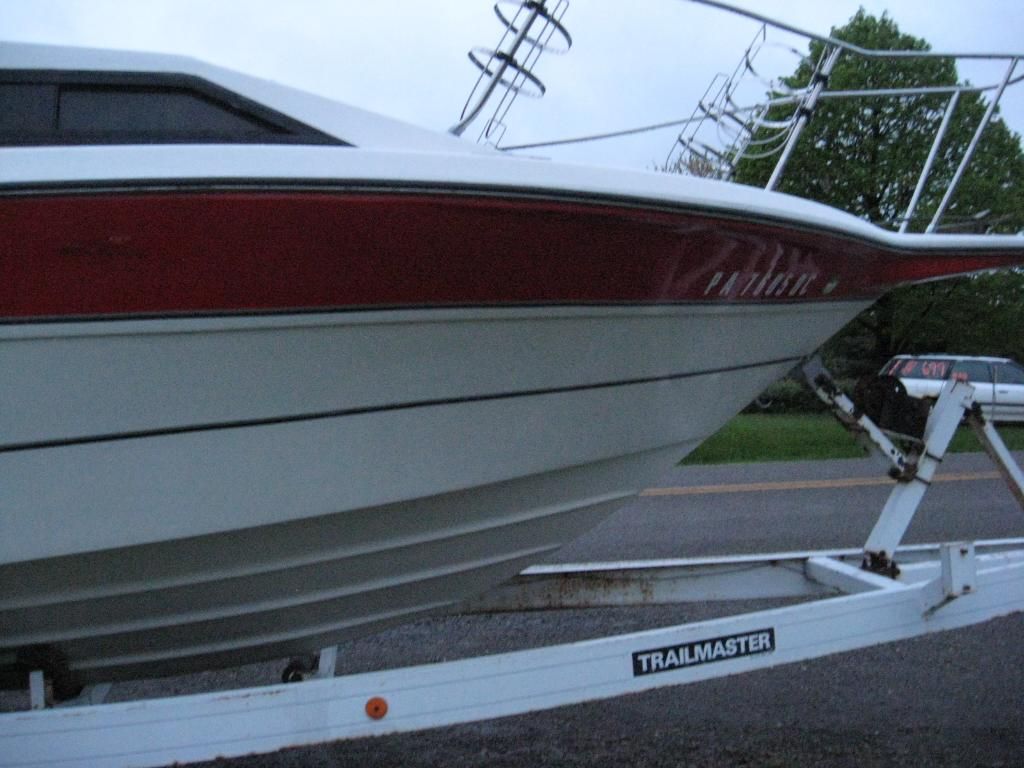
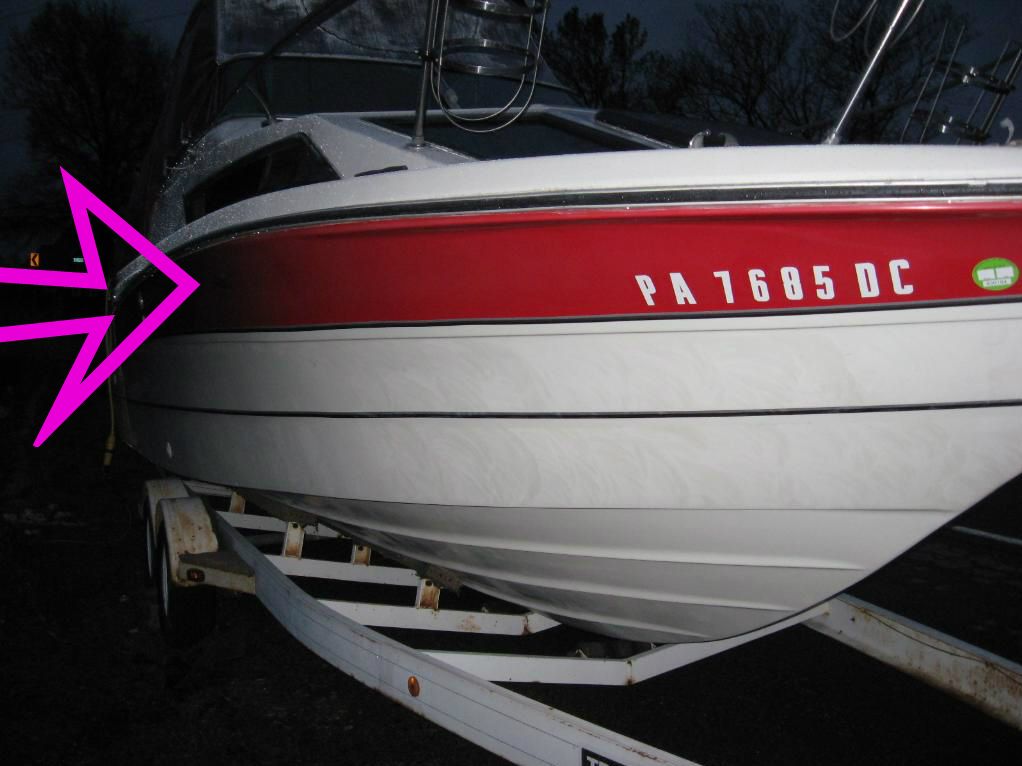
i am saving the stern for last, just so i can keep reminding myself just where i was before starting the "easy" project,,lol
I would get everything cleaned up before you do the non skid. Do it last. Since you don't know how to read directions, maybe you can read this forum.
Woody wax for non skid. Start with (clean wet decks)
Spray three to four trigger pulls of woodys wax on to a soft deck brushand spread over deck area.
Use woody wax sparingly and allow water on decks to evaporate.
THOUROUGHLY rinse dried decks with heavy spray to remove excess wax. dry decks with cotton towels.
I do it twice back to back at the beginning of the season, then once every couple months. Good luck.