redneck joe
Supreme Mariner
- Joined
- Mar 18, 2009
- Messages
- 15,490
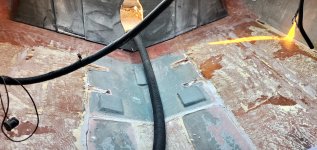
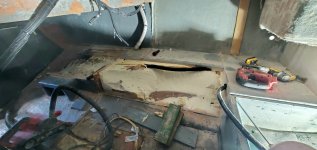
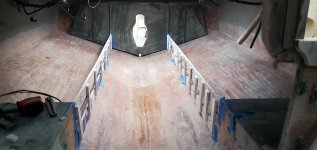
Transom and stringers or just both sides of stringers?You kind of want to do all the demo at once,


Transom and stringers or just both sides of stringers?You kind of want to do all the demo at once,
I hear you. I've had many hours of experience with a 4 inch grinder, and when I switched the tool on with this wheel attached it made the hairs on the back of my neck stand up. It is considerably heavier than any normal grinding disc and when it gets up to speed its like a top with knives attached. Definitely a two handed tool and you best have your wits about you when using it. Safety glasses and good gloves are a must; I would also recommend a gaurd.That wheel is death trap (only thing that hurt me doing my resto)I used 2 cutting mine to a shell.Rips down a lip flat and cuts out ply nearly instantly.
One time I placed it down before it stopped and it bit me. The other it kicked. Neither was deep but it was a reminder. Grinders are to be respected.
The coarse carbide carving disc is extremely effective compared to going through flap discs too.
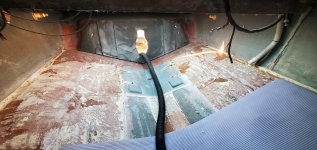
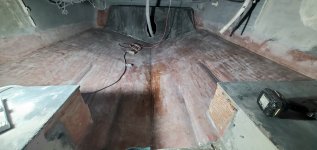
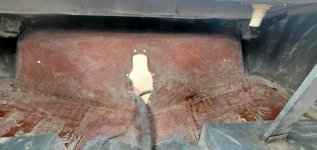
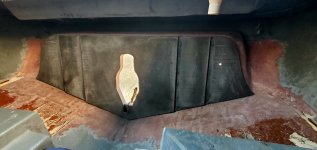
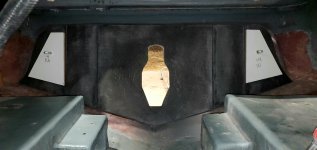
I personally would pull the cap and eradicate all wet and rotted wood.
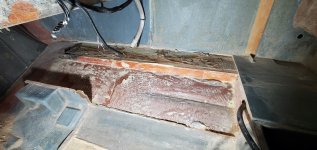
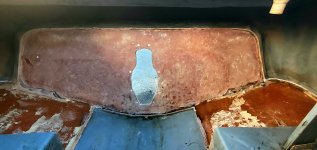
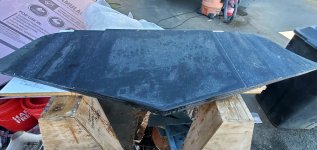
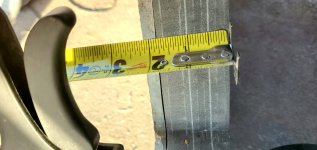
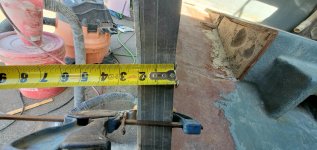
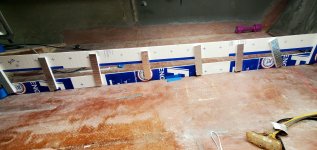
I'm already at 2 1/8" without glass and the core not bonded, that only gives me a 1/8 of an inch to work with. I'm cutting it close. I might run the belt sander across the transom a few times to give me some wiggle room.Just stumbled on to your thread.
Looks great. Make sure you’re in spec with your transom thickness.