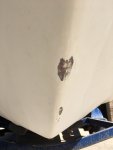
For those you who made seat bases to avoid holes though your deck, how did you attach your pedestals? Lag bolts, epoxied in threaded sleeves, epoxied in t-nuts, some other ideas? I kind of like the sleeve idea myself. (Jim, do you have the dimensions of the bases you made for yours since mine is likely the same?)
Similar question for how you attached other hardware and parts that on mine were originally screwed into the deck. I.e. battery boxes, hose clamps, bench seat bases, Live well support box, front kick panels, etc...
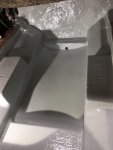
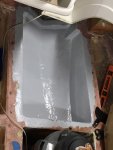
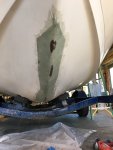
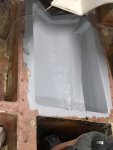
I attached the pedestal bases by 'gluing' the base down using hairy peanut butter, then covering the entire base with two layers of 1708 that extended out past the edge of the base and onto the deck. The first layer extended about 3-4" beyond the base and the second layer extended farther, about 6-8" beyond the base. I then covered the bases (and the entire deck) in 6 oz. cloth to get a smoother look.
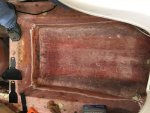
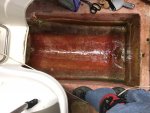
To attach the pedestals to the bases, I used stainless steel T-nuts and predrilled holes in the base before glassing in the bases. I was a little careless with several of the holes and accidentally dripped resin in them while glassing over the base; that required some tapping to clean out the T-nut threads, but it could easily have been avoided if I was more careful in covering/packing the holes before glassing. (I did put tape over the T-nuts on the bottom side, so PB didn't ooze up into the holes when I glued down the bases to the deck.) After the fiberglass was finished and cured, I just drilled out through the glass to open the holes.
When screwing in the seat bases, I liberally applied 5200 into the holes in the seat base, so they are effectively waterproof.
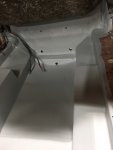
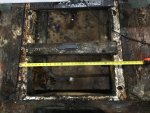
My bases are 14" square at the bottom and they are cut on a 45 degree angle so they are 11" at the top. I made them by gluing together two 3/4" pieces of plywood and then cutting on a table saw with the blade set at 45 degrees. The seat bases have proven to be be very solid.
For battery boxes, bench seat screws, etc., I just liberally fill the hole with 5200, making sure to work the 5200 into the wood with a toothpick or nail, and then I just drive in the screw. On all of them, a good bit of 5200 mushrooms out, so not only his the hole sealed, but so is the screwhead against the deck. I don't worry about water getting in there.