Hey folks, been almost a year since my last post on this project so figured I’d pop in and give you all some updates. I’m nearing the end of this project, all that’s left to do is reassemble the entire boat … easy right.
First off, I’d like to address the transom insert repair that y’all didn’t seem to care for. Again, once I got the inner laminate off this wood was SOLID! No mushy sopping wet wood. Yes there had been water intrusion but the transom was not my problem. At the time, not knowing jack **** about boat construction, I relied on professionals. I had 3 different local pros all look at it and the commonality was always “This isn’t bad at all”. They did suggest replacing it entirely since it was opened up but the follow up question was always, “How is the water getting in?” In hindsight, knowing what I’ve learned over the last year, I definitely would have replaced it but I expect these repairs to long outlast the remaining time I’ll own the boat.
I ended up finding 5 leaks in total (6 if you count the leaky porthole window that dry rotted a cabinet). To keep these posts more direct I’ll separate these repairs as I worked through them.
Port side trim tabs:
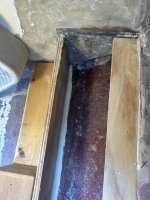
I discovered while reinstalling the screws on trim tabs, they weren’t grabbing onto anything. You could screw them in and then just pull them out with my fingers. This got me concerned about the transom again because that was a small section not exposed. I knew that the stringer on port side didn’t look that good when previously exposed so now I wanted to know what was going on in there. Decided I’d cut an access hole in the top of the bunk and sure as ****, bunch of wet foam in there. Turned out though. The screws for trim tabs (bottom bracket) didn’t even screw into the wood. It was just the bottom corner of hull fiberglass. My transom sits about 1” above this. I decided to drill the holes out to a larger diameter and then packed it full with thickened epoxy. New screw holes were drilled after cure and trim tab reinstalled with plenty of 4200.
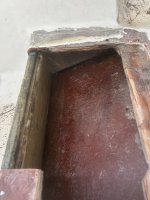
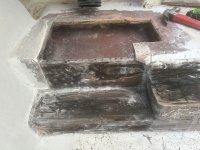
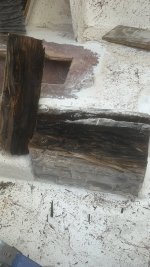
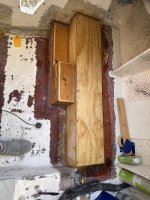
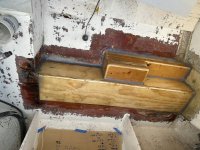
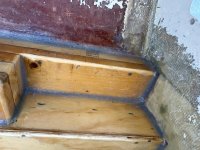
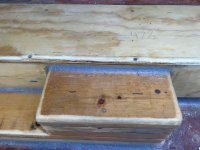
Port side stringer and motor mount:
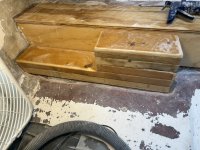
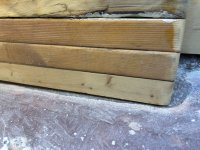
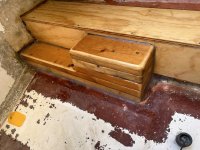
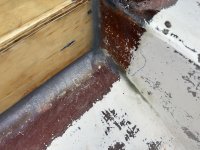
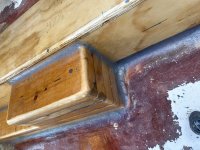
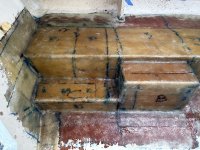
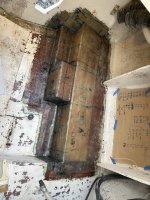
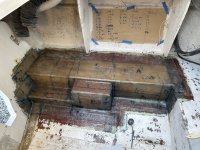
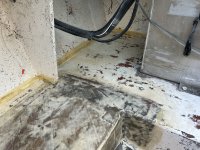
So now I had a good look at the stringer and it wasn’t good. Not rotten or crumbling but wet and black. This trim tab has clearly been leaking for a while. The bottom corner of transom that was now exposed again was fine though. And this was just above the leaky trim tab. Pics attached are from this first repair.
I wanted to add to that I found a fiberglass repair facebook page that was very helpful (direct and instantaneous feedback). Eventually, I DM’d someone that responded to my post and asked some follow up questions. This guy (I call him Coach Reid) was great, he has 25 years experience in marine engineering and fiberglass repair and was kind enough to assist me through my project. We’ve become pretty good friends and chat regularly.
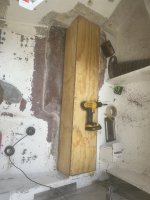
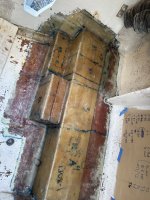
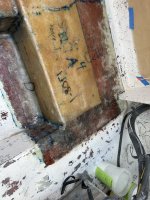
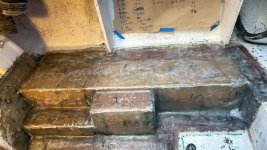
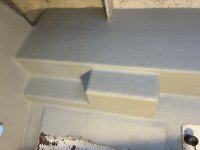
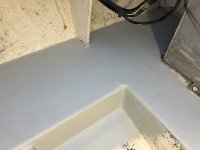
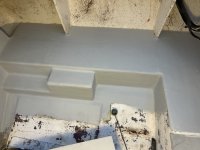
So here was my port side motor mount and stringer replacement, this completed last July