morebass 17
Petty Officer 1st Class
- Joined
- Mar 25, 2011
- Messages
- 223
Re: At the gelcoat stage - help needed!!!
Good to hear from you mate, Yeah the winter is a killer here too, Not as bad as previous years though but it still gets in the way of doing a restoration. I only have a small garage to work in so its not too hard/expensive to heat up.
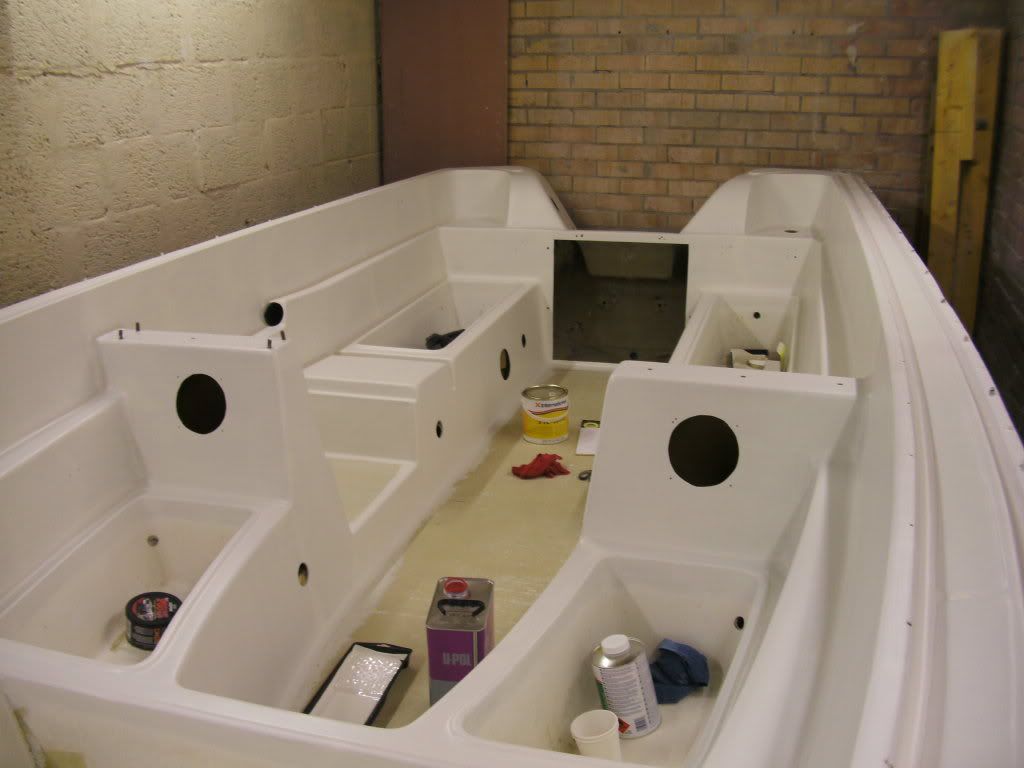
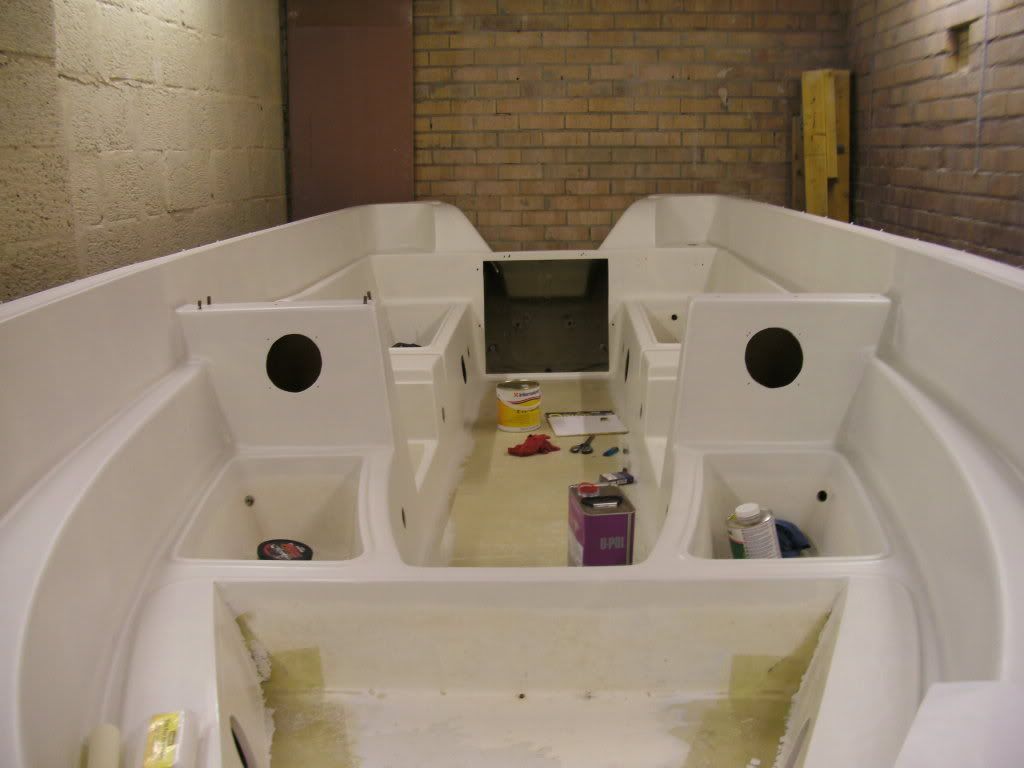
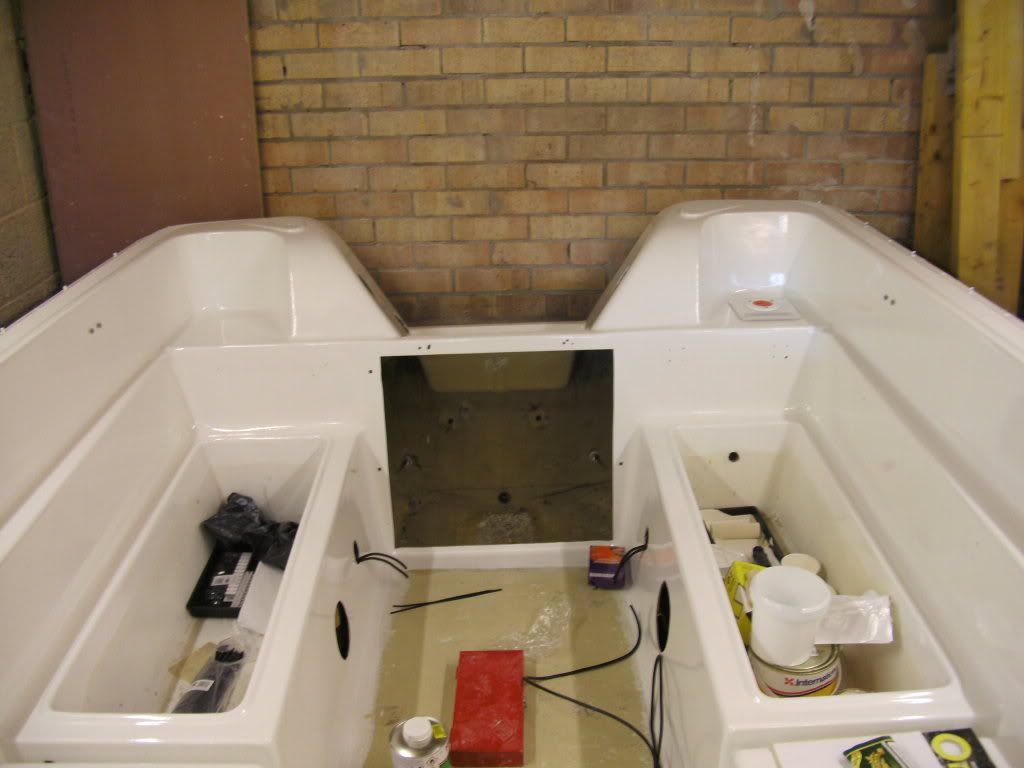
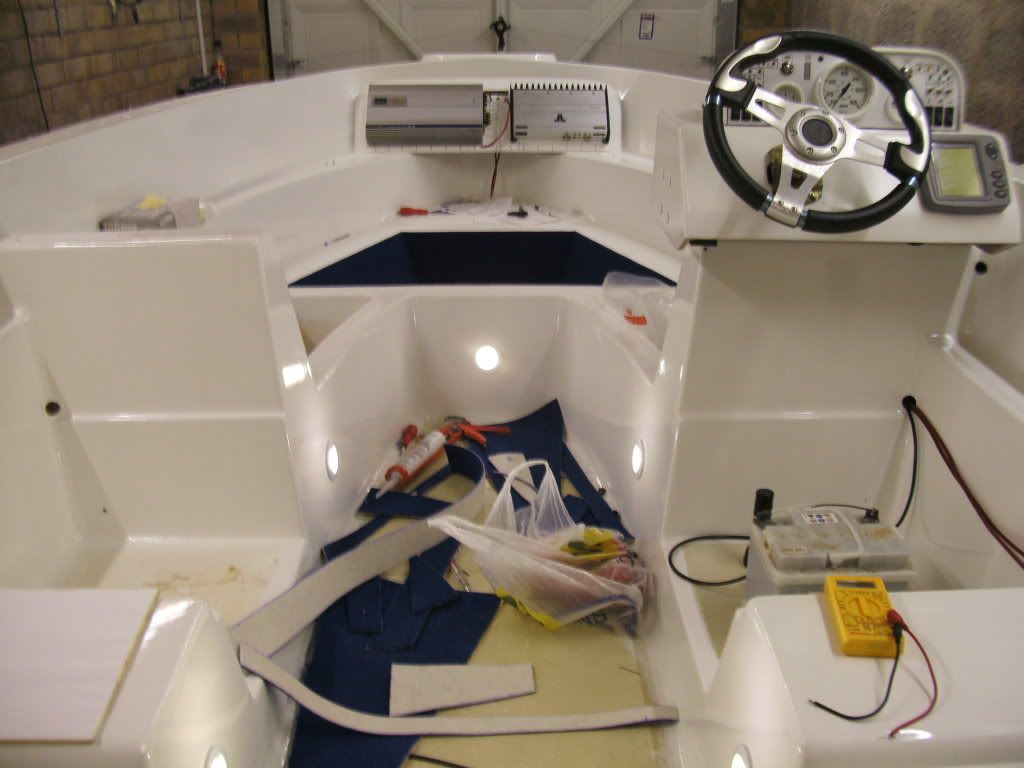
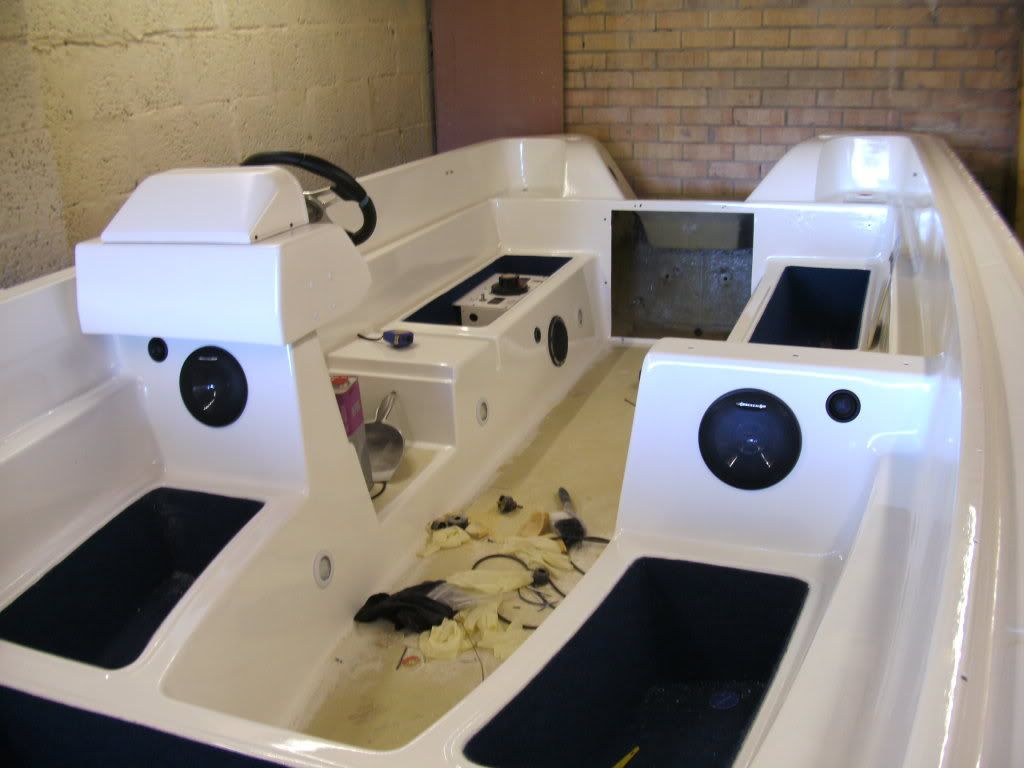
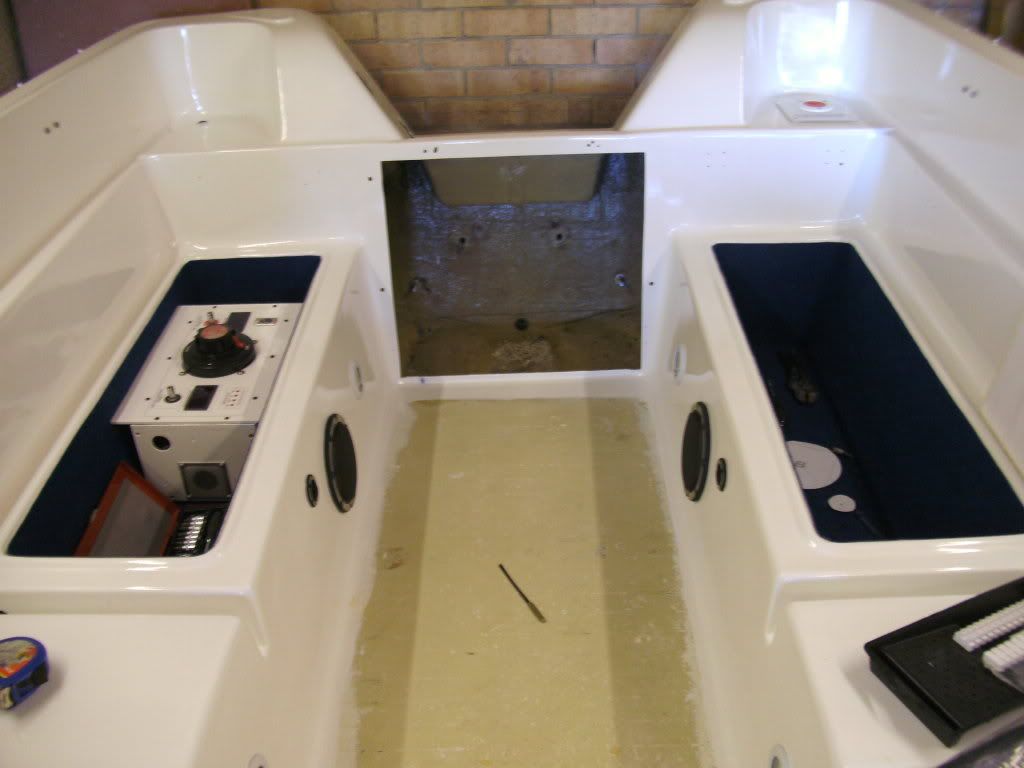
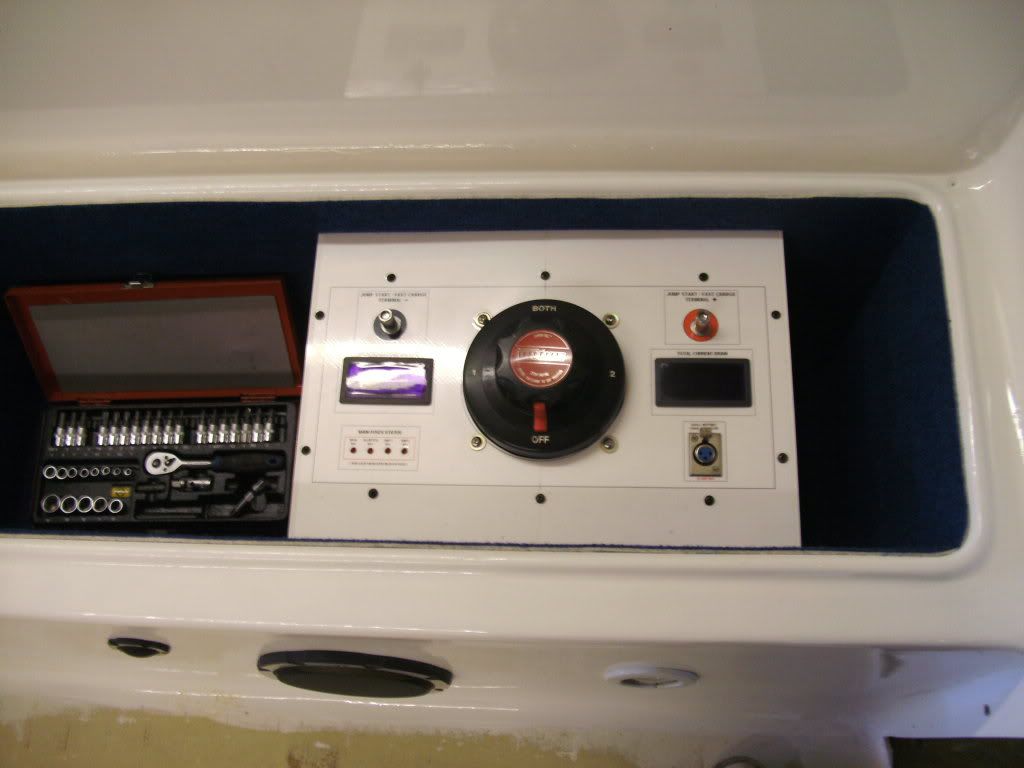
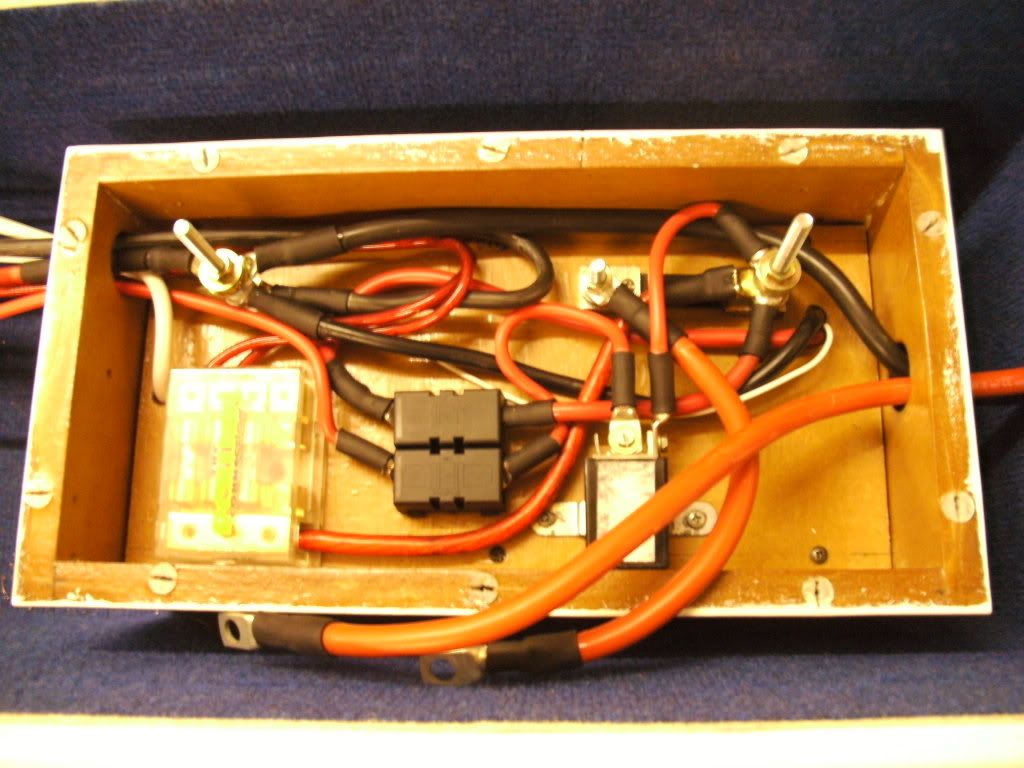
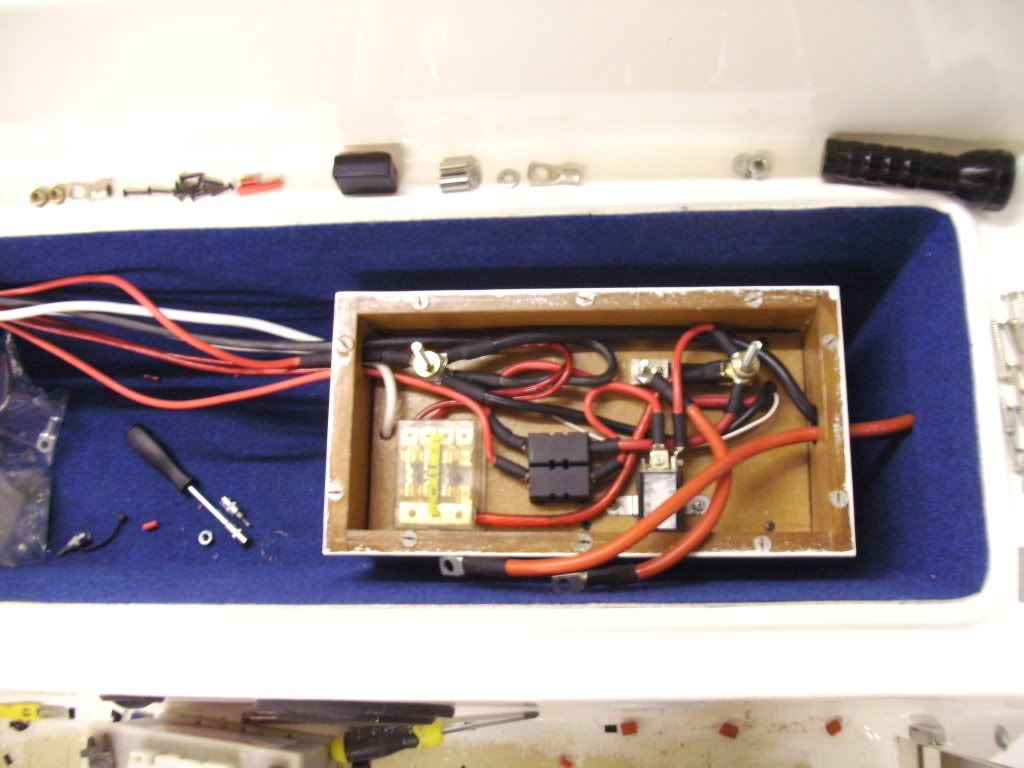
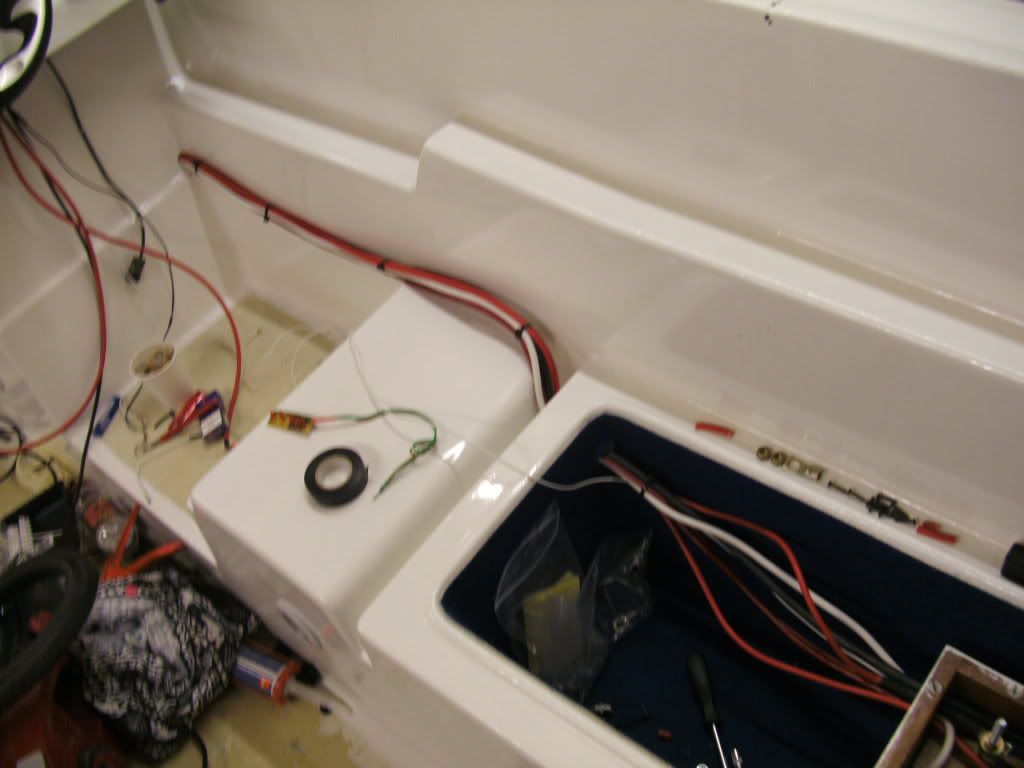
Thats good you got your new tools, was it an air stapler you got? lucky you if it was. My upholstery is drawing sooner, maybe about 2 months time i will be at that stage, although the carpet will be going in hopefully in the next week or so. (floor & storage compartments)
I'm dreading upholstering new seats, never worked with a sewing machine before but there's only one way to learn, hopefully i've still got all my fingers at the end of it. I've done a little research on it but I still need to do a lot more. I want 2 different colors with piping round the side, Ive attached a pic of roughly how I would like them to turn out. I may be aiming high for my first attempt but I'm willing to give it a try. Let me know how you get on with yours, hopefully I can learn some more from you.
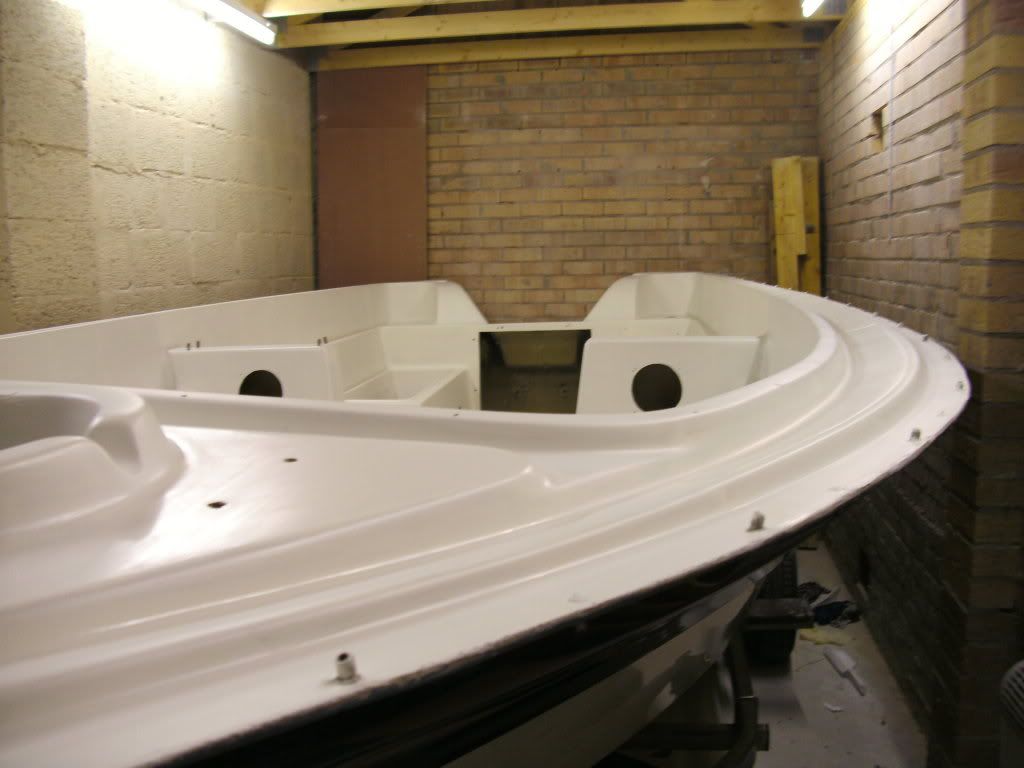
Glad your nearly ready for the flip, just take your time mate and you cant go wrong. Your doing it the right way (having the interior finished for the re-flip. Wish I had done that now, but not to worry almost there.
Thanks Jack and happy new year to you too and everyone else at iboats.
Ian
Hope you had a fine Holiday too. Everything is looking good at your end. I have been on hold had to get ready for winter did a little hunting , just did some things other then the boat. Now the deep freeze is here so going to do some work that I can do without having to pay to heat up the shop. Keep the expenses down as a restore is expensive enough.
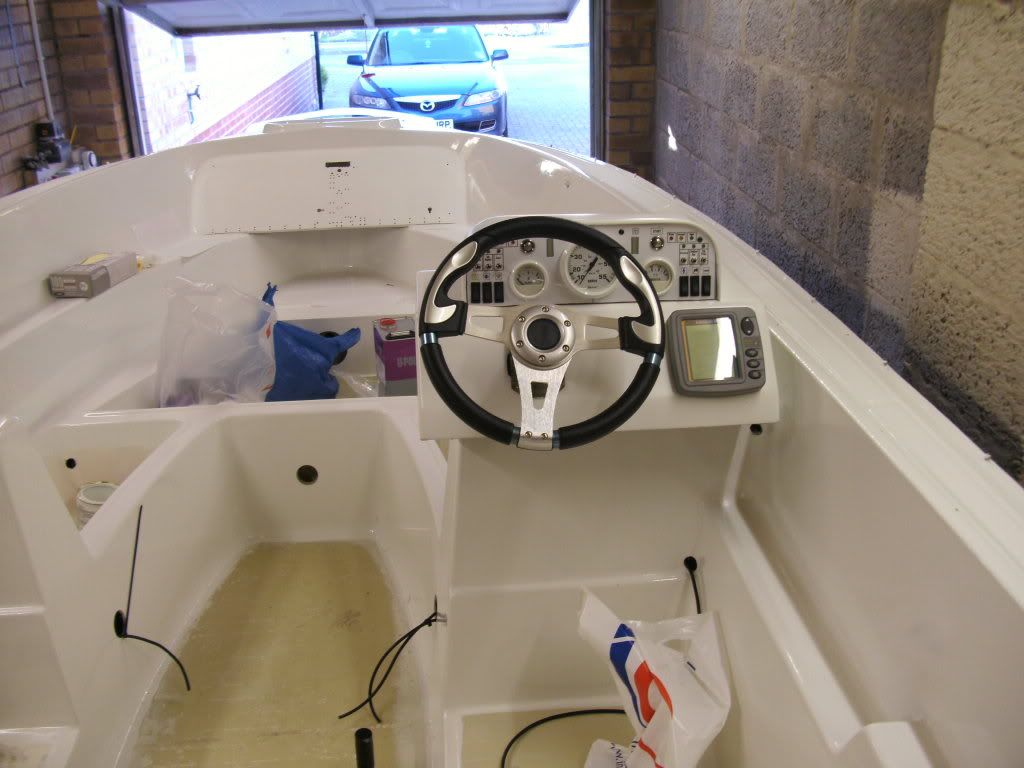
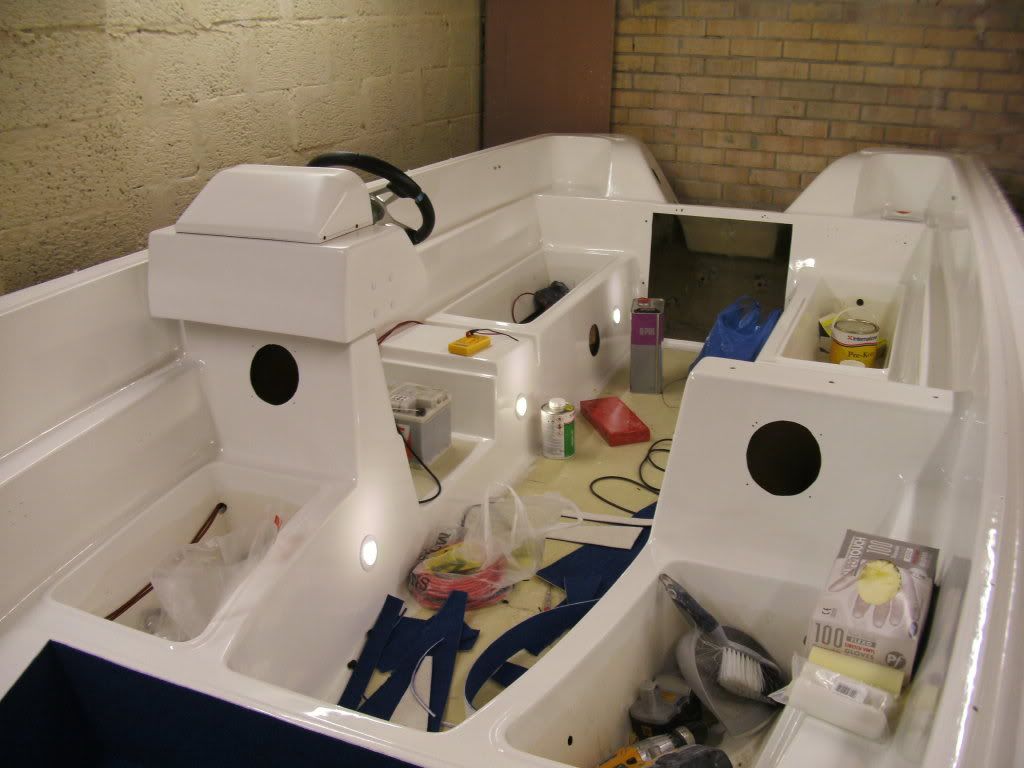
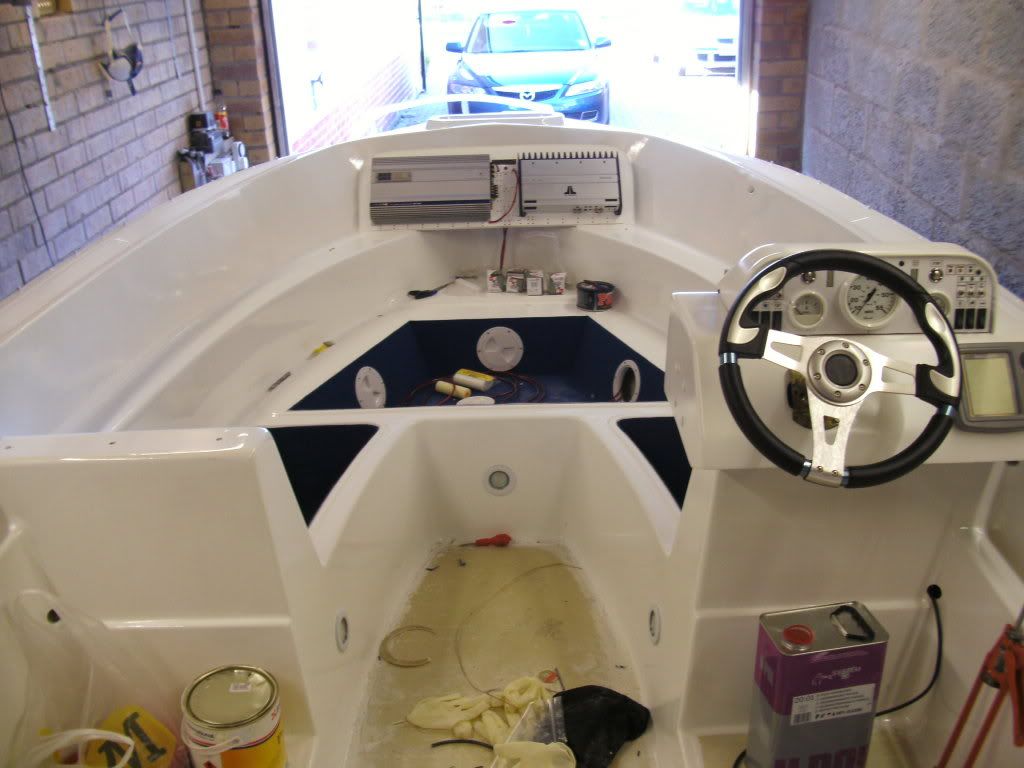
I got a couple new tools , a portable compressor and stapler so I will be hitting the upholstery real soon. I didnt feel like running to the shop to use the compressor in the cold. I am hoping we will get some warmer weather to get out to the shop . I just need a few days to finish the inside and I can flip. I want to have the inside complete ready for carpet when I flip. So when I am done the hull it is flip back over and reassemble. Should be good for the warm months of the summer up here.
You are doing a fine job....Have a safe and happy new year.
Jack
Good to hear from you mate, Yeah the winter is a killer here too, Not as bad as previous years though but it still gets in the way of doing a restoration. I only have a small garage to work in so its not too hard/expensive to heat up.
Thats good you got your new tools, was it an air stapler you got? lucky you if it was. My upholstery is drawing sooner, maybe about 2 months time i will be at that stage, although the carpet will be going in hopefully in the next week or so. (floor & storage compartments)
I'm dreading upholstering new seats, never worked with a sewing machine before but there's only one way to learn, hopefully i've still got all my fingers at the end of it. I've done a little research on it but I still need to do a lot more. I want 2 different colors with piping round the side, Ive attached a pic of roughly how I would like them to turn out. I may be aiming high for my first attempt but I'm willing to give it a try. Let me know how you get on with yours, hopefully I can learn some more from you.
Glad your nearly ready for the flip, just take your time mate and you cant go wrong. Your doing it the right way (having the interior finished for the re-flip. Wish I had done that now, but not to worry almost there.
Thanks Jack and happy new year to you too and everyone else at iboats.
Ian