Re: Buick V6 conversion
You my friend are an AMAZING talent!! My favorite part is that you made an oil filter relocation adapter out of a coffee can and scrap metal. And it looks better than most oem parts.
Are you going to add a Mr. Fusion to that thing?? LOL No but A flux Capacitor could be an option LOL
As we all know, these restoration projects are often fueled with beer.Yes there has been a bit of that fuel used during this project
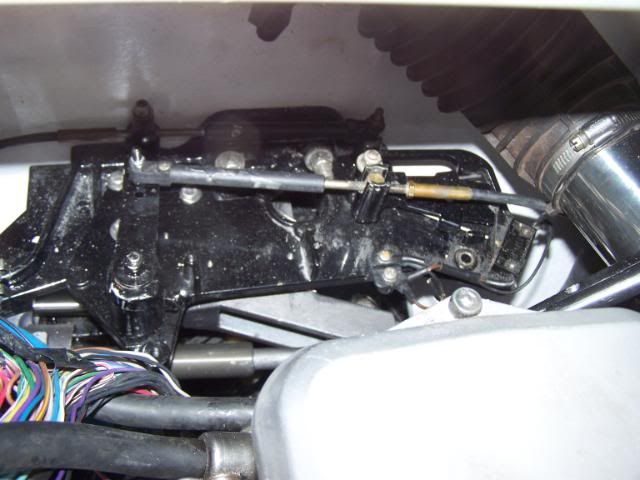
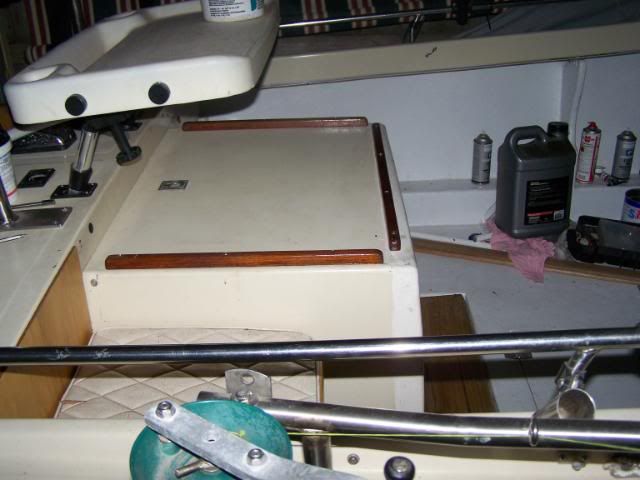
Ok I have redone the old mercruiser shift plate so it now fits where I wanted it.
I ended up using a combination of the one I built along with the old one and put the 2 together so I now have the shift interupt function on it.
Thankyou Achris for that peice of advise and info.
Photo to come on the weekend when I install it back in the boat.
Over the last few days I have been working on the cooling system, and put together a new header tank.
I went to the wrecker to see what cars had a header tank that would suit the application and the only one that did have something suitable was a Ford Falcon. Grrrrrrrrrrrrr
Out of principle I could not put a ford part on the boat and being a true devoted Holden person probably never will LOL.
So I went to the old car section and cut the filler cap neck out of an old brass radiator so I had something to weld into a new header tank for the radiator cap to fit onto.
Roy came over on the weekend and helped out with the header tank position and bracketing and his advice was very much appreciated.
We also decided the old 470 Mercruiser heat exchanger was not configured well for the area I wanted to put it and I would have needed a mile of pipe work to plumb it in.
So it was decided to have a crack at building a custom heat exchanger.
First job was to decided the exact placement in the boat and work out where pipes were going to be routed so the length and shape and size could be decided.
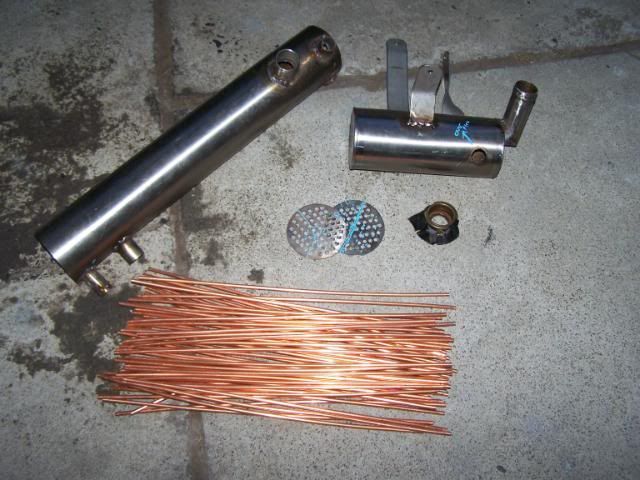
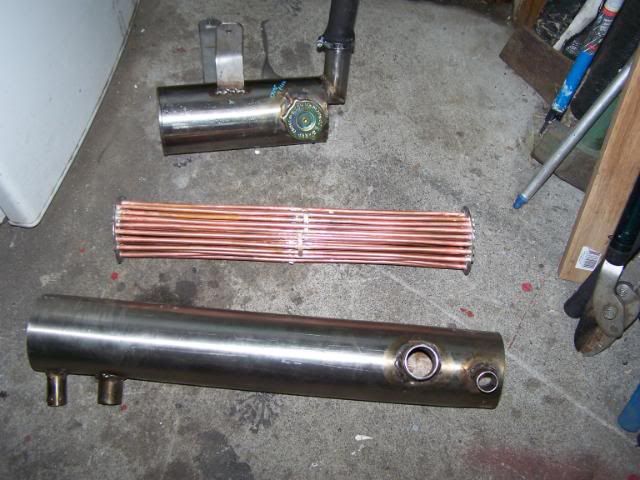
Then it was time to drill two end plates, cut the stainless tube length, and cut up nearly 30 meters of 1/4 inch copper tube.
The copper tube was silver soldered into the end plates to make the inner core; the core was then silvered into the tube.
I had a little trouble with the copper distorting due to the heat needed for the silver but that was over come and the copper tubes were all braced together internally to minimise movement internally.
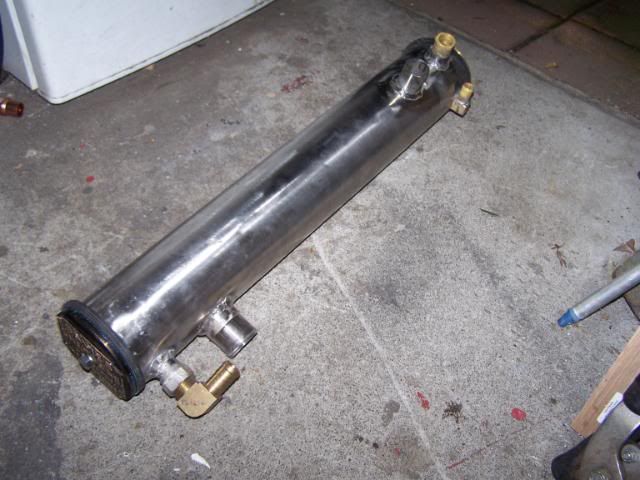
2 end caps were then turned up out of some old solid brass irrigation fittings and fitted with seals to complete the heat exchanger.
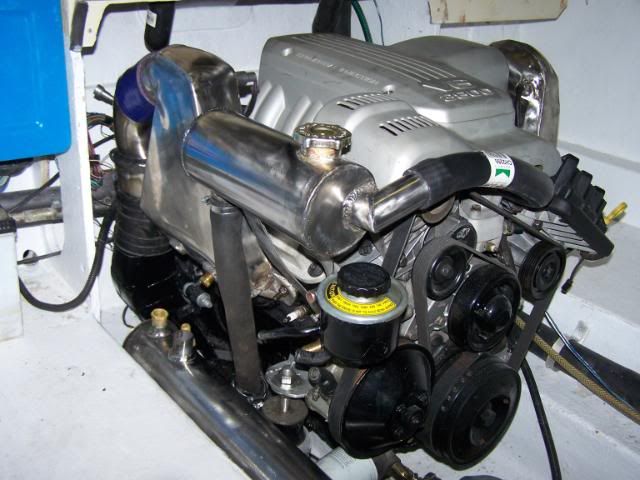
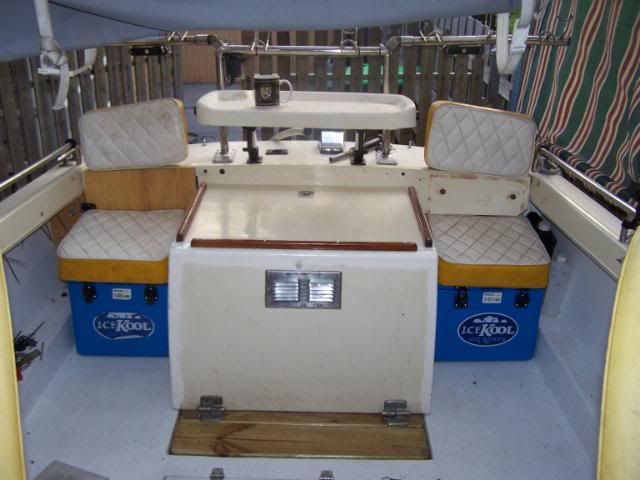
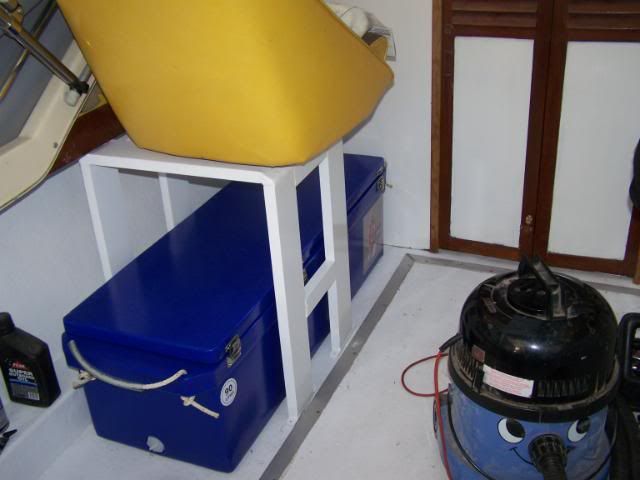
heres a pic with the header tank fitted and power steering resivoir below that and at the very bottom the heat exchanger just sitting inplace ready to be bracketed in.
I have no doubt the heat exchanger will work but how well only a good test run will tell, at least it will give me a starting point and if need be there is room to fit another 30 pipes in it if more cooling is needed.
Cheers Andy


") I thought it was just there for the start neutral switch which isn't needed on this one, The old 470 one also had a hydraulic valve for the tilt trim which the new tilt trim doesn't have or need
I thought it was just there for the start neutral switch which isn't needed on this one, The old 470 one also had a hydraulic valve for the tilt trim which the new tilt trim doesn't have or need