can of worms?

jrttoday

Lieutenant Junior Grade
Joined
Feb 8, 2010
Messages
1,081
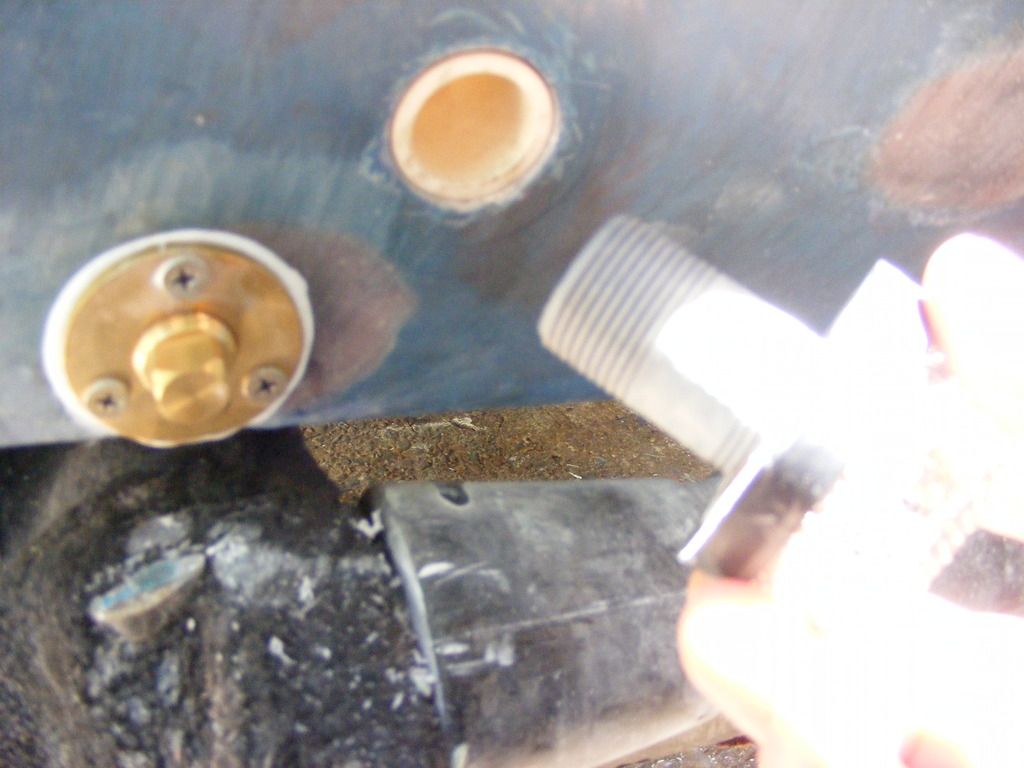
exactly, what does a Seacast hole look like? Sorta like this, but let me explain....
http://[URL=http://s173.photobucket.com/user/jrttoday/media/DSCF0001_zpsy0df6kmo.jpg.html]
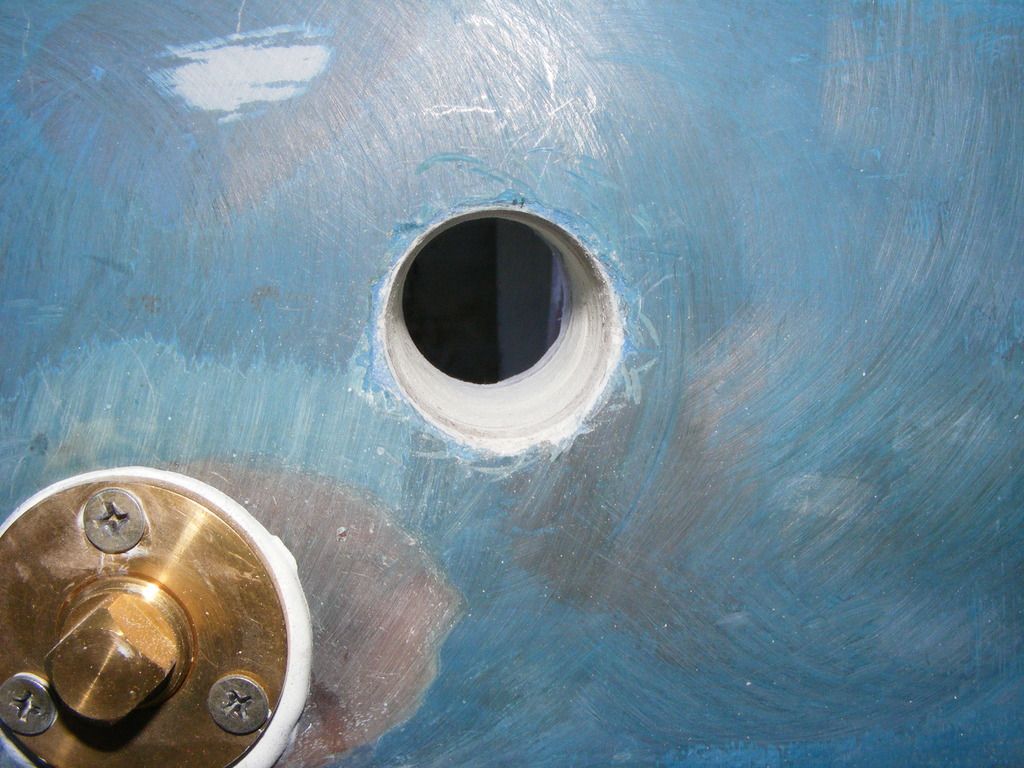
I'm using 1" id scd 40 PVC; od a tad over 1.25 but not enough to go up to 1.5 hole saw. Got really tired of filing and reamed with the 1.25 in reverse lol. Might need take it some more because it's so tight, it will probably push/wipe all the 5200 out!![/URL]
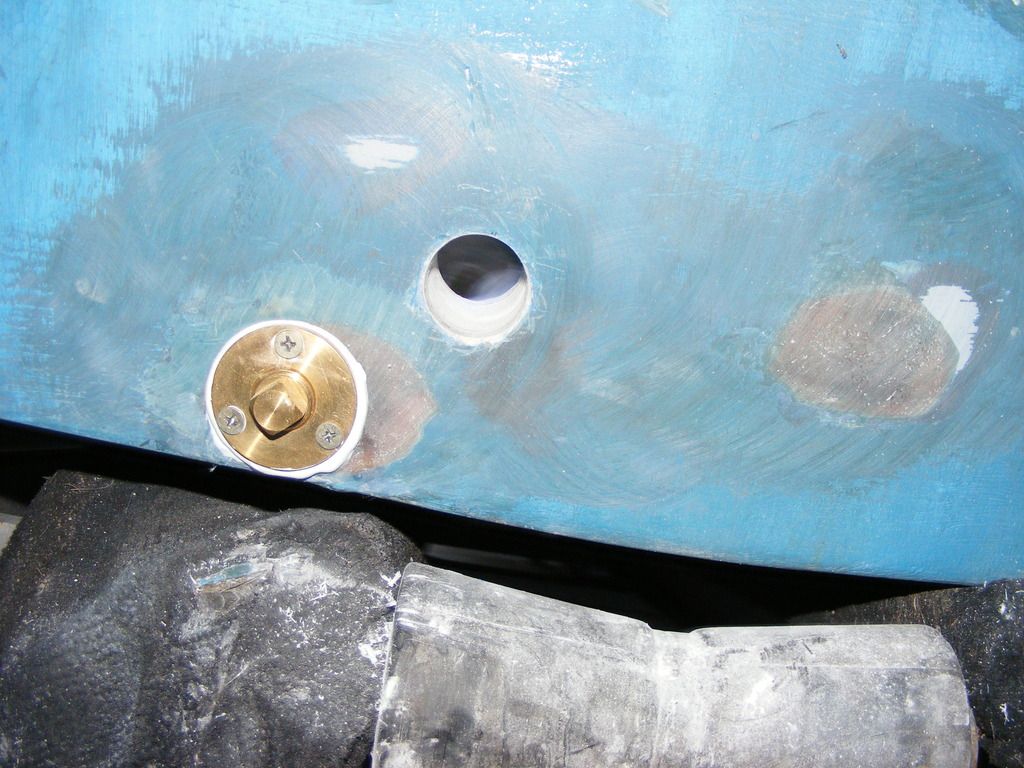

takes me about 3 seconds to come up with an idea and 3 days to get halfway through said idea :facepalm: JUST SAYING, none of this is done; nipple screen is only there to check how much or if I want to thread it into PVC. Final will probably be threads filed down and 5200 inside (or not??) Just enough to hold it on? That way it can break off with minimal damage. The base of screen and PVC inside transom bet 5200; plus glass on PVC to inner skin
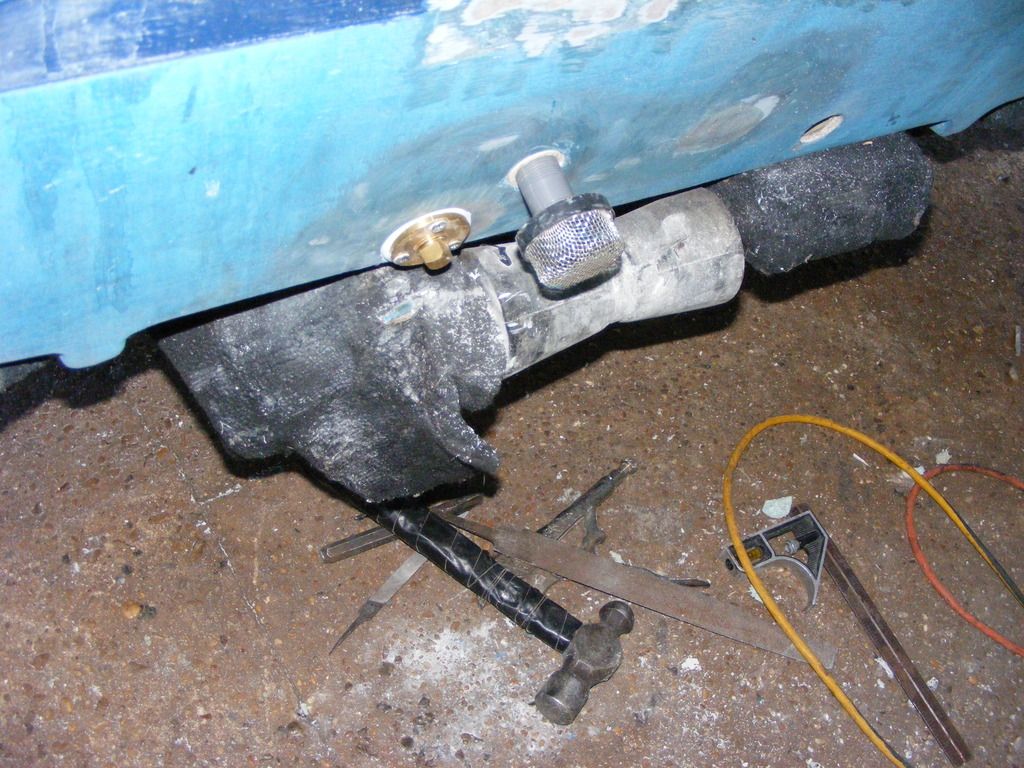
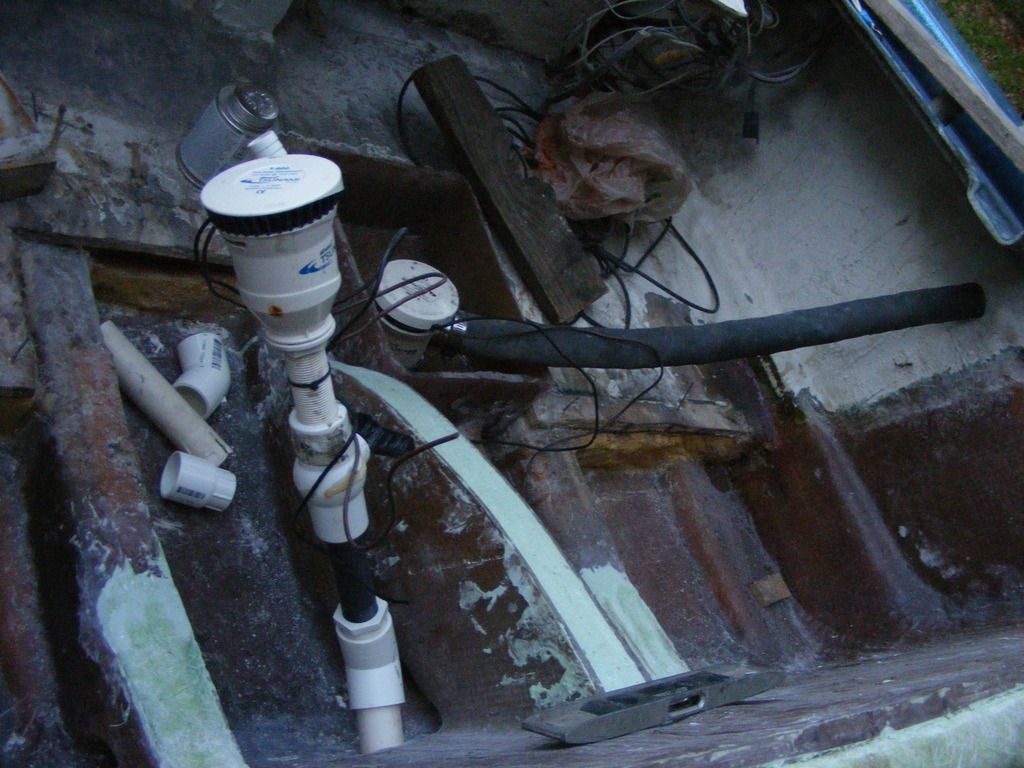

The sump (to lazy to type bilge pocket!! :lol:) is just laying in there - pump and hose not secured either.
 

jrttoday

Lieutenant Junior Grade
Joined
Feb 8, 2010
Messages
1,081
always looking to be helpful, I try not to presume people know stuff. And forgive me or not, there are other ways of doing this; but this is how I did without fancy tools. And forgive me in advance for my lame butt description :lol:

Decide on a point inside the transom where your plumbing has to be. Mark the spot. Framing square off top of transom and measure down to that point and mark the corner of where square is also. Transfer framing square mark on top of transom to outside of transom. Measure down a RIGHT ANGLE and measure down to transfer mark from inner to outer. Make a PARALLEL LINE to top of transom for this mark - 1" long is enough.

​Square off top of inner skin going forward and use a plumb bob to line up the dot which should be the center of your pipe; if you've marked correctly. Square off previously made mark on outer skin - top of transom - and transfer with plumb bob now on the outside. MAKE ALL MEASUREMENTS YOURSELF!! at least, double check 'em!!!! Very few people measure the same.....

I use a simple 3/8's drill motor because I don't have any better... I use a combination square checking frequently to make sure I'm on target - check it against the drill bit, not the motor!!!!!!! My eyes are good and have good spatial skills - if nothing else lol.
Also, first drill a pilot hole a little smaller than the hole saw bit. This way, I know I'm on target and, for me, seems to help guide the hole saw
 

jrttoday

Lieutenant Junior Grade
Joined
Feb 8, 2010
Messages
1,081
SAVE THESE INSTRUCTIONS !!!
many of us probably toss 'em before reading that far. I'm surprised no one has flagged me on that livewell fill. Threw the destructions away long ago, but am uncertain it will pick up mounted that high??? As pictured, pump is at least 6 or 8" above waterline, intake 6" below WL.
I'm not liking it; thoughts anyone? I "think" I know, but what do I know..... not much lol
 

sphelps

Supreme Mariner
Joined
Nov 16, 2011
Messages
11,475
just dont turn the pump on while on plane ... you could always sit on the motor while filling the livewell ... :joyous:
But really as long as it's underwater while filling it should be ok ... If it bugs you ... You can fill withpb and glass it over then re-drill where ya want ....
 

jrttoday

Lieutenant Junior Grade
Joined
Feb 8, 2010
Messages
1,081
it bugs me lol. The hole is right where I want it, just have to refigure a thing or two.. or three. The valve was screwed on with 5200 last summer; managed to break it loose without breaking anything else.

edit.... Totally idiotic :facepalm: too much stress, need to step back but no time for that now. Was already in for the night, went out there anyway. Will most likely come off the 45 and out through the deck - glassing all around the housing or silicone. Resin might warp the housing?
Much to do still but am ready to flish!!
 
Last edited:

jrttoday

Lieutenant Junior Grade
Joined
Feb 8, 2010
Messages
1,081
forgot I took these today, nothing much and also forgot my camera was in xray mode :rolleyes:
http://

ground nipple down on bench grinder, fits snug. To the right of Garboard is where the sump drain was originally; and a few inches right of screen is where livewell fill was originally.

between people stopping by and phone..................
 

jrttoday

Lieutenant Junior Grade
Joined
Feb 8, 2010
Messages
1,081
why this posted 3 times? who knows
 
Last edited:

jrttoday

Lieutenant Junior Grade
Joined
Feb 8, 2010
Messages
1,081
and now, it's completely gone!! hahahhahaaaaaaaa internet....
 

jrttoday

Lieutenant Junior Grade
Joined
Feb 8, 2010
Messages
1,081
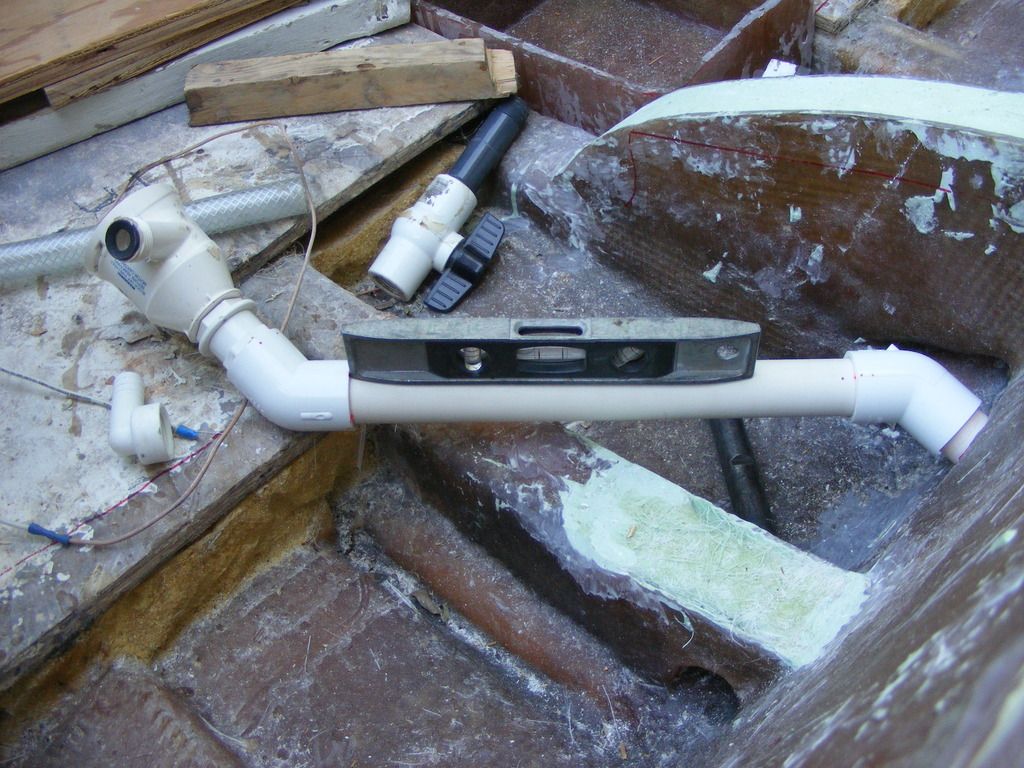
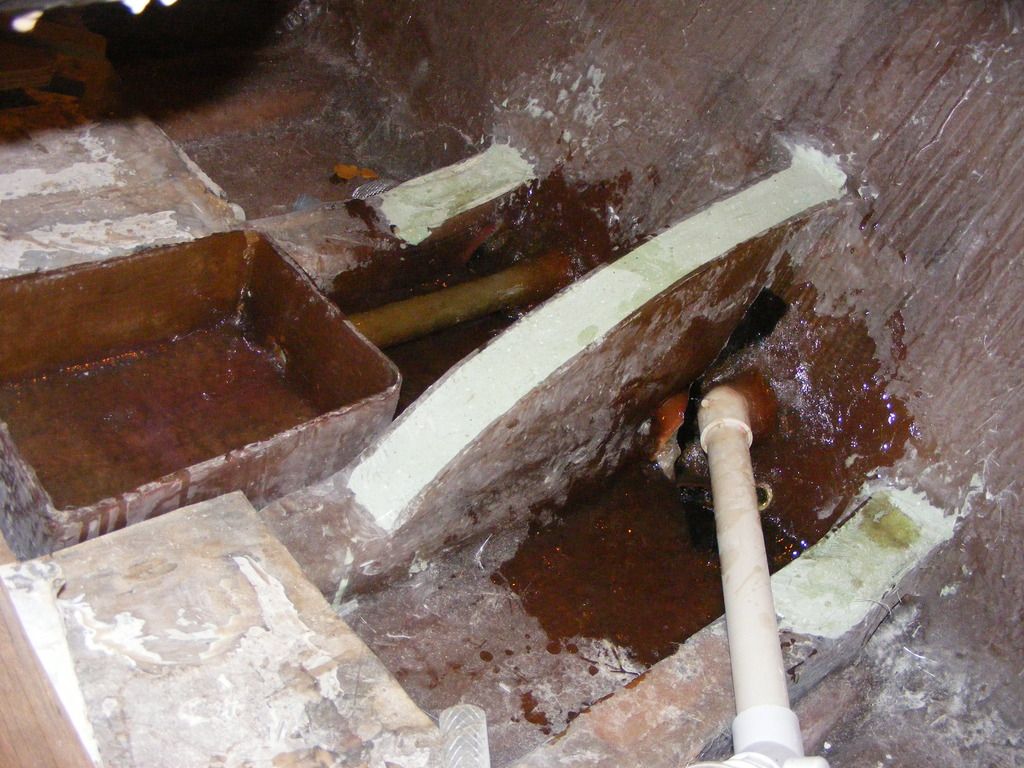
if you can see the bubble; I have positive elevation with the trailer tongue on the ground :D Pump is completely above the waterline and can remove pump housing with the 90 off.
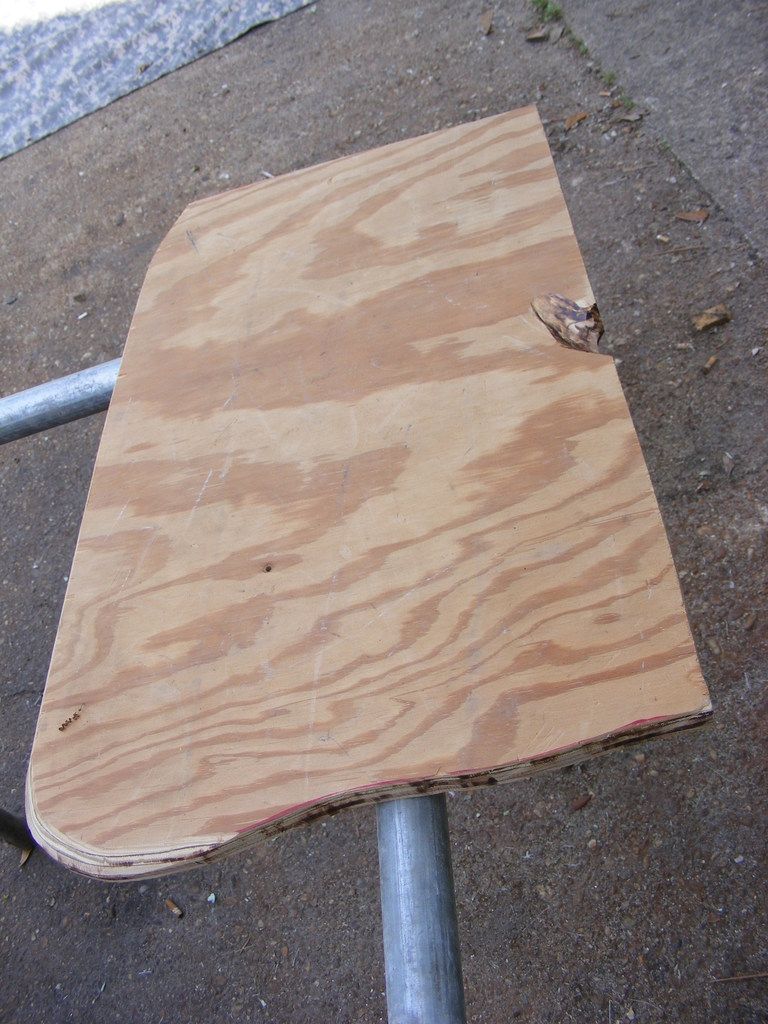
Red line is reference point for decking/cover and where I need sand Seacast etc for tabbing deck. Also made new covers for each side from 3/4" - what a pain that was without a jigsaw or router. Have to wait on 5200 to cure before installing them

http://[URL=http://s173.photobucket.com/user/jrttoday/media/DSCF0002_zpscacblm6r.jpg.html]

may not look like much, but when you have to hit precise locations in a tight area with no room for error, bent over, no laser etc, and nothing to copy off of..... don't worry, I can't paint :eek:[/URL]
 

jrttoday

Lieutenant Junior Grade
Joined
Feb 8, 2010
Messages
1,081
^^^ keel gusset would have looked better if I'd PB'd low spot between gusset and keel before laying 24 over it. And if I'd masked it before Seacast lol ohhh welllll
 

sphelps

Supreme Mariner
Joined
Nov 16, 2011
Messages
11,475
Glassing looks pretty good from here ! Don't think it's going anywhere ....
 

jrttoday

Lieutenant Junior Grade
Joined
Feb 8, 2010
Messages
1,081
thanks, it is real good... for me. Looks better today after sleeping. Must have been real tired from leaning over, up and down, etc etc checking measurements for the livewell intake and pump. Could hardly keep my eyes open when I said that. BUT, when welding, you should always flush it out first. Then go back with with final pass(es).

I doubt there was ever a problem with bow lift before......... :jaw:
 

jrttoday

Lieutenant Junior Grade
Joined
Feb 8, 2010
Messages
1,081
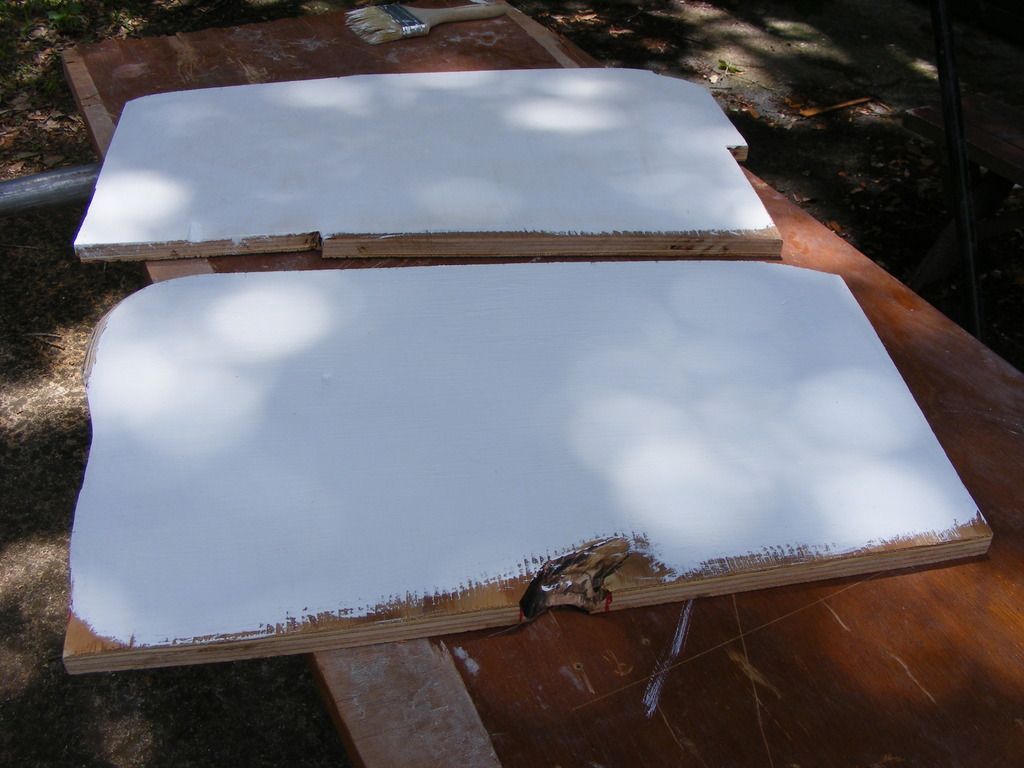
my specialty, running paint on flat :facepalm:
http://[URL=http://s173.photobucket.com/user/jrttoday/media/DSCF0001_zps3a6lssut.jpg.html]

it's the bottom side anyway, wish I had run some paint on the bottom of deck way back when. None painted gets roughed up and glassed.

All cut with circular saw; notched with 80 grit tiger paw for PVC. Since the floatation foam I was supposed to get was "not", have to do something else and might not have it in today?

[/URL]
 

jrttoday

Lieutenant Junior Grade
Joined
Feb 8, 2010
Messages
1,081
http://[URL=http://s173.photobucket.com/user/jrttoday/media/DSCF0002_zpsunbrfpdl.jpg.html]

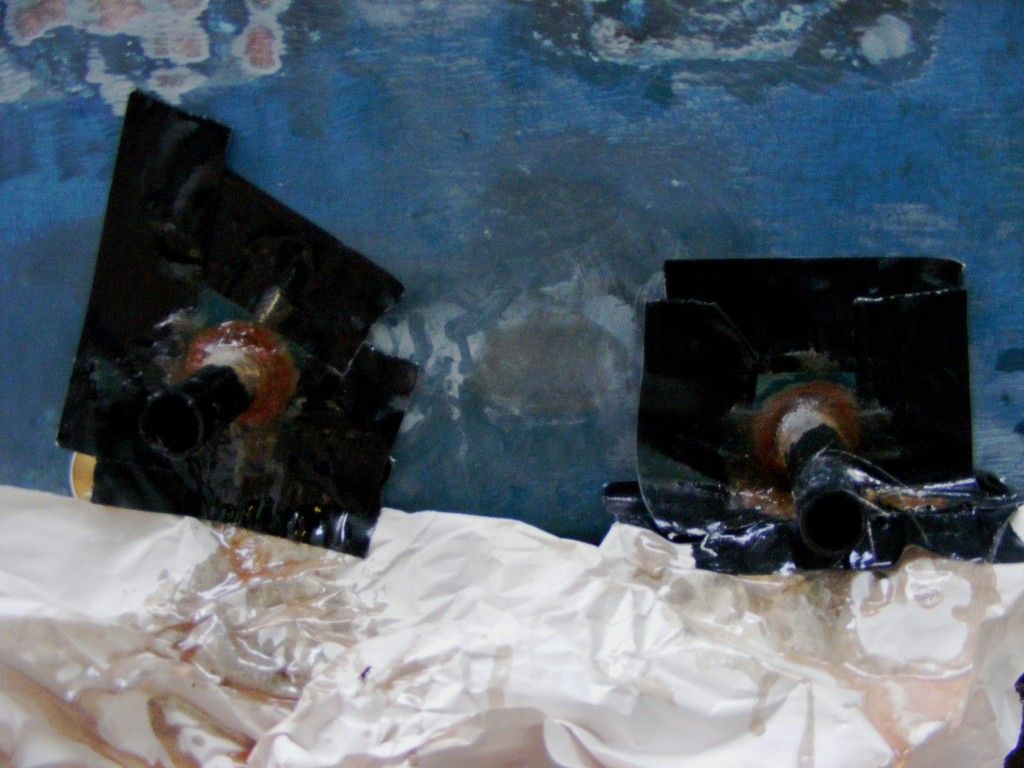
simply takes awhile to get the bilge pocket positioned right for drainage and plumbing. PB and 24 over the fitting to tie it all in - found a plastic hose with same od as fiberglass pipe's id to keep resin out. PB and csm around PVC for livewell fill. Black Duct tape to be removed tomorrow and glass cap for outside tubes also
I[/URL] smeared runoff around and inside the sump - that's why it looks wet. Plastic stuffed in holes has to come out also. Top of box needs trimmed down to deck - about 3/4".
 

jrttoday

Lieutenant Junior Grade
Joined
Feb 8, 2010
Messages
1,081
looks like the boats coming along well
it is; or well, it's coming along...... but I'm not!! :lol: It's killin me lol, nibbling away every day is the only way I can approach a job this size - if it were steel, I'd been done in a week, no joke.
 

jrttoday

Lieutenant Junior Grade
Joined
Feb 8, 2010
Messages
1,081
http://
battery died in camera and lost the before pic, only showed the 5/16-3/8? countersink to pipe. Outer skin is thick at base before Seacast - it's all thick...
The reason I over-glass is because I don't like playing with a spot for 10 minutes to get the air out while something else is getting hard. The hose was wrapped with plastic and is the "white" you're seeing. They spun out easy and will dress 'em tomorrow.
Got quite a bit done but nothing picture ready... not that this was!!

edit___ it might be worth mentioning? am doing it this way because flaring PVC or fiberglass pipe is not practical.
5200 was allowed to cure a few days first; and had I been thinking, would have PB'd the glass pipe. Would have been less cleanup and could have been working on the sump sooner. Might could have glassed 'em both? what do I know?
 
Last edited:

jrttoday

Lieutenant Junior Grade
Joined
Feb 8, 2010
Messages
1,081
hydration is important to us boaters; yet, sometimes water isn't enough
http://[URL=http://s173.photobucket.com/user/jrttoday/media/DSCF0001_zpsy0webetz.jpg.html]

I usually buy the stix for individual, but were out. Don't be thinking that just because you're John Doe, that you can't buy from an industrial supplier. These were $42 after tax - do the math and see if you still want that overpriced Kool-Aide? Even if you have to have that overpriced water to mix it, it's worth the difference.
Just one of these after cutting the grass and I could tell before I ate it all. And if they thaw in the cooler while fishing, it's what's inside that I want
Can be found online, too.[/URL]
AND YES!!! THEY TASTE BETTER!!!!!!!!!!!!!!!!!
 
Top