Finnish fishing boat overhaul [Splashed 2017]

seanymphmike

Cadet
Joined
Nov 20, 2012
Messages
27
I was wondering if Spring would ever come in Finland. Glad you're back at it Red. Hope everything goes smoothly for you and that you make great progress. Love your work!
 

Jeep Man

Commander
Joined
Oct 17, 2008
Messages
2,803
Welcome back Red. Thought I would have to cross the pond and get you out of your bunk. Good luck on your progress.
 
Last edited:

Red Herring

Chief Petty Officer
Joined
Oct 1, 2012
Messages
536


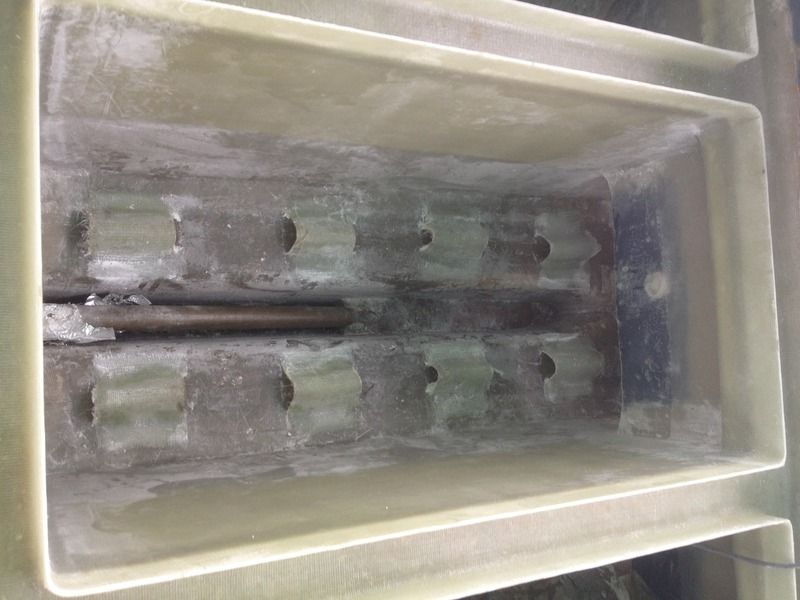
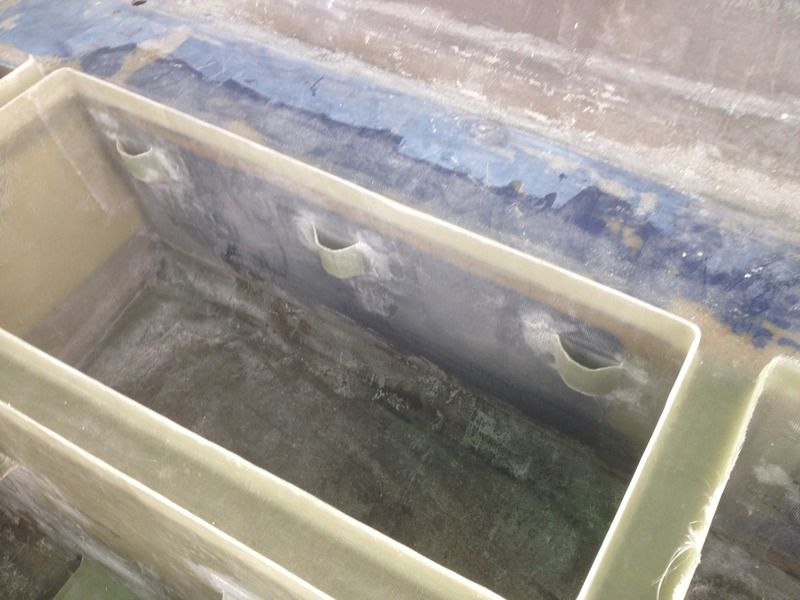
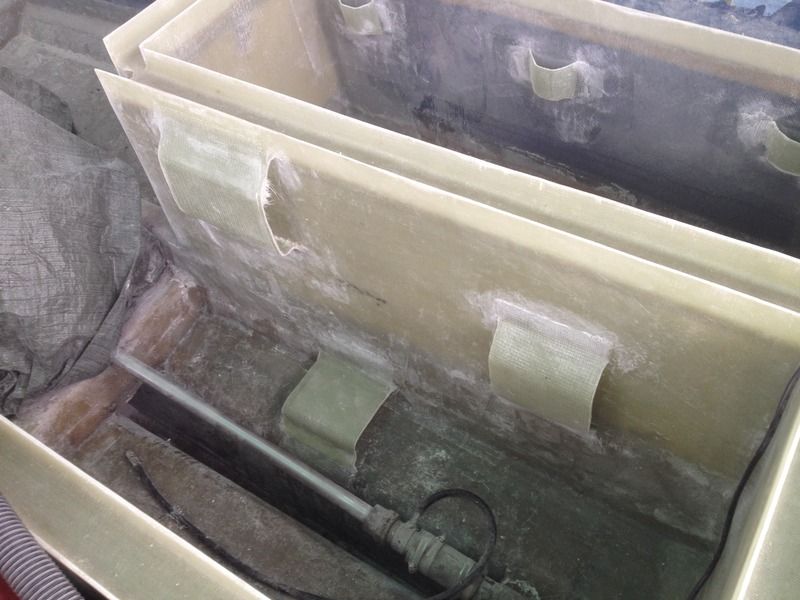
Mounts for hydraulic pipes, raw water filter, fuel filter, tank and bilge pump. Made them probably a bit too substantial (thick and big), but well... Still need some cleaning up and grinding though.
 

Red Herring

Chief Petty Officer
Joined
Oct 1, 2012
Messages
536
And thanks everyone! Looking forward to all the problems that will inevitably show up, that you guys can surely help me through!

I'm glad I started in this end of the boat, next time I'll use some more rigid molds or/and tape the really firmly to the walls. This time I made them out of polyurethane covered in duct tape. It worked fairly well, but if the mold moved even s bit during curing and layup, it all results in small irregularities in the final shape.

It doesn't really matter here, these things are purely functional. But it would've been great to get them looking a bit more...professional?
 

nurseman

Lieutenant Junior Grade
Joined
Jun 2, 2013
Messages
1,045
I like the mounts! Always better to do your practicing where nobody is going to see!
 

Red Herring

Chief Petty Officer
Joined
Oct 1, 2012
Messages
536
True that. The moldings and shapes are ok after a bit of cleaning up with the multitool (especially the tank mounts look pretty ratty as of now). Some of the bigger molds started drooping a bit, the glass didn't seem to stick that well to the duct tape. Now there's just a bit of overlap left on most of them. Next time I'm building I'll add the through hulls (bought some fiberglass tubes today) and the hatch lock lips.
 

Mikeopsycho

Senior Chief Petty Officer
Joined
Feb 6, 2014
Messages
738
Good to see you're back at the old grind. :lol: This is one of my favourite projects to follow!
 

redneck joe

Supreme Mariner
Joined
Mar 18, 2009
Messages
11,467
better hurry you might miss your summer. That one day can sneak up on you pretty quick...
 

Red Herring

Chief Petty Officer
Joined
Oct 1, 2012
Messages
536
So true. It's still good, but now there's a lot of other work coming in and I'll be able to start working more seriously with the boat on the 22nd of July. Drove to the "build site" today with my colleague whom I've managed to hire as a helping hand. We got a few templates for the hatches done and started with the hatch molds. Was in such a hurry the whole day I forgot to take pictures, will add them next time!
 
Last edited:

Red Herring

Chief Petty Officer
Joined
Oct 1, 2012
Messages
536
Hey guys, one question:

In the beginning of the thread I mentioned that some of the keelguard through hull bolts was lost and the keelguard bulged out a bit. Now even though I know the boat inside and outside I'm still a bit perplexed about the possible repair.

How would one seal through hull bolts below the waterline? I'll need to redo some of them and see if I can "force" the bulging part back against the hull. But how should I seal them? There are a few of the bolts that are underneath the engine bay and I simply can't get to them. I wonder if I could just seal the keelguard from the side with something as well?
 
Last edited:

Red Herring

Chief Petty Officer
Joined
Oct 1, 2012
Messages
536
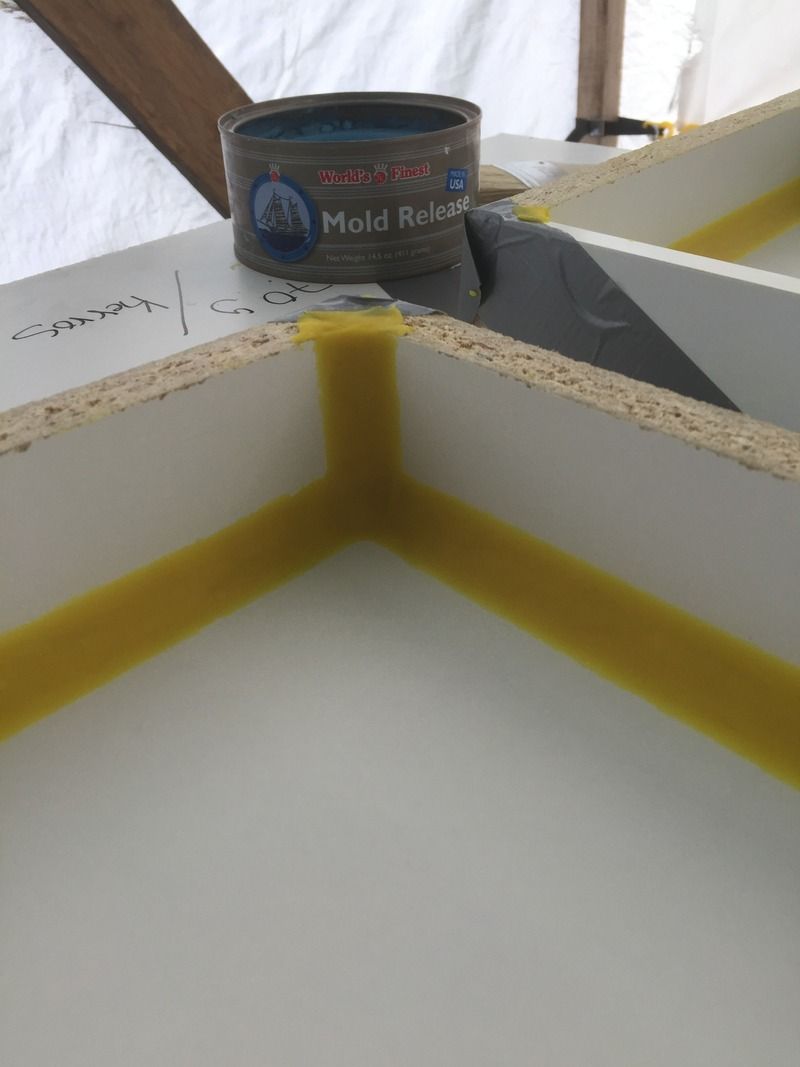
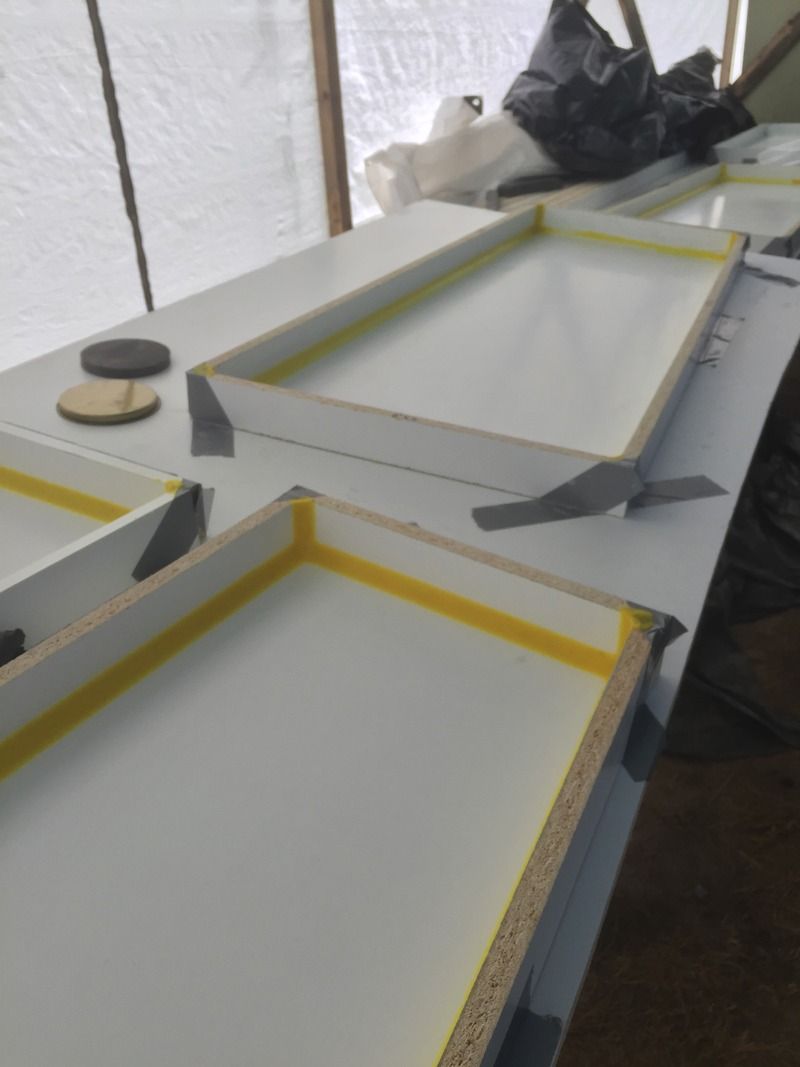
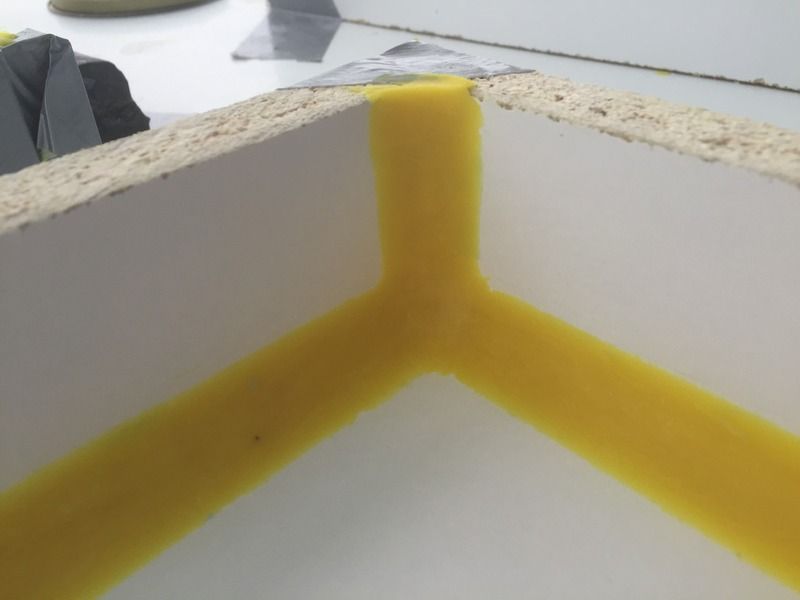
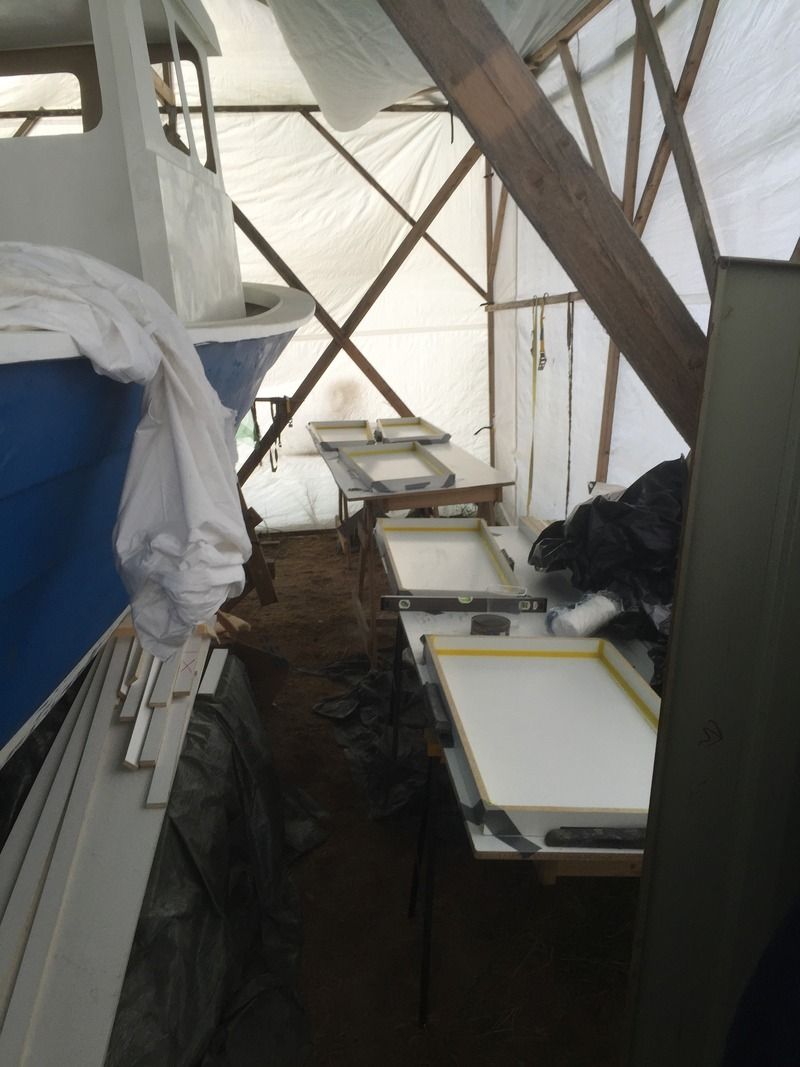
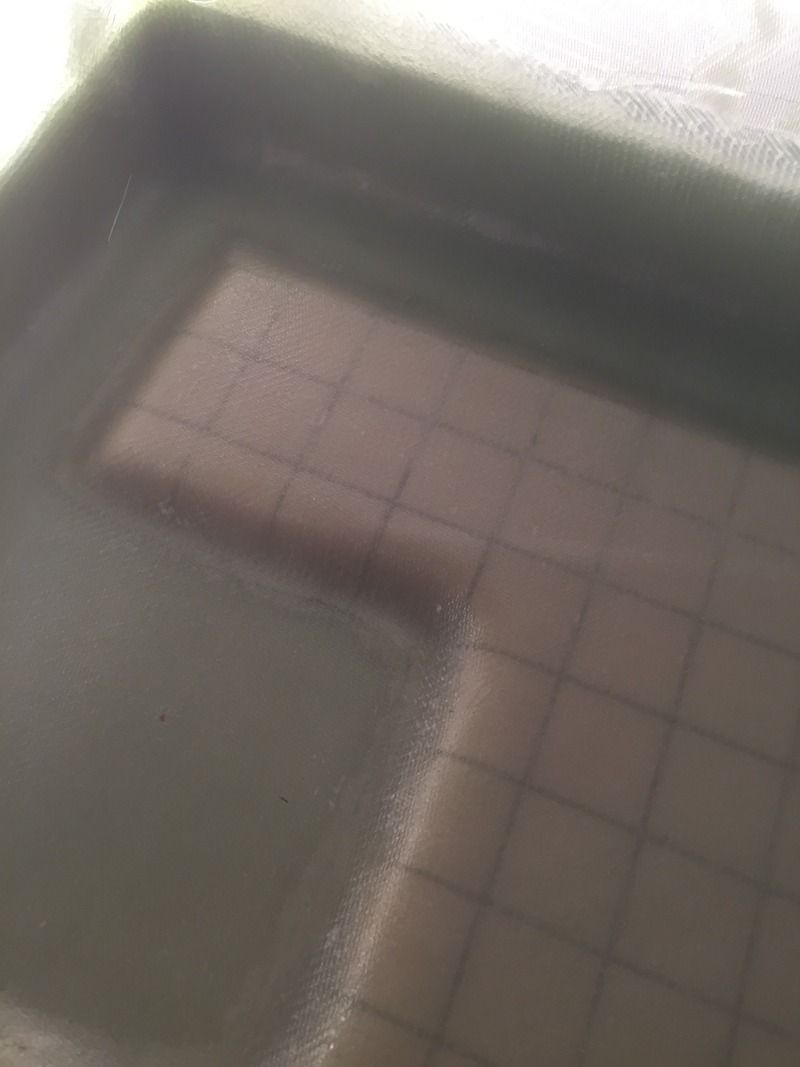
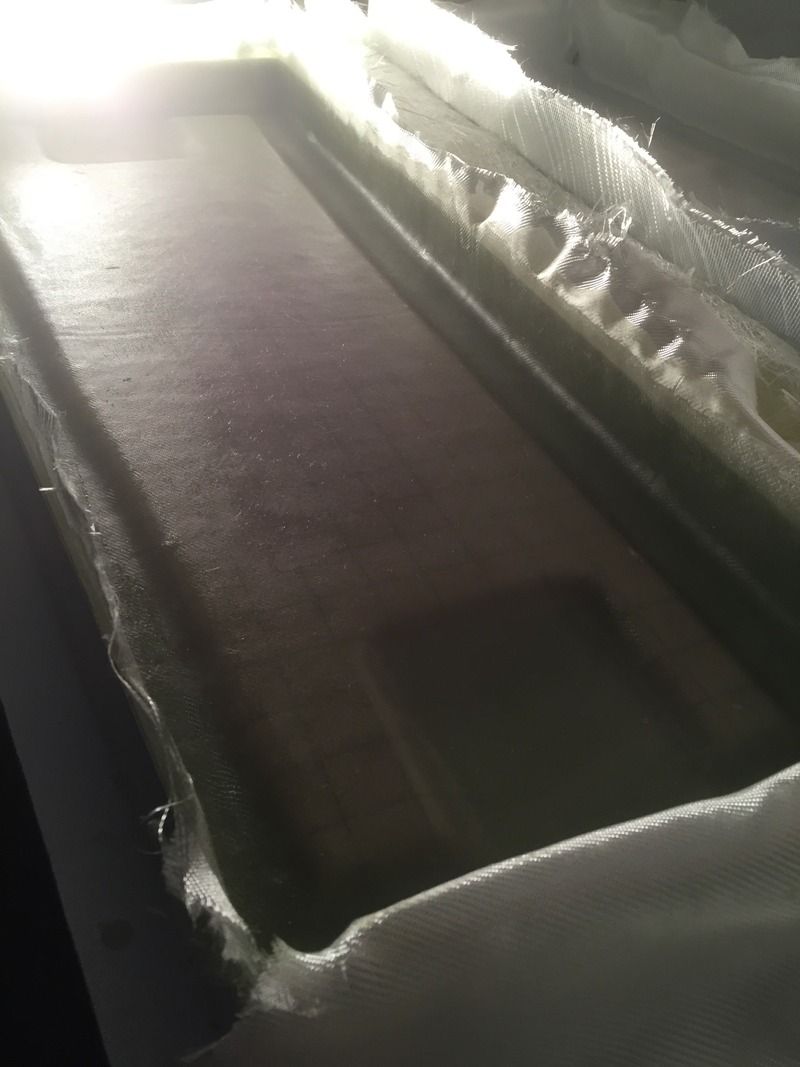
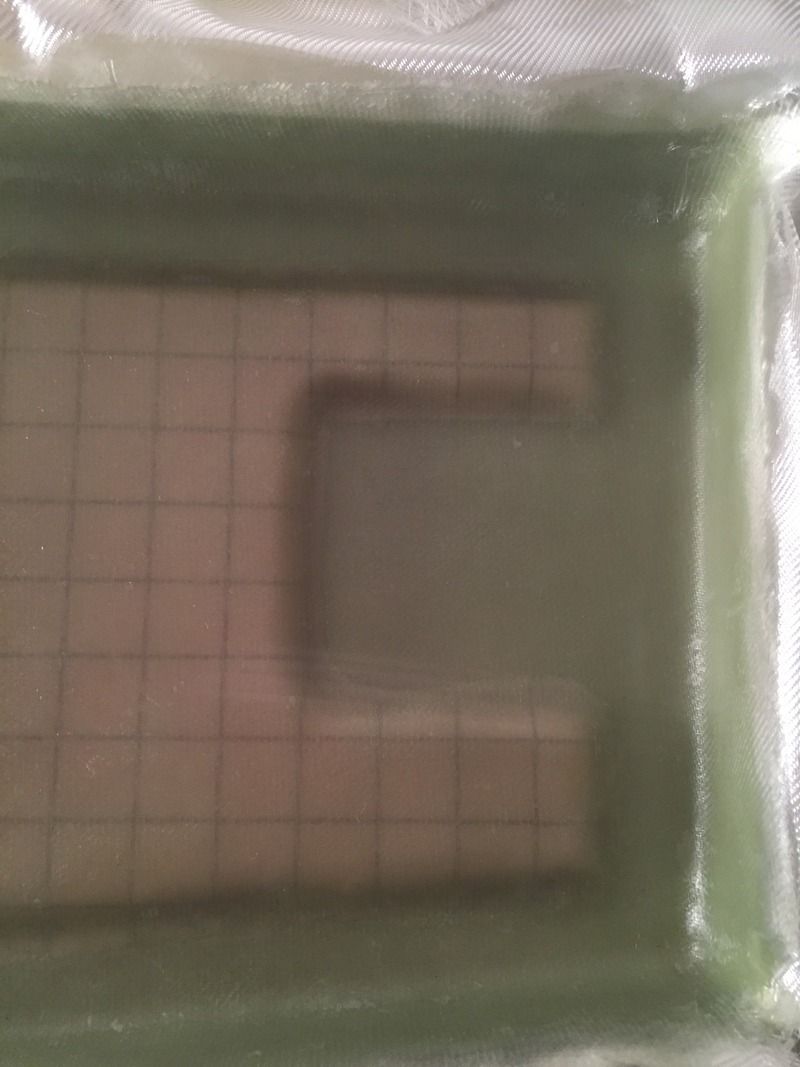
Now we're building moulds for the hatches. Got some really good clay called Nakiplast that works really, really well for the fillets. Will post pics tomorrow.
 

Red Herring

Chief Petty Officer
Joined
Oct 1, 2012
Messages
536


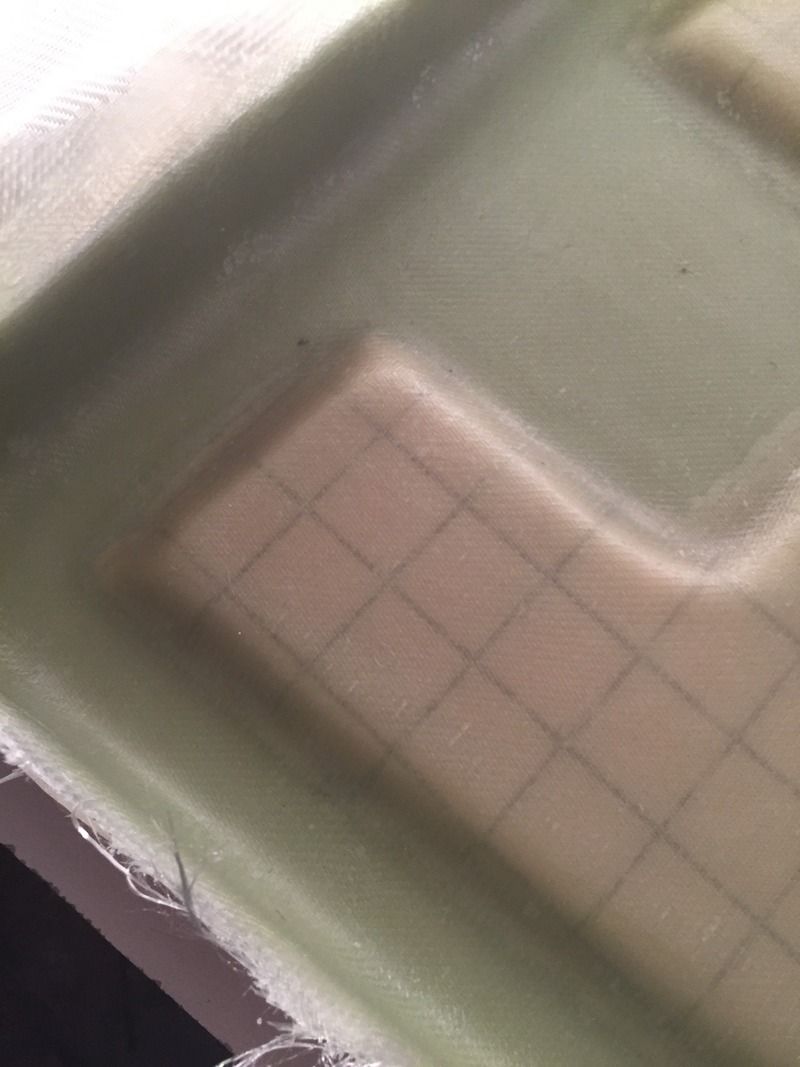
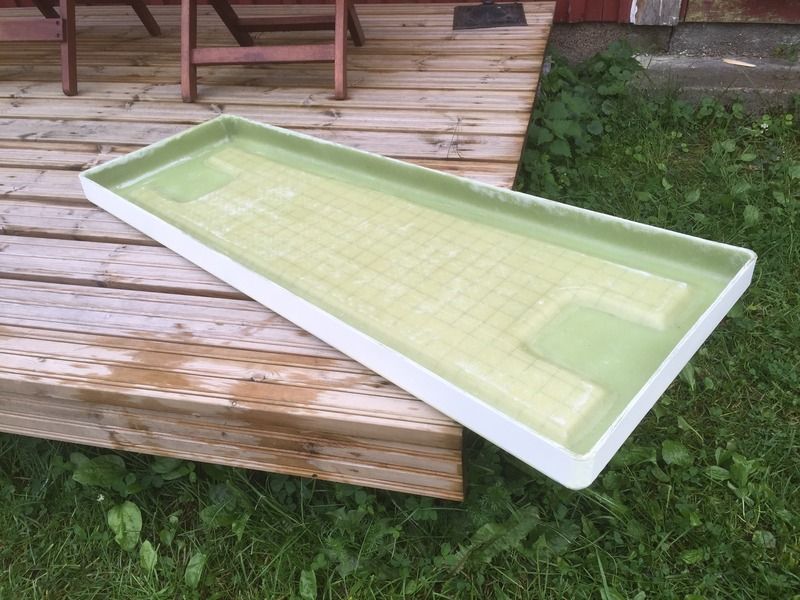
Tomorrow it's hatch factory time. You think a layup schedule of 2 x gelcoat (300g/m2 2hrs curing per layer) + 2 x 300g CSM + 1 x 450g biax / Curing / 1 x 300g CSM + 10mm Divinycell + 2 x 300g CSM + 1 x 450g biax + 1 x surface veil would work? I'm mostly concerned about the exothermic heat problem, if I'll just laminate it all in one go it'll probably go a bit too hot right?
 
Last edited:

GWPSR

Senior Chief Petty Officer
Joined
Jul 25, 2012
Messages
758
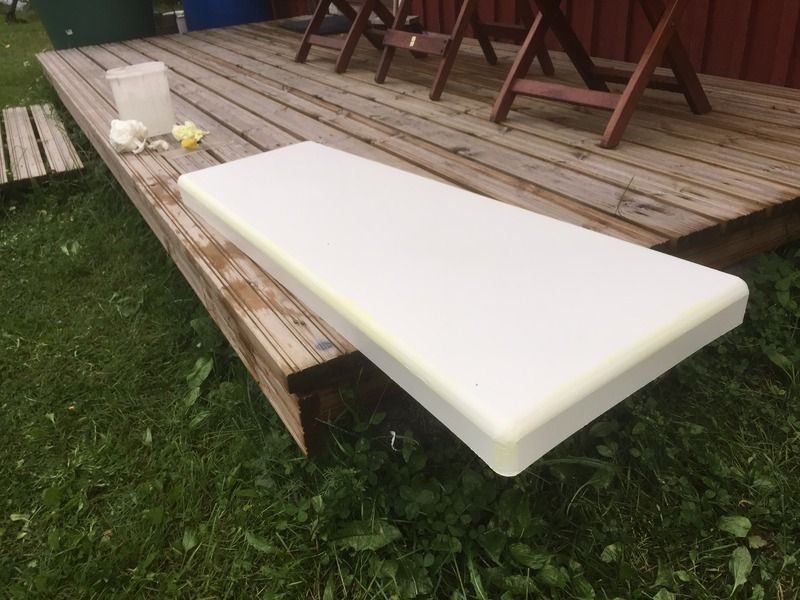
Wow! Absolutely top notch work! It doesn't get much prettier than that.
 

nurseman

Lieutenant Junior Grade
Joined
Jun 2, 2013
Messages
1,045
Very nice! How will you fasten them down? Hinges and latches, or some other ingenious method?
 

Red Herring

Chief Petty Officer
Joined
Oct 1, 2012
Messages
536
44f6335428adf88f45fe46d67d893ea4.jpg


Thanks! Each cover will have two of these. There's one stupid detail about that though, the latch shaft/center "pole" will be lower than the cover edge. I'll have to add some rubber pads or something to keep them from scratchg each other when removing. Might add pistons/hinges later to the biggest hatches, these seem to end up being very heavy.
 

Red Herring

Chief Petty Officer
Joined
Oct 1, 2012
Messages
536
I was sure it was possible to modify them just a bit shorter than the edges, but apparently it's not without excessive amounts of work on 20 x of those things. And now they're here so I'll just go with them, they work real well otherwise and seem sturdy enough.
 
Top