Red Herring
Chief Petty Officer
- Joined
- Oct 1, 2012
- Messages
- 536
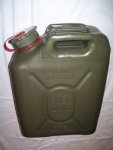
Late christmas presents for the boat all the way from your side of the pond: Got the Specter military jerry cans(diesel reserve) and the C-head in the mail today.


")
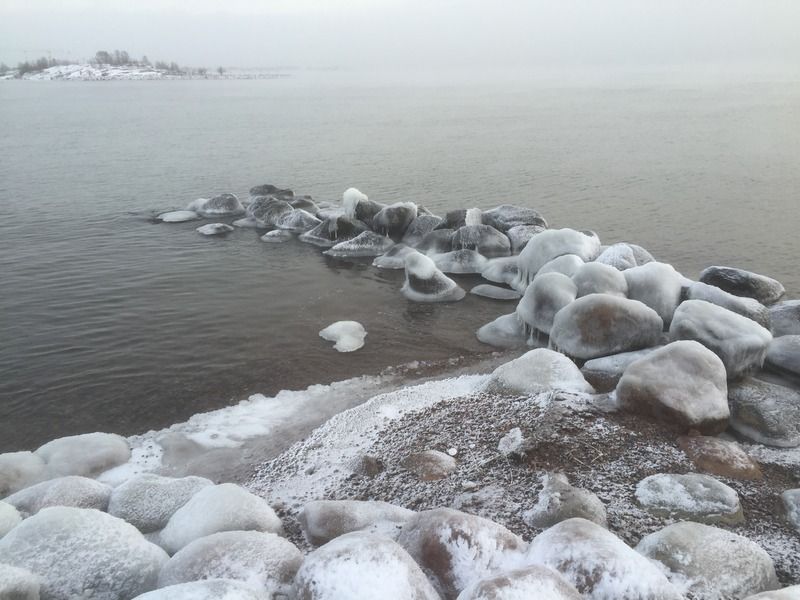
Chilly -20c today! But the sea is still fighting the ice somehow, hope it'll freeze proper so we'd get a chance to ski right outside of town.
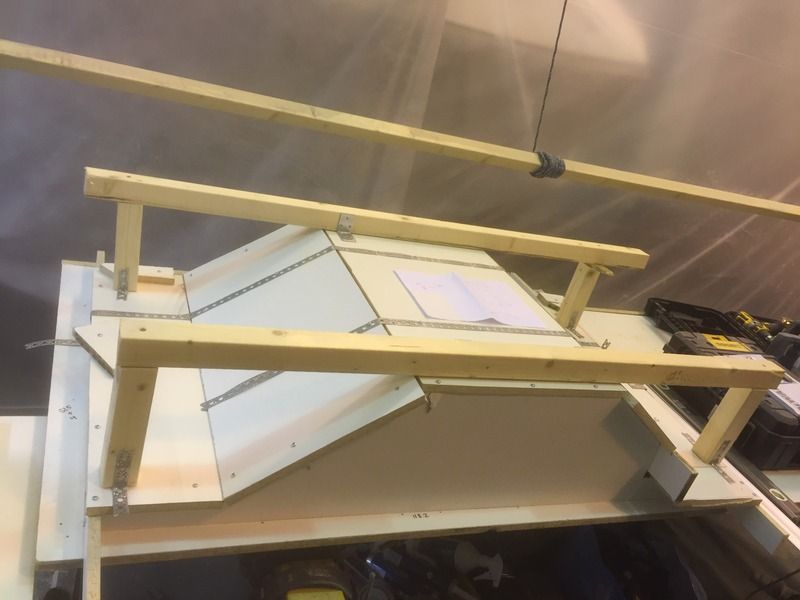
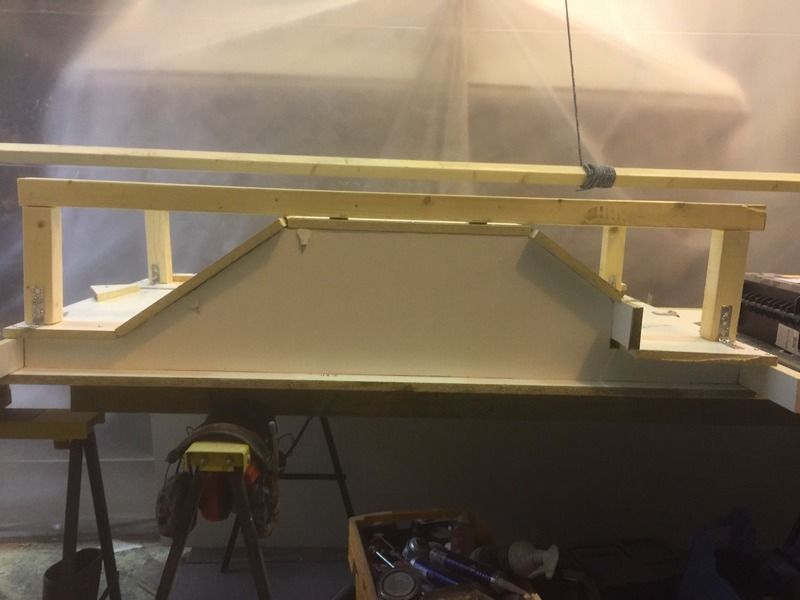
The mold for the engine cover became a bit of a bunker after all my reinforcing. It'll end up a bit boxy since the sides are straight, but I'm hoping some serious fillets will help with that. Now I'll need to get some help turning it over