Re: First boat 1989 Glassmast S187 cuddy restoration
So path forward
The trailer is pretty heavy duty being made from 4 " Channel Iron and the bunks are full length of the hull. Additional support as I get into this should be easy to accomplish.
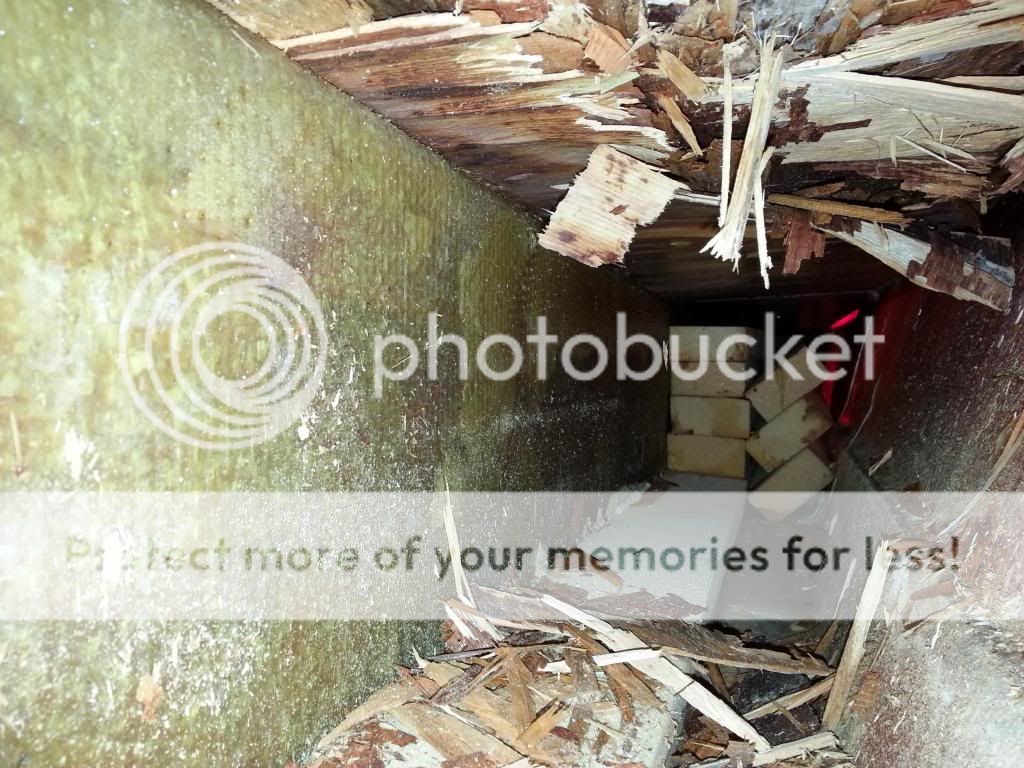
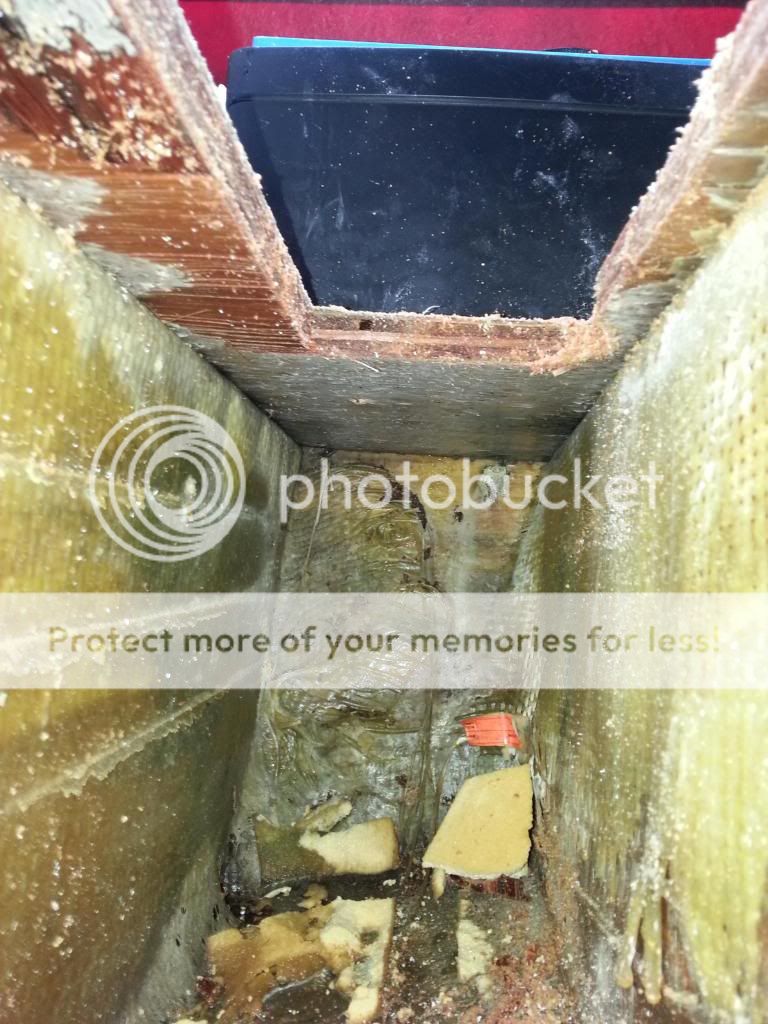
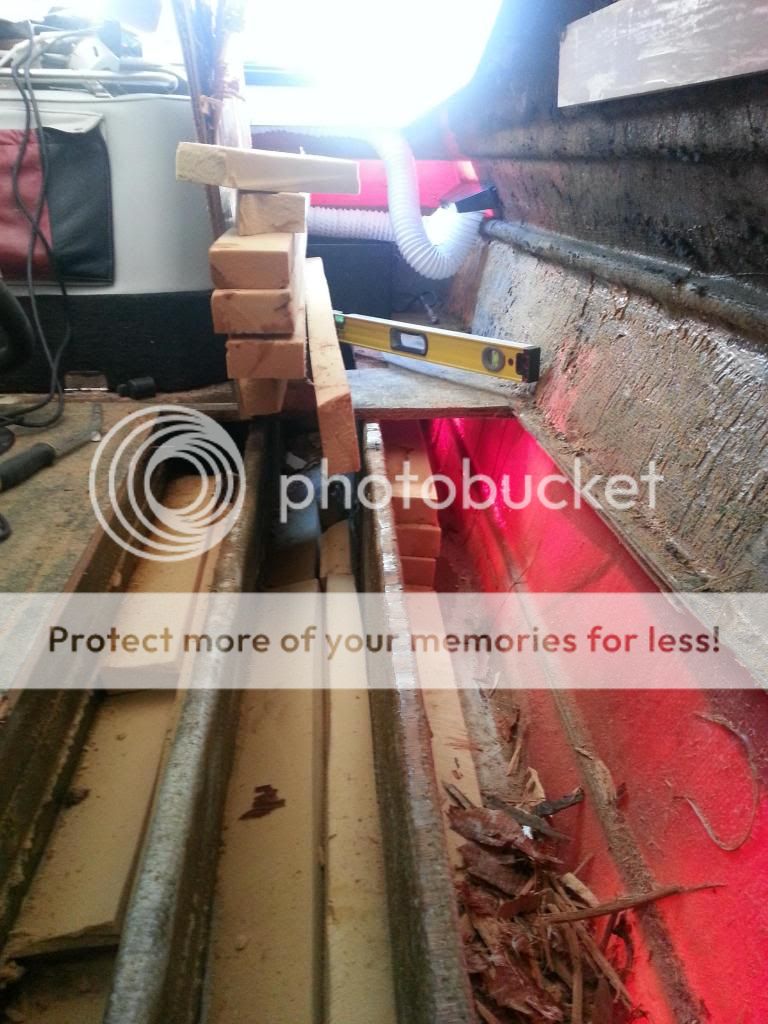
hole saw 2" - 3" holes in the floor and investigate the foam.... start to dry out the moisture under the deck.
Begin removing the panels and take them inside for the winter.
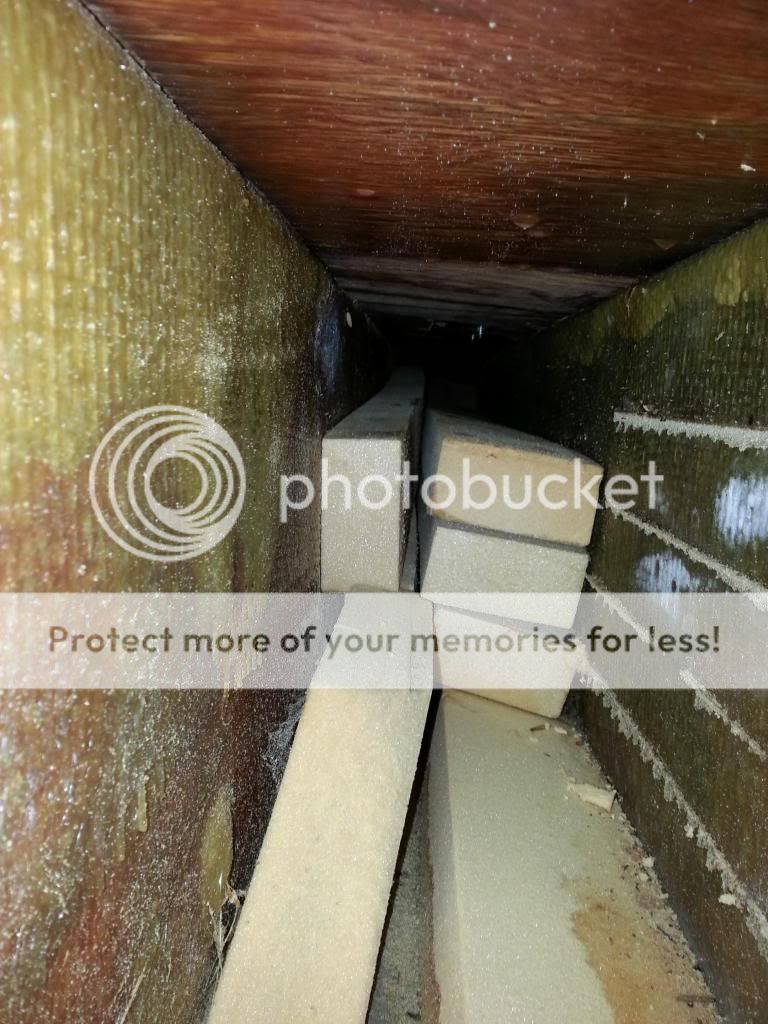
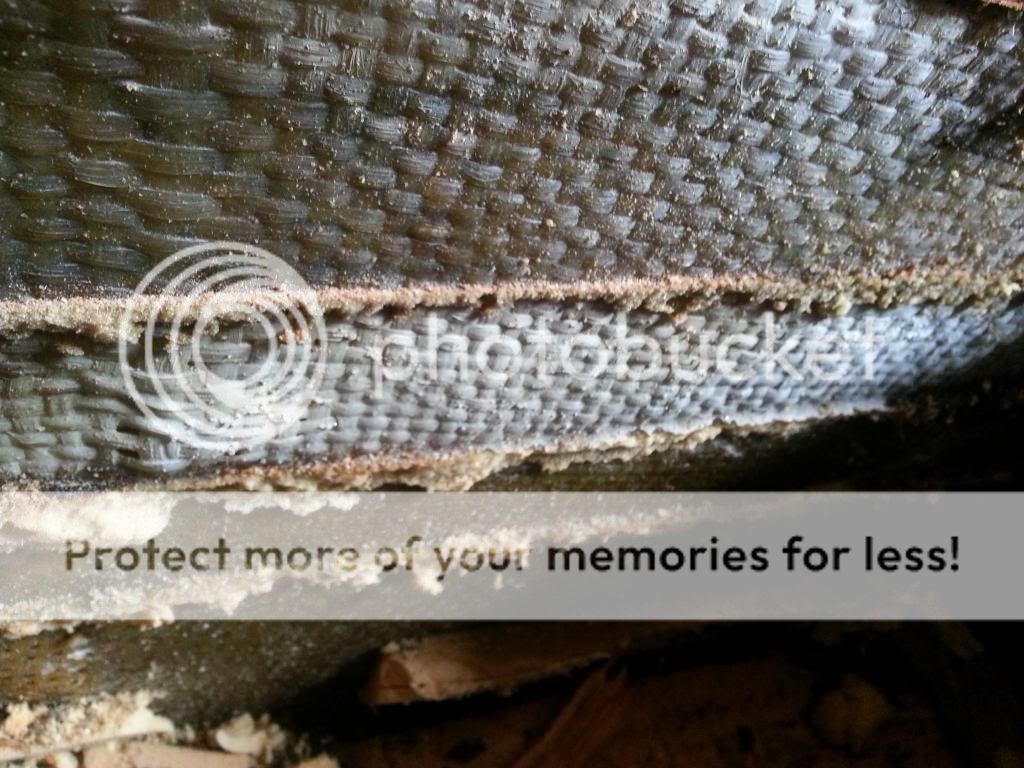
Remove the floor.
Remove the foam.
Inspect and post the findings here for help and advice.
I am leaning heavily towards doing the work with Epoxy resins for the main reason that I can make templates and fabricate all the goods in the basement which is heated and if I need to ventilate rather easily. Poly and Vinyl resins I wouldn't even think of doing in the house.
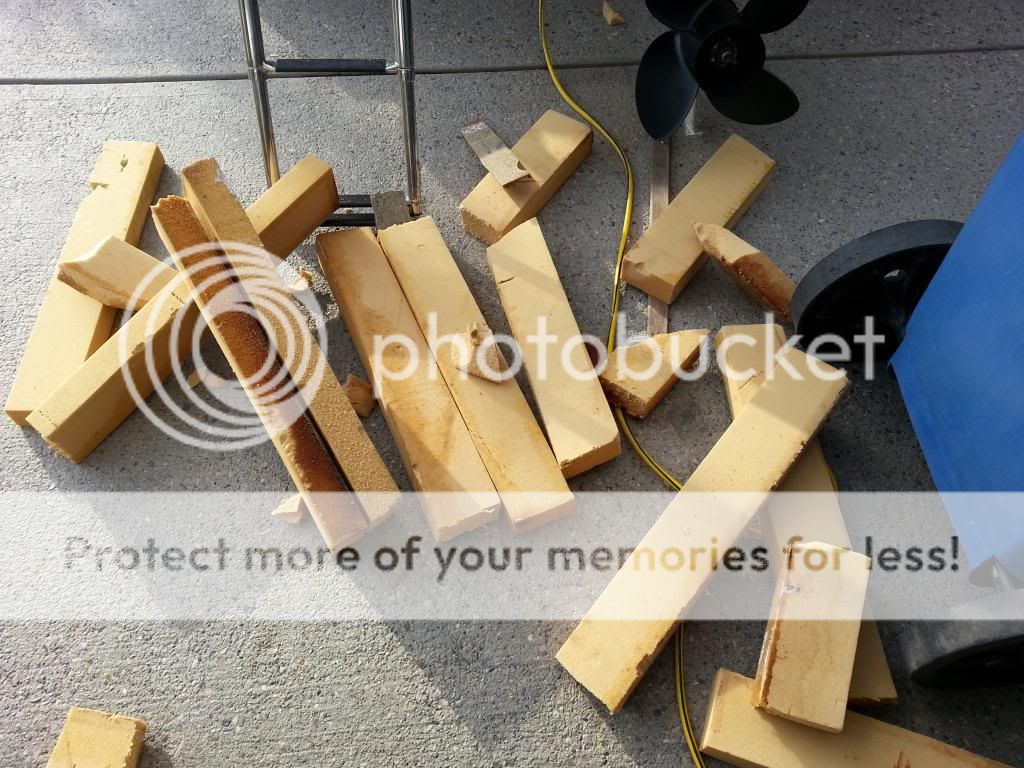
Meranti ply for the transom repair if needed ... MDO for the stringers and bulkheads and floor material.
CSM and 1708 are extensively used with poly resin yet epoxy suppliers tend to steer one away from matting in these repairs. ???
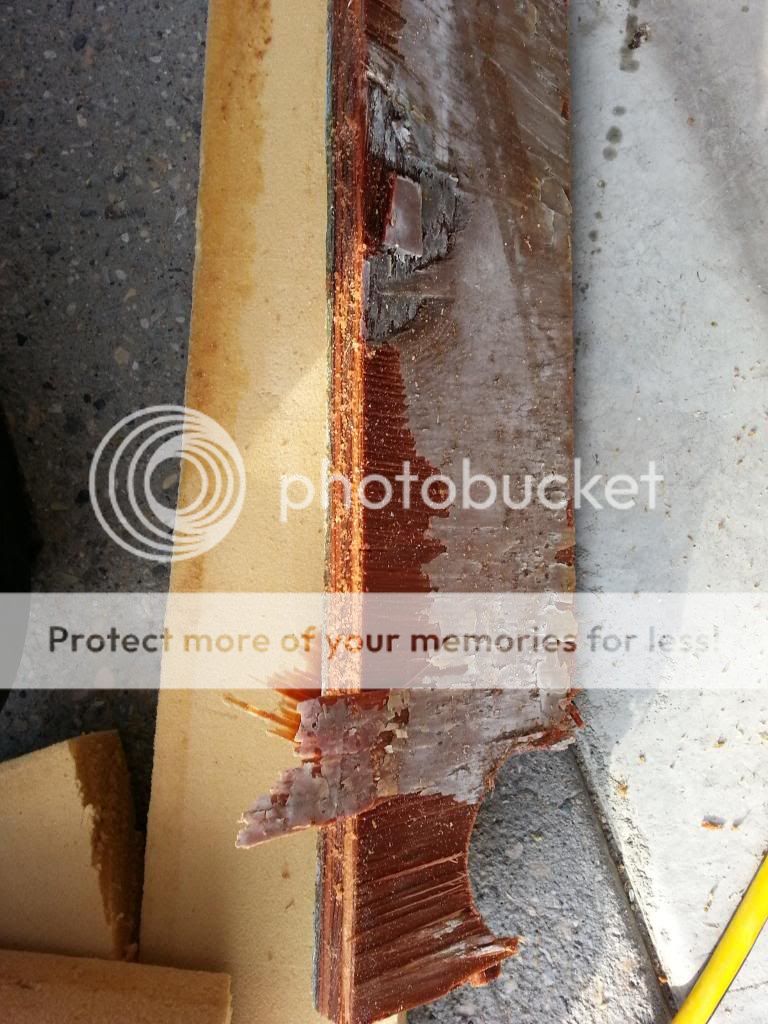
Oak for the stringer that appears to be toast under the engine.
The suggestion to glass a plate on the floor with T-bolts for mounting the seats is already in the floor replacement plan and
I have a few thoughts for the fuel lines that seem to plague us with water intrusion as well.
Fuel Tank under deck is to be covered with removable hatch either fabbed or purchased.
The floor is to be non painted with Kiwi grip but I may either gelcoat or epoxy it white first
The batteries which are currently at the back by the transom may be relocated but I will get suggestions here before I do that as to how and where ( leaning towards the midship forward area )
lots of other more cosmetic stuff but that is later.
Although I know I am going to pay a lot more for the epoxy resin than poly it does enable me to pre-do a lot of this prior to the winter being over.... With removal of components like stringers etc that can be done while the temps are cool.
It should be much nicer to do the cutting and grinding in a Tyvek suit when its cool than when it is 25 degrees C or hotter too.
Jign does this seem like the beginnings of a solid plan ... or have a I forgotten or missed something ?
Epoxy resin is a good build and is the only option for me when working indoors, very low odor and non-flammable.
Meranti plywood is a good build, but you can use MDO for the transom if you want without any problems. I'd steer away from the oak and just use laminated MDO instead for the motor mounts.
Biax is cloth with CSM sewn to the back of it, some folks say you shouldn't use it with epoxy while others say it's ok and I've seen a few build on here using it with epoxy and it didn't look bad, but only time will tell how it holds up. The purists use a 17 oz. cloth with epoxy.
EDITED:
Was just browsing around on the USComposites site and they state that their 1708 biax is fully compatible with epoxy resin, that's a good thing to know.
While you have your fuel tank out you should clean it up with a stainless steel wire cup brush on an angle grinder and give it a coat of self etching primer for aluminum and then a couple of coats of regular metal primer. This will prevent galvanic corrosion in the future should it be exposed to moisture.
I'd much rather cut and grind fiberglass on a cool or even cold breezy day than a warm day, the cool/cold air will make you want to keep moving and the breeze will carry the dust away.
When one tabs the transom , stringers, bulkheads, floor etc with epoxy as the resin of choice do you wind up tabbing it in with say 12 oz biaxial cloth or something similar instead of the CSM? If I am understanding procedures / techniques etc from the manufacturers and posts the CSM is steered away from as it is hard to wet out with the epoxy resins.
The one thing I do like about the epoxies over the poly or vinyl resins is that kick/cure times can be varied using an applicable hardener.
The PL everyone refers to here when attaching stringers etc to the hull is the PL adhesive ( similar to Liquid nails ) correct ?
Not only can the kick times be altered by the choice of hardener, so can the temps at which it is worked with. A medium hardener is only good to down about 65*F (18.3*C), but a fast hardener is good down to about 45*F (7.2*C) and if the temps fall below those it will quit setting/curing but will start back when it warms back up. One thing you want to be absolutely sure of is not to let you epoxy resins freeze (applied to a surface or in the jugs), once frozen it's trash. The warmer you can keep your work area the quicker your epoxy will kick no matter which hardener you use.


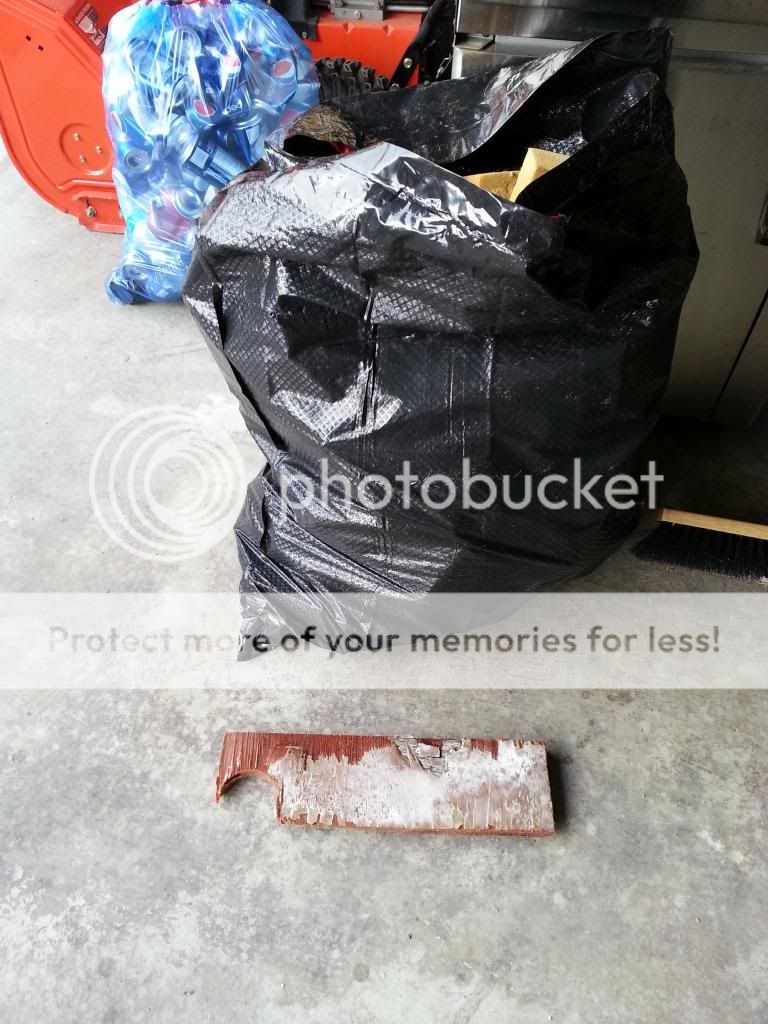
 so I will have to fab and glue down stairs then pack it up to the garage.