hull extension in progress with pics

Status
Not open for further replies.

NoKlu

Senior Chief Petty Officer
Joined
Feb 23, 2008
Messages
786
Re: hull extension in progress with picks

Re: hull extension in progress with picks

Sorry to hear about the eviction! They are prolly pissed at having to rearrange the lot every couple of days.
 

oops!

Supreme Mariner
Joined
Oct 18, 2007
Messages
12,932
Re: hull extension in progress with picks

Re: hull extension in progress with picks

i knew it was coming any day as things have changed at the shop with the owner not being there any more......and its starting to get cold at night.....real cold.

i was kinda hopin for another month.....but....oh well ....time to track down some leads.........its not the first time my boat is homeless.....but now......it is less crutial as the guts are fully prepped for weather
 

oops!

Supreme Mariner
Joined
Oct 18, 2007
Messages
12,932
Re: hull extension in progress with picks

Re: hull extension in progress with picks

S.O. a B!
That sucks oops! How soon do they mean when they say "soon"?
Any idea where you're going to go?
I can't handle much more delay before your next update w/ pictures!!! :mad:


soon means monday.....ill have this weekend to do some last minit stuff on the hull.....then clean the shop....:eek: :eek: :eek: :eek:
 

NoKlu

Senior Chief Petty Officer
Joined
Feb 23, 2008
Messages
786
Re: hull extension in progress with picks

Re: hull extension in progress with picks

Get a garage at cosco and set it up behind the store.
 

erikgreen

Captain
Joined
Jan 8, 2007
Messages
3,105
Re: hull extension in progress with picks

Re: hull extension in progress with picks

Yeah... sounds like you dodged a bullet here.

I would think that considering what you've done so far, you have the skills to make the cutout and mount the drive yourself. It's not too hard.

You just need to spend some time measuring the transom that you have in the boat, and figure out the motor mount height and where to put the hole.

Essentially the transom hole sits a certain height over the bottom of the boat so the lower leg is at the right height. Obviously having the drive centered is good, but it's not 0.001 precision or anything. Both my boats have had transom holes that looked ok but measured as about 1/4" off center. Remember that boats with twin sterndrives can operate on one drive as much as three to four feet off center and the boat still goes forward. The ability to trim the drive with the zinc rudder tab will let you center the thrust enough to compensate for a missed angle.

Even the lower leg height isn't critical.. if it's way off you'll have more cavitation than you want, but that's about it. You're trying to put the cav plate at a height close to level with the hull bottom.

I'd work to make sure the hole is perpendicular to the keel, then make sure it puts the lower leg at the right height, then make sure it's centered, in that order. Again, you can be off as much as 1/4" and everything will work fine.

Cut the hole very carefully though.. the bolt holes and size must be exact per the template, and then make sure you're gonna end up with a transom the right thickness. Seal the edges of the hole with thin glass and resin.

Once you cut out the hole, then you'll know where the transom plate goes. You can test fit the motor if you like, based on the transom plate height and angle you know how much to modify the motor mounts to put the engine at the right approximate height and *close* to the right vertical angle.

You already cannot alter the left/right angle of motor mounts to transom... that's determined by the angle of the transom. The transom plate attaching to the motor mounts on the flywheel cover gives you the left-right angle you need, and the transom plate is bolted to the transom (obviously).

Then you adjust the motor mounts (front) vertically to give you the precise angle you need between coupler and the leg's input shaft.

All the dimensions and angles that are super critical for correct engine propulsion are non adjustable except for that vertical angle, which you set with your alignment tool. Although the transom hole has to be the right shape and the transom thickness is important, since the entire rest of the drive train hangs off the transom kit, it'll all line up.

Just make your best measurements and pick a location.

With a 4.3 you'll be able to try out the hull, but I think it'll be way underpowered for a boat that size/weight, so keep that in mind while you try it.

Erik
 

colobiker

Petty Officer 2nd Class
Joined
Sep 12, 2008
Messages
191
Re: hull extension in progress with picks

Re: hull extension in progress with picks

oops.. i am with erik.. with everything you've done. to the boat.. i am more than confident you can do it. sorry about the garage/shop situation. thats a drag. .and with the weather getting colder at night.. now's when your really going to need it:(
 

erikgreen

Captain
Joined
Jan 8, 2007
Messages
3,105
Re: hull extension in progress with picks

Re: hull extension in progress with picks

I feel for ya on the garage thing.

I'm getting closer on my remodeling project, but with the amount of work I'm putting into it I could have done another hull restoration :)
 

oops!

Supreme Mariner
Joined
Oct 18, 2007
Messages
12,932
Re: hull extension in progress with picks

Re: hull extension in progress with picks

thanks for all the support guys.....

and thanks for the info erik......it is greatly appreaceated.

i know i can cut out the t plate myself....without ony worries.....but from the get go this mech was adamant that he wanted to cut it out....we had discussed in great detail about him cutting it out and procedures for water proofing the exposed edge.....

my only concern now.......(with eriks info and the fantastic guide don's gave me)....is the tool of choice.....the thing is too thick for a jig saw :eek:
a sazall just seems kinda barbaric.....and i dont know if my rotary saw has 4 inch bits :D.....but no worries.....ill get it done.....i hope this weekend.....
just think....ill have another detailed info section for future i boaters that would care to look at this monster sized thread......(i gotta add an index)

there is a couple of logistical problems as well as mental problems to over come with this situation...

the logistics of finding another shop......and moving it again...(ill find one eventually and i know there is a few out there at a good rate.....not $150 :(:D....

the mental factors.......thats the catch....i dont want to moth ball the proj for a month or two....its just too close...its easy to think ....there is not that much more to do......ill get it in the spring.....thats just a load of horse cookies......i need to keep on this thing and get it done....so the subs....(paint...stickers and uph) can get to it.....then ive gotta get the old junk trailer fixed.....(ill be a welder by the end of this proj)
the hardest part of a project is when you lay it down for a bit.....getting started again.....it takes a few days to get your head wrapped around it.....even a 2 or 3 day layoff.....it takes a few hours of wandering around with your finger in your nose to get your head back into the game.

i just dont wanna go down that path....
 

oops!

Supreme Mariner
Joined
Oct 18, 2007
Messages
12,932
Re: hull extension in progress with picks

Re: hull extension in progress with picks

I feel for ya on the garage thing.

I'm getting closer on my remodeling project, but with the amount of work I'm putting into it I could have done another hull restoration :)

heh heh heh.....when your shop is done.....your property value will be greatly increased, and you will have heated shop with a exaust fan.

a play ground worthy of any crazy iboat builders wildest dreams :D

after your hot dog :confused: :D is done....youll just have to find more projects to put in the shop !

power to ya bud ! :)
 

Flying Brian

Cadet
Joined
Apr 2, 2007
Messages
26
Re: hull extension in progress with picks

Re: hull extension in progress with picks

Hy there oops. How about a storage unit to finish your boat i thought about it and find a propane heater and then go balls out and finish her up.Good luck to you Brian.
 

redfury

Commander
Joined
Jul 16, 2006
Messages
2,657
Re: hull extension in progress with picks

Re: hull extension in progress with picks

Yeah, lots of people really *enjoy* swedish flags. ;)

Who wouldn't?! :D

Wow though....I can't believe that the boat is sitting at the guys place and he's over there with HIS finger halfway up his nose scratching his brain, and not calling YOU! Crazy.
 

oops!

Supreme Mariner
Joined
Oct 18, 2007
Messages
12,932
Re: hull extension in progress with picks

Re: hull extension in progress with picks

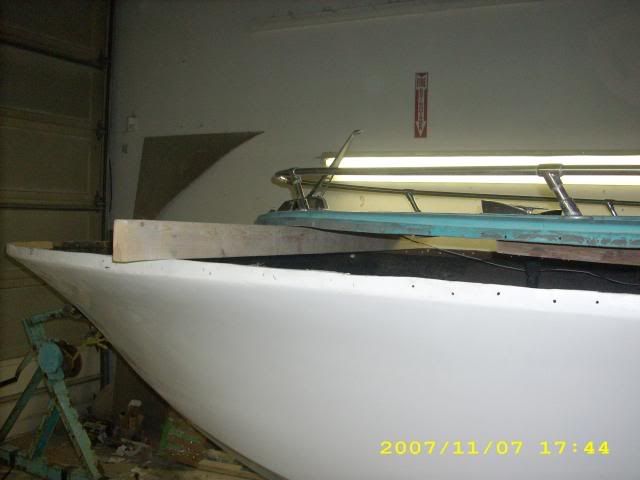
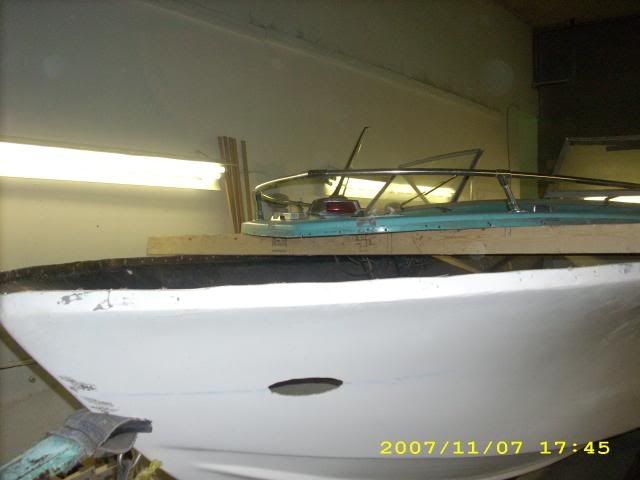
ok.....so.....when i got the boat back to the shop last night......the first thing i needed to do was pull the cap back......this is uasually done with a crane or three or four guys, but.....i didnt have time to assemble a crew.....so i lifted it my self......

i went around the boat.....and lifted the cap so it was free of the hull and just sitting on the hull...
then i just stood in the boat....grabbed under the dash....lifted....and once clear of the hull......i pulled it back.

deckingset9003.jpg


the nose setteled in the bow area of the hull....the rest of the cap was sticking up in the air.

i put 2x4s under it to support it....and just moved it back to whare i needed it.

deckingset9004.jpg


then added more support

deckingset9005.jpg


thats about when my camera died.....

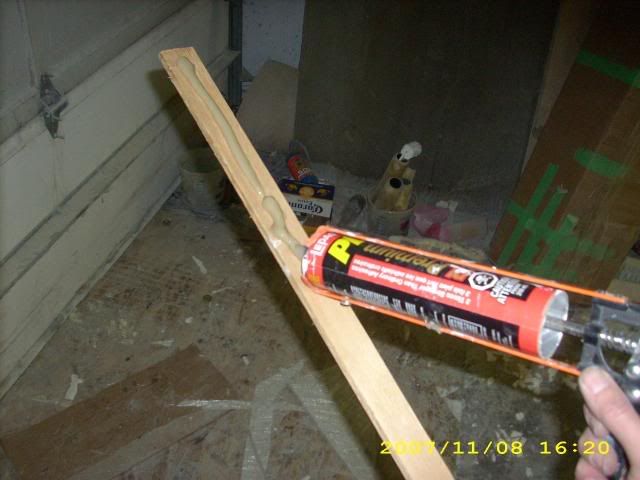
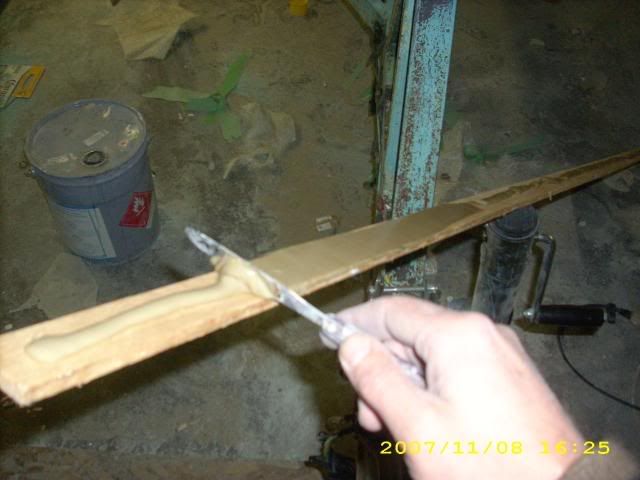
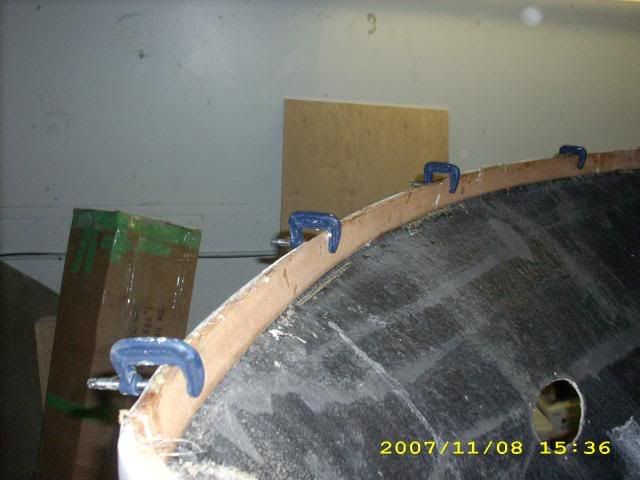
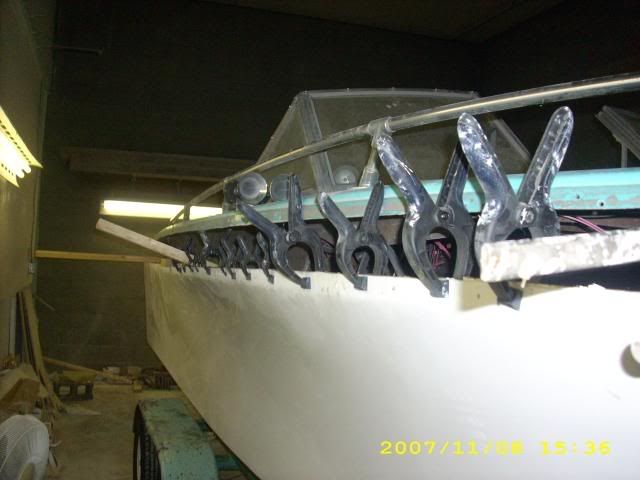
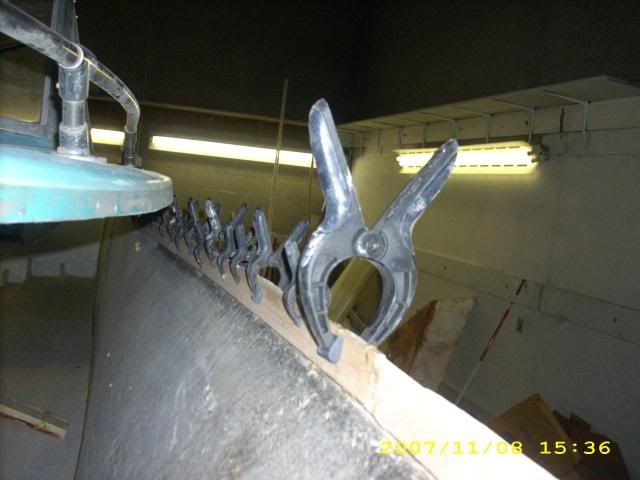
the reason to pull the cap back....was to attach the rub rail backing plate....i chose a long cedar lattice like board.....one inch wide and approx 3/8 ths thick.

it is glued with pl preimum and clamped to the shape of the hull......ill have pics of that process tommorow.

ill also be making a 90 degree tool to measure out the t plate cut out...
 

AMD Rules

Lieutenant Commander
Joined
Sep 23, 2004
Messages
1,707
Re: hull extension in progress with picks

Re: hull extension in progress with picks

..the hardest part of a project is when you lay it down for a bit.....getting started again.....it takes a few days to get your head wrapped around it.....even a 2 or 3 day layoff.....it takes a few hours of wandering around with your finger in your nose to get your head back into the game.......

I think that should be iboats banner for the week. lol
 

GO OVRIT

Seaman
Joined
Jul 2, 2008
Messages
74
Re: hull extension in progress with picks

Re: hull extension in progress with picks

I can understand your reasoning for wanting to use a cheaper package to test the hull, but have you considered just starting out with what you want in there? I have compete confidence that if for some reason it doesn't perform right, you'll make it right and still put that big power and drive in there. I just can't see it getting scrapped if it doesn't handle right. I don't like having to do things twice is why I ask. Of course 2 rigging jobs will mean more updates for us to read.:D
 

oops!

Supreme Mariner
Joined
Oct 18, 2007
Messages
12,932
Re: hull extension in progress with picks

Re: hull extension in progress with picks

that what really pee's me off.....he was tryin to tell me the 4.3/alpha pkg was different than a 5.7/alpha pkg......they are the same block ! so the cav plate would be in the same spot.

but even if i change the package....alpha to bravo/volvo....the alpha is the smallest hole....the others can be shaved out, and the cav plate would be in basically the same place...give or take 1/2 inch.

i just dont get it....other than he had more stuff to do....higher point jobs....like a winterization.....400 bucks for a 45 min job, as opposed to a 1 hr job (cutting the t plate) and billing for two hrs....(book)

as far as waiting for the hull results with the final power pkg, that too is subject to change after the install.....

if major work is needed to repair the hull, that will mean the drive and motor will have to come out any how......the hull flipped and re faired and gellcoated.....

i would rather have the peace of mind KNOWING the hull is stable and is correct before i spend the 12k for the package.

and i must admit.....im dyin to test this thing !....even if it is only the 4.3
 

MERIT6419

Petty Officer 3rd Class
Joined
Sep 3, 2008
Messages
89
Re: hull extension in progress with picks

Re: hull extension in progress with picks

Oops,
I have been reading this thread daily for a long time now and with all your attention to the details and researching everything and making sure what you do is right before you do it and the water test. Do you think it is even possible that your going to have a stabilty problem? I really doubt it. oh by the way I just bought a 1989 sea ray.
 

oops!

Supreme Mariner
Joined
Oct 18, 2007
Messages
12,932
Re: hull extension in progress with picks

Re: hull extension in progress with picks

Oops,
I have been reading this thread daily for a long time now and with all your attention to the details and researching everything and making sure what you do is right before you do it and the water test. Do you think it is even possible that your going to have a stabilty problem? I really doubt it. oh by the way I just bought a 1989 sea ray.

the only problem i can see is if the boat rides too high on the water....it was stiiing on the strakes when we test floated it....but that is with out the motor and drive....add an easy 500 lbs for the smaller 4.3.....if its too high....i might have to weight it down or move the batts around....thats why i need the water tryal....

and your gonna love the ray.....they are incredibly stable and just feel like caddy's on the water :D
 

oops!

Supreme Mariner
Joined
Oct 18, 2007
Messages
12,932
Re: hull extension in progress with picks

Re: hull extension in progress with picks

well.....with my baby back at home.....and me not being a haloween kinda guy.......i got a little time on the boat to tie up some loose ends......

when i tore the boat apart......the wooden backing plate that surounds the top of the hull, as a reinforcement for the hull deck joint, was removed....

so i had to replace that strip.......

i chose cedar lath for that job......qcedar is naturally rot resistant, so it is a great wood....wowever it does not hold screws well, as the fiber of the wood tends to break away as threads chew into it.

as a backing plate for bolts or rivets....(i havent decided that yet....prob bolts)...it will be fine.....

after the surface was prepped.....ground smooth, and cleaned.....

it was time to paint the cedar strip with pl preimum.

deckingset10007.jpg


once the bead was layed...i just used a butter knife to spread it fully across the strip

deckingset10009.jpg


the strip was then layed in the bow of the hull and clamped in place.

deckingset10001.jpg


i did several strips and sections.

deckingset10002.jpg


this is pretty much of a no brainer as far as the instalation of these strips....but you must make sure the glue is spread and the ends of the strips are fully attached

deckingset10003.jpg
 

oops!

Supreme Mariner
Joined
Oct 18, 2007
Messages
12,932
Re: hull extension in progress with picks

Re: hull extension in progress with picks

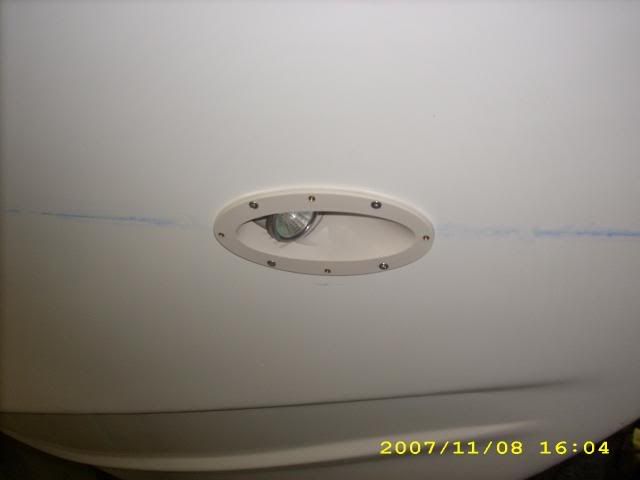
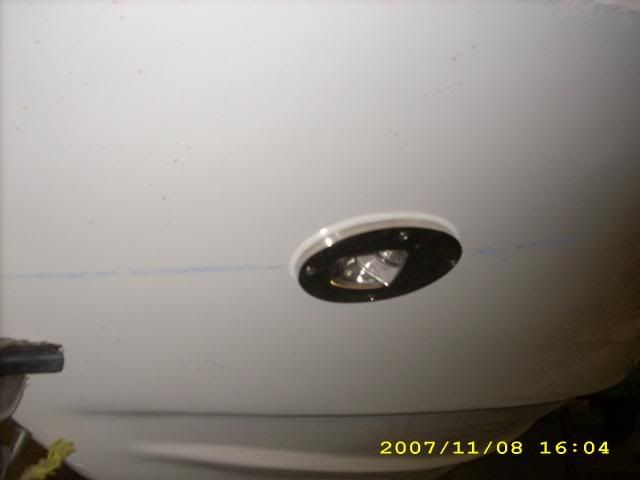
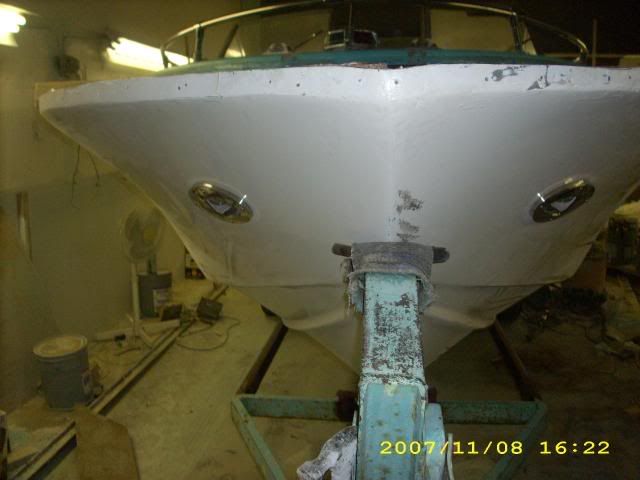
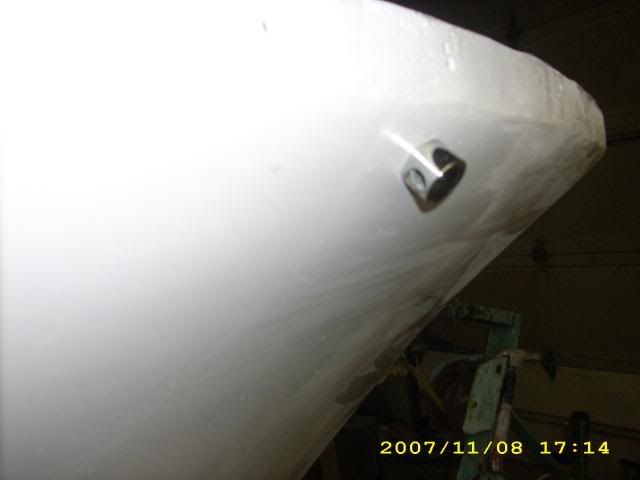
with those installed....it was time for the docking lights.

deckingset10004.jpg


the holes were previously cut....i just needed a backing plate and longer bolts to go thru the thickened, reinforced hull........after the fixture was installed.....ithen came the cosmetics.

deckingset10005.jpg


that job is done

deckingset10008.jpg


i only had a little time...(about an hour and a half ) as the owners of the shop wanted to go trick or treating ......i had a few minits before they would leave so i found another job.....

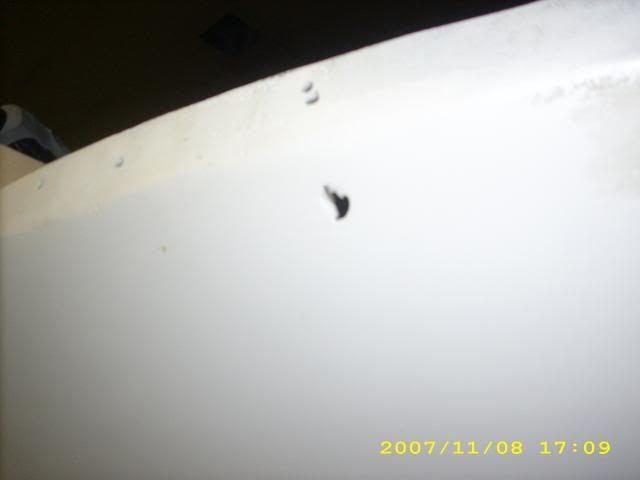
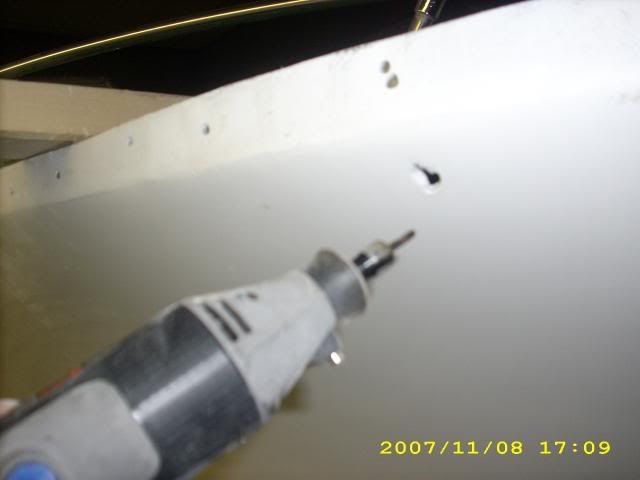
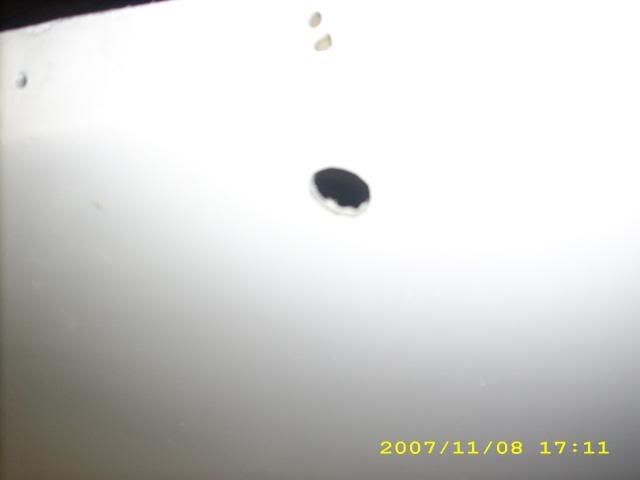
the fuel over flow.......

deckingset10011.jpg


the hole was partially filled with fairing compound....so with the dremmel i cleared the hole

deckingset10012.jpg
 

oops!

Supreme Mariner
Joined
Oct 18, 2007
Messages
12,932
Re: hull extension in progress with picks

Re: hull extension in progress with picks

nice and round

deckingset10013.jpg


and done....

deckingset10014.jpg


in the past,,,,,during bigger waters....the over flow had actually sucked fresh water in ....so i adjusted it so the opening was down and pointed towards aft......

the hose that is attached will also have a loop and be tied to the under side of the deck.

im going to the boat for a bit tonight before the hockey game and then tommorow....ill just be tying up loose ends before i move it to its tempoary home.

cheers
oops
 
Status
Not open for further replies.
Top