"Master Bait'R" Restore Thread

Bill3434

Petty Officer 1st Class
Joined
May 29, 2011
Messages
398
Re: "Master Bait'R" Restore Thread

Well, due to the embarasment of the horrible layup of the transom for the first time, I decided to not take pictures (to much pride I guess). So I went ahead and got the grinder out and went at clean up around the bad areas. I was fortunate to have no air bubbles on the main surface, most of the issues were around the edges where it would not wrap around. So I cleaned all of the excess hang off and cleaned it with acetone.

I went flipped it over and started glassing the other side. with a couple tips that I got from Gt1m. I now see why you round over the edges. It does not mater how much resin you put on it, if the corner is sharp it just will not lay over with out creating the bubble on the edge. So I have more prep work to do on all of my wood, but I think that I now see how its going to act. No pics due to the rain starting. And because I can not glass in the garage, I had to place the drying work underneath my boat cover, that is covering the cap.

Darn Rain!

In the last 24hrs I have had almost everything, hail, sleet, freezing rain, rain. Monday night had the A/C on, yesterday and today had to have the heat cranked up. Needless to say not good for working on the boat.
 

sevanseriesta

Petty Officer 1st Class
Joined
Jul 12, 2012
Messages
303
Re: "Master Bait'R" Restore Thread

This weekend I want to try to get the transom PB to the skin. The back seems real flexible (lots of Movement) Is it possible to make the transom and where it attaches to thick?

I was going to put an additional layer of 1708 to the skin to give some strength. The transom has a layer of 1.5 on both sides. Should I be fine with out the extra layer of 1708 or will I be fine If I add the extra layer of 1708?
 

jbcurt00

Moderator
Staff member
Joined
Oct 25, 2011
Messages
25,109
Re: "Master Bait'R" Restore Thread

Only you'll know if the cap will fit back on if you add additional 1708 before you install the transom ply. You'll have to measure what will fit.

Fiberglass can be really flexible when it's not backed by plywood. Grab the top edge of the hull along where you removed the cap. It's likely flexible too...

Unless it's got a plywood backer along the inside edge (for the cap screws) like GT1M's does now. I don't think his had the backer when he took the cap off..
 

sevanseriesta

Petty Officer 1st Class
Joined
Jul 12, 2012
Messages
303
Re: "Master Bait'R" Restore Thread

Only you'll know if the cap will fit back on if you add additional 1708 before you install the transom ply. You'll have to measure what will fit.

Fiberglass can be really flexible when it's not backed by plywood. Grab the top edge of the hull along where you removed the cap. It's likely flexible too...

Unless it's got a plywood backer along the inside edge (for the cap screws) like GT1M's does now. I don't think his had the backer when he took the cap off..


Thanks, for the info, mine has a backer so its not very flexible. I was thinking of just putting a layer on there to be safe, cause I was worried about how flexible it is. And not sure if I took to much material out. I had to cut my splashwell to get the cap off anyways, I really just dont want my motor going to the bottom of the lake cause it ripped the back of the boat off!
 

sevanseriesta

Petty Officer 1st Class
Joined
Jul 12, 2012
Messages
303
Re: "Master Bait'R" Restore Thread

Just a quick update:

I have considered scrapping the project due to overwhelming myself on something that I am not very knowledgeable in. However after careful consideration I have decided to carry on and in the next several months I will Try to do something on the boat at least everyday weather permitting.

Today Not much was done as I only had an hour and a half to work on it before I had to go to work. Today I added 2X6's to the trailer and drilled the recess holes so that the carriage bolts did not scratch the hull. I will later add carpet when I flip the boat for sanding and painting. I plan to put the boat back on the trailer for better support since I think that my homemade cradle is not being adequate.

I next made my WOG clamps. I got some 3/8 threaded rod and cut it to length for 3 separate clamps. I will take pics later and add them tomorrow.

I dont think anytime will be given to the boat tomorrow however, I have a bower of the year tournament to attend.....

More Updates soon

Next: on to do List.

Fill and repair all holes in the hull
Put one layer of 1708 over where Transom will be attached for strength
And add Structure to where Eyelets will attach


PS. How Much does sea Cast cost... and is it difficult to use. I have considered filling in the area behind the transom with this instead of Foam.
 

sevanseriesta

Petty Officer 1st Class
Joined
Jul 12, 2012
Messages
303
Re: "Master Bait'R" Restore Thread

Update May 20th.....

I was able to get out this weekend and after much procrastination and finally accomplish something.

First I started by fixing all of my oops mistakes by going through the hull....

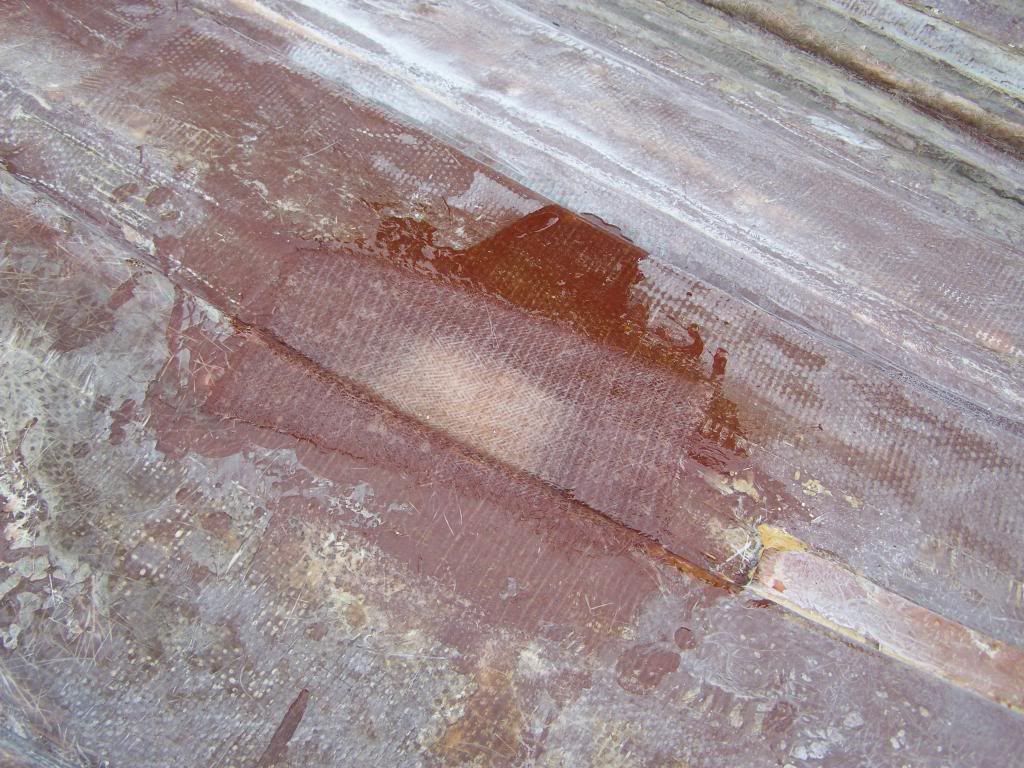
On this one I only did mat, I did one 3" and then a 6" over that, is that enough or should I go over it with 1708 as well.


I put two layers of 1708 on this one it was right on the strake, so I just went double strength. Also they were filled with PB also first.


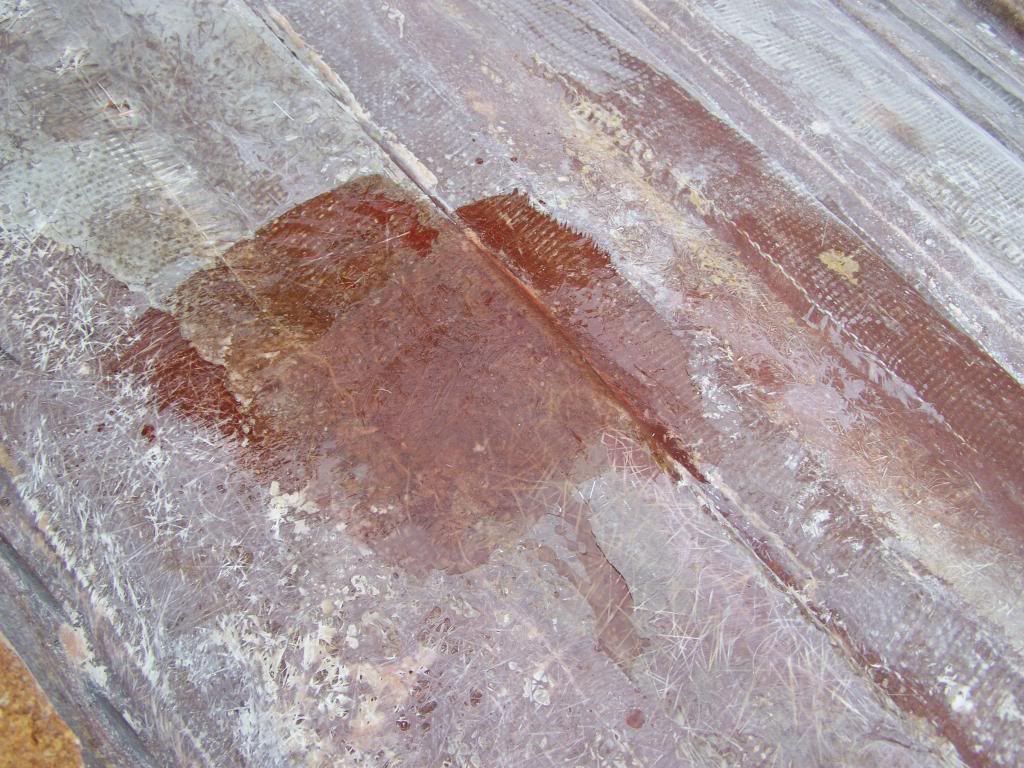
This is one issue that I found to be a much bigger problem then I expected. When I Moved the boat from the cradle to the trailer, I dropped something under the boat and saw cracks in the hull a little smaller then a softball size.
So to fix it, I ground out the entire area, now the wife is freaking out cause she can see the ground through a hole!
So I put duck tape over the entire hole. I then laid a layer of mat, then 1708, then 1708 then mat then 1708. Well to say the least that got a little warm and the duck take did not stay firm, but the hole is filled and strong. If I need to do something else please let me know!


I will grind that level to the hull once I flip it over.
 

sevanseriesta

Petty Officer 1st Class
Joined
Jul 12, 2012
Messages
303
Re: "Master Bait'R" Restore Thread

Next thing I did was get the would to the right and left of the transom in..... So Whipped up PB, and a very bad batch at that. Way to much Chop strand cause as you will see it got a little rough to work with.
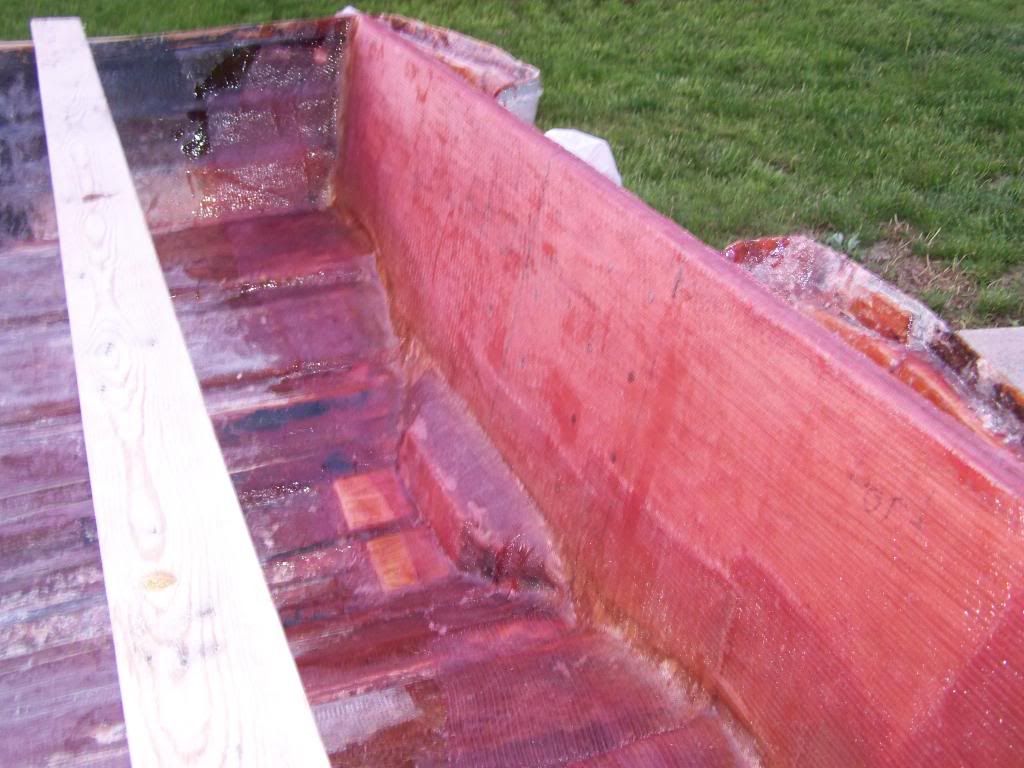
This is what it looked like when finished.


In this picture you can start to see the hair effect....


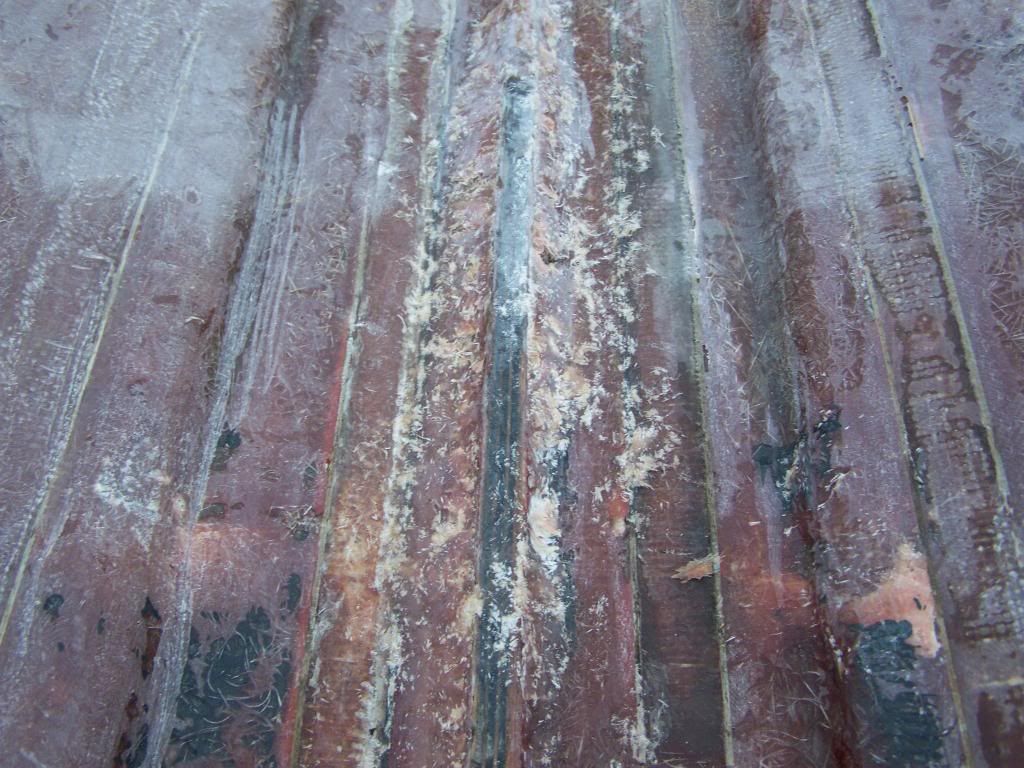
and this is where it really got bad, I don't have a pic before I started grinding but this is what it looked like afterwards.... yuck!


That was just supposed to be smoothed over so I could reglass it. When I found that it was not rotten I didn't take the rest of the glass off.
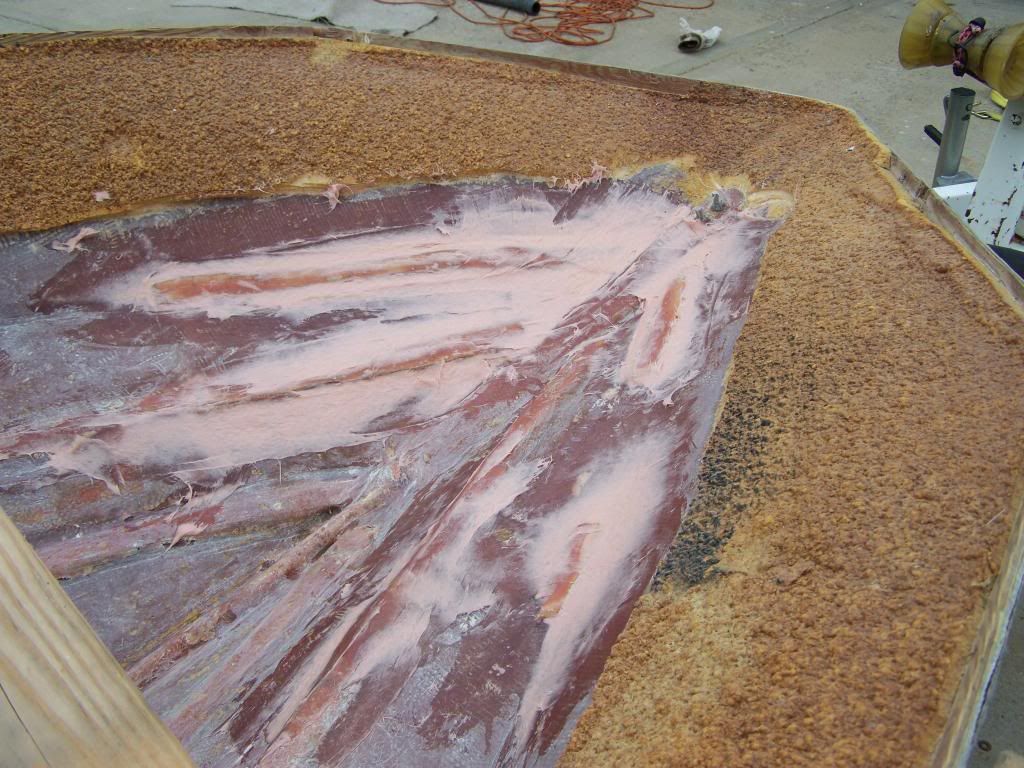
Then I went to put the transom in, started getting the clamps all ready. Had it test fit. And forgot that the eyelets weren't installed yet. So I stopped for the Night.
 

sevanseriesta

Petty Officer 1st Class
Joined
Jul 12, 2012
Messages
303
Re: "Master Bait'R" Restore Thread

Double post, could not figure out how to delete.
 
Last edited:

sevanseriesta

Petty Officer 1st Class
Joined
Jul 12, 2012
Messages
303
Re: "Master Bait'R" Restore Thread

So I went to Cabela's and got some new 3/8" eyelets. I drilled new holes oversize. Filled them and the drilled somewhat in the middle of the new fill....I also got a piece of 5/16 stainless steel and cut 2 pieces to help with the pressure. It took 4 cut-off wheels to cut 2 small pieces. Thank god I don't need anymore....


Mine aren't near as neat as GT1m, and I forgot to take pics before I put the transom in so sorry.


Then I put the transom in and clamped her down... I also had troubles drilling into my transom but got over it...


More coming shorlty
 

sevanseriesta

Petty Officer 1st Class
Joined
Jul 12, 2012
Messages
303
Re: "Master Bait'R" Restore Thread

So I had some large gaps to fill, so Back to the PB. First batch not to hairy but not enough cabosil, was kinda thin. So when I tried to pack it in on the sides it ran a little bit. So I waited till it sat for a little bit and then tried to put it where I wanted it. Turned out ok


This is the side that wanted to keep running..


So then I decided that it would be easier to tab it in while it was still kicking to eliminate air bubbles. Well that somewhat worked for the tabbing part. I thought not bad. And the 1708 is a lot easier to work with.


sevanseriesta

Petty Officer 1st Class
Joined
Jul 12, 2012
Messages
303
Re: "Master Bait'R" Restore Thread

Well a little problem that arose was heat.....It created a lot of it, its 72* and it went off in 15 mins. probably longer but that's what it felt like. So then I tried to put a layer of 1708 over the whole thing while everything was still wet. Oh man that was tough, 11' of 1708 and the heat everything started kick even faster, there are air bubbles in this that will have to be fixed but most of it looks pretty good so Im happy.


You can see bottom left where I could not get the cloth to lay down before the heat cured it. I should have been paying more attention. I did mix it at 2% though because of the threat of rain that was coming I wanted to make sure that it cured before I pulled it in the garage so that Wifey did not get mad. I think I would have been fine If I mixed at 1.25%. And somehow I have managed to go through 5 gals of resin. I am pretty sure that its because of the PB but I does not fell like I have done that much.
 

sevanseriesta

Petty Officer 1st Class
Joined
Jul 12, 2012
Messages
303
Re: "Master Bait'R" Restore Thread

Here I started mixing some resin with q-cell cause I thought it was the waterproof glass bubbles. So I used it cover some wood that I open to the air when I ground out to much. This will get glass over it after I smooth it out. Its pretty pink..... :disgust:


That's all I have for now..
 

GT1000000

Rear Admiral
Joined
Jul 13, 2011
Messages
4,916
Re: "Master Bait'R" Restore Thread

EXCELLENT progress!
Getting the transom in is a major accomplishment!
Trust me when I tell you it becomes a little easier the more you do it...
Your work is coming out great...the little oopsies and boo-boos will become less and less the further along you get...
Your right on track, the amount of resin you have used so far is within reason for the amount of PB you have made...PB sucks resin like nobody's business...
Question?...are you eventually going to flip the hull for refinishing?
If Yes, then what you are doing with the hole repairs is fine, when you flip it, just grind down to where everything is nice and flush and even a little bit below that, then add a layer or two of CSM, and smooth and fair the areas with a Mayonnaise Like PB, then final sand to fair, and get ready to prime and refinish...

Next time you are going to patch any holes, get some wax paper, lay it over a piece of cardboard, and use the duct tape to hold it in place, that way the repair won't sag or stick...

Also, on the repairs you have already made, if when you grind them down from the outside they become too thin, then just add a couple more layers of cloth/mat on the inside to reinforce them...don't forget to do a ruff-n-scuff of those areas and wipe down with Acetone for good adhesion...

On days where it is in the 70's, keep your catalyst ratio on the low end...1%-1.5%...just mix it well...that should give you plenty of time to get tasks done...eventually you'll get the hang of how much and how fast you can work...

The really big bubbles, just grind them out, and a little all around and add a patch piece or two of 1708...

If you have any other questions or aren't sure of any procedures, just let us know and we'll get you going the right direction...

Again, great progress and keep on having fun!

Remember that this is a learning experience and it has a pretty steep learning curve to it, but the rewards in the end will be priceless...

:D
 

sevanseriesta

Petty Officer 1st Class
Joined
Jul 12, 2012
Messages
303
Re: "Master Bait'R" Restore Thread

Thanks GT1m, I am going to flip it once the stringers are in. Tomorrow I will be doing the grinding to get rid of major bubbles. Thanks on the plywood idea that would have worked perfect. It has 5 or 6 layers I cant remember I hope that even after leveling it out that its not to thin. If it is then I will for sure add more to the top.

I did learn a lot in the last couple days I was really worried about messing up something that I would have to grind it all the way out, and I really, really did not want to do that. But I should be good now.

I do have a question about the intake, and out on the bottom underneath the transom, and the plug hole. Let me see If I have a pic of it here hold on, found it.


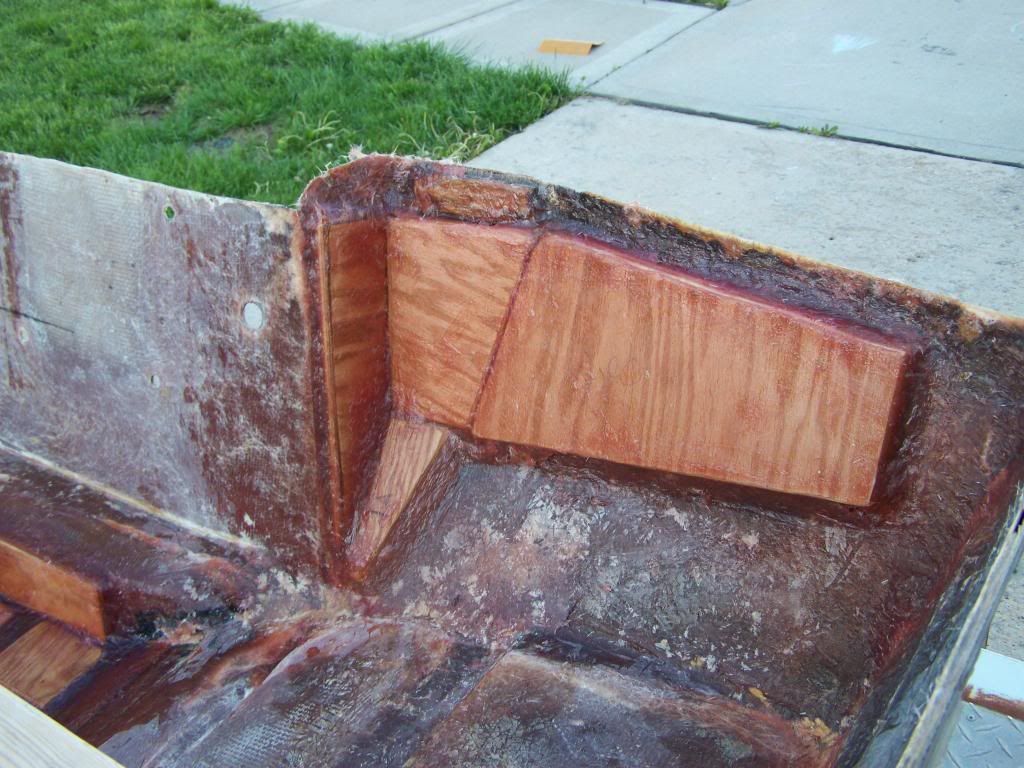
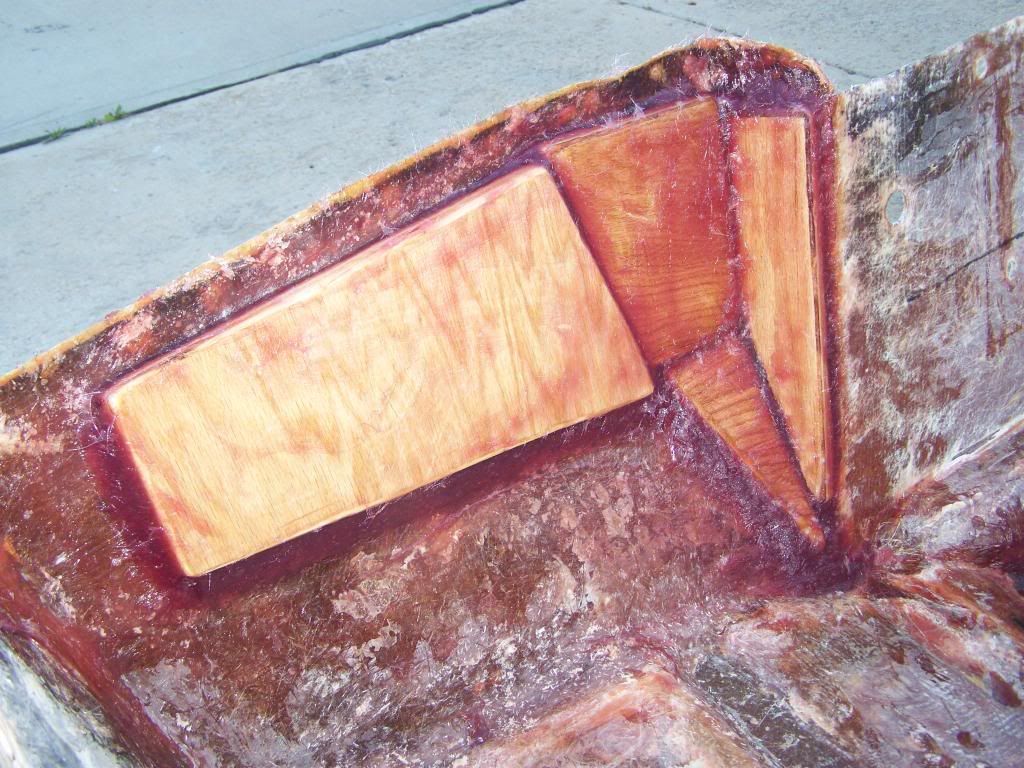
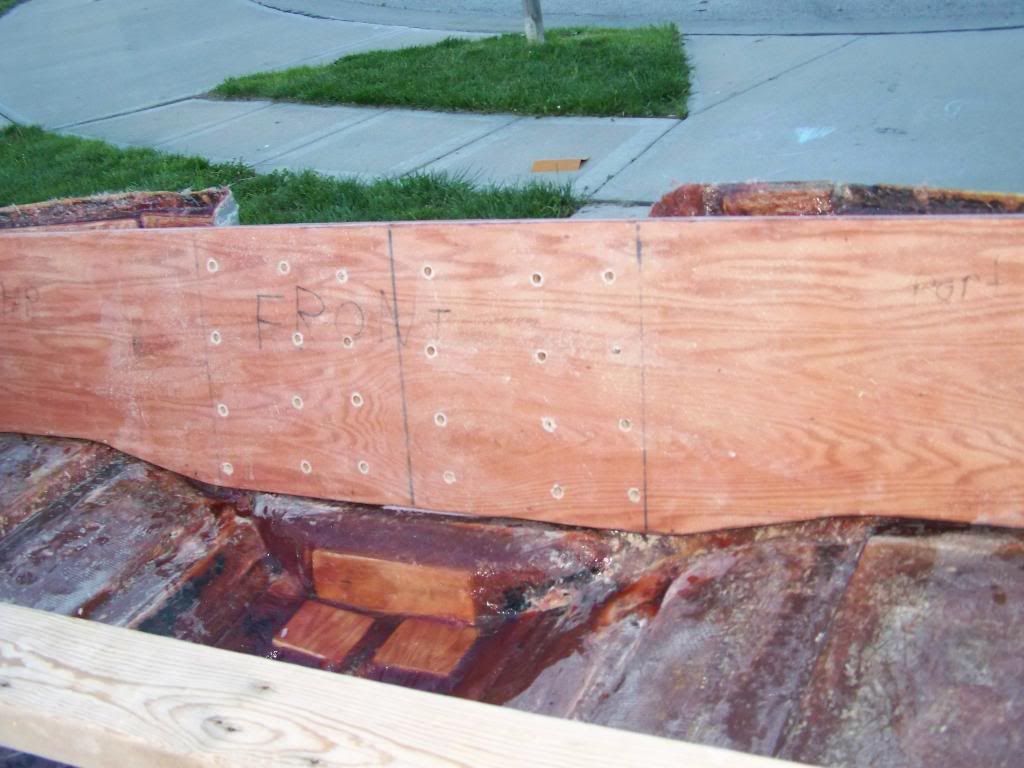
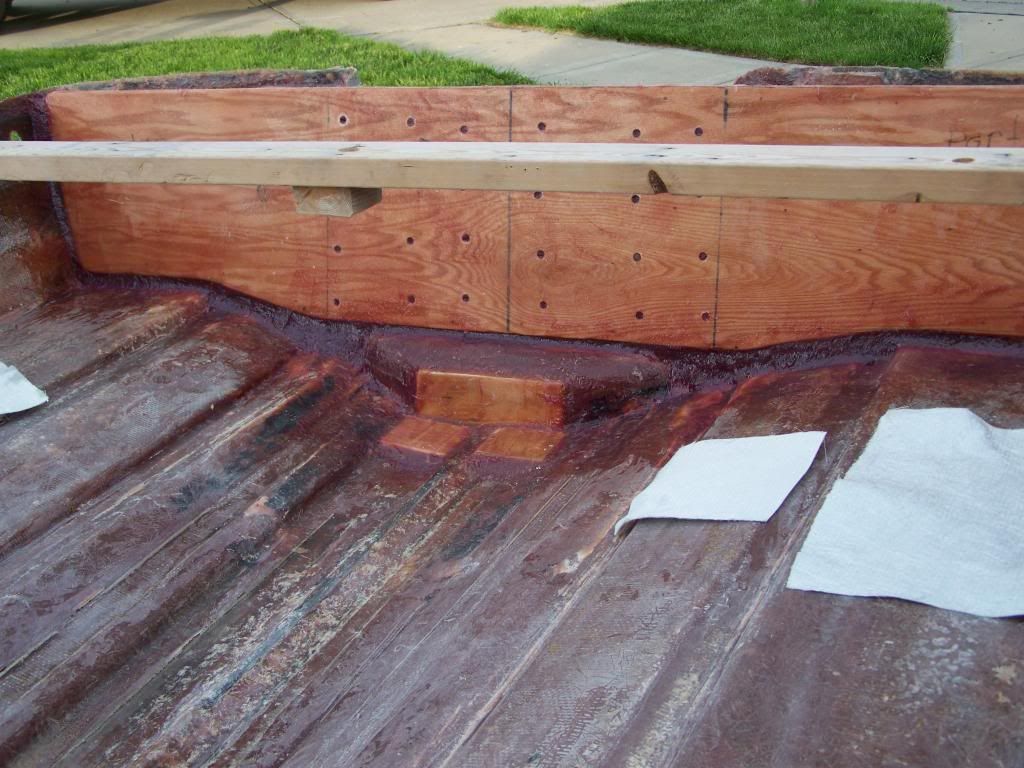
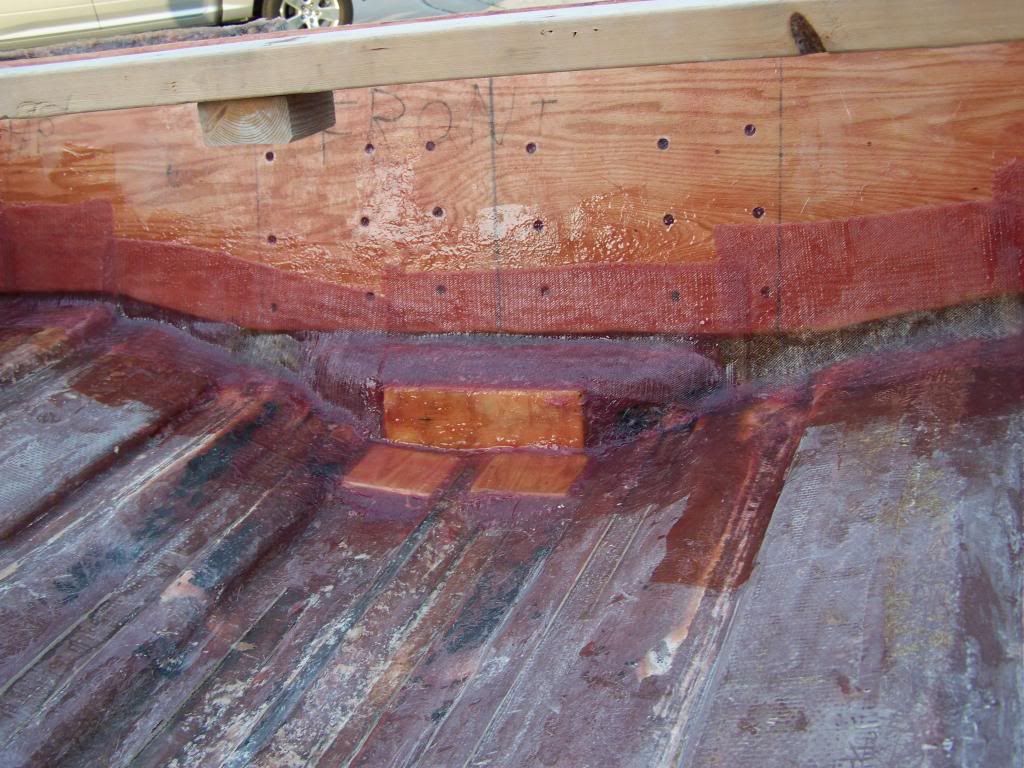
on the left you can see what I would think would be the drain plug, being that its the lowest part. What would you recommend doing here. should I build up the other areas to drain to this area. But I still dont see how its going to be benificial with those two pieces of wood there. They were there from the factory. I should have rethought them before putting them back in.

They Currently look like this. They are about to get glassed in however.


Bomber Goober

Petty Officer 2nd Class
Joined
Dec 28, 2012
Messages
183
Re: "Master Bait'R" Restore Thread

IMO I would throw some 1708 over that whole section and redrill the drain centered and lower if possible and do the other 2 thru hulls slightly higher and symmetrical to the new lower drain. I'm doing pretty much the same thing on mine because the holes were drilled all weird.
 

GT1000000

Rear Admiral
Joined
Jul 13, 2011
Messages
4,916
Re: "Master Bait'R" Restore Thread

"Bomber" is on the right track...
I did something similar...
Mine had wood down there, too...
I actually made them longer than they were originally, my thinking at the time was that this is where the boat rides when it is on plane, so I figured a little more is more support...the wood also gives a foundation for the mounting of the bilge and aerator pump screws...
I think you are just fine going ahead, when you re-drill the holes, just drill the drain at the lowest most possible point in the center, like Bomber said, then drill the aerator intake and live well drain holes symmetrically on either side...
Later, when you do the flip to prep the hull, just fill the old openings...
Also, if you want to really seal up the wood down there, you can drill all those holes slightly oversize, fill with PB, then re-drill to the correct smaller size...

Here's a couple of pix of what I did...

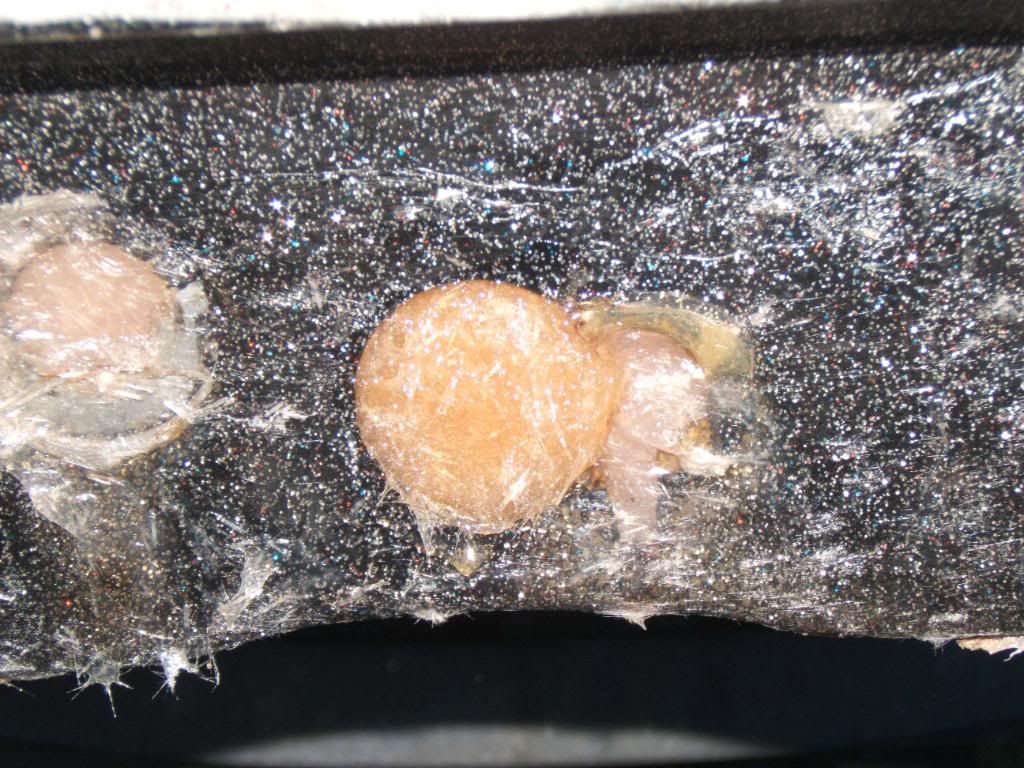
Here you can see where I filled in the old bilge drain location, drilled the new one, then re-filled it with PB...


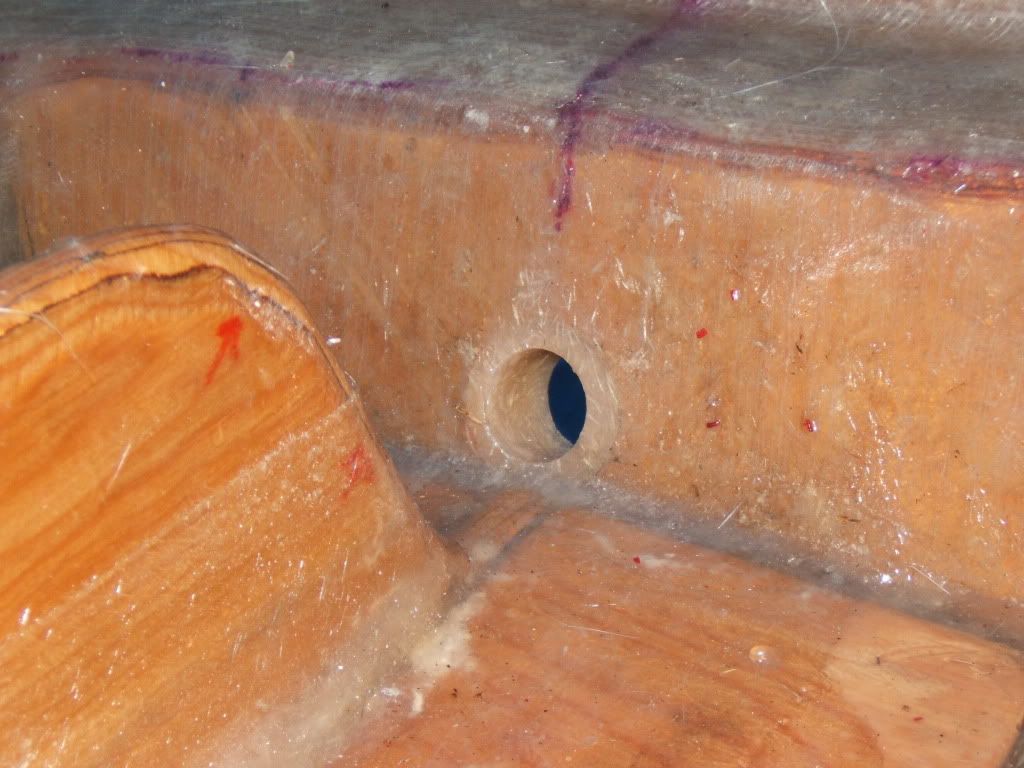
In this one you can see where I drilled the new drain and you can see almost a 1/4" of PB left all around the edge of the hole, which completely seals the wood...


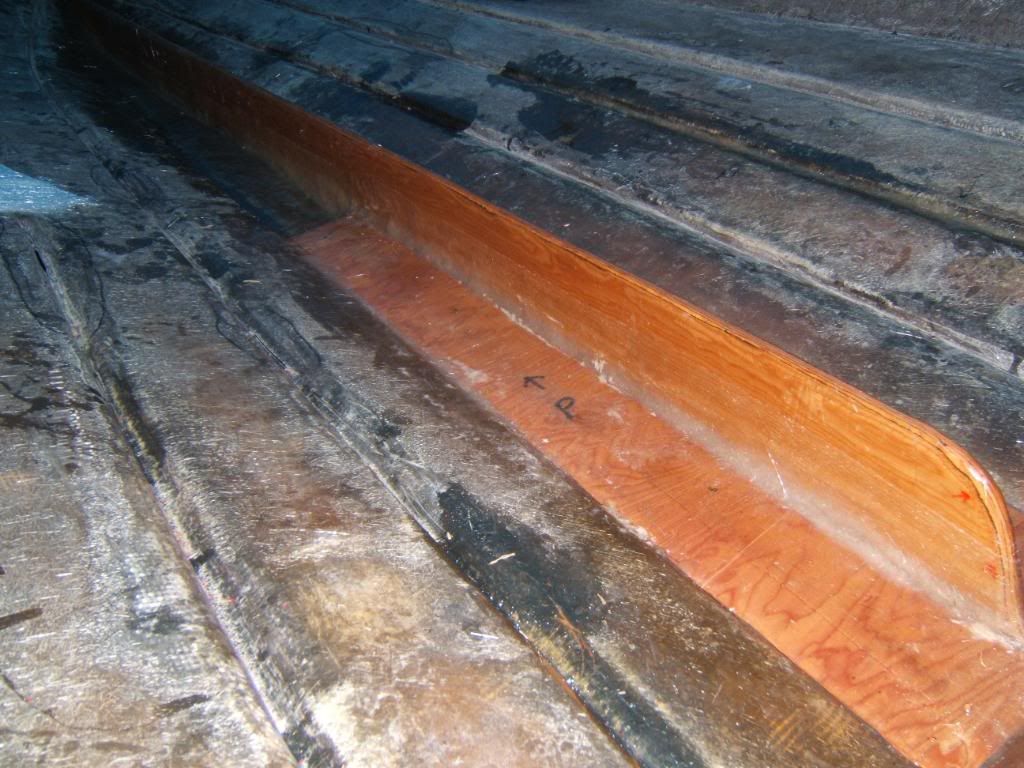
And in this pic you can see the extra long pieces of wood I installed...


Hope this helps...
 

sevanseriesta

Petty Officer 1st Class
Joined
Jul 12, 2012
Messages
303
Re: "Master Bait'R" Restore Thread

I used the oversized idea on the holes for the eyelets so I am familiar with that. I will try to redrill the hole more in the center and lower. I think I have an idea of where I want to do this. So This weekend I will work on that. I might try to make a channel on each side of the wood that I put in, that might be to much work but well see.

I have a 5 day weekend this weekend, I am hoping that I can do enough work on the boat that I can use an entire 5gal bucket of resin, wouldnt that be nice.....
 
Top