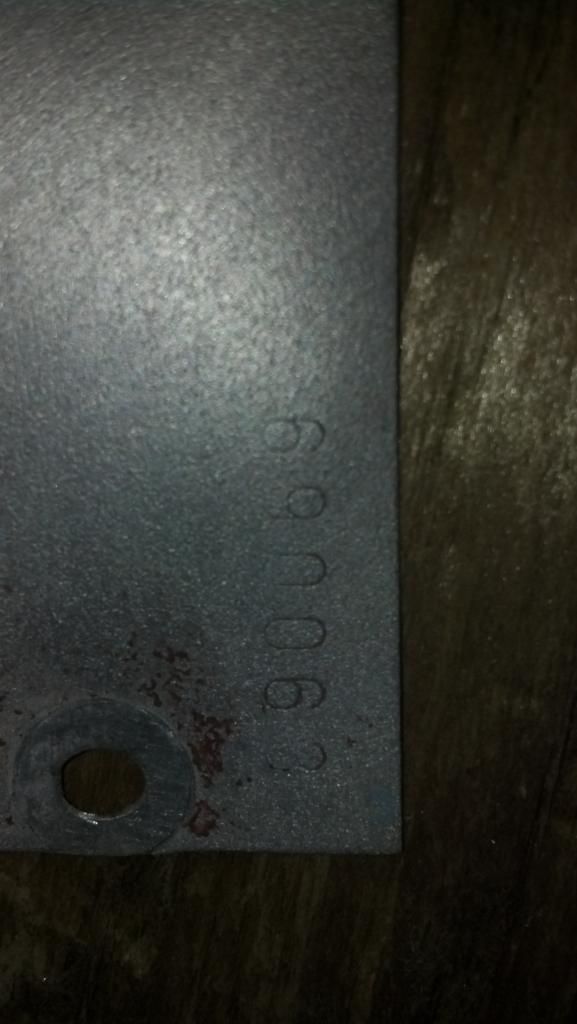
If there's a user group on Yahoo, and info there indicates the year is in the serial#, then it may be. FeatherCraft used a few different ser# formats over the years, and some years ARE in the ser#, other FC models don't list the year in a differently formatted ser#.... I was only basing my comments on your info about 1969 and it didn't seem to match the 1969 pix.
I'm in a couple boating user groups @Yahoo, but they aren't very active, and often are just posts, page after page, of unanswered questions. Particularly looking for pricing info to sell/buy boats or looking for parts. The Lone*Star group is probably the most active, and does have a GREAT repository of info, pix, brochures and etc, but still not very active.
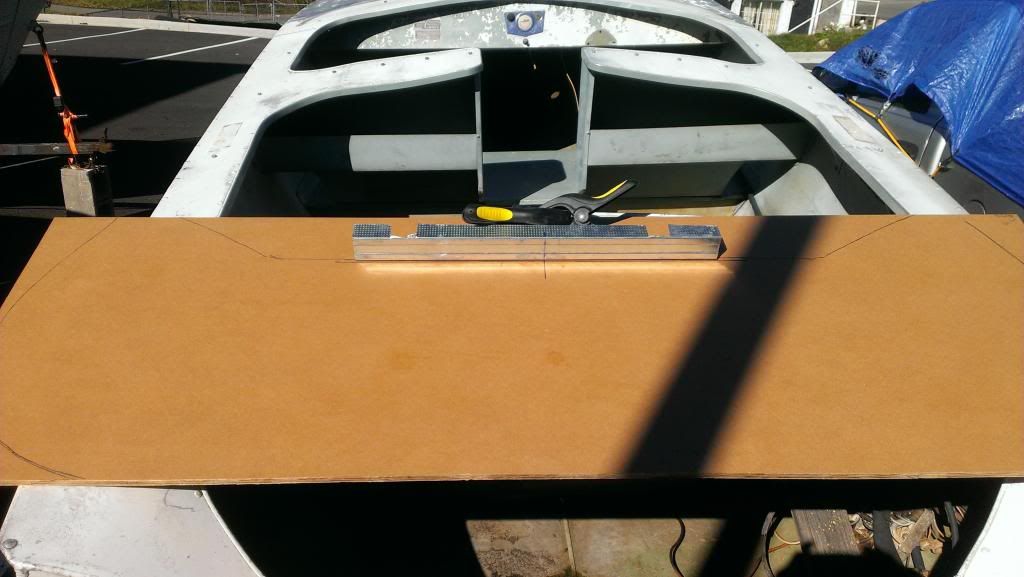
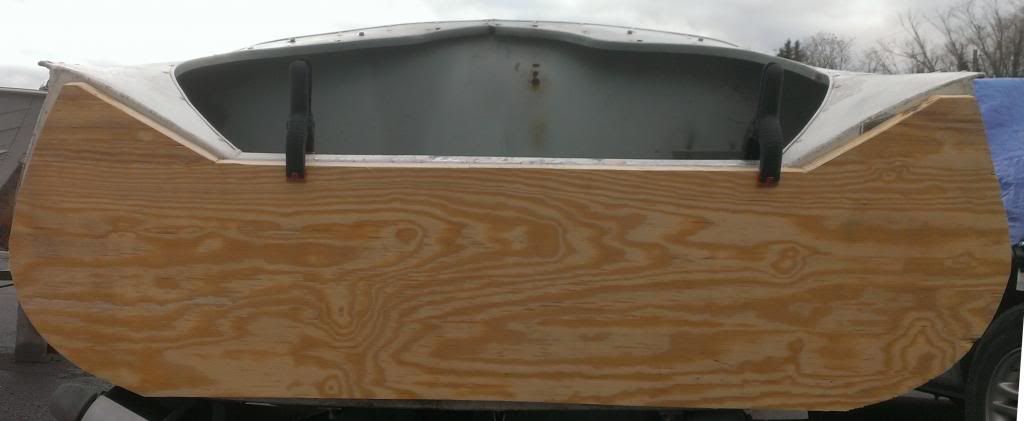
good luck w your project, looks like a nice boat. You pulled the splashwell, are you putting it back?