New User Introduction.

lmuss53

Lieutenant Junior Grade
Joined
Sep 9, 2008
Messages
1,227
Re: New User Introduction.

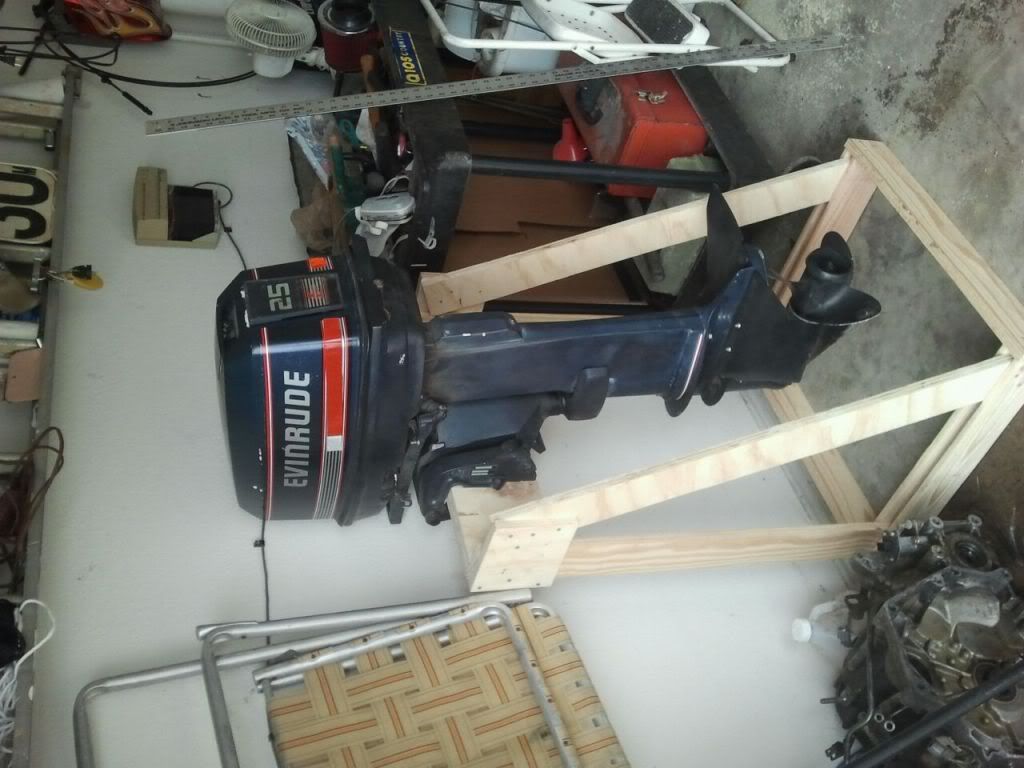
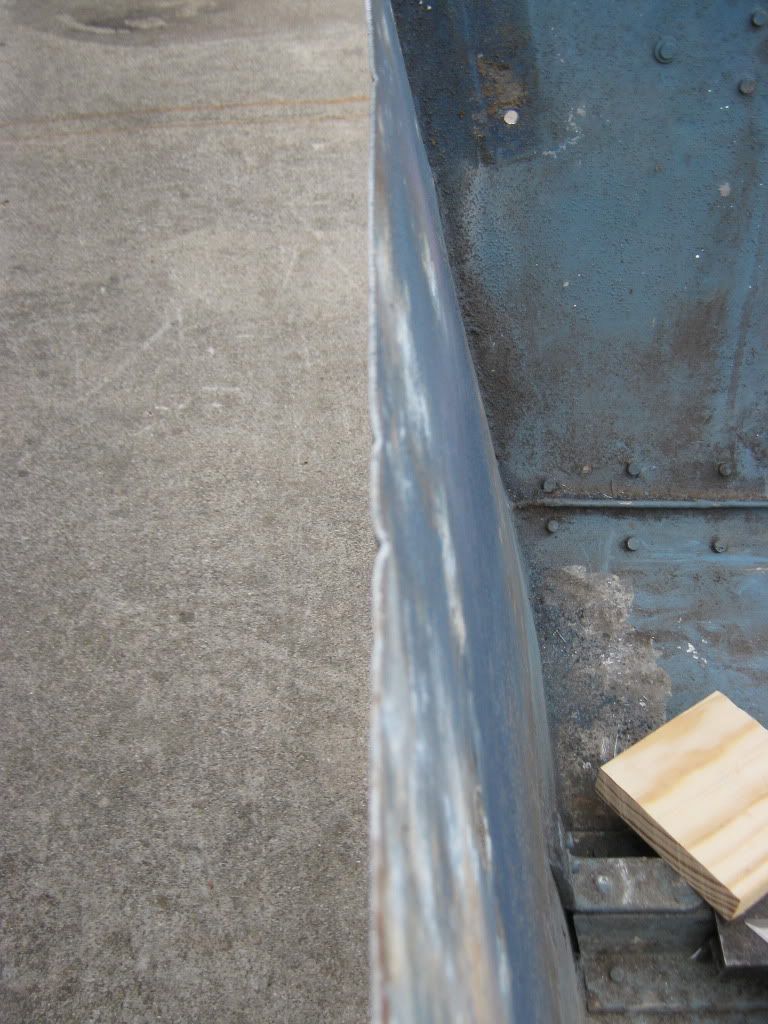
A short shaft motor is 15 inches from clamp to cavitation plate, long shaft is 20. If you add 5 inches to the top of your transom you will have the perfect transom for your long shaft motor. With just a little sheet aluminum for between the inner board and outer board you and a new top cap (that one might be fixable if you know a good welder) you will be good to go. It will look like it was built that way.

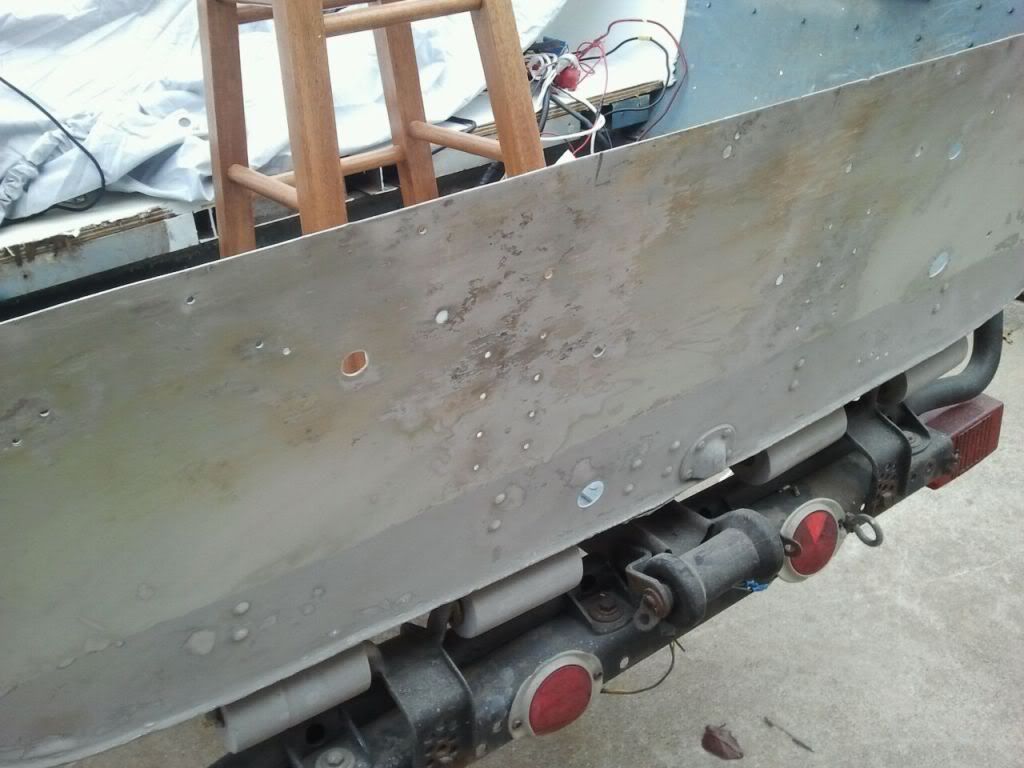
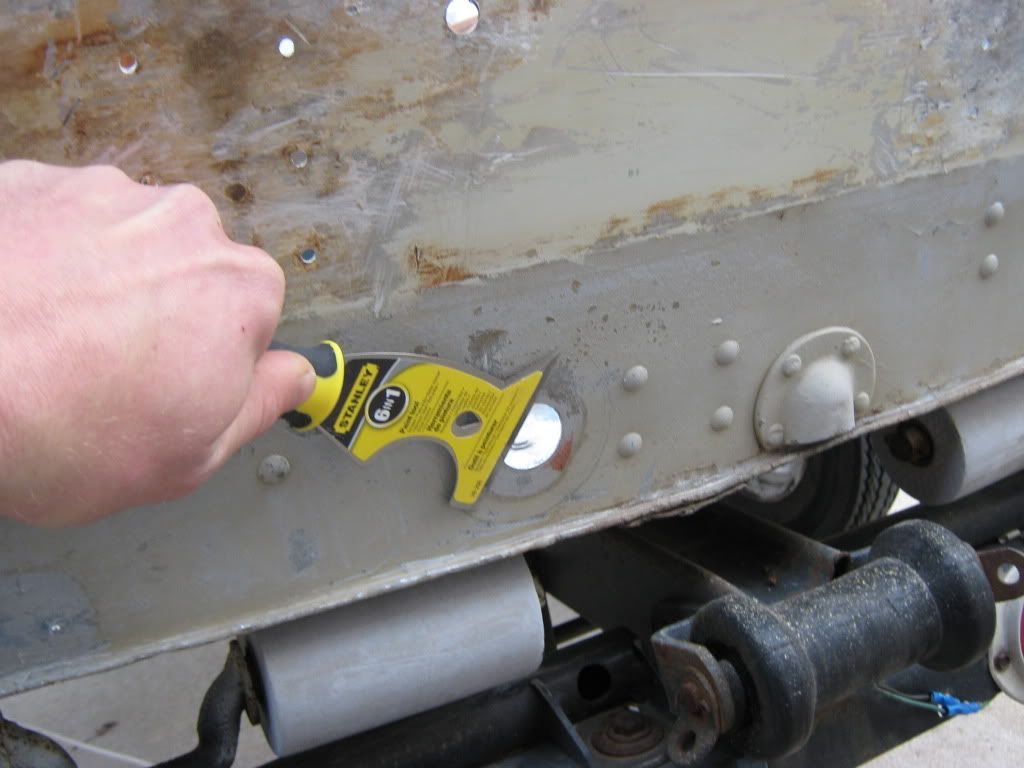
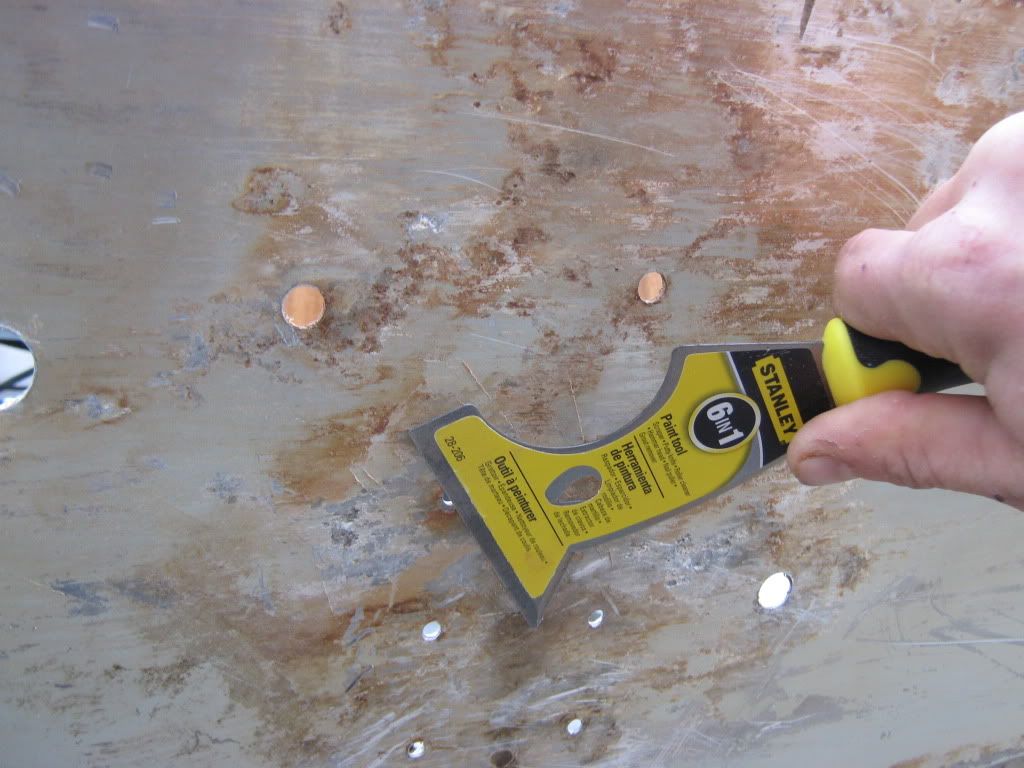
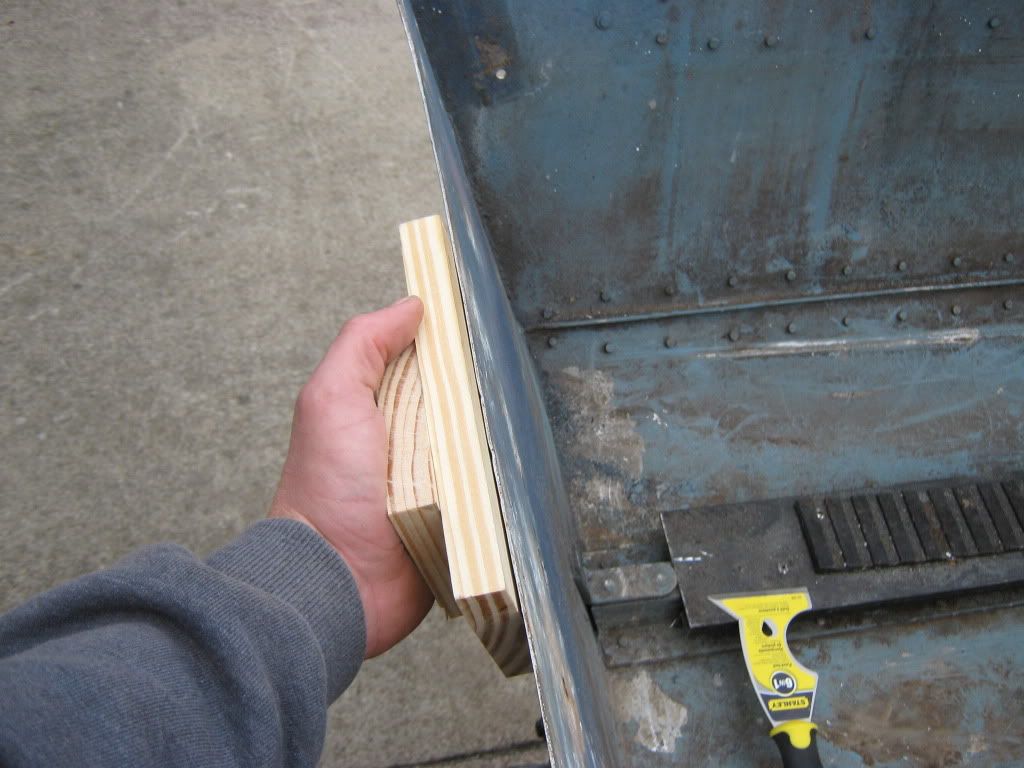
I think you should consider stainless bolts through everything on the transom and skip the rivets this time. You could use the existing holes to make a pattern. You wouldn't have to put a bolt where every rivet was since you would bolt through both ply pieces and the aluminum.

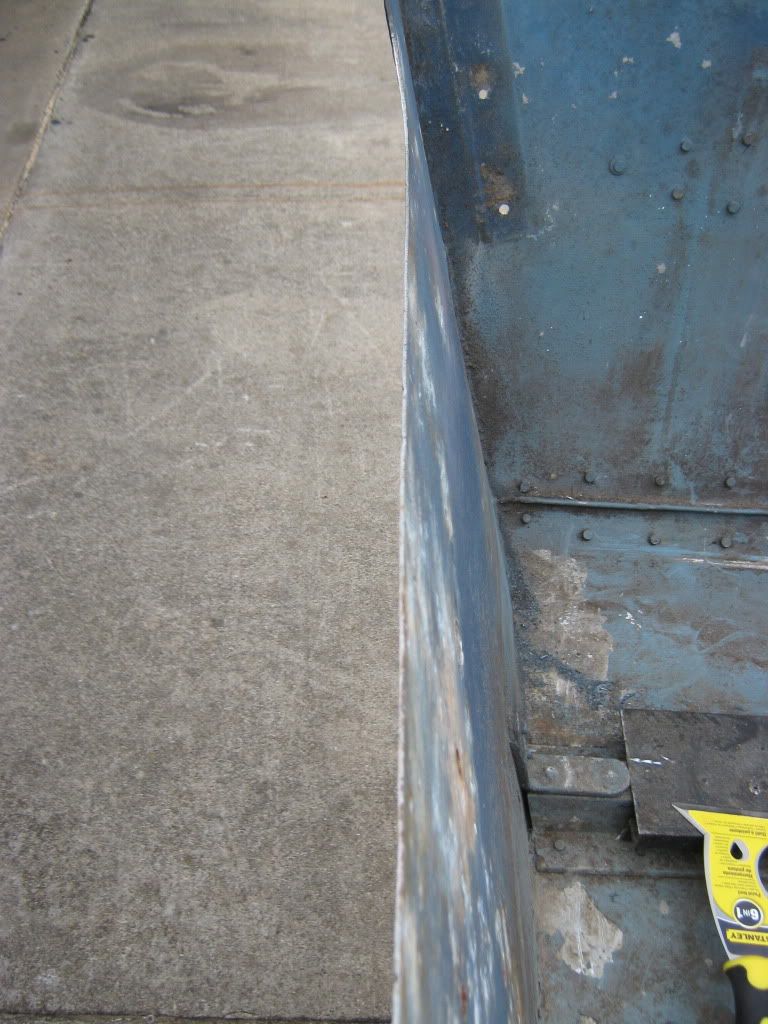
Looking good sir, nice progress.
 

1959Cherokee

Seaman
Joined
Dec 27, 2011
Messages
64
Re: New User Introduction.

Gotta say your idea of stainless steel bolts occurred to me as a possible option.
I would just need to find some with a smooth "carriage bolt" style head or something flush for the exterior side of the transom.

I am also leaning toward extending the overall height of the transom to the proper height for my motor now.
With everything out it really doesnt seem like it will be the monumental task I originally thought it would be.

Another thing I could use some advice on is sealing up holes through the aluminum skin on the stern.
The previous owner drilled a couple 1 inch holes for a livewell bilge pump system and I need to seal them off, whats the best way to go about this?

There are also many smaller screw holes through the skin, whats the best way to seal all these problem areas up?
I've heard of using JB Weld elsewhere in the forums but am unclear exactly how I would use it.
 

Woodonglass

Supreme Mariner
Joined
Dec 29, 2009
Messages
25,929
Re: New User Introduction.

Well I am NOT a Tin Boat Expert but since your Transom is an internal/external sandwich type, I see no reason why you could not use thickened epoxy resin to glue to two pieces to the stern skin. The thickened resin would fill ALL the holes. You would then have a clean slate to start from and drill new holes where you wanted them. Some of the experts may come along and shoot this down, we'll have to wait and see. The only problem might be that you don't want to "Glue" the wood to the aluminum skin in case you need to remove it in the future. I'm just not sure. You could mark and predrill the drain tube holes cuz they will be needed and prolly should go back in the original locations. Remember the Golden Transom rule. ALWAYS predrill your transom holes and coat them and all fasteners with epoxy or a good Marine grade sealant when installing.
 

1959Cherokee

Seaman
Joined
Dec 27, 2011
Messages
64
Re: New User Introduction.

Well I am NOT a Tin Boat Expert but since your Transom is an internal/external sandwich type, I see no reason why you could not use thickened epoxy resin to glue to two pieces to the stern skin. The thickened resin would fill ALL the holes. You would then have a clean slate to start from and drill new holes where you wanted them. Some of the experts may come along and shoot this down, we'll have to wait and see. The only problem might be that you don't want to "Glue" the wood to the aluminum skin in case you need to remove it in the future. I'm just not sure. You could mark and predrill the drain tube holes cuz they will be needed and prolly should go back in the original locations. Remember the Golden Transom rule. ALWAYS predrill your transom holes and coat them and all fasteners with epoxy or a good Marine grade sealant when installing.

That's kinda what I was thinking for the holes that will be covered by the new transom panels, but I was more concerned about the holes on the lower portion of the stern that won't be covered by the transom when it is re-installed.
 

Woodonglass

Supreme Mariner
Joined
Dec 29, 2009
Messages
25,929
Re: New User Introduction.

If they are small, I'd just use rivets. If they're larger than that JB Weld or PC-11 or Flat head Stainless bolts with rubber grommets and 3M 5200. I've wondered about Stainless Steel Elevater Bolts with rubber gaskets too! They use em for Pontoon Decks. (See the link) I think you could fab some rubber grommets pretty easy, or just use 3M 5200.

http://www.pontoonspecialists.com/p-30-14-stainless-steel-elevator-bolt-spin-nut-pack.aspx
 

1959Cherokee

Seaman
Joined
Dec 27, 2011
Messages
64
Re: New User Introduction.

Ok guys I am kicking ideas around in my head for my new transom and wanted to throw an idea out there and see what you think about it.
As you can clearly see my transom is a two piece unit.
One panel approx 3/4" on the inside of the aluminum skin, and another piece on the outside, effectively sandwiching the skin together.
What if I went to a solid transom 1.5" thick mounted only on the interior of the stern?
It just occurs to me that having half of my transom constantly exposed to water seems like a way to invite rot.
Has anyone done one of these two piece transom jobs?
I've searched but couldn't find any builds detailing one.
Ideas?
 

Woodonglass

Supreme Mariner
Joined
Dec 29, 2009
Messages
25,929
Re: New User Introduction.

Looking back thru your pics it appears the boat was originally designed for the Internal/External transoms. My neighbors boat is the same. Again, I am NOT a Tin Boat guy, but I believe with some modifications of your splashwell end caps you could move the transom to the inside of the boat in it's entirety. You might want to PM EZmobee or Jasoutside and get their opinions. They ARE some very knowledgeable Tin Boat guru's. You'll still have to deal with all the holes in the outer skin.
 

lmuss53

Lieutenant Junior Grade
Joined
Sep 9, 2008
Messages
1,227
Re: New User Introduction.

It will complicate putting those corners back together cleanly, but if you can figure that part out it is a good idea. Remember it went about 50 years the first time before it needed replacement and figure that into your effort versus benefit analysis.
 

1959Cherokee

Seaman
Joined
Dec 27, 2011
Messages
64
Re: New User Introduction.

It will complicate putting those corners back together cleanly, but if you can figure that part out it is a good idea. Remember it went about 50 years the first time before it needed replacement and figure that into your effort versus benefit analysis.

You're correct sir the corners will need to be modified to accept the wider width of the interior transom.
However, Im certain the transom I've just removed was not original.
There was nothing on the wood to protect it and it looked like a DIY job in the corners, sloppy cuts etc.
 

Woodonglass

Supreme Mariner
Joined
Dec 29, 2009
Messages
25,929
Re: New User Introduction.

R U talking about the internal or external wood. Based on the design of the corner caps, the boat was designed to have both internal and external wood. Like I said, my neighbor has an old lonestar with that same design. If you seal all the wood with epoxy, Paint it or use marine varnish to give it UV protection and maintain it properly it will last in it's orginal design for 30+ years
 

1959Cherokee

Seaman
Joined
Dec 27, 2011
Messages
64
Re: New User Introduction.

R U talking about the internal or external wood. Based on the design of the corner caps, the boat was designed to have both internal and external wood. Like I said, my neighbor has an old lonestar with that same design. If you seal all the wood with epoxy, Paint it or use marine varnish to give it UV protection and maintain it properly it will last in it's orginal design for 30+ years

The external piece is the one that appears to have been replaced in the not so distant past and that is the one I'm referring to.
The interior piece may have been replaced as well but doesn't show nearly the signs of wear the exterior one did.
And I haven't decided for certain yet which way to go with it.
Just kicking ideas around really until I get my parts list for the job taken care of.

On a side note I was on your thread the other day Wood, the bench looks great and I hope you feel better real soon.
 

Woodonglass

Supreme Mariner
Joined
Dec 29, 2009
Messages
25,929
Re: New User Introduction.

Thanks for your kind words. I've been laid up for 3 days now with Bronchitis so I been perusing the forum like a Hawk since I can't work on the boat. Either way you decide to go will be ok. Fabbing the corner caps should not be much of an issue if you decide to go with a total internal transom. The L-Braces on the sides will be move forward a bit and will leave those holes exposed but rivets will take care of them. To be honest, since you're thinking of making the transom taller I would really consider an all internal one. I think you could do it pretty easily.
 

1959Cherokee

Seaman
Joined
Dec 27, 2011
Messages
64
Re: New User Introduction.

I am still waiting to sell some things and for payday to come around before I tackle my transom install so I thought it was time to make a proper stand for my outboard to get the sketch of it out of the dirt in the back yard.
I was able to use random bits and leftover lumber and didn't have to buy anything as far as materials go, I sure do love not spending money on something like this :D
Here's how the stand turned out, pretty sturdy although I am gonna have to invest in some locking casters.
2012-01-07_121531.jpg


And here's my motor on its new drydock post!!
2012-01-07_123207.jpg


At this point I figured well why not spruce up the motor some with a fresh coat of paint and maybe some new decals, hmm that's proving to be more difficult than I thought.
Which brings me to the point where I ask my fellow iboaters for help!!
Does anyone know where to find a set of original decals for a 1990 25 like mine?
I found several listings but none exactly match what I've got.
Also is there some kind of widely available aerosol paint in a dark blue I can get locally to avoid special ordering "evinrude" paint for 12 dollars a can?

Hope everyone's having a great Saturday
 

GT1000000

Rear Admiral
Joined
Jul 13, 2011
Messages
4,916
Re: New User Introduction.

Check out the Krylon rattle cans at your local hardware store, Krylon has a huge variety of colors...
Or try the Dupli-Color brand at your local auto parts store...
As far as decals are concerned, try a local sign/ vinyl shop, they might be able to make up a set...be sure to spend the extra money and get the Marine Grade vinyl, even though it costs more, the quality and UV protection are superior to the regular stuff...
Hope this helps.

PS- if you use a primer color that is close to your top coat, you will get a better finish overall.
 

1959Cherokee

Seaman
Joined
Dec 27, 2011
Messages
64
Re: New User Introduction.

Good morning guys, im mid project sanding and prepping my transom skin for paint and ran into some pitting in the exterior aluminum skin I was hoping to get some advice on.
You can see the affected areas below in the pics, its mostly on the port side where the knee fasteners went through the transom.
What would be good to fill these areas in?
I was thinking jb weld then sand it smooth.
Many thanks!!
2012-01-08_100545.jpg


2012-01-08_100535.jpg
 

Woodonglass

Supreme Mariner
Joined
Dec 29, 2009
Messages
25,929
Re: New User Introduction.

You might want to research Por-15 for aluminum. Thick epoxy based paint used to coat aluminum that has pitting and corrosion. I have never used it but my research seems to indicate that it is some pretty good stuff. It has to be painted because it has no UV protection. Not sure how much Filling properties it might have but I believe you can use metal filler with it.

http://www.por15.com/
 

1959Cherokee

Seaman
Joined
Dec 27, 2011
Messages
64
Re: New User Introduction.

Thanks wood, well I looks like the priming and painting might have to go on hold anyway.
A quick check of the humidity here in Dallas has it at 93%!! :eek:
Come on sun where are you!!
 

1959Cherokee

Seaman
Joined
Dec 27, 2011
Messages
64
Re: New User Introduction.

Here's an ebay guy doing decals. His look older but he may have something you like, or be able to make what you want and his prices seem real low.

http://motors.shop.ebay.com/shabestari/m.html?_nkw=&_armrs=1&_from=&_ipg=&_trksid=p3686

Thanks for the site reference, I'll look into it.

Well today turned out to be just too darn humid for me to be able to get the priming and painting of the transom like done I wanted to.
I stepped outside at 830 this morning and while cool, around 42 degrees, it was 93% humidity.
I began sanding and scraping the old paint and nastiness off the inner and outer transom skin undeterred anyway :D

I started off using just using a scraper.
It worked out very well knocking off the old splattered on paint and getting me down to a reasonably level surface.
As an added bonus because the scraper was steel it took care of all the little rounded out bits of hull skin protruding from the drill holes where the original transom rivets were.
Here we are in action.
IMG_1086.jpg


I'm not sure what this brown residue left on the exterior skin was but the scraper did a good job knocking it down.
IMG_1087.jpg


After the inner and outer halves were scraped I took a minute to address some of the more noticeably bent areas with a block and hammer.
I took my good ole giant hammer and some scrap lumber and started flattening the bent spots out.
It really surprised me how well this worked.
Here is the before shot.
IMG_1088.jpg


Block in place for the hammer.
IMG_1089.jpg


And the result.
IMG_1090.jpg
 
Top