New User Introduction.

1959Cherokee

Seaman
Joined
Dec 27, 2011
Messages
64
Re: New User Introduction.

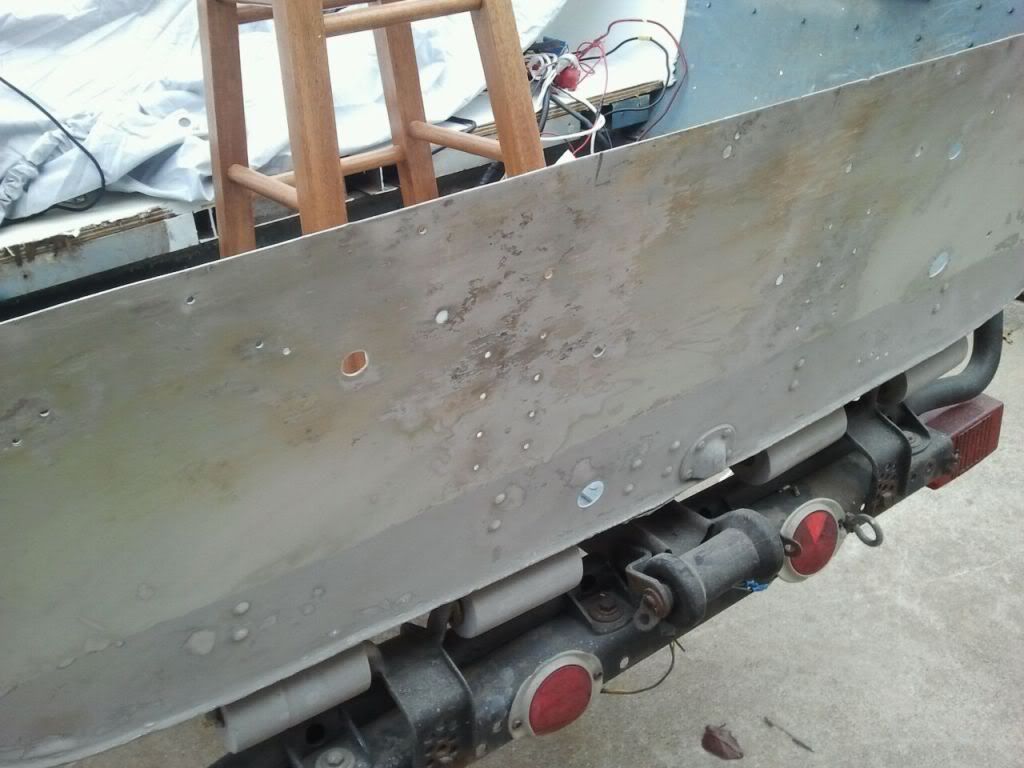
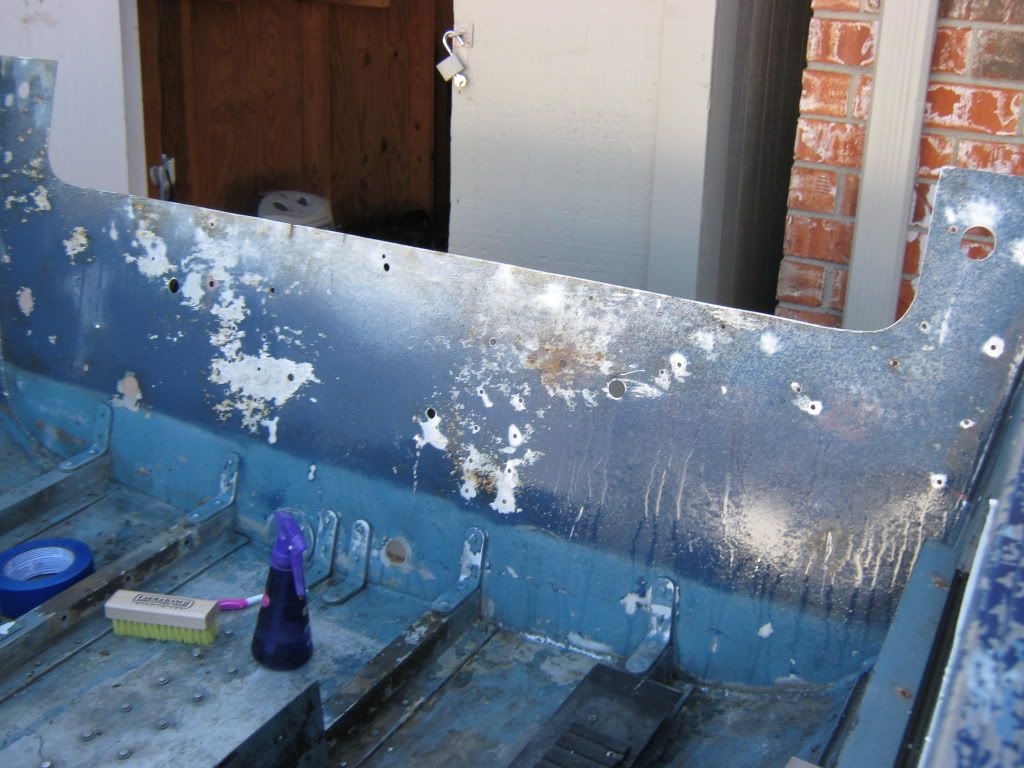
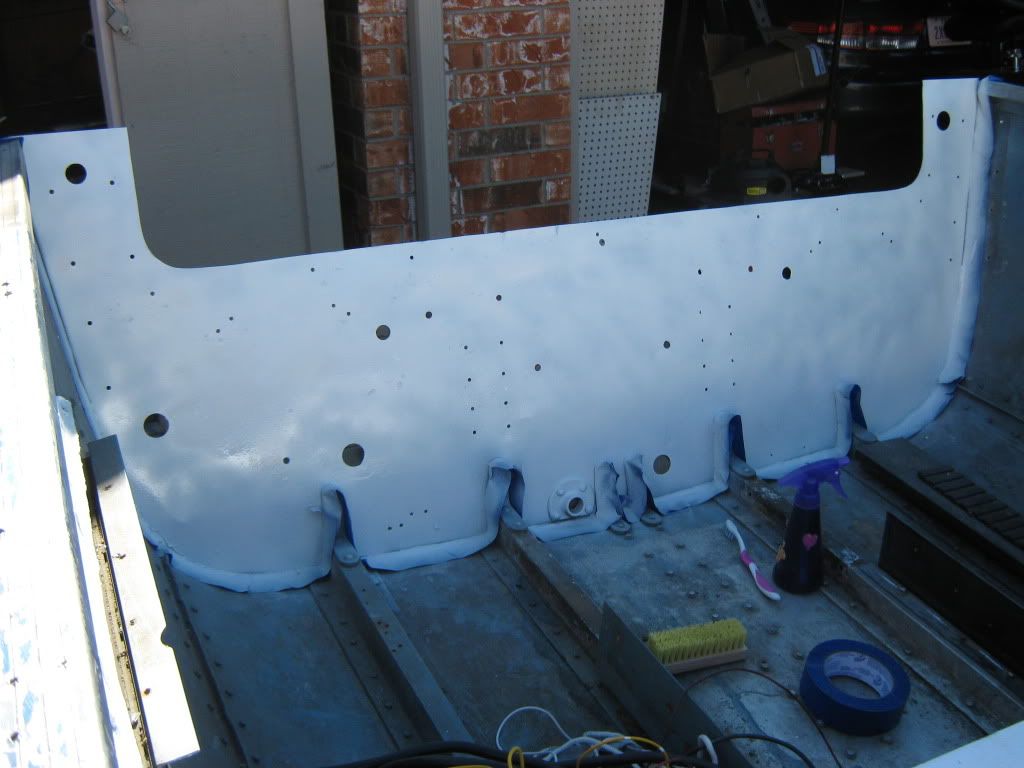
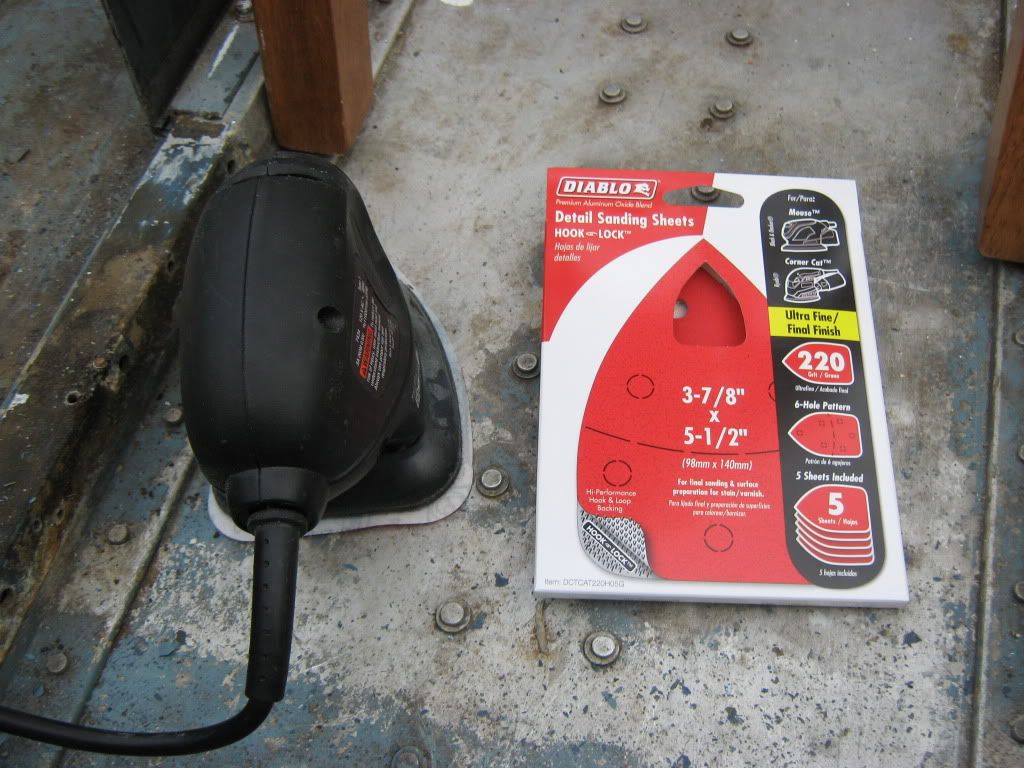
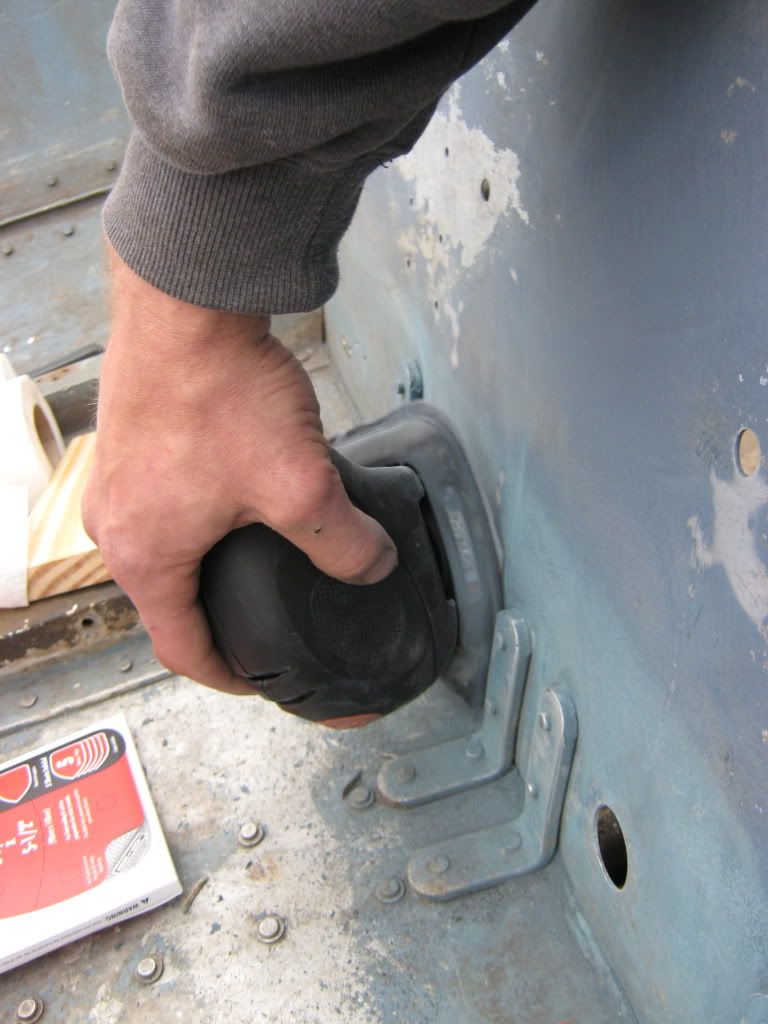
After everything was scraped and banged back into shape I started sanding with 220 grit and my handy mini mouse sander, while I wouldn't want to do an entire hull this way it worked very well for getting into the tight spots around the stringers and rivets at the base of the inner transom skin.
IMG_1095.jpg


IMG_1096.jpg


For the edges I couldn't even get the mouse in there so switched to a wire brush.
IMG_1091.jpg


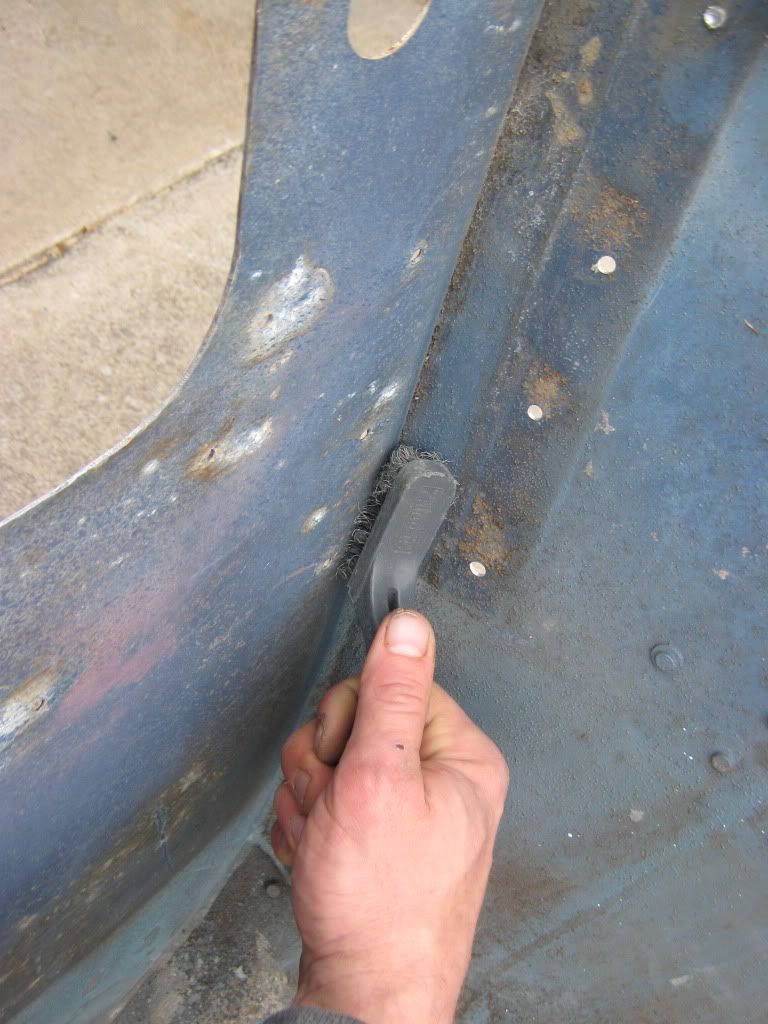
At this point I had spent about 2 hours sanding and scraping and the inner skin was feeling smooth!!
IMG_1092.jpg


IMG_1098.jpg


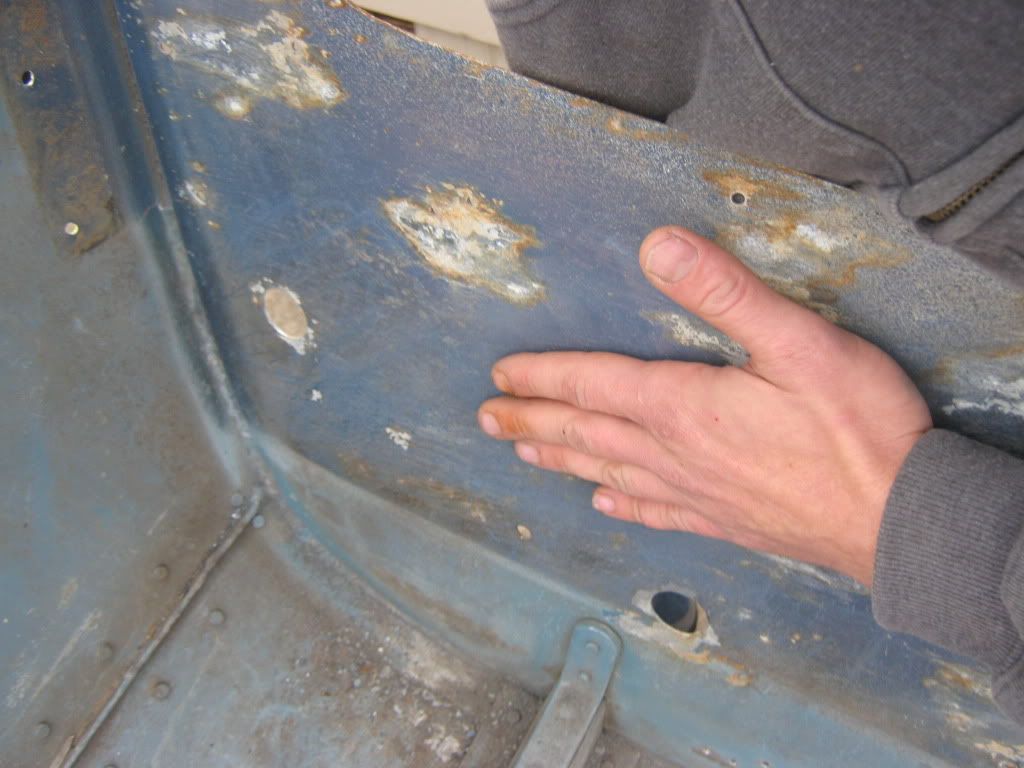
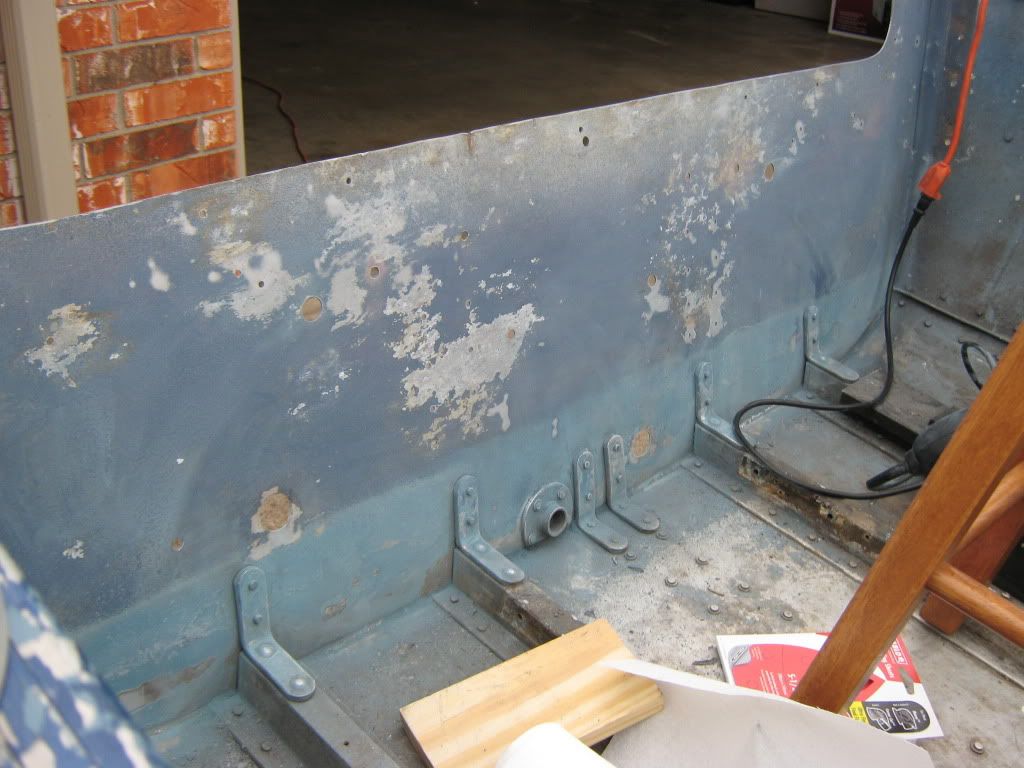
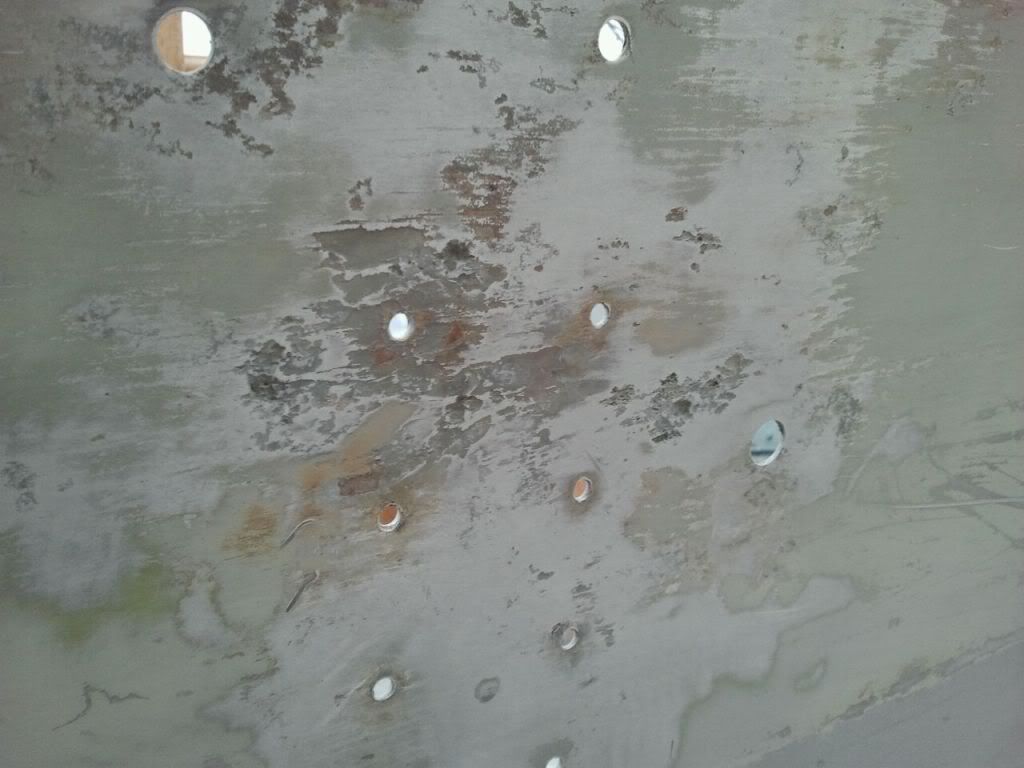
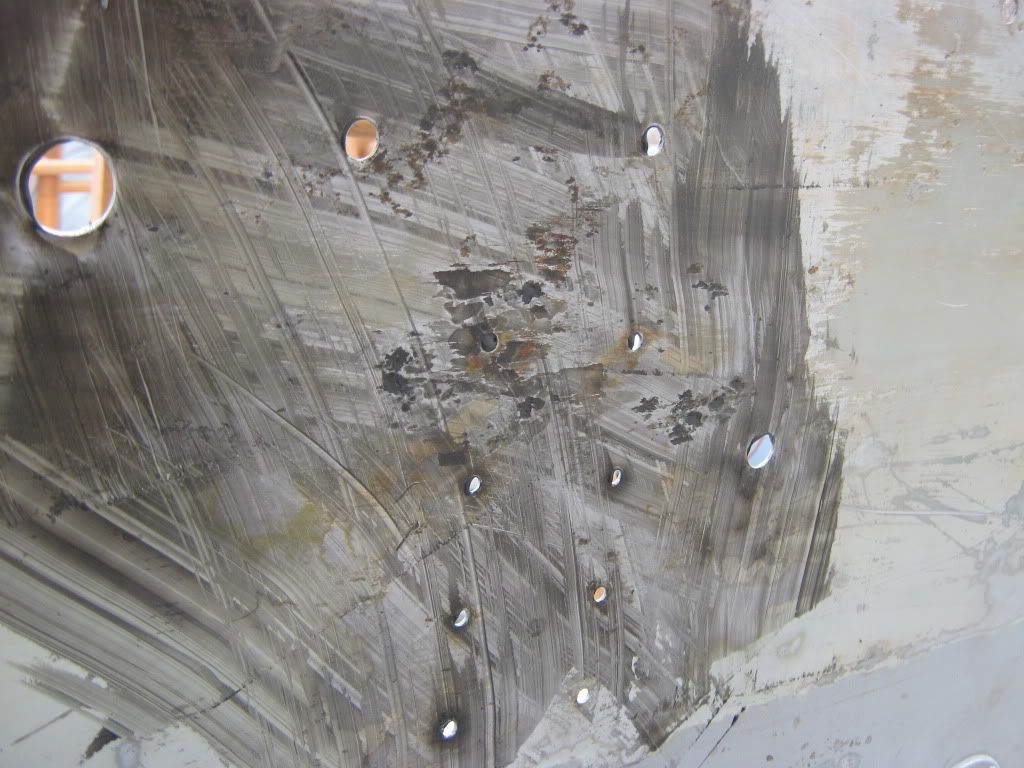
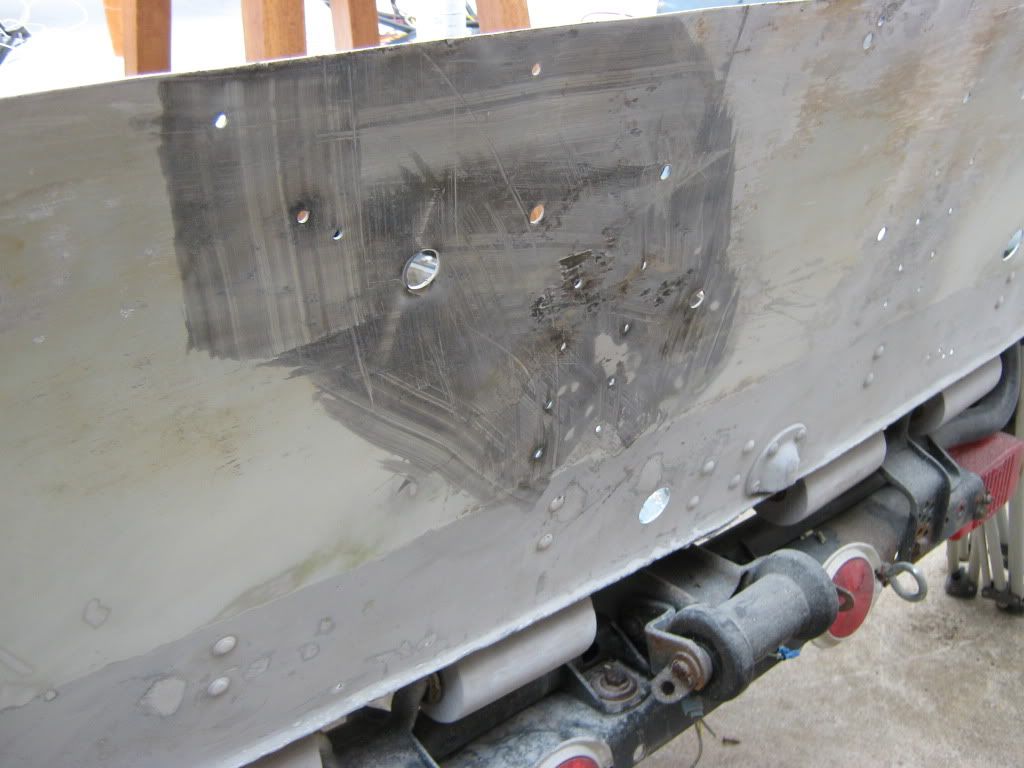
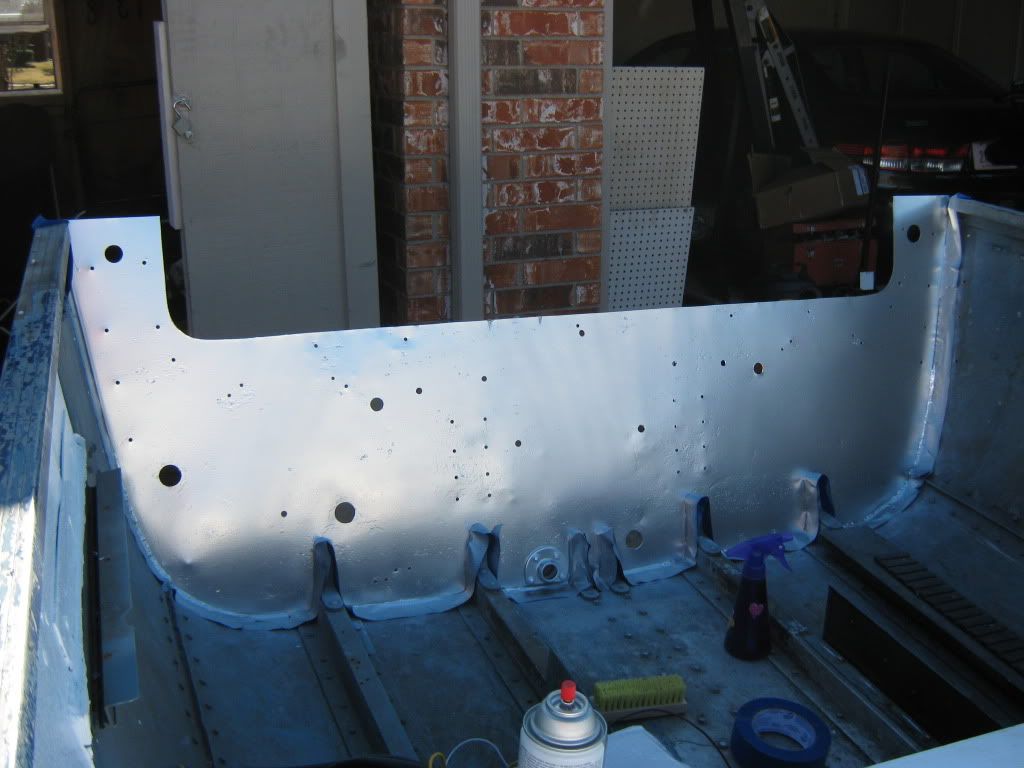
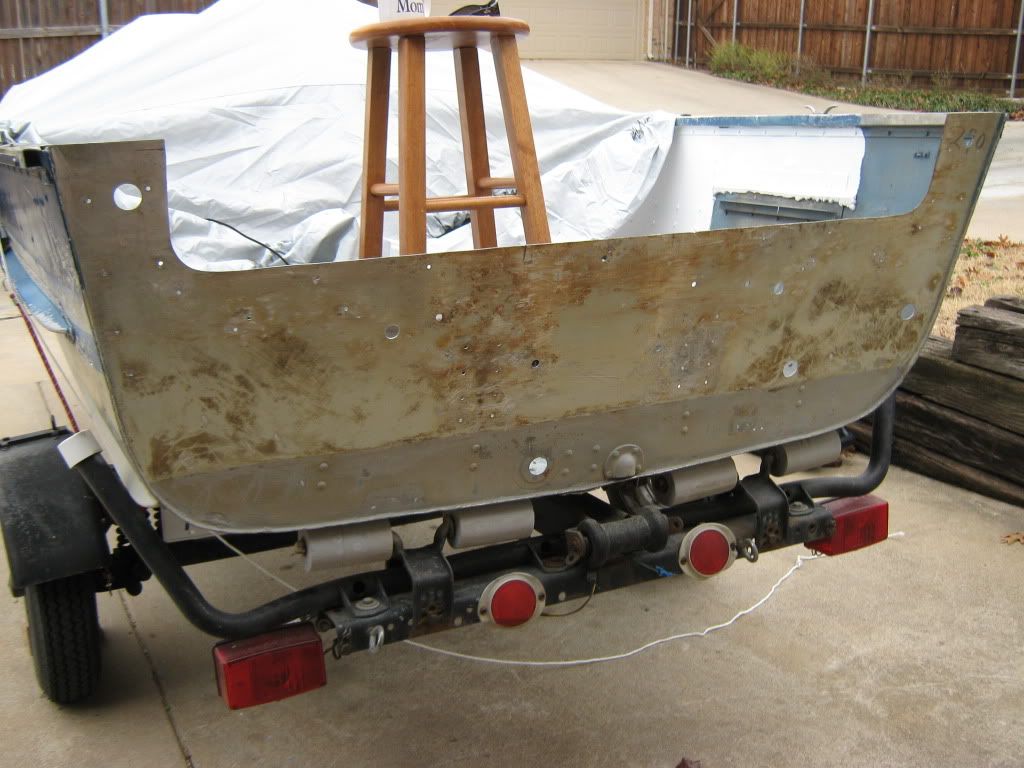
The other side would have gone just as easily but as mentioned earlier I ran into some moderate pitting that needed to be filled before any priming could be done.
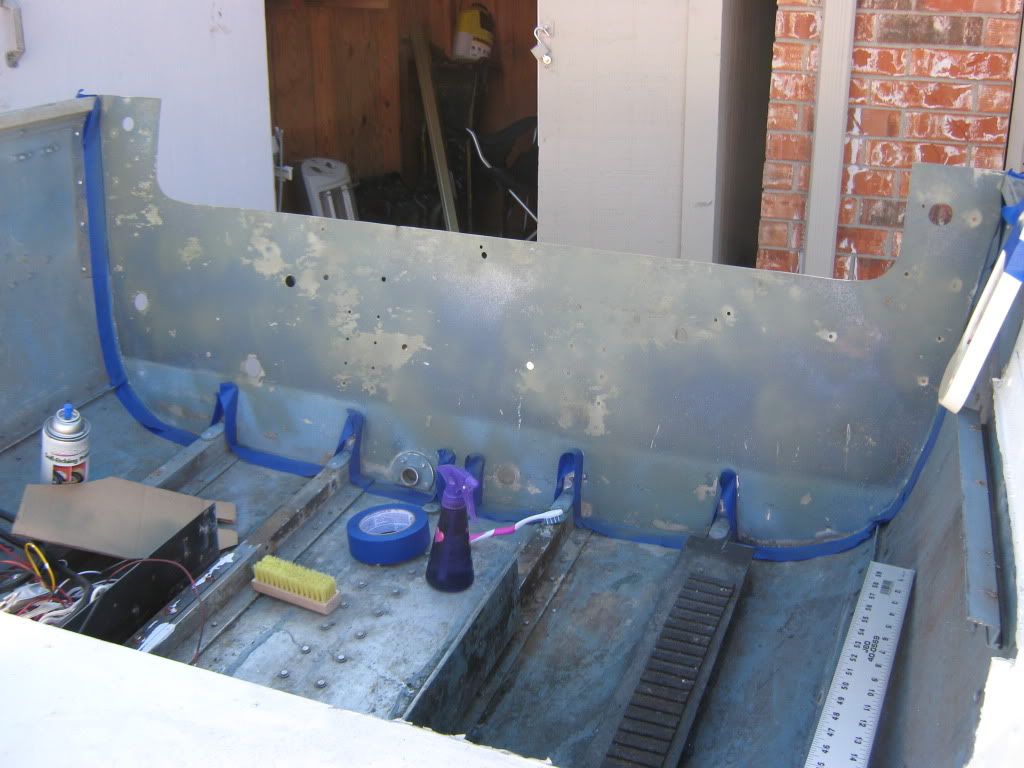
IMG_1103.jpg
 

1959Cherokee

Seaman
Joined
Dec 27, 2011
Messages
64
Re: New User Introduction.

Here is the shot of the pitted areas again, this I decided to fill in with JB Weld.
2012-01-08_100545.jpg


2012-01-08_100535.jpg


Here is the JB Weld layed on.
IMG_1107.jpg


IMG_1115.jpg


And sanded smooth with more 220 grit.
IMG_1116.jpg


That was about all I could get done in preparation for priming as the humidity had only got down to 78%.
Since I had some free time I decided to tackle cleaning up my tool shed, ha boy was it a disaster...
Here's the messiest shed in the world, yes its embarrassing lol
IMG_1108.jpg
 

1959Cherokee

Seaman
Joined
Dec 27, 2011
Messages
64
Re: New User Introduction.

Here's a slightly backed up shot to get the full scope of the mess at hand.
IMG_1109.jpg


Between throwing some things out, moving alot of random clutter to the attic, and just straightening up I now have useable space!!!
Its been years since this shed has been anything other than a dump and it feels really good to reclaim some space!!
IMG_1110.jpg


IMG_1114.jpg


IMG_1113.jpg


IMG_1111.jpg


IMG_1112.jpg
 

1959Cherokee

Seaman
Joined
Dec 27, 2011
Messages
64
Re: New User Introduction.

Well it looks like a whole mess of rain is going to make outdoor activities impossible for the next few days in North Texas.
Good thing I got some interesting reading material.
2012-01-08_214342.jpg


This is the original service manual for my motor and I paid about 44 dollars shipping included.
The price was a bit more than the Seloc guides but everything is specifically for my motor.
just reading the timing and synchronization section cleared a lot of things up for me.

The book is brand new and was shipped fast, here's the link to the seller if anyone else needs one, I give this deal two thumbs up.
http://www.ebay.com/itm/200361109799?ssPageName=STRK:MEWNX:IT&_trksid=p3984.m1497.l2649
 

GT1000000

Rear Admiral
Joined
Jul 13, 2011
Messages
4,916
Re: New User Introduction.

Great score on the factory manual, way better than any aftermarket stuff...

I can't believe the before and after shots of the shed, they look like two different places...its amazing what a little thing like a boat restoration will get us in the mood to do...:rolleyes:

And awesome job on tearing into this puppy, you are cruisin!

As Jas would say, "3 Thumbs Up!"
 

1959Cherokee

Seaman
Joined
Dec 27, 2011
Messages
64
Re: New User Introduction.

Great score on the factory manual, way better than any aftermarket stuff...

I can't believe the before and after shots of the shed, they look like two different places...its amazing what a little thing like a boat restoration will get us in the mood to do...:rolleyes:

And awesome job on tearing into this puppy, you are cruisin!

As Jas would say, "3 Thumbs Up!"


Well thank you sir!!
There were so many times I was tempted to pick up a seloc manual, the west marine store is right next to my place and stocks them.
Im really glad I held out for the real deal though, its got nearly idiot proof, good thing too, step by step procedures for my exact application
The hole punches are nice to so I can put it in a binder and hopefully keep it clean.

And yeah wow the shed certainly kicked my butt, I had to carry a pair of leaf springs off my old f150 uphill to put them put front for curbside trash pickup, I felt like a pack mule :D
 

ezmobee

Supreme Mariner
Joined
Mar 26, 2007
Messages
23,767
Re: New User Introduction.

The OEM Johnson/Evinrude manuals are indeed fantastic. That will definitely come in handy.
 

1959Cherokee

Seaman
Joined
Dec 27, 2011
Messages
64
Re: New User Introduction.

I picked up something new to try in place of J-B weld for filler duties.
The J-B weld seems to be holding up and filled just fine but its gonna get expensive real quick.
I found this stuff for 1.99 for 3.5 ounces at tractor supply.
Ill post some pics later of application.
2012-01-12_085546.jpg
 

GT1000000

Rear Admiral
Joined
Jul 13, 2011
Messages
4,916
Re: New User Introduction.

I picked up something new to try in place of J-B weld for filler duties.
The J-B weld seems to be holding up and filled just fine but its gonna get expensive real quick.
I found this stuff for 1.99 for 3.5 ounces at tractor supply.
Ill post some pics later of application.
2012-01-12_085546.jpg
OK, I missed the part where and why you need to use this stuff, please, refresh my feeble memory...
Thanks...:redface:
 

1959Cherokee

Seaman
Joined
Dec 27, 2011
Messages
64
Re: New User Introduction.

OK, I missed the part where and why you need to use this stuff, please, refresh my feeble memory...
Thanks...:redface:

Lol no worries sir, the original need was to use J-B Weld to fill in the pitted areas on the exterior skin of my transom.
There are some pics above of that procedure.
It did a fine job at that, but i believe the cost would quickly get out of control for filling in larger areas.

There are several large, one inch holes the PO drilled through the transom for livewell plumbing that will need filling, additionally when I flip the hull there are several bent hull sections that can be straightened but will need filler to smooth out the surface prior to paint.
The only other spots I have in mind is just filling in smaller holes topside in the railing and rear corner boxes.

Ahh tomorrow I head back down to work on her again, im getting excited :D
 

GT1000000

Rear Admiral
Joined
Jul 13, 2011
Messages
4,916
Re: New User Introduction.

OK, thanks for the heads up...
Don't know if this stuff is any good or not and I will leave it up to the one's who do know, but just something to check out... http://www.aluminumrepair.com/index.asp

Me personally, I would rather weld aluminum, since I have the means to do so...But if I had a choice, and it wasn't ludicrously expensive, I would have some one who knows their stuff, weld it up for me...but then again, that would only be a concern if it were a structural item...if it is only a cosmetic thing, then it's all good...

Just my penny's worth...
 

1959Cherokee

Seaman
Joined
Dec 27, 2011
Messages
64
Re: New User Introduction.

OK, thanks for the heads up...
Don't know if this stuff is any good or not and I will leave it up to the one's who do know, but just something to check out... http://www.aluminumrepair.com/index.asp

Me personally, I would rather weld aluminum, since I have the means to do so...But if I had a choice, and it wasn't ludicrously expensive, I would have some one who knows their stuff, weld it up for me...but then again, that would only be a concern if it were a structural item...if it is only a cosmetic thing, then it's all good...

Just my penny's worth...

^^^ this stuff looks very interesting, and yes for something structural im right with ya but im really just dealing with cosmetic issues.
 

1959Cherokee

Seaman
Joined
Dec 27, 2011
Messages
64
Re: New User Introduction.

Well another day is in the books and another small step forward was made getting the Cherokee back to sea worthy condition.
It was absolutely beautiful here in North Texas today, perfect painting weather.
The high was 65 and humidity was at 24%!!
Sorry to upset the frozen northern folks around here, no trying to rub it in, lol.

I got started today around 8 this morning with a quick shopping trip to HD to pick up some more supplies.
3M 5200, SS fasteners, CSM, plywood, glue and metal primer were on the list.
Heres all the goodies!!
IMG_1117.jpg


The aluminum engine enamel I had lying around and decided to use it to do the inner skin of my transom.

I approached painting the inner transom skin as a great place to see where I would have issues, and generally fail at painting.
Being that it will be covered up and never seen again, I can learn from my mistakes won't have to suffer re-doing it.

That sounds terribly lazy I know but oh well :rolleyes:

Once I made it back from shopping it was still a bit cool outside to start painting so I decided to start with some wood working tasks.
I began by laying down the old inner transom to my new 22/32nd's sheet of ply, lining it up on the milled edge and clamped it in place.
IMG_1119.jpg


This piece of wood was "fairly" traceable, not too many rotted edges, so it didn't give me too many issues getting the cut lines onto the new ply.

Heres the outline and the old support block the PO used to raise my long shaft outboard.
IMG_1120.jpg


This block thingy added 4.5" to the height by resting on top of the original transom.
I decided to add this 4.5 inches throughout my entire transom thereby getting the additional height needed while keeping everything nice and strong.
I had originally wanted to jack-plate the motor to get the height needed but thought better of it.
I did not come to this decision immediately, or on my own, but rather from good thinking from people on this forum.
Thanks everybody, this feels like the "right" way to do it.

Here is the 4.5" added to the cutout line.
IMG_1124.jpg


With everything marked out it was jigsaw time!!
I used some clamps to keep the cut wood from dropping out.
IMG_1127.jpg


Pick this up in a bit...
 

1959Cherokee

Seaman
Joined
Dec 27, 2011
Messages
64
Re: New User Introduction.

I got some real quality time getting comfortable with my jigsaw today.
Its strange but up until today I had been very intimidated of it as a tool, never really felt like I could handle cutting with it very well.
That changed with some seat time I'm glad to say.
There was a point where I was cutting out the bottom rounded corner and felt like I knew exactly how to control the saw to get the cut I wanted.
It was nice to gain some confidence in something that had intimidated me.

I found drilling out some 7/16" holes helped on the 90 degree corners.
IMG_1129.jpg


Once I had the first half cut I traced the freshly cut piece to make a copy.
I considered doubling the plywood and cutting through both halves at once but think I would have cooked my 20 dollar black and decker saw.
IMG_1130.jpg


Even though they weren't cut as one piece I got very good fitment and could take care of the small issues with a belt sander.

Here is the gorilla glue laid down.
IMG_1131.jpg


And every heavy thing I could find to throw on top holding things down.
IMG_1132.jpg


The gorilla glue said it needed 2 hours to set up so I started on the painting.

I went back and cleaned everything up with water, detergent and a shop vac then shot the exposed aluminum with the 50/50 mix of white vinegar and water.

IMG_1133.jpg


Heres the inner transom masked with blue painters tape and the first coat of self etching primer applied.
IMG_1134.jpg


I repeated with two more coats, letting each flash dry for a few minutes, then applied the clean metal primer.

Pick it up in a bit!!
 

1959Cherokee

Seaman
Joined
Dec 27, 2011
Messages
64
Re: New User Introduction.

Here is the third and final coat of clean metal primer.
IMG_1138.jpg


At this point I began to see just how flawed the metal I had THOUGHT was perfectly smooth really was.
The primer revealed more light pitting and basically every imperfection the metal was hiding in its previous state.
Now, had this been a visible portion of the boat, the exterior transom, or the hull, I would have taken the time to make repairs.
But being they weren't deep enough to cause any structural concerns, and were getting covered up, I went ahead and sprayed my top coat of paint.

Here is the final coat of aluminum paint.
IMG_1141.jpg


I have got to say I did not like shooting the paint from a can.
I found it very difficult to lay down a consistent amount of paint and it seemed very spotty going on.
I am overall not very pleased with my first bit of painting on my boat and happy to cover up the results. :(

With the paint drying I took some time to sand and bevel the edges of my now cured transom.
IMG_1147.jpg


IMG_1145.jpg


IMG_1146.jpg


Pick this up in a bit!!
 

1959Cherokee

Seaman
Joined
Dec 27, 2011
Messages
64
Re: New User Introduction.

That was about all I had in me for the day, but not before a mock up.
She fit real nice in there!!
IMG_1144.jpg


Knees tested.
IMG_1142.jpg


IMG_1143.jpg


Too bad I am tied up tomorrow, should be great boat building weather!!
Have a great night everyone!!
 

Woodonglass

Supreme Mariner
Joined
Dec 29, 2009
Messages
25,929
Re: New User Introduction.

Oh Yeah!!!!! That's gunna look Factory!!!!! Woody likes ^^^^^^^^:D
 

1959Cherokee

Seaman
Joined
Dec 27, 2011
Messages
64
Re: New User Introduction.

Many thanks guys!!

I tell ya one thing I keep trying to figure with the transom going totally inside, is the knee fasteners that will go through the transom.
I'm not sure if I will be able to use the original holes drilled through the aluminum skin to mount because the knees are now further forward than they were with the old "inside-outside" transom setup.
 

Trooper82

Commander
Joined
Nov 21, 2011
Messages
2,648
Re: New User Introduction.

Many thanks guys!!

I tell ya one thing I keep trying to figure with the transom going totally inside, is the knee fasteners that will go through the transom.
I'm not sure if I will be able to use the original holes drilled through the aluminum skin to mount because the knees are now further forward than they were with the old "inside-outside" transom setup.


Are those "thru holes" with bolts/nuts holding them in place? If so I would just drill new holes. Start by mounting to your new wood on transom, then you can use the knee as a guide to get your new holes drilled in correct location. I would also pre drill a small block of aluminum or wood then line that hole up with the existing hole and clamp it down. This will aid in preventing your drill from wandering all over and elongating your hole.


Guideblock.png
 
Top