Repairing stringer

nemo2011

Petty Officer 2nd Class
Joined
Feb 15, 2011
Messages
157
Re: Repairing stringer

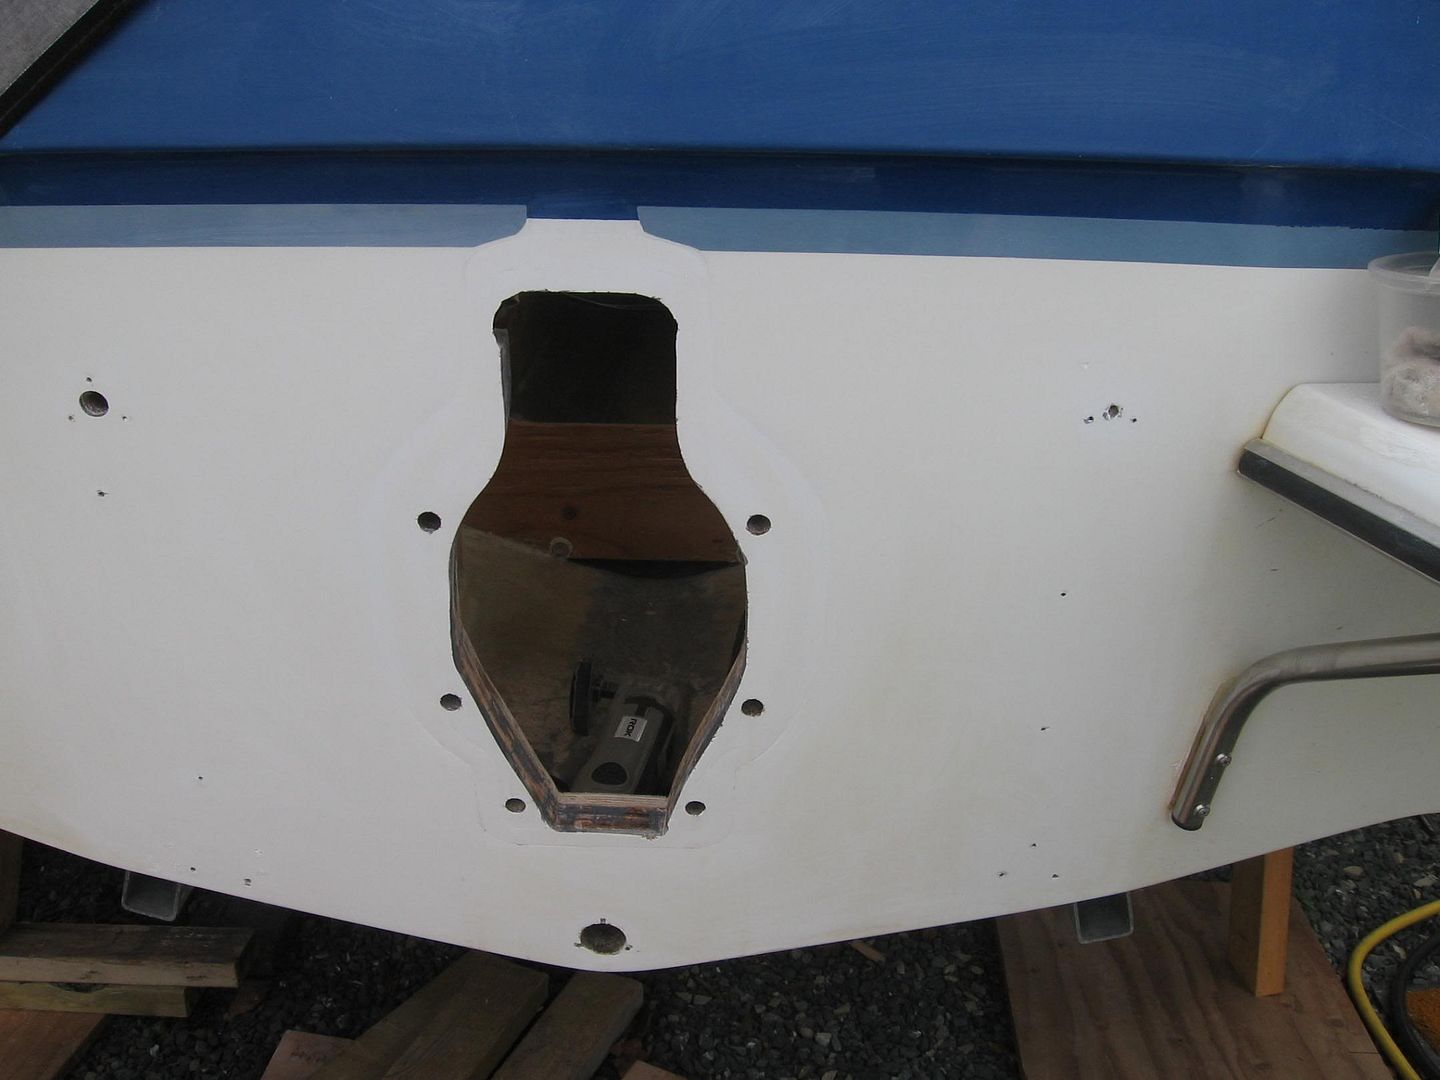
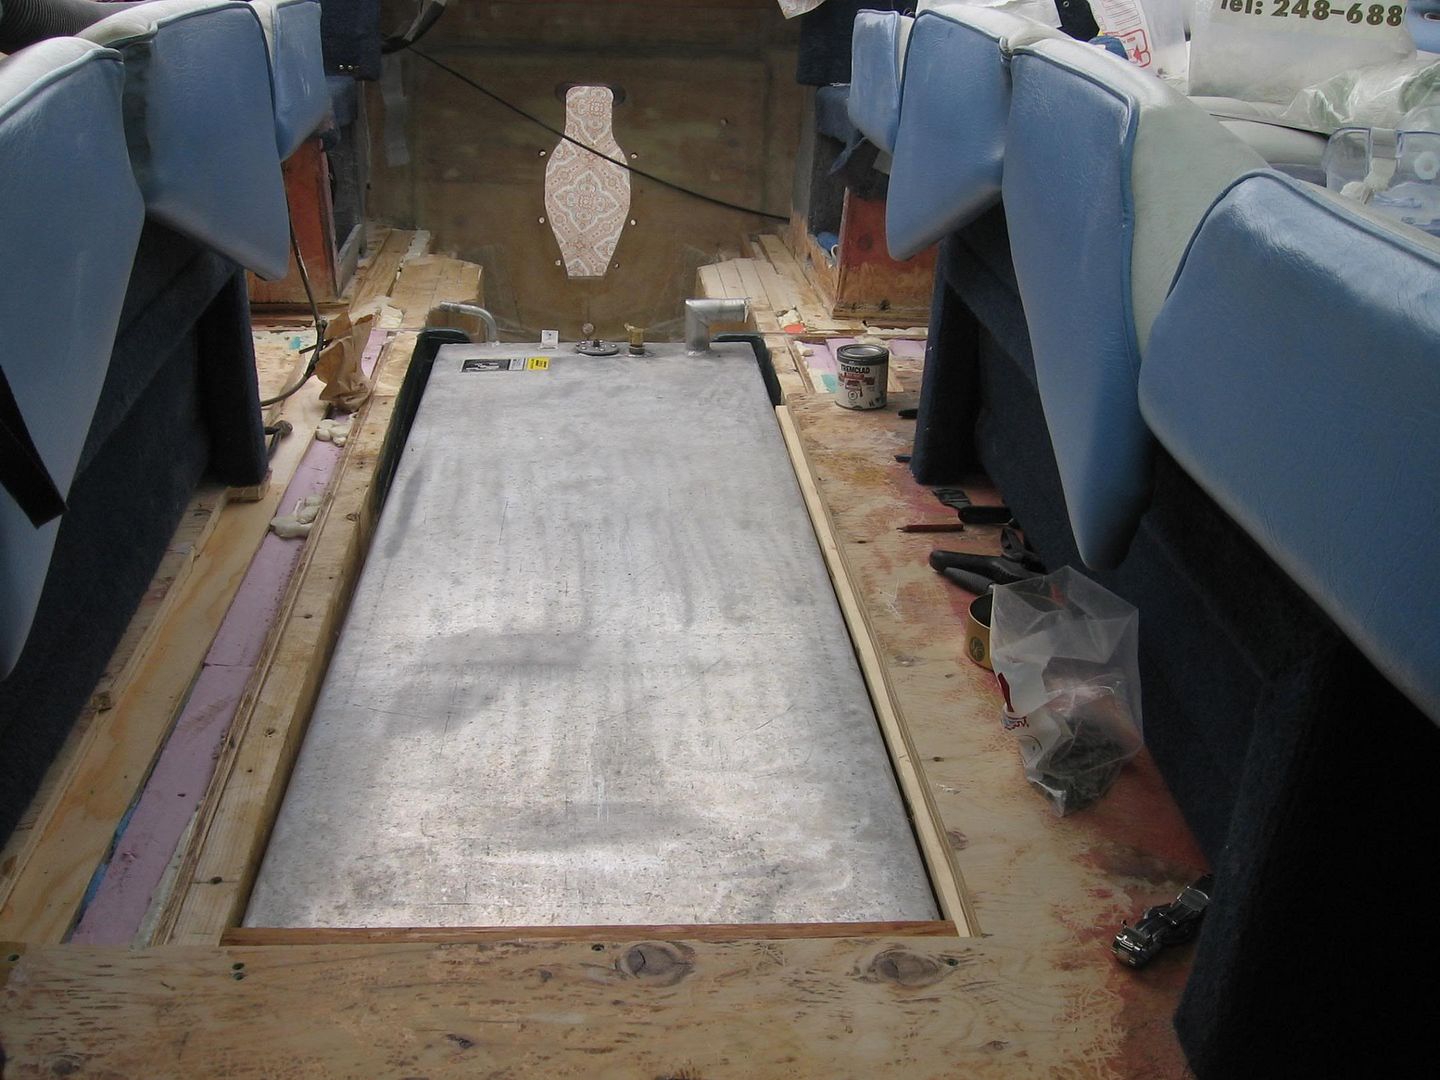
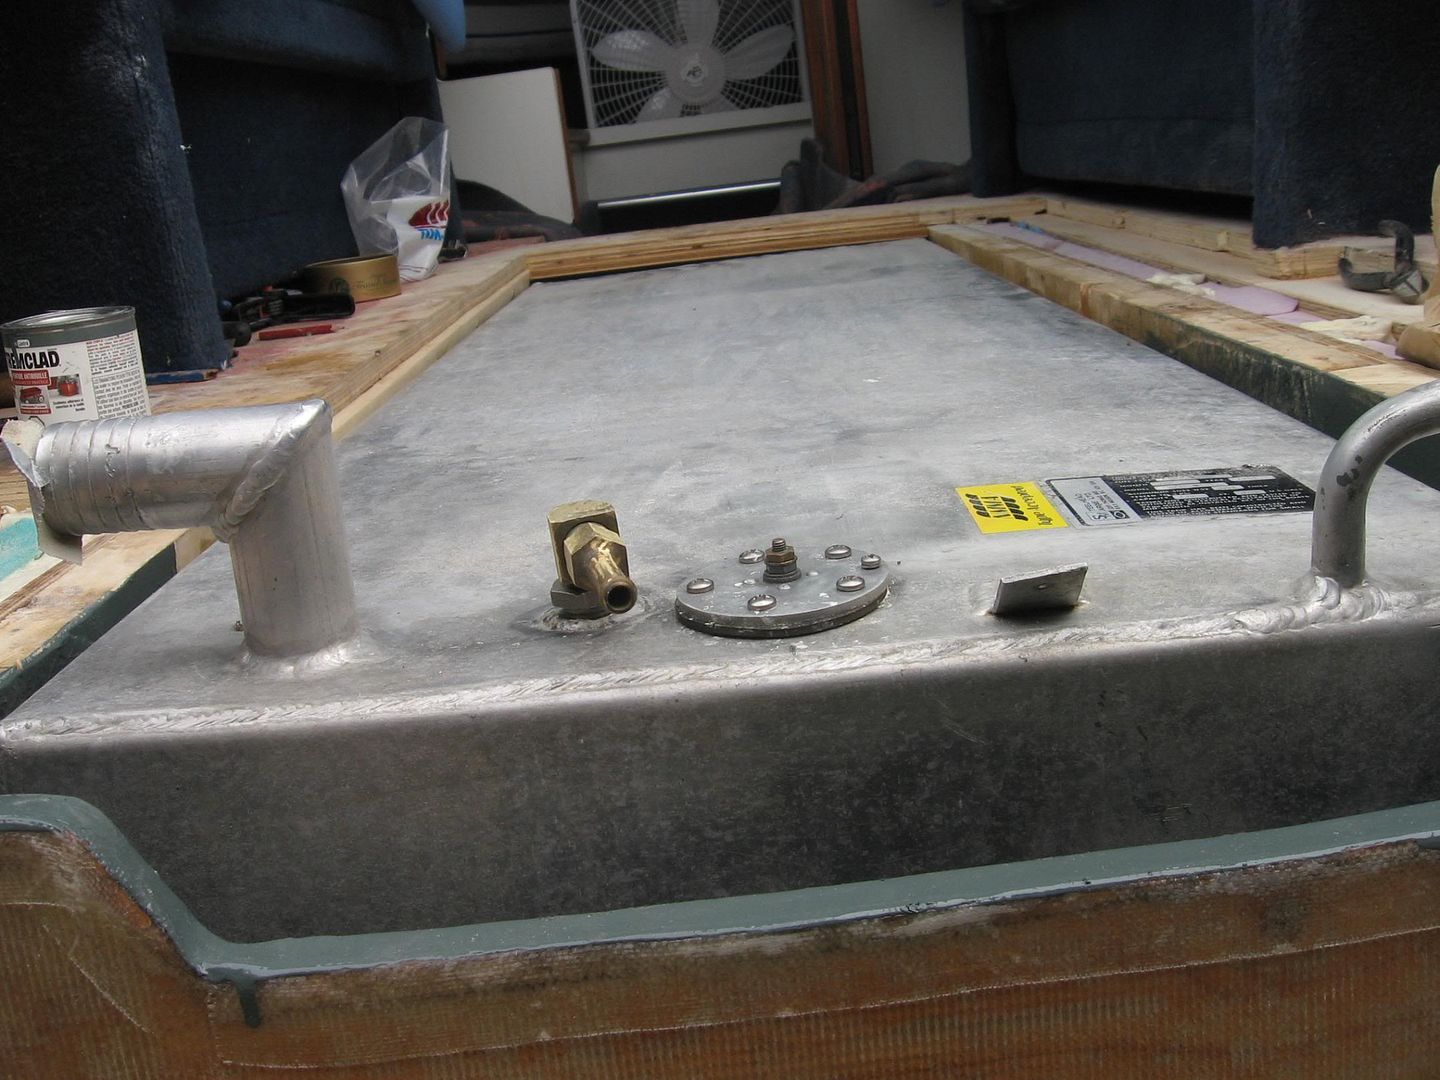
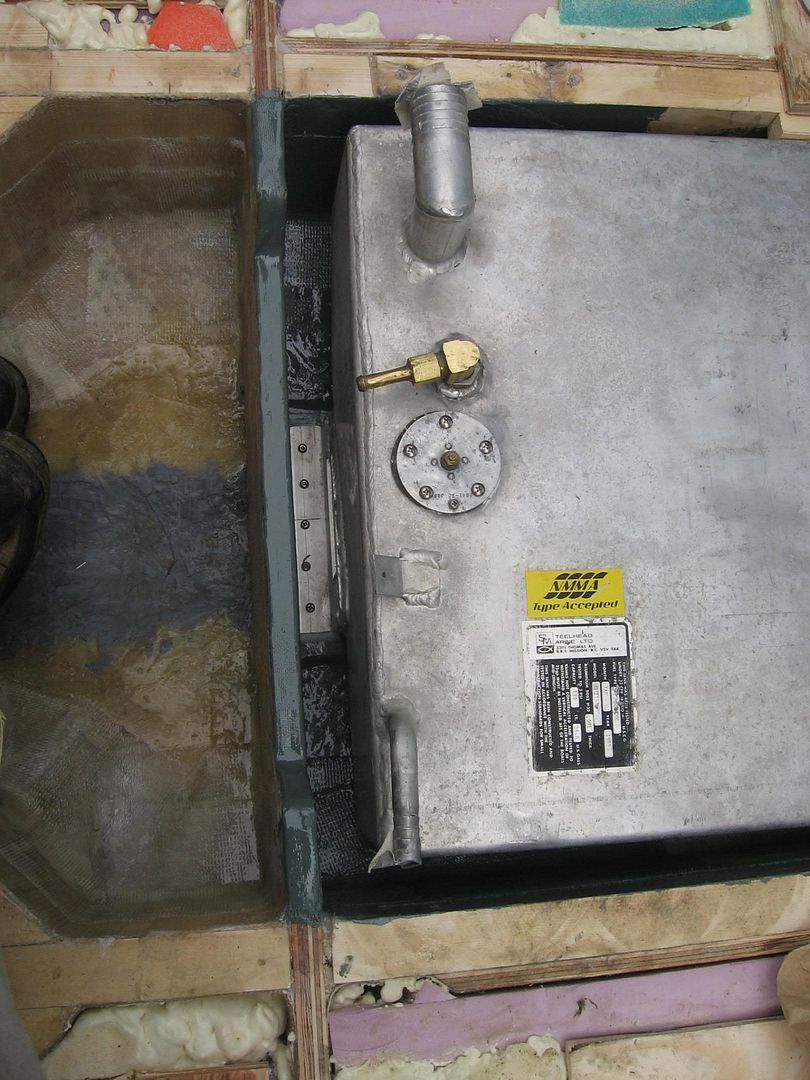
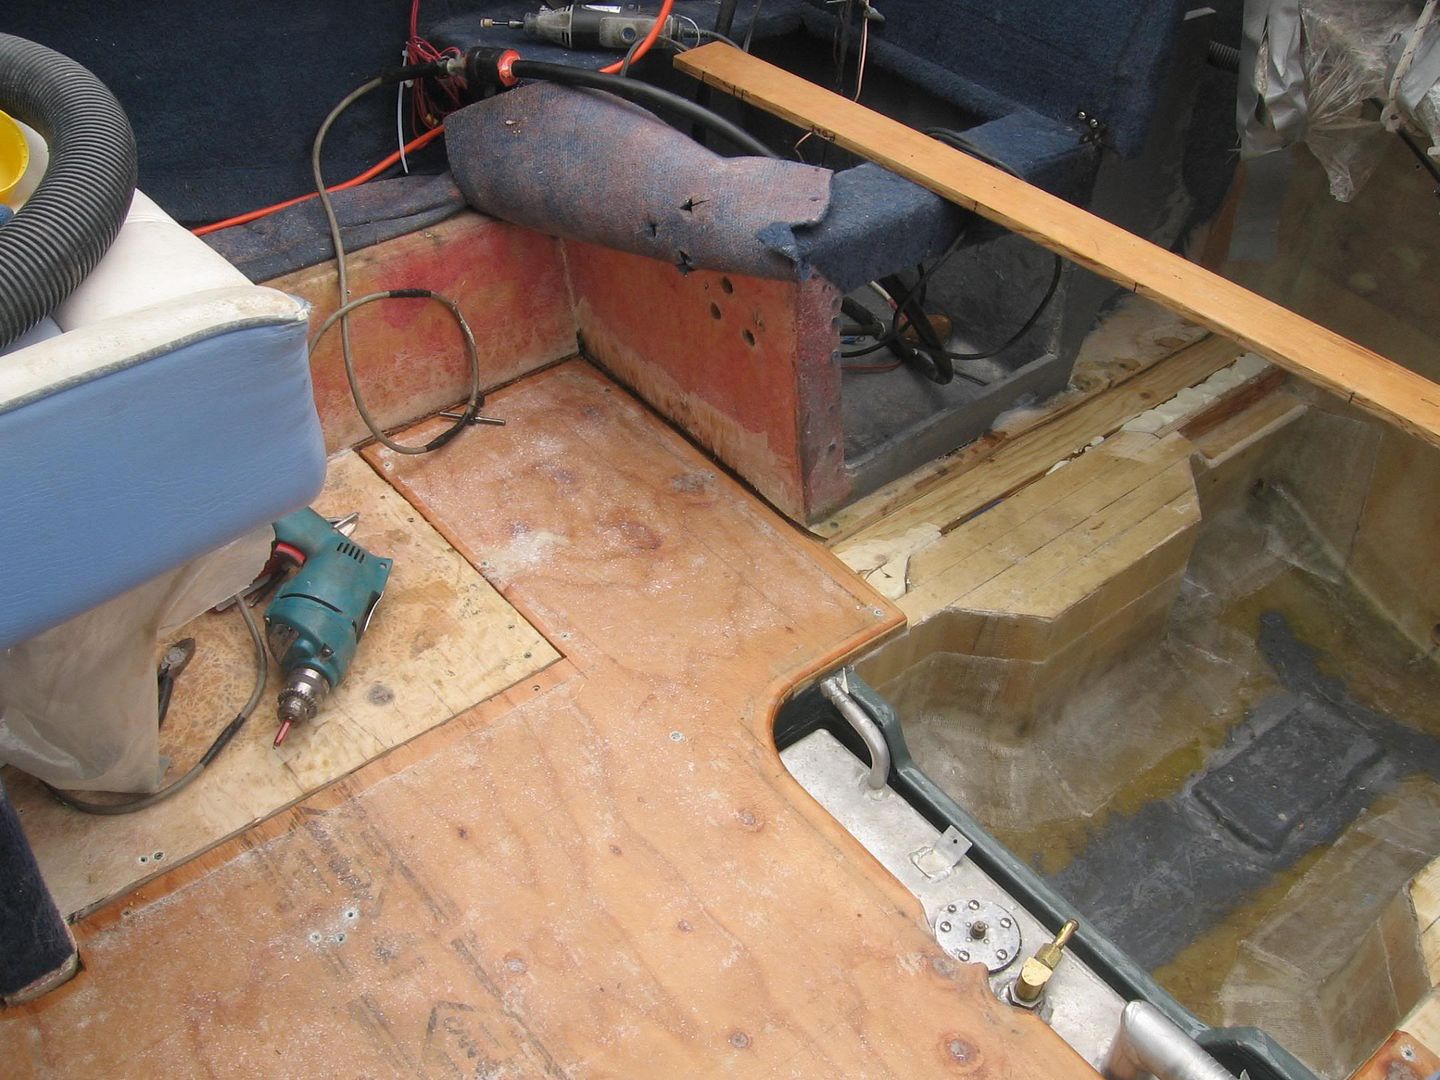
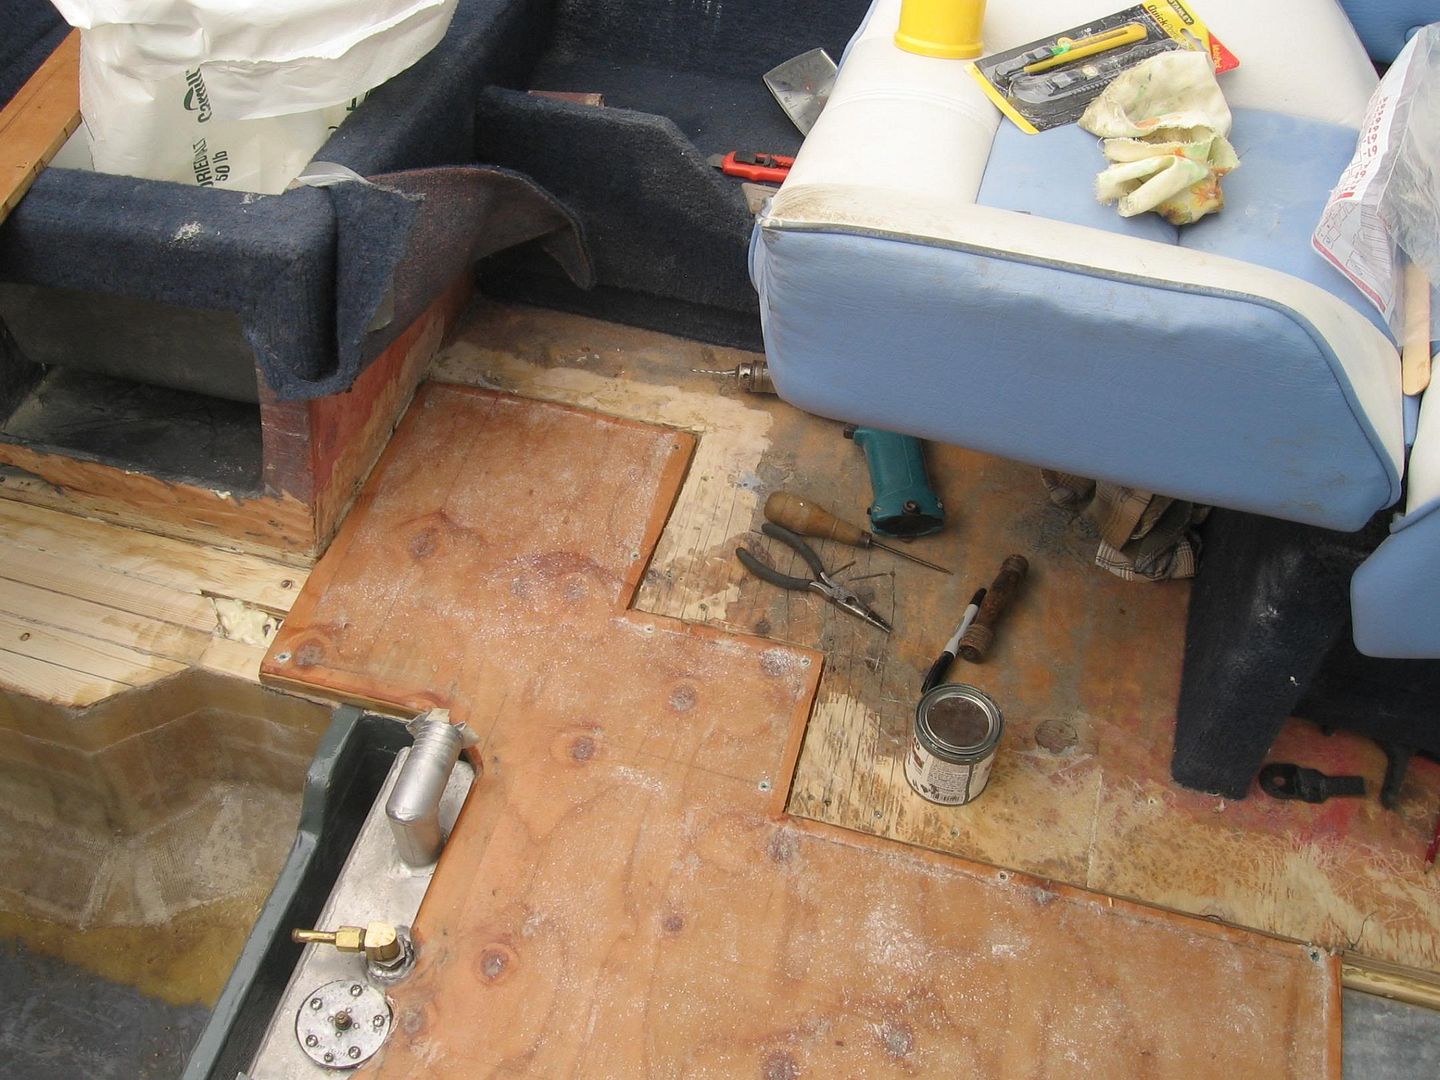
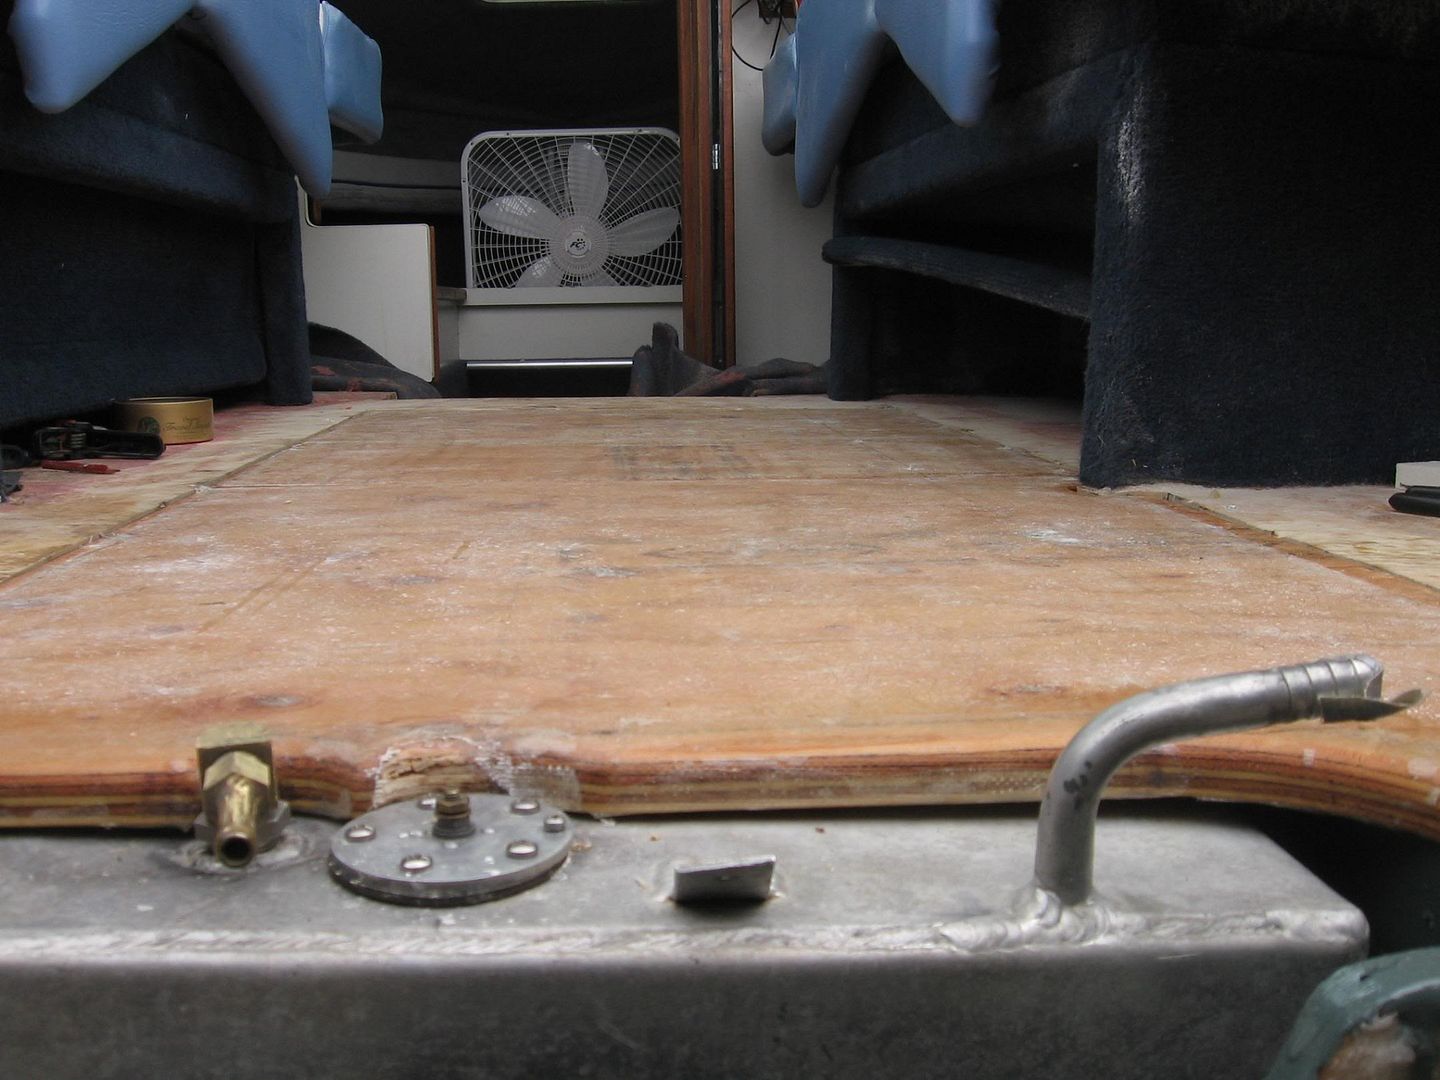
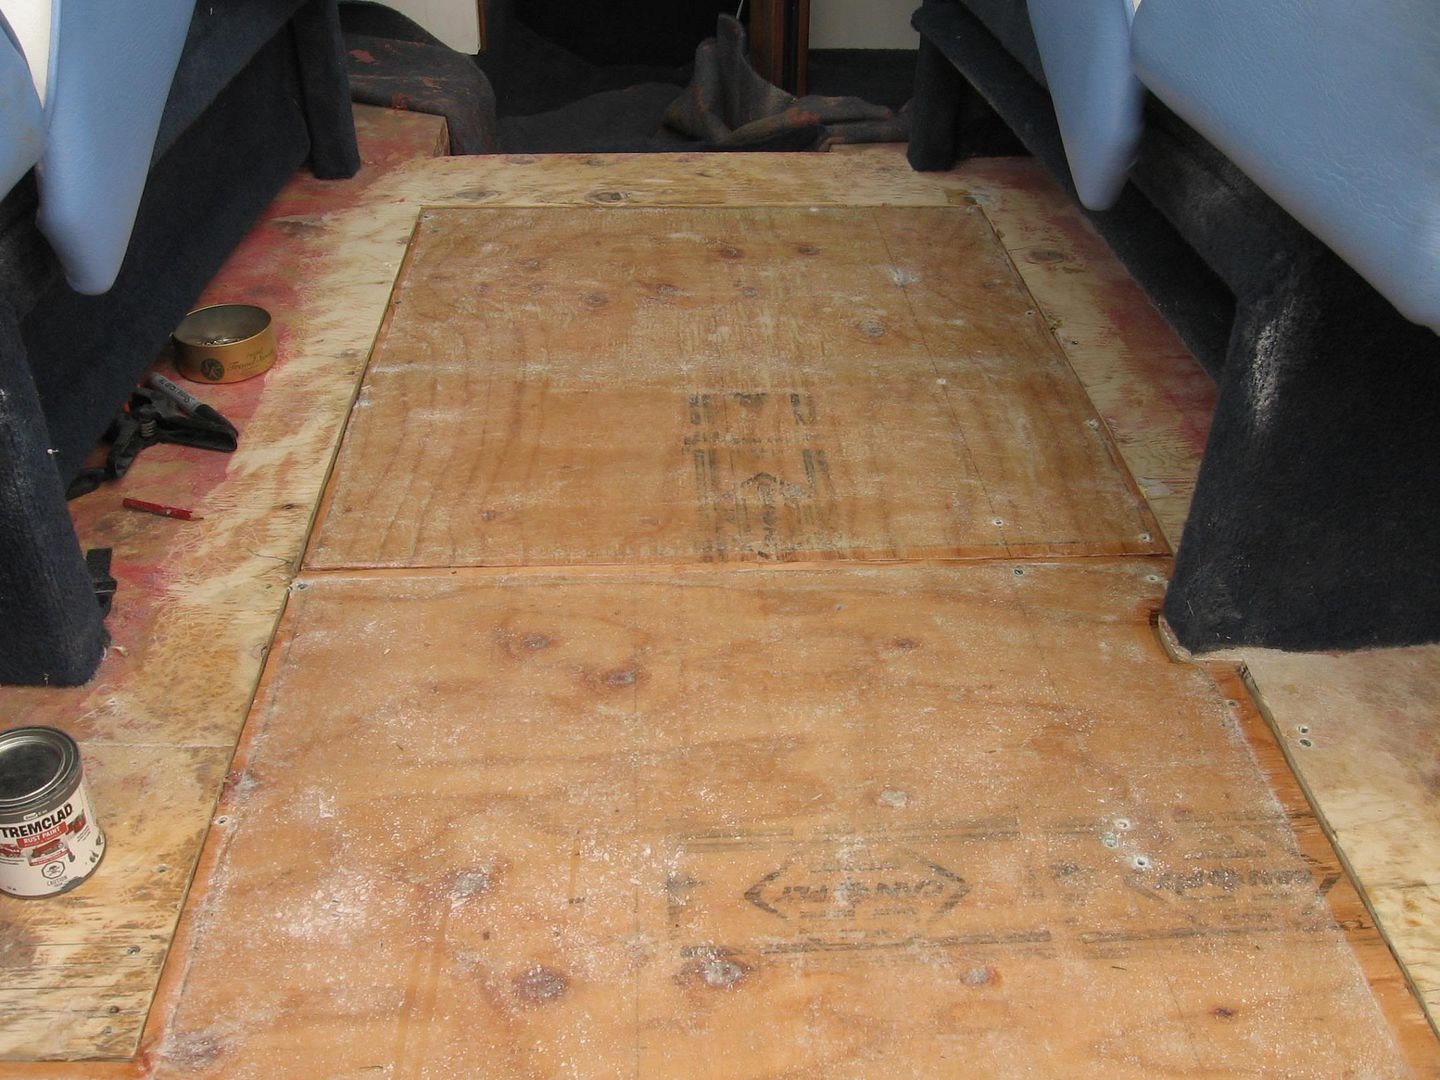
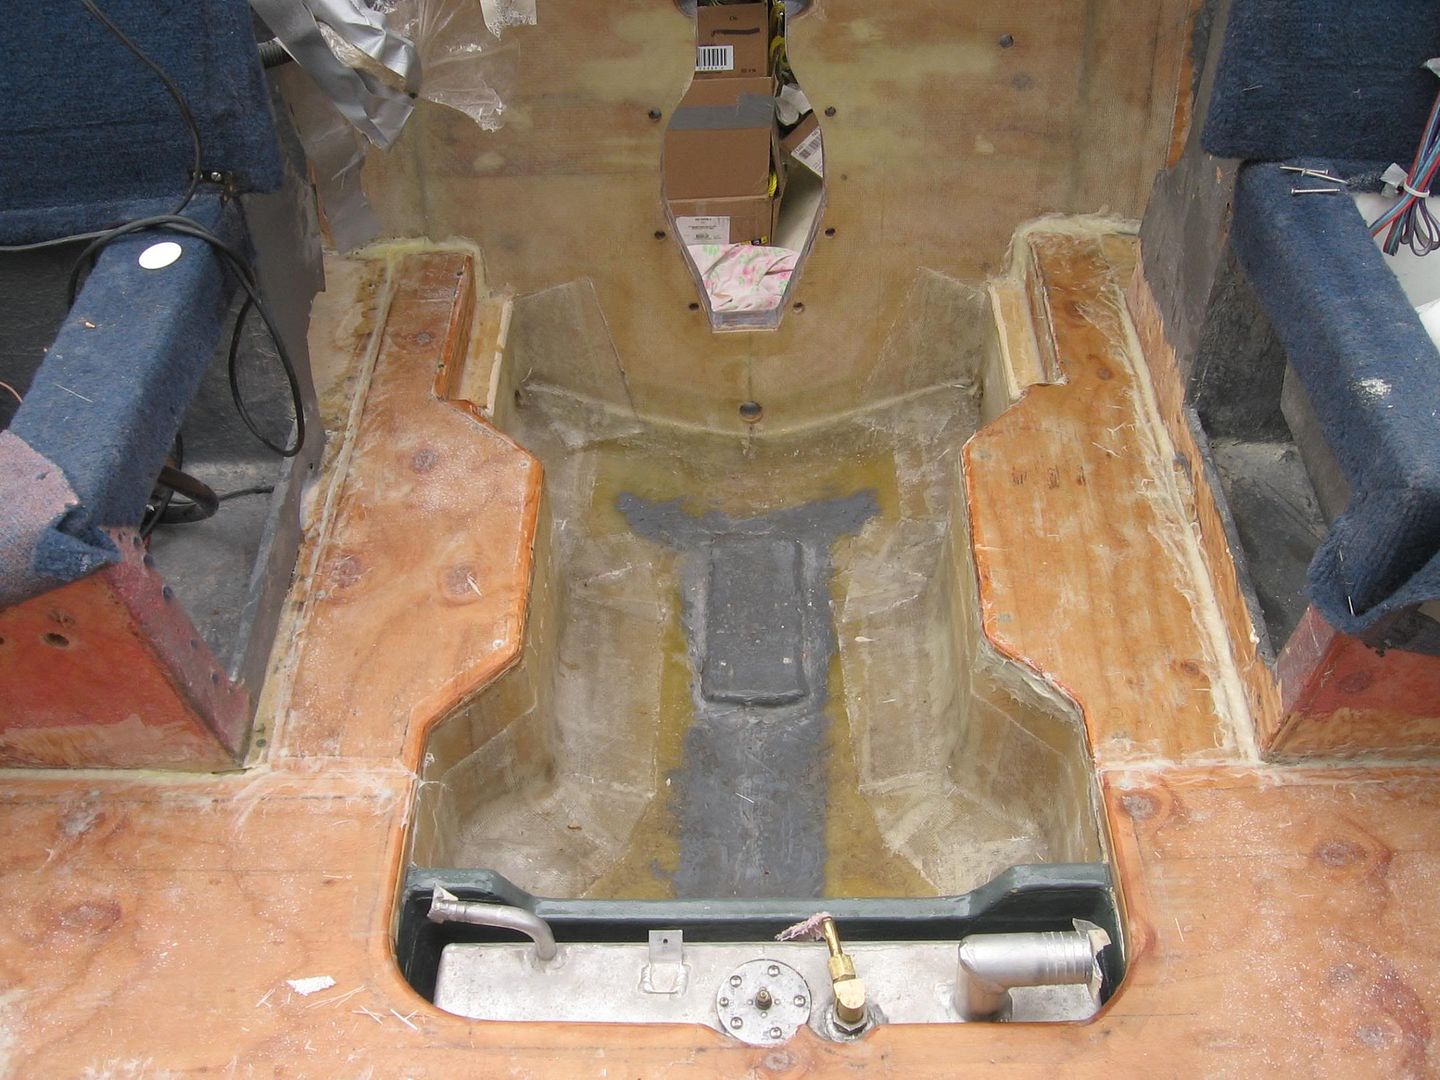
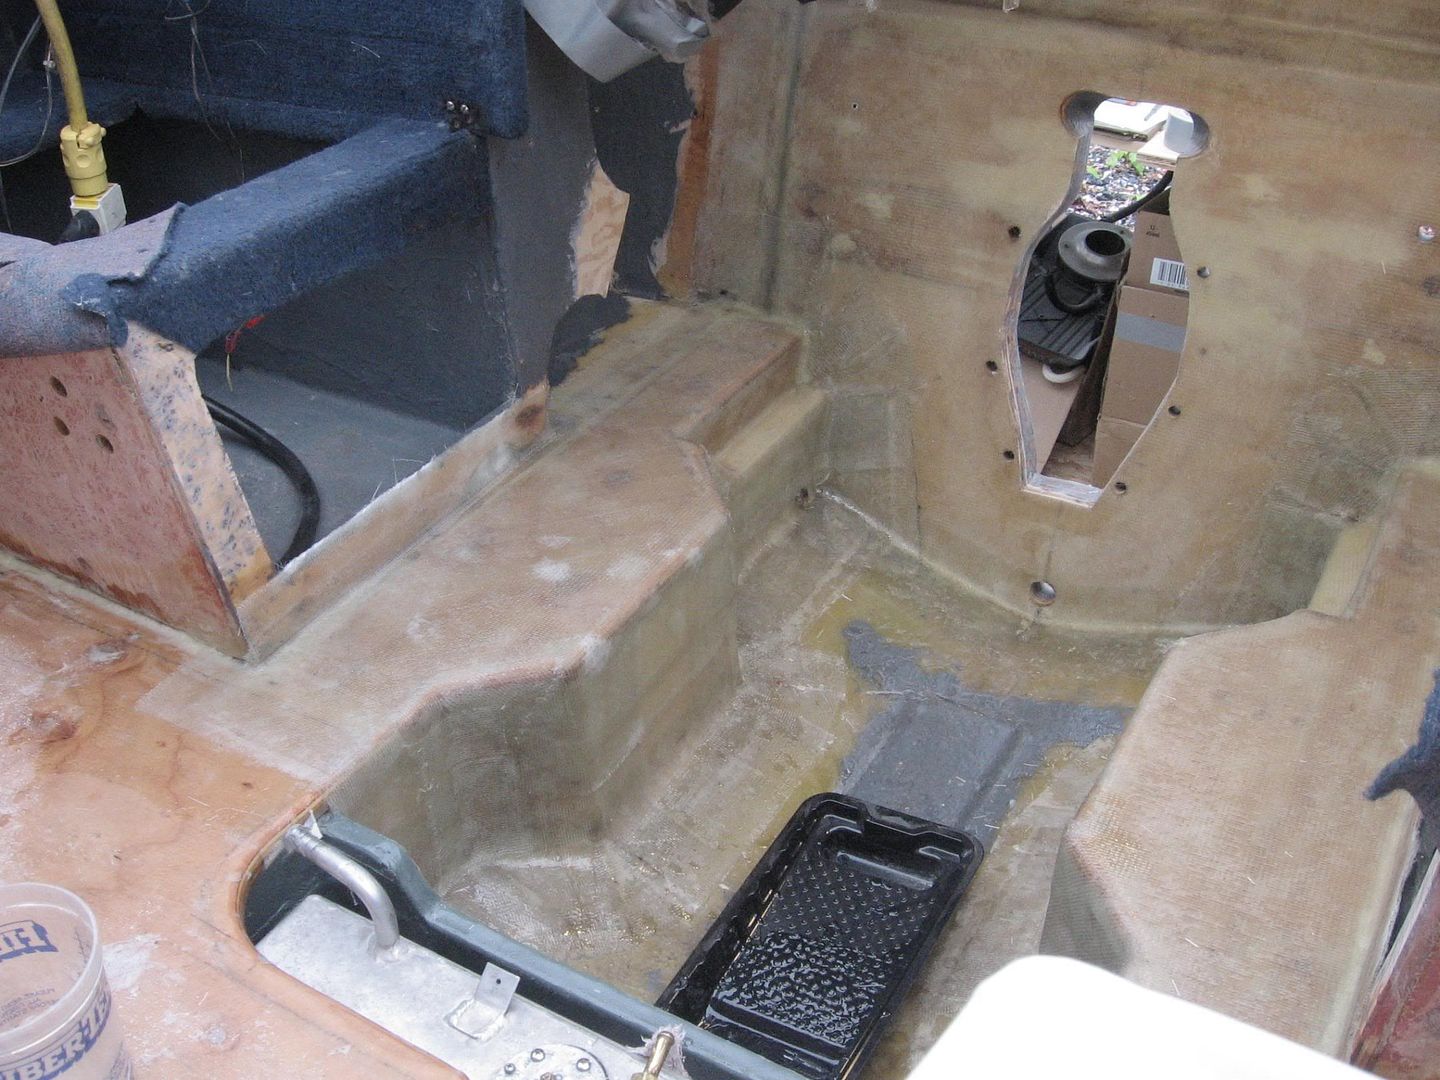
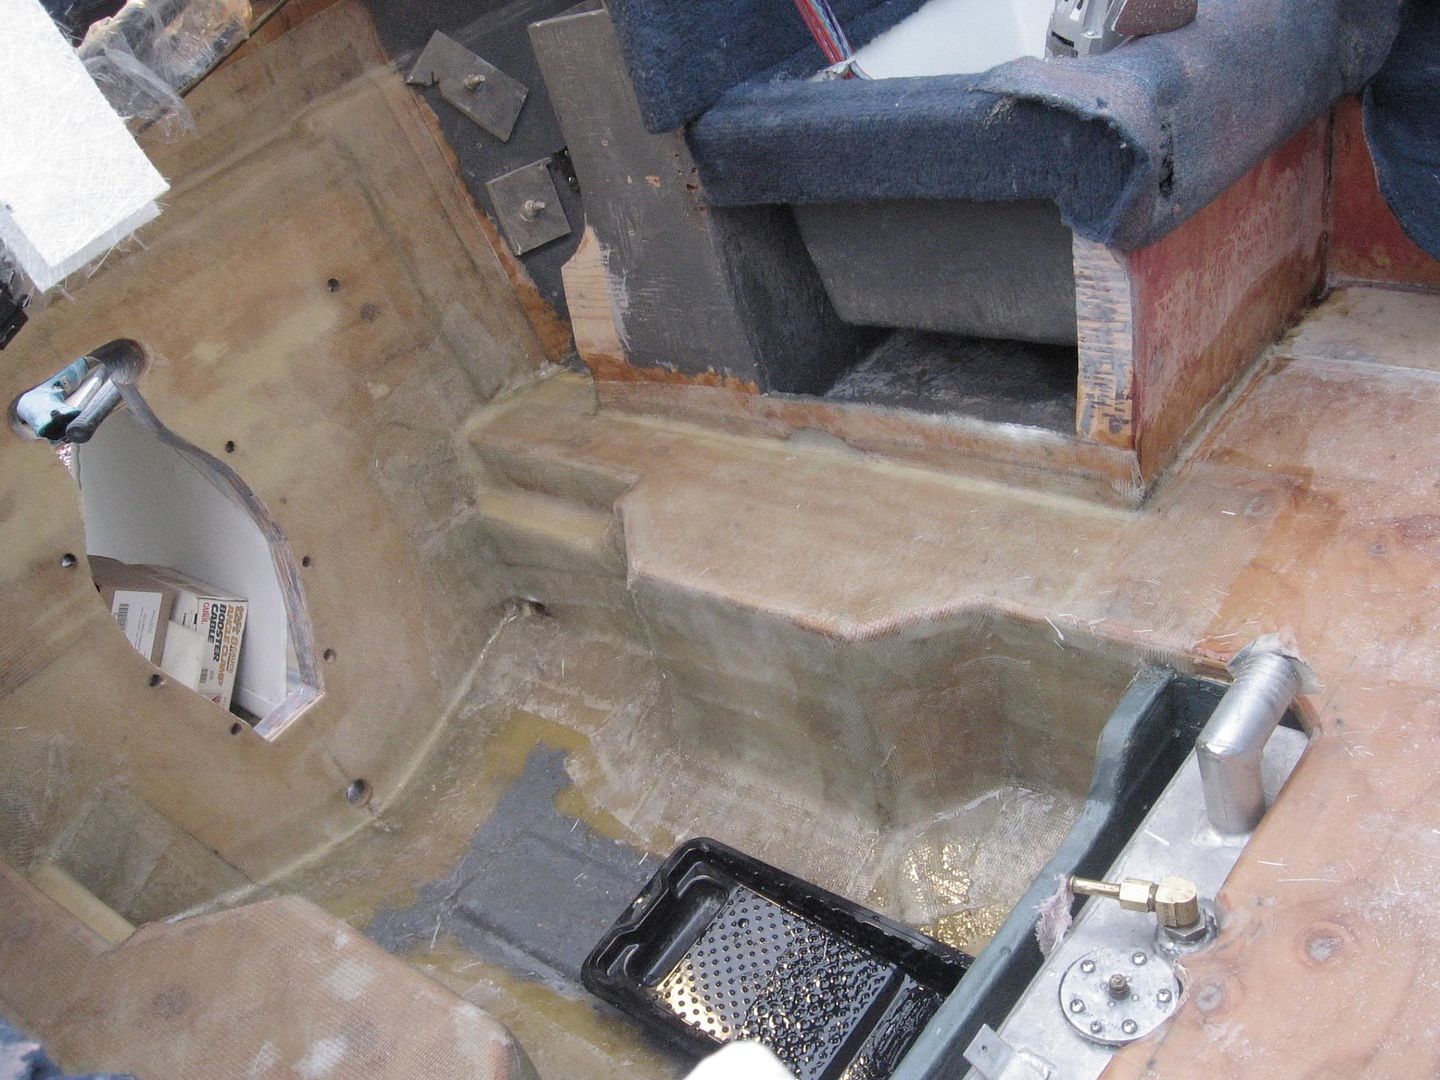
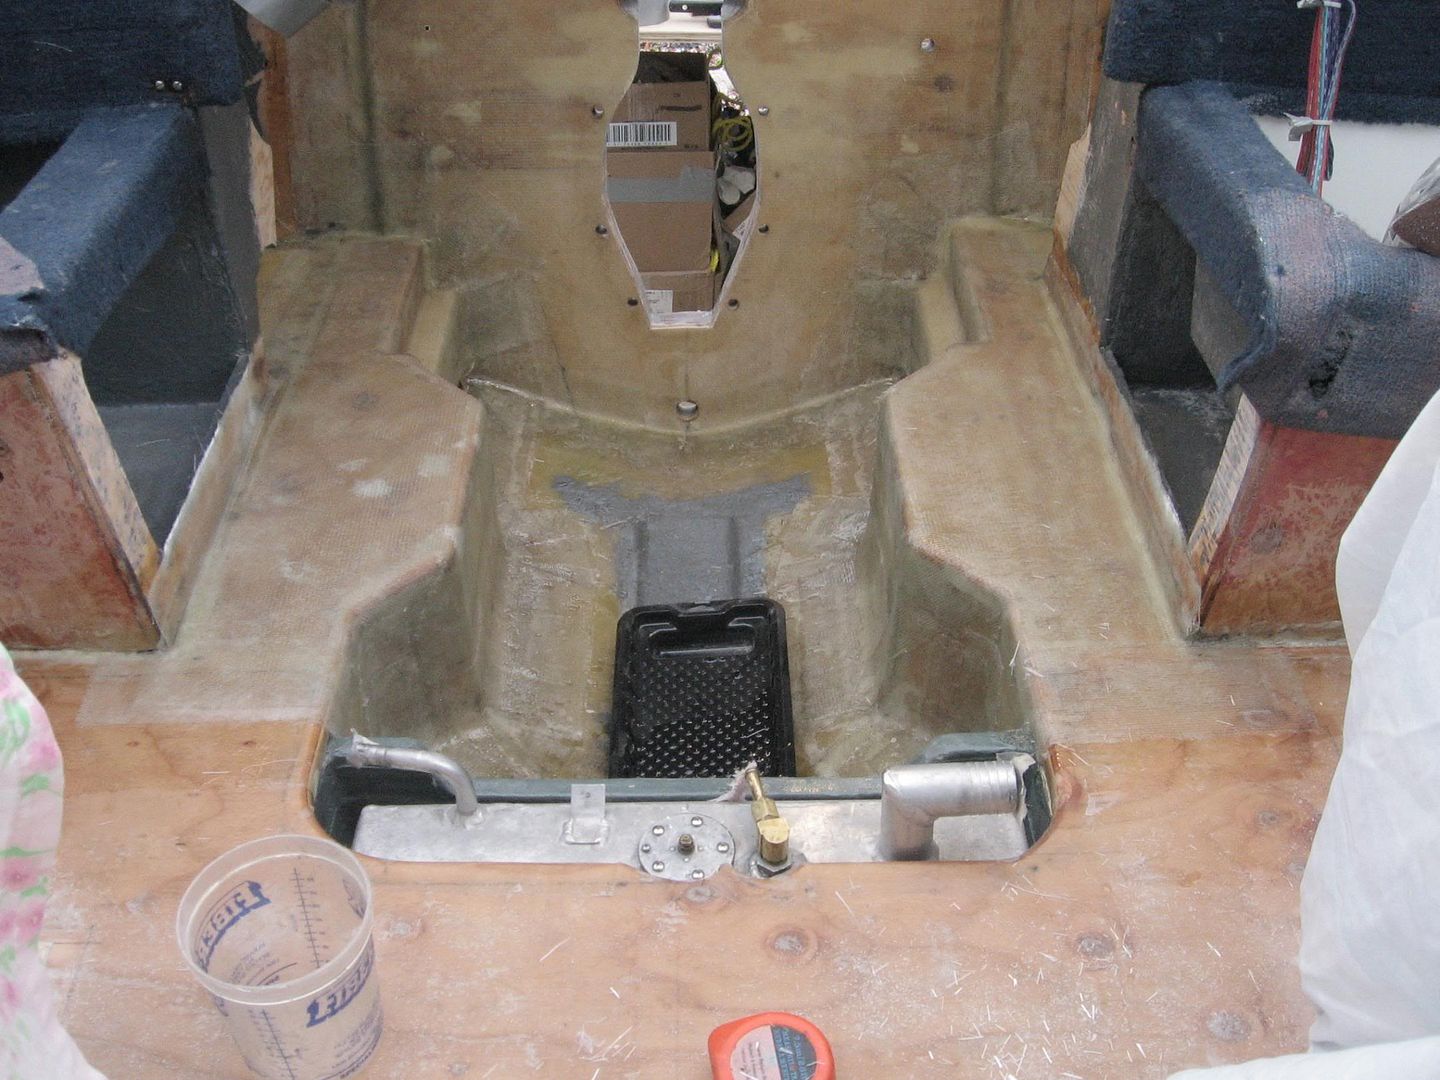
well finally got my gas tank back,looks great with a whole new Aluminum bottom!all for under a hundred bucks.
IMG_3658.jpg


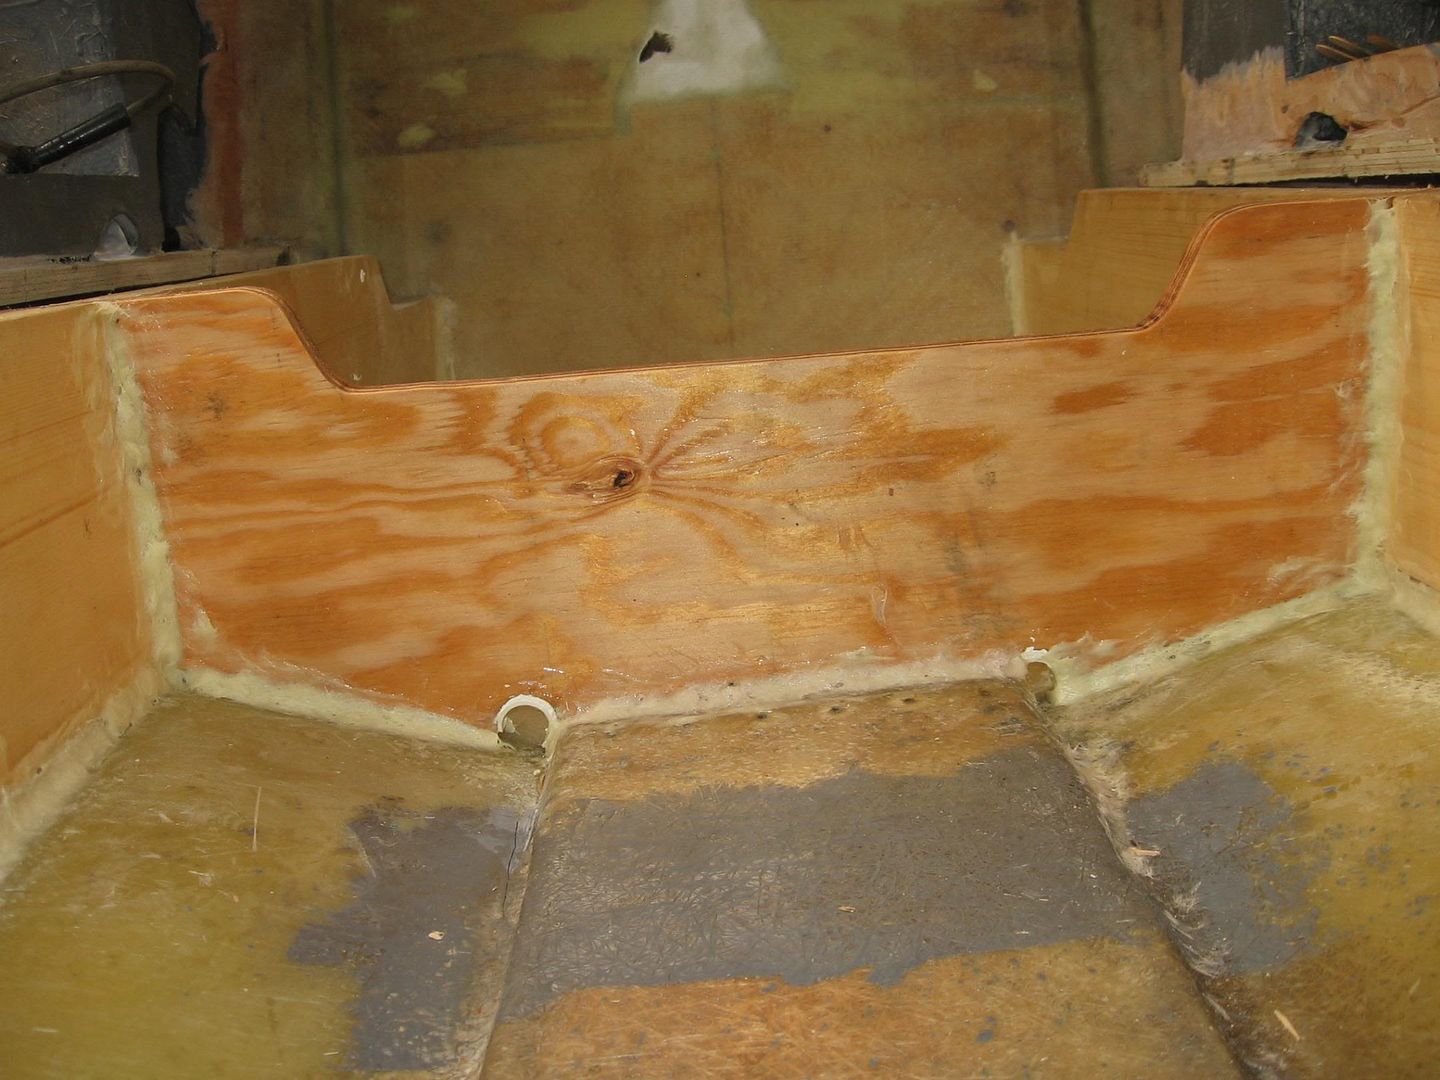
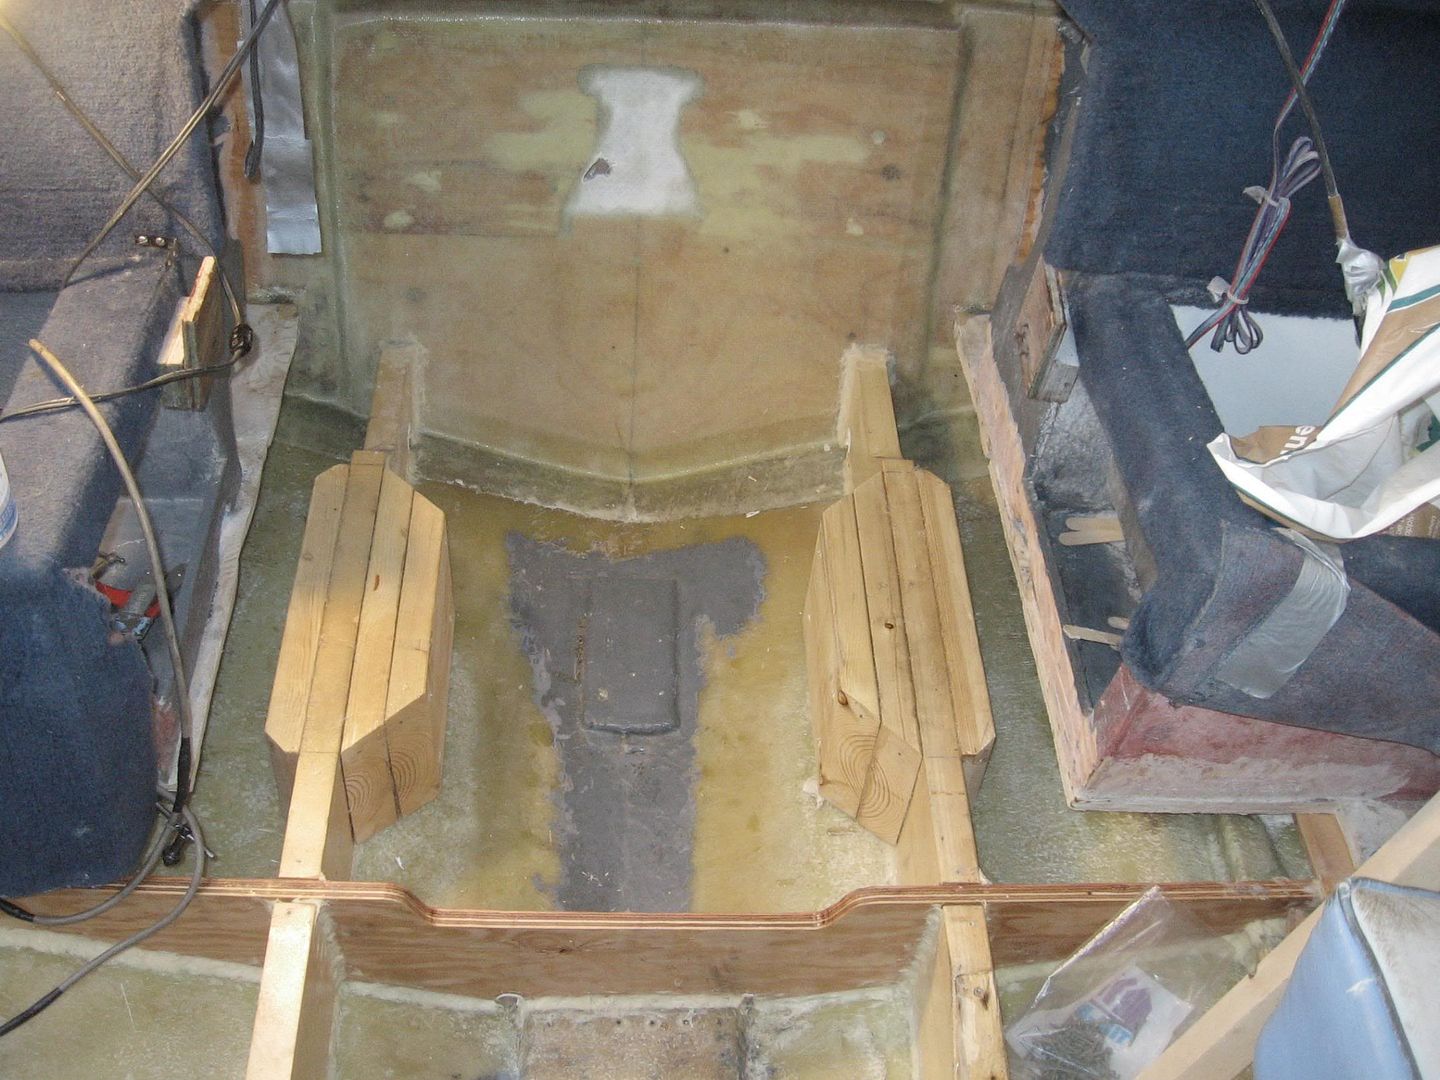
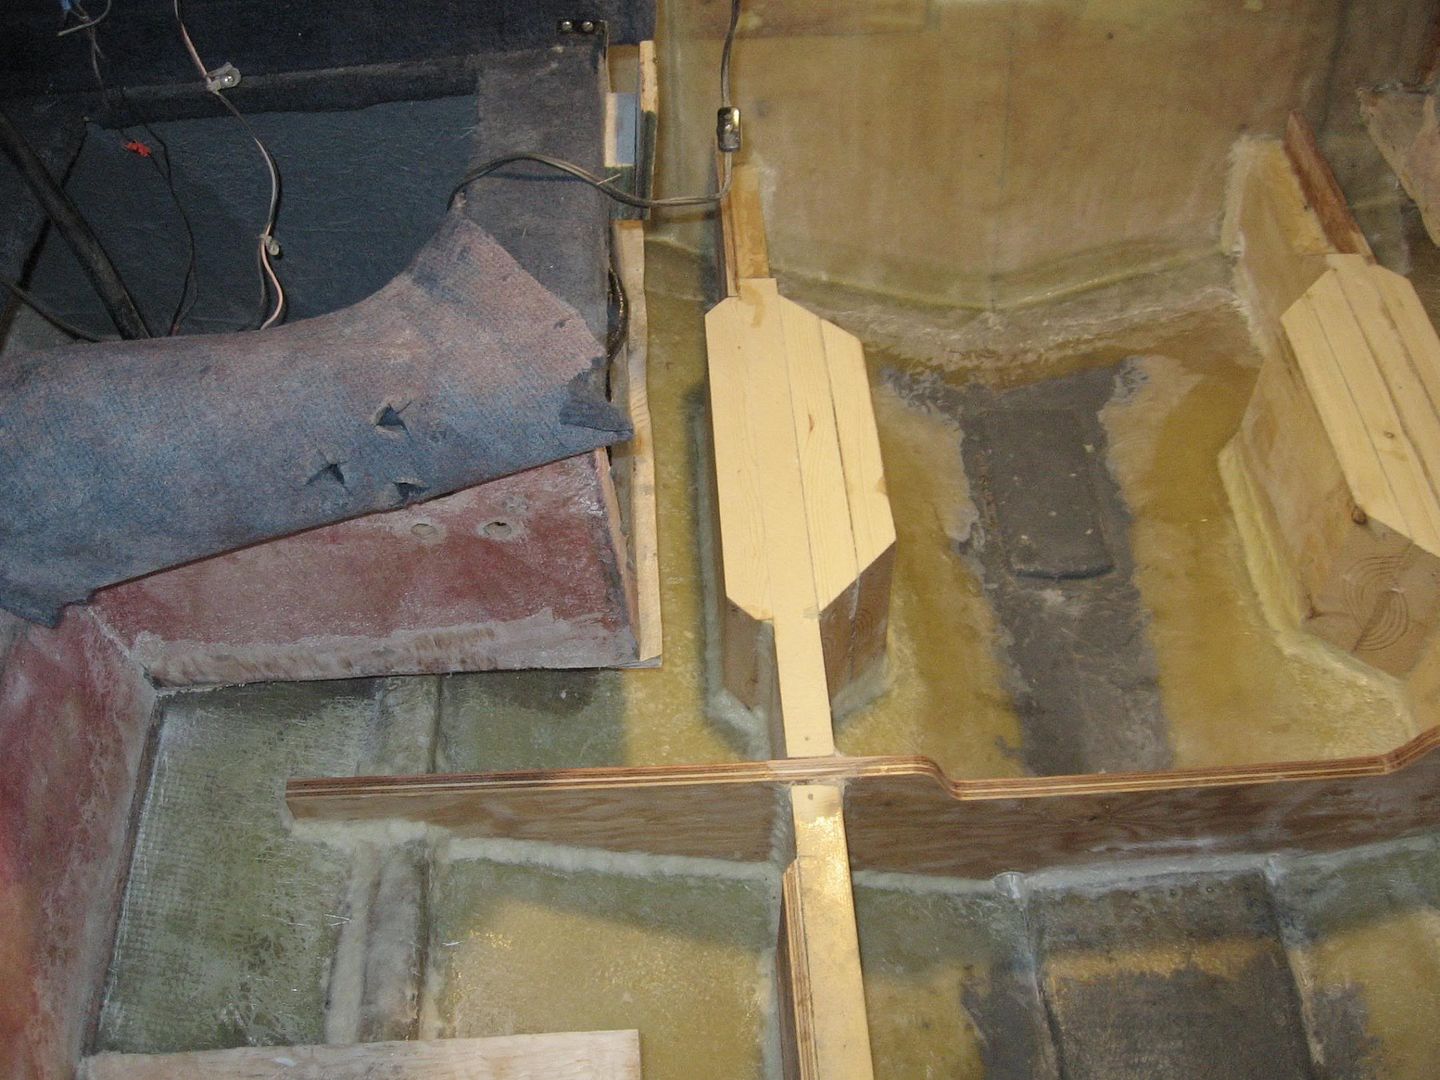
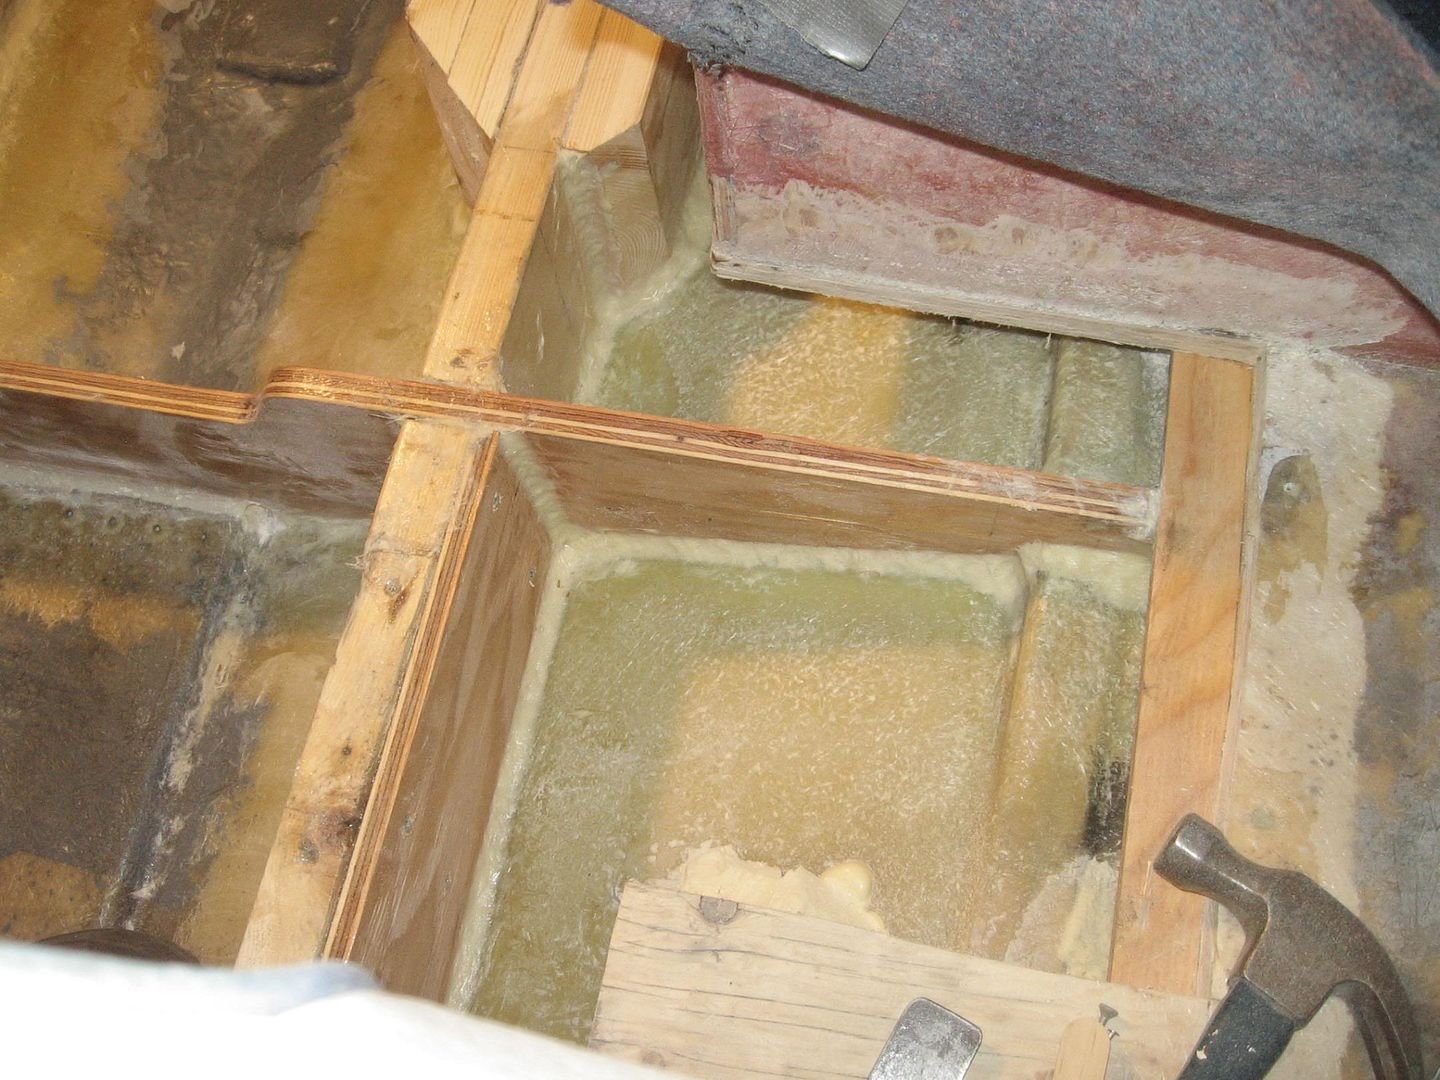
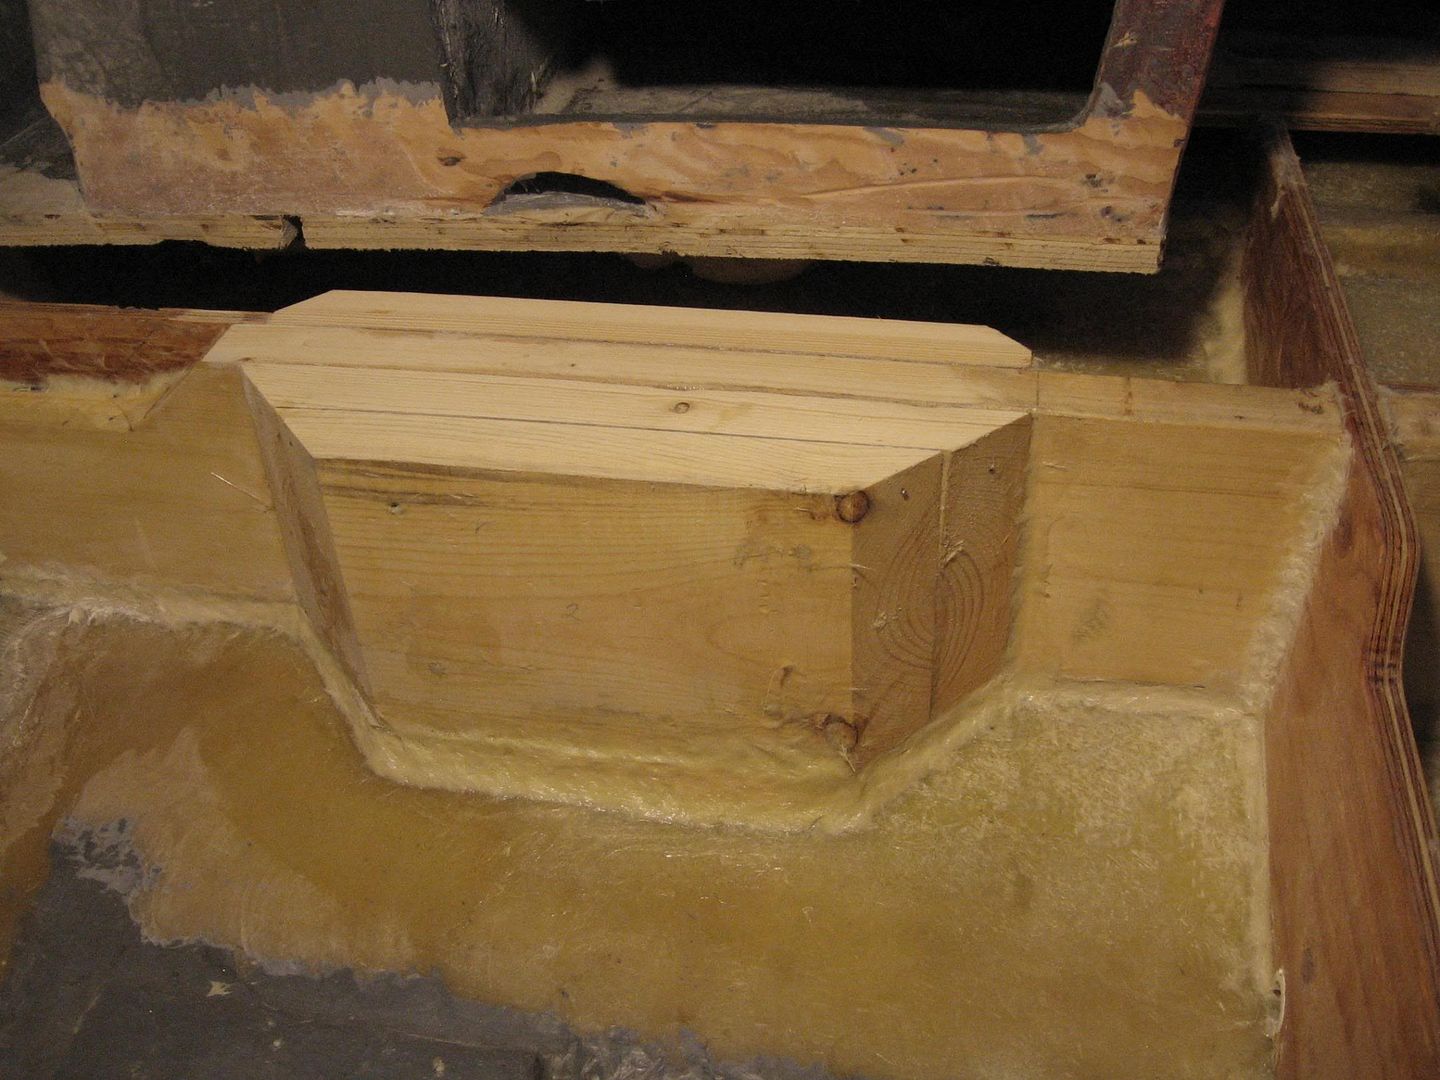
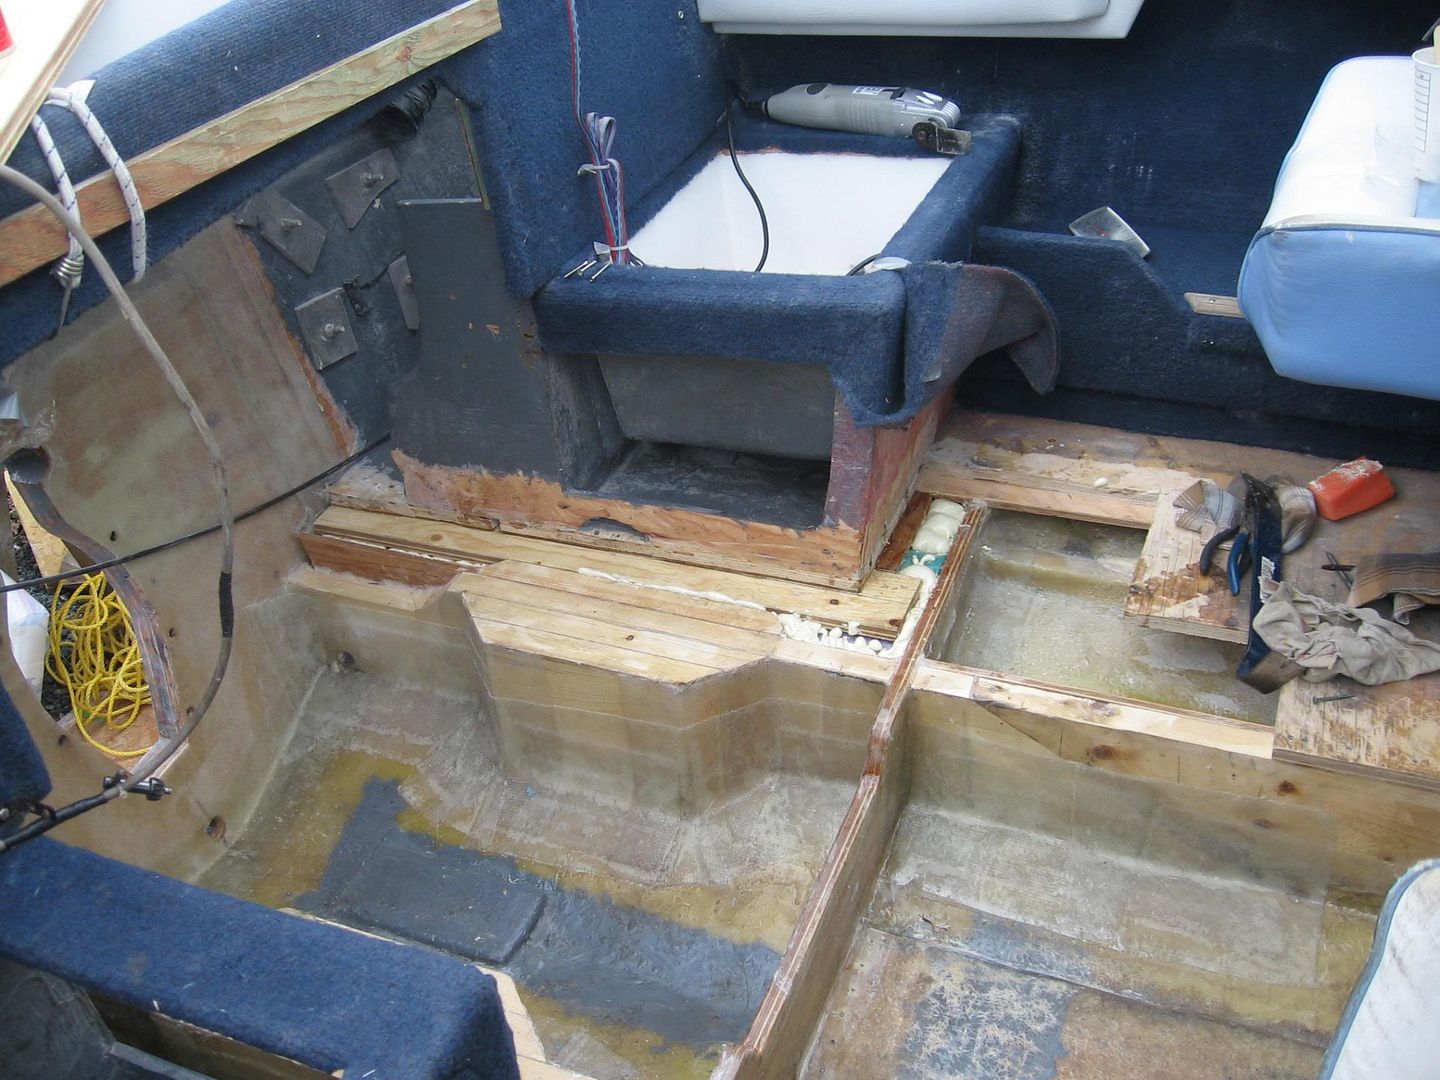
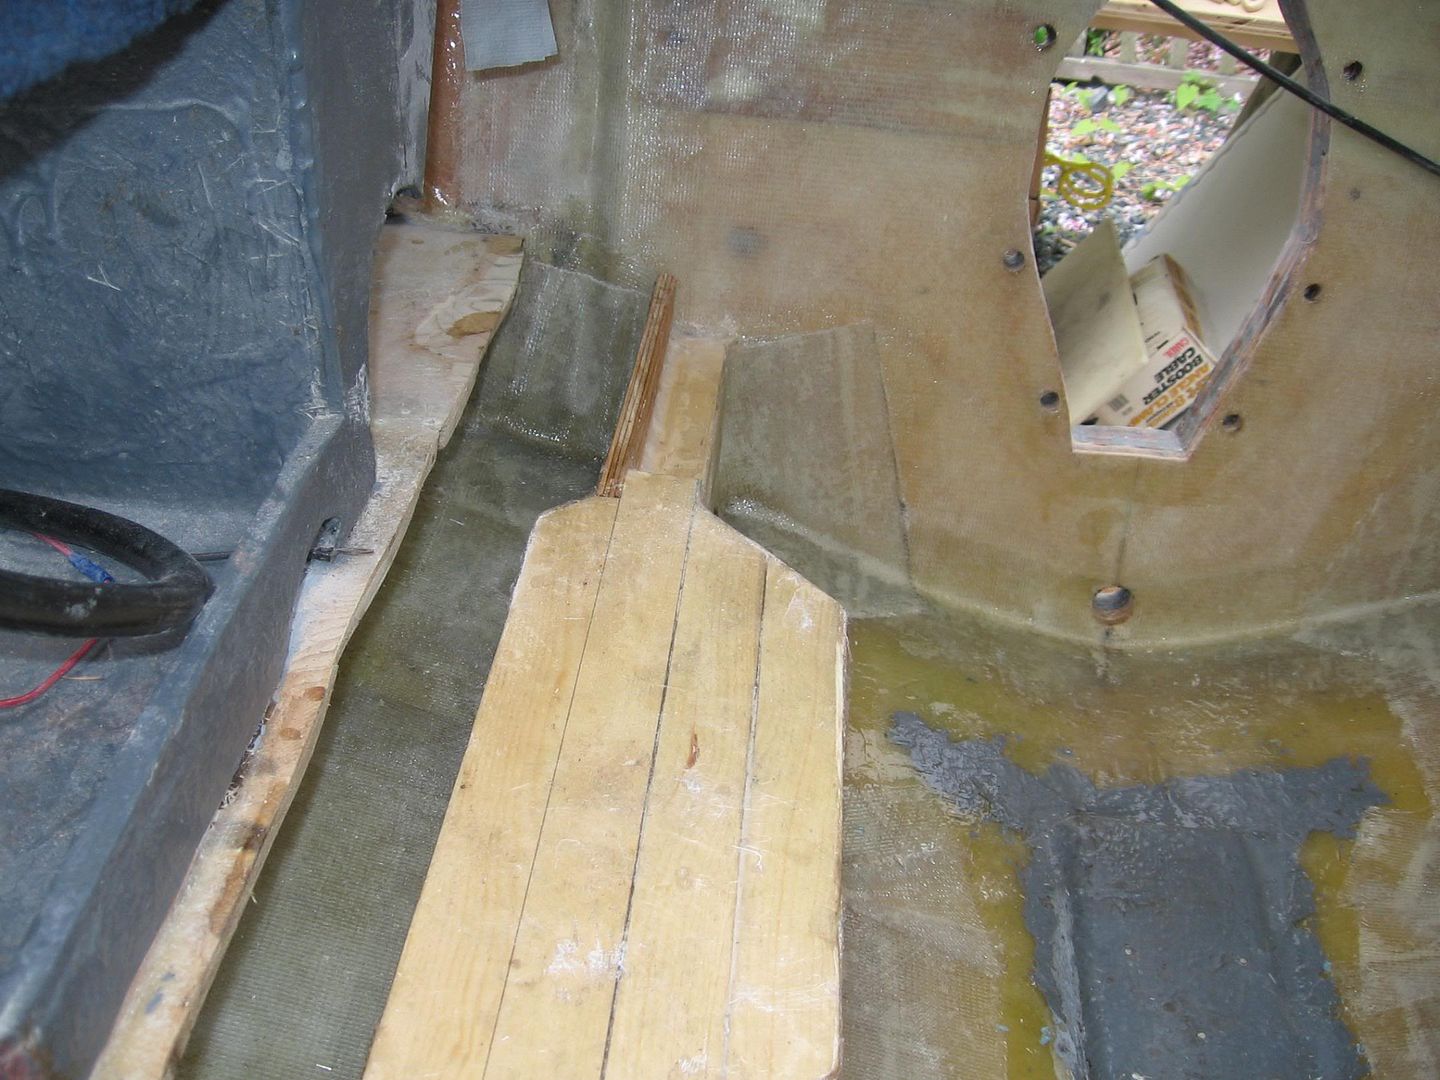
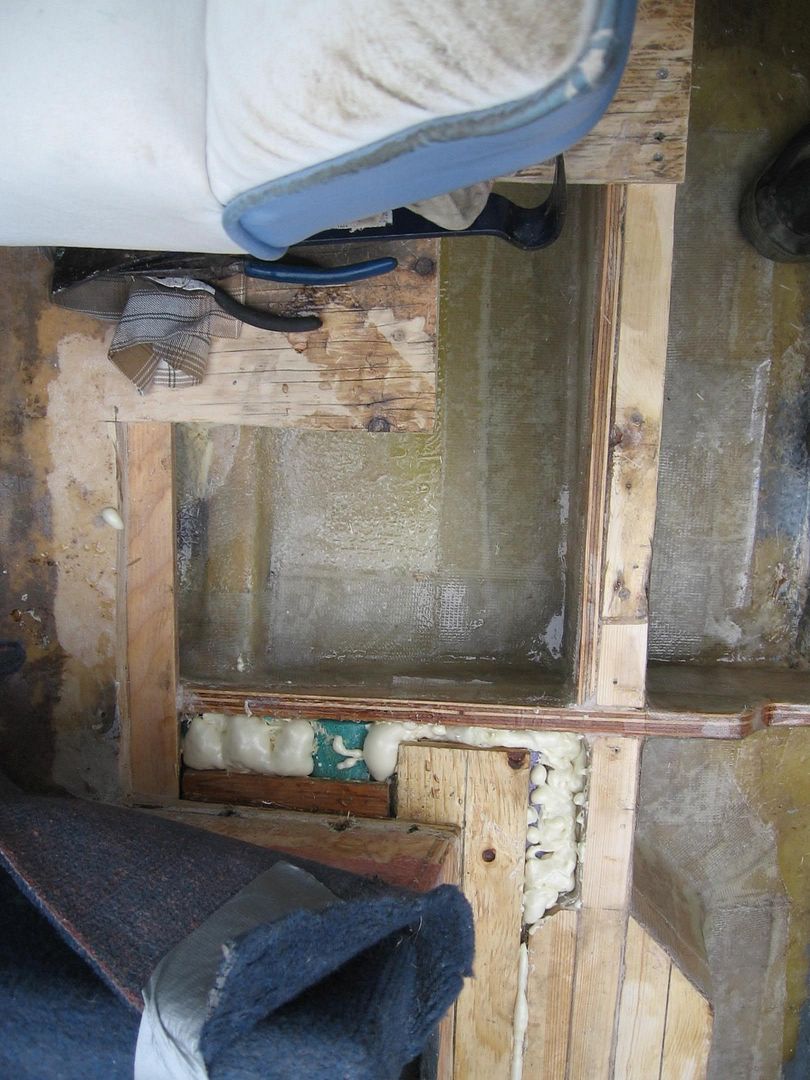
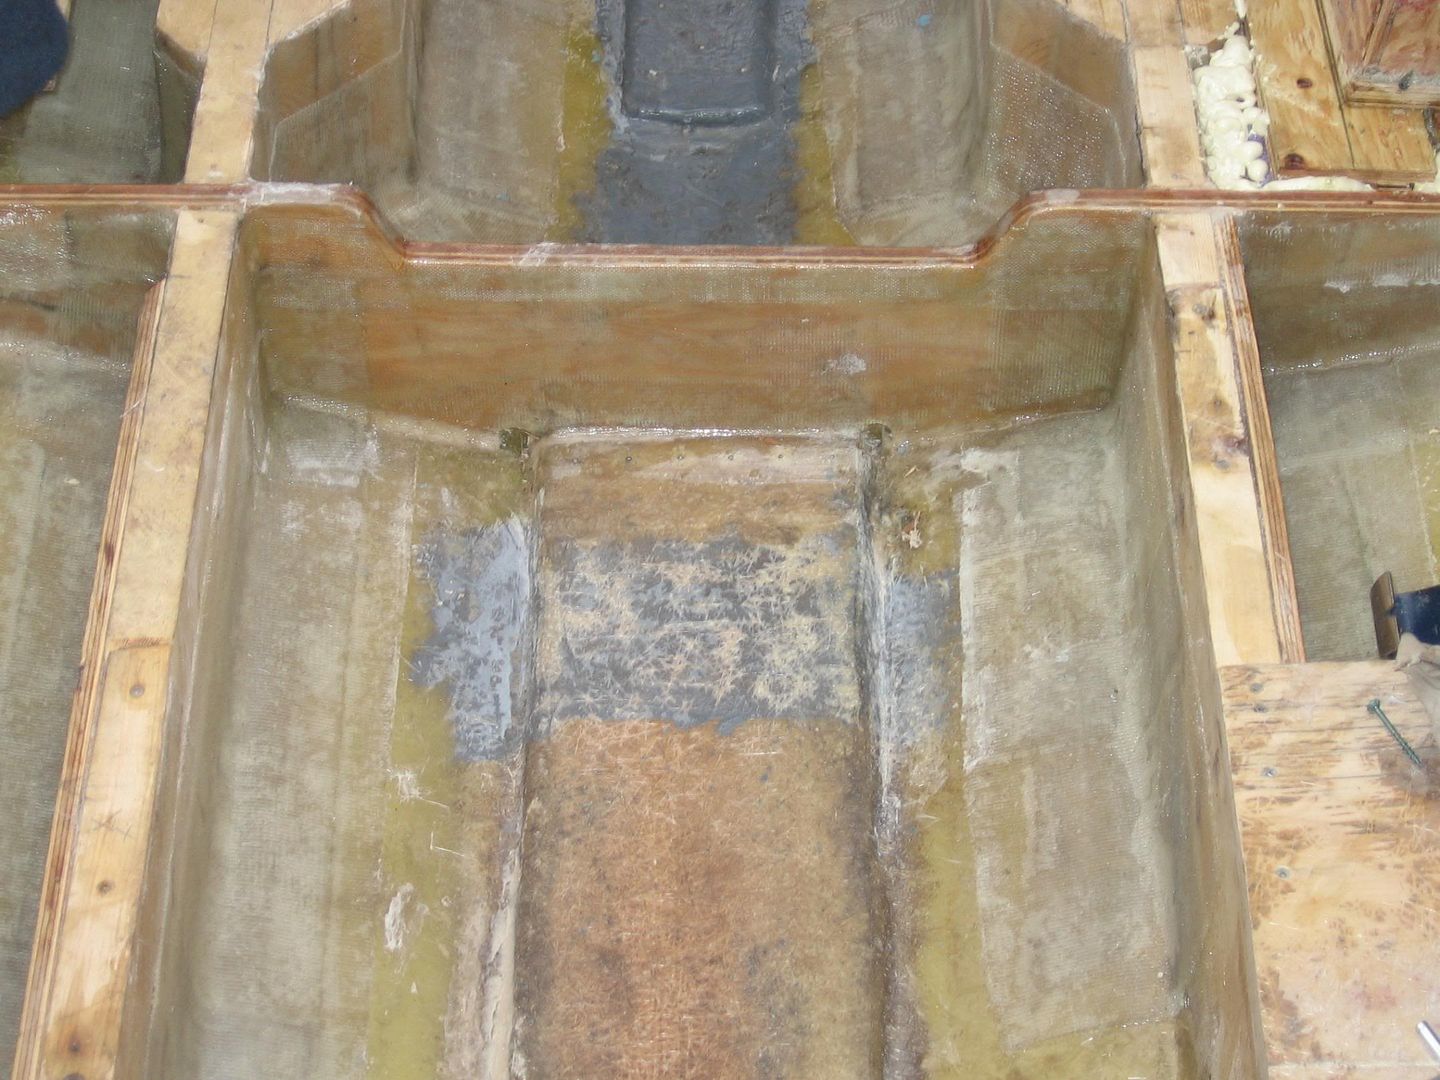
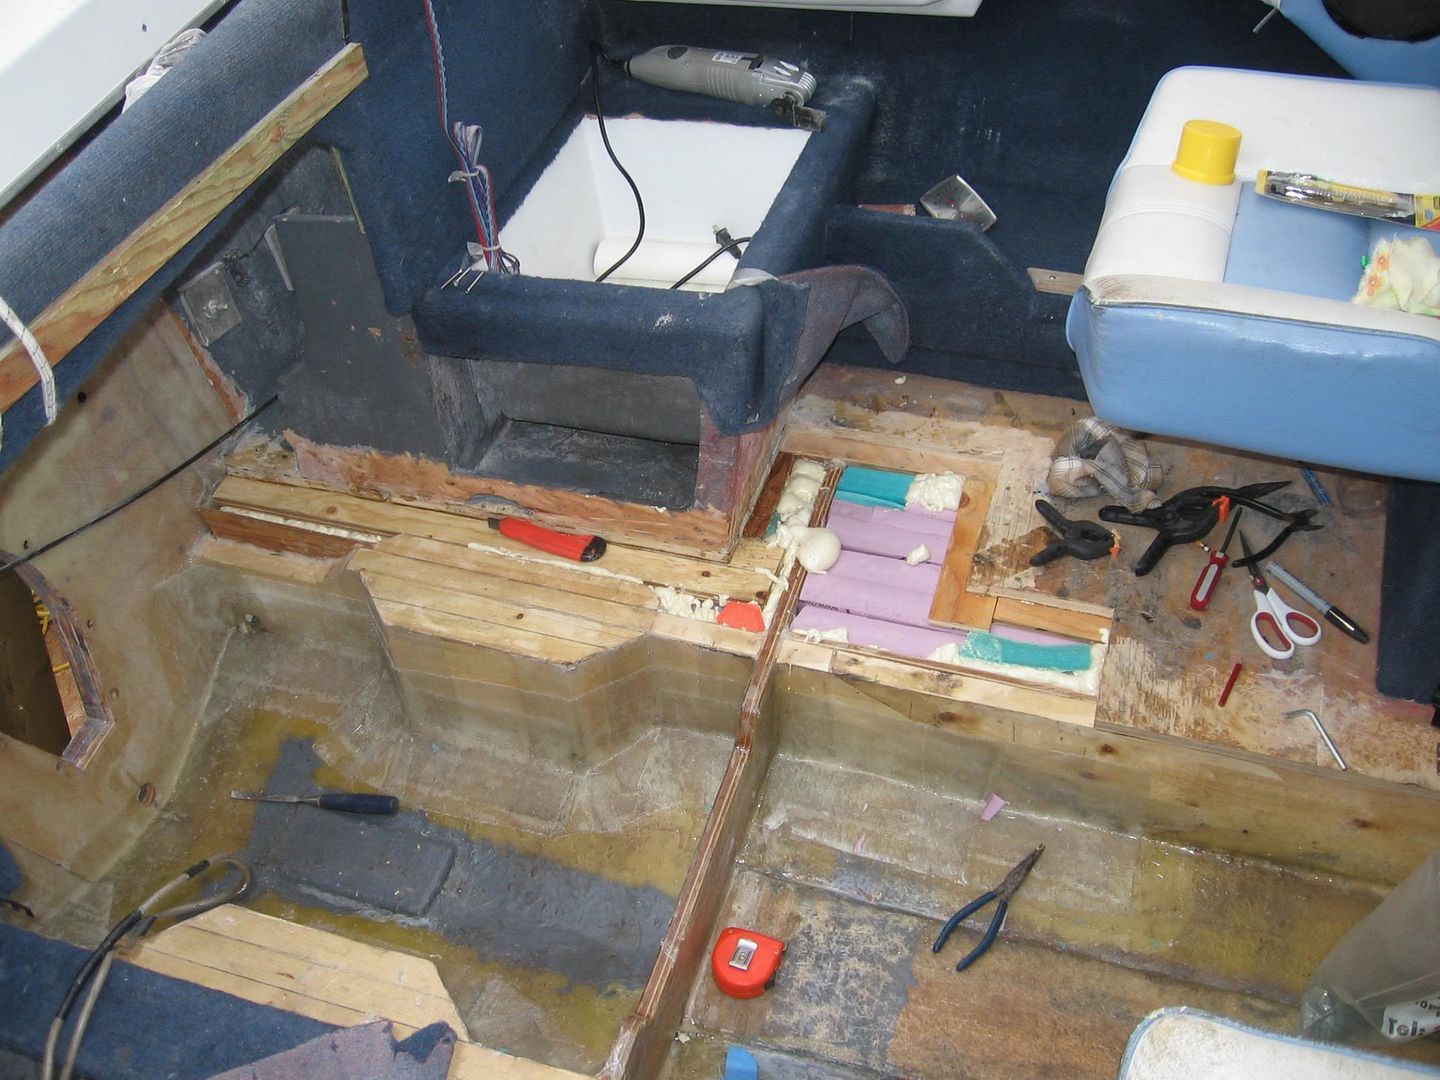
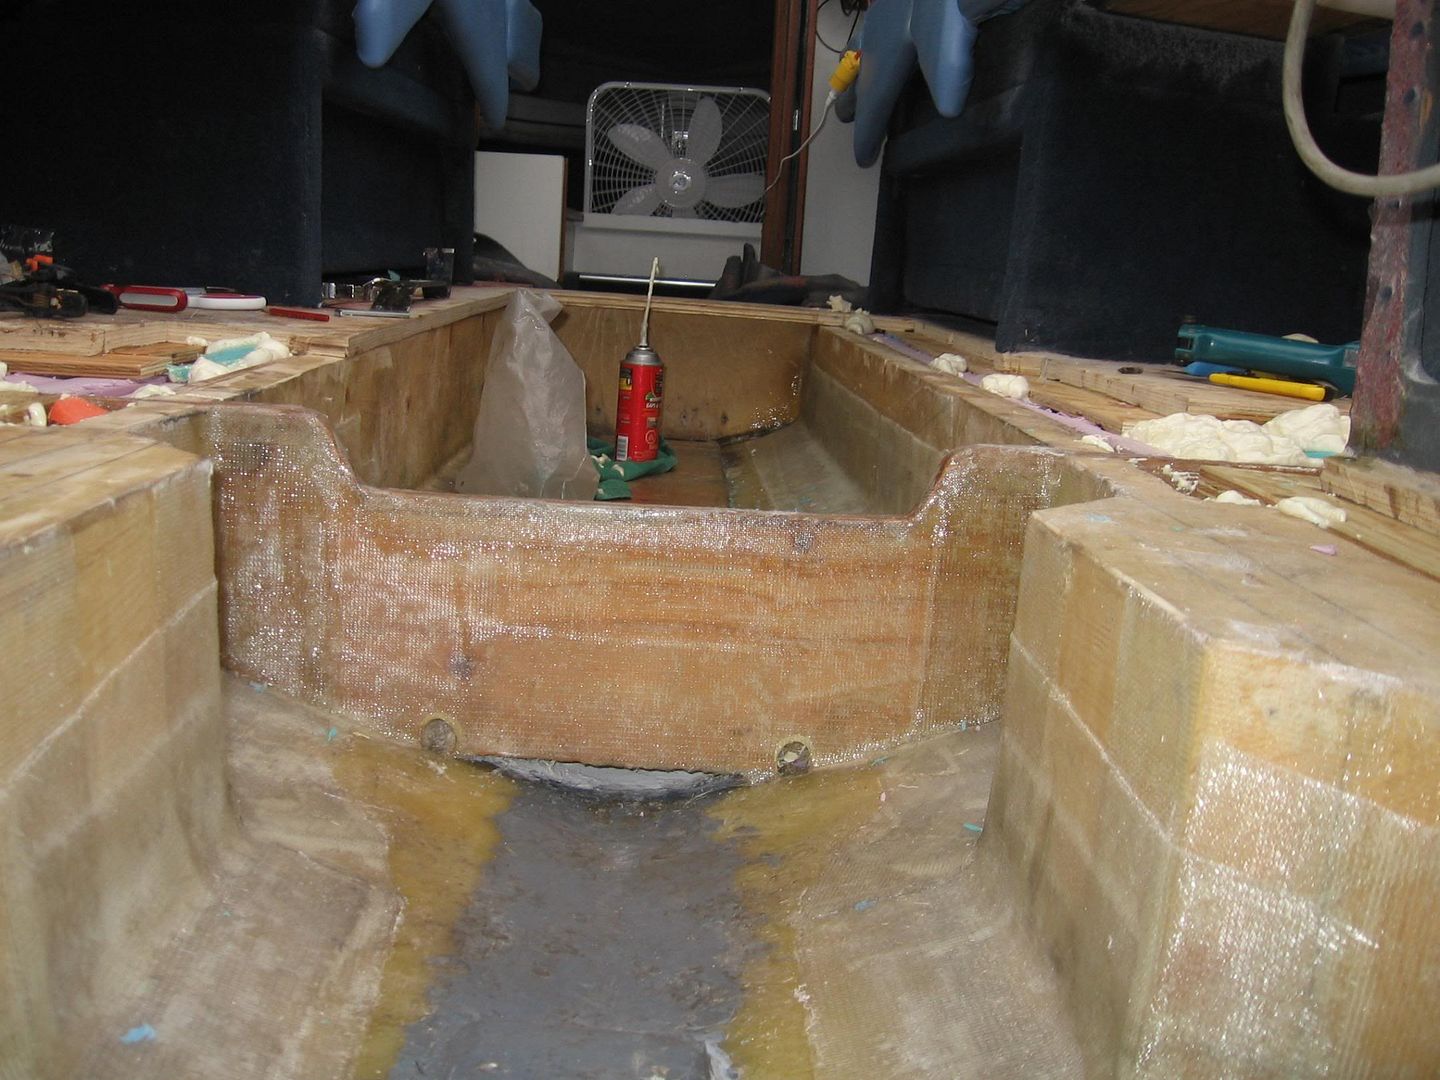
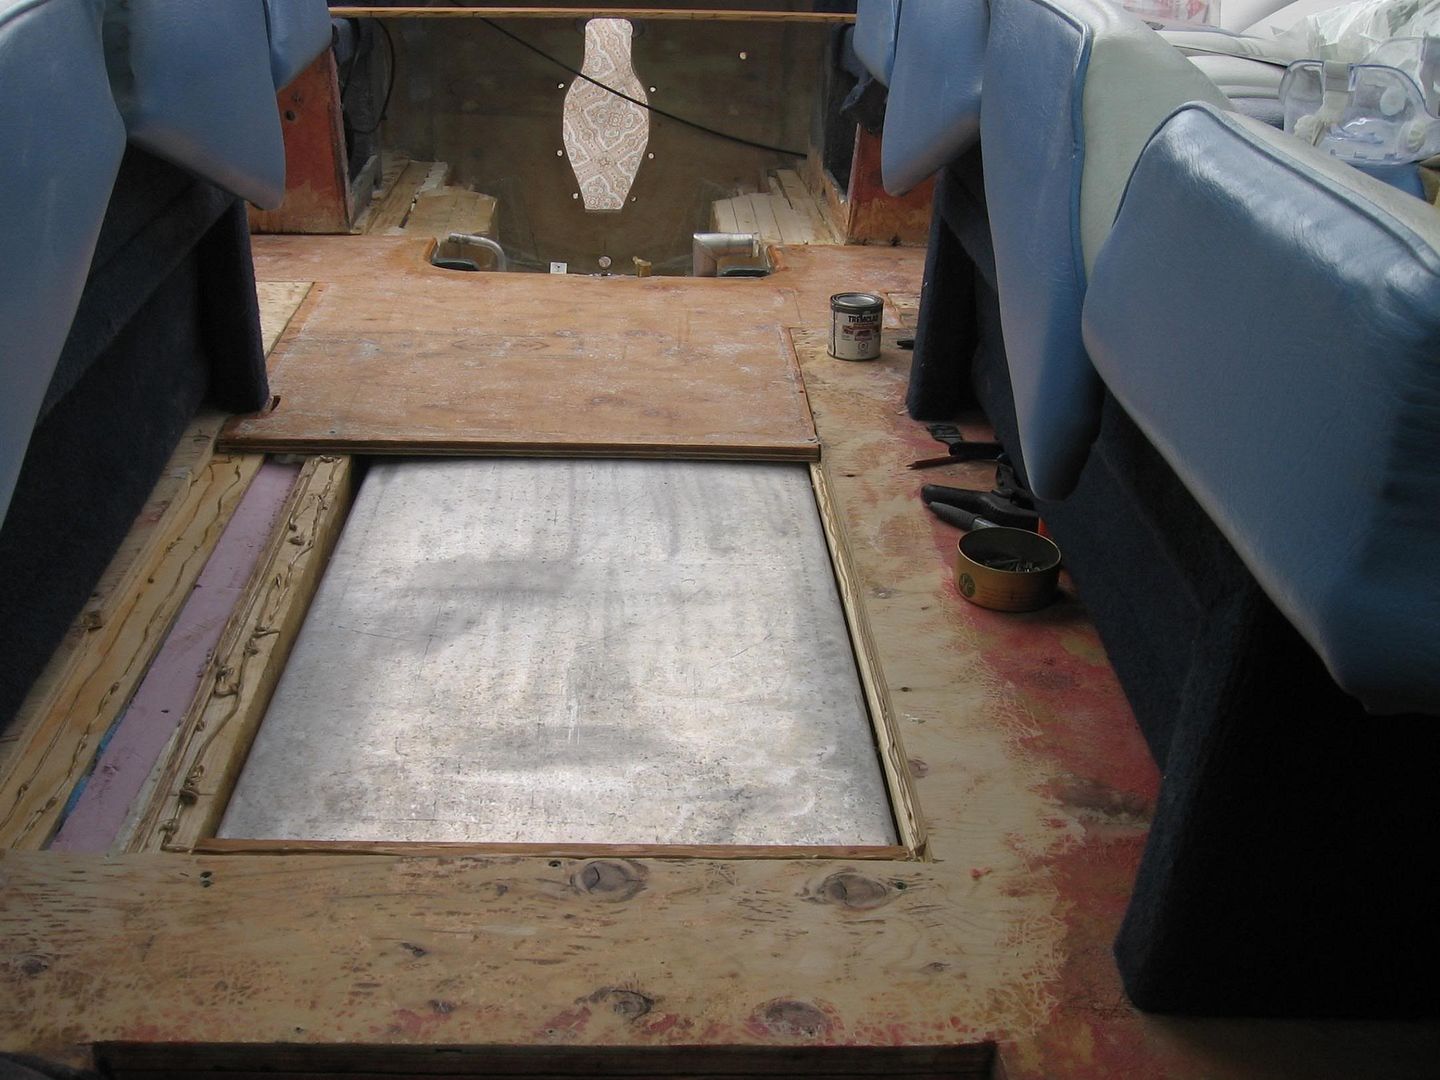
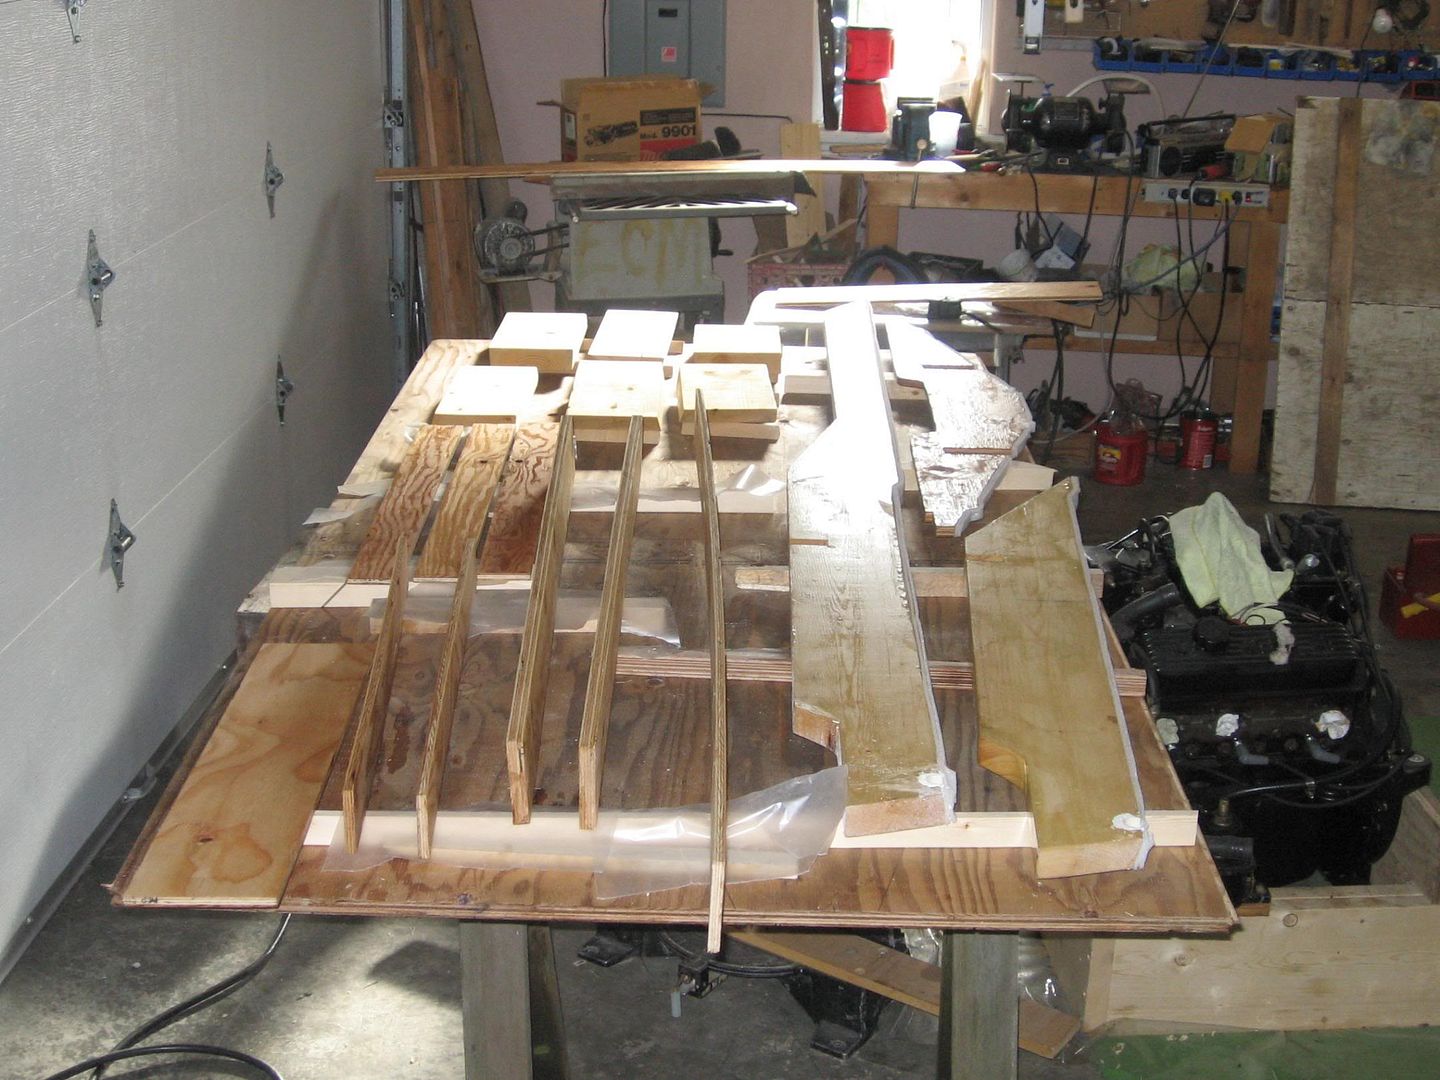
Tried to prefab as much as I could in the garage stringers,bulkheads,motor mounts etc.

IMG_3681.jpg

IMG_3680.jpg


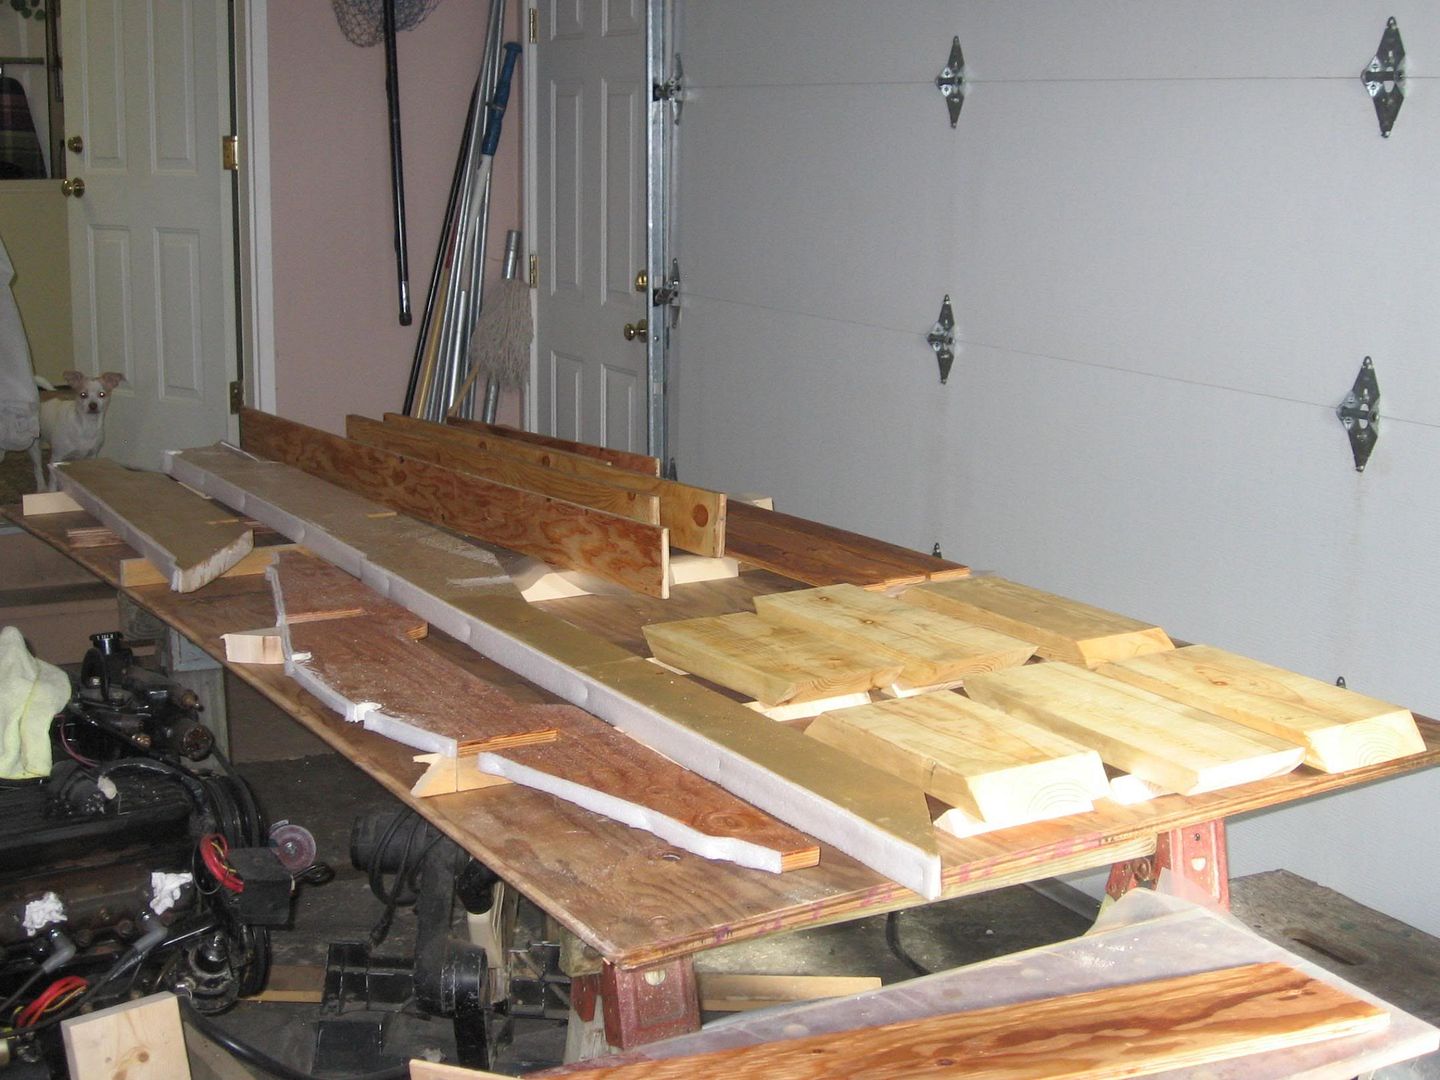
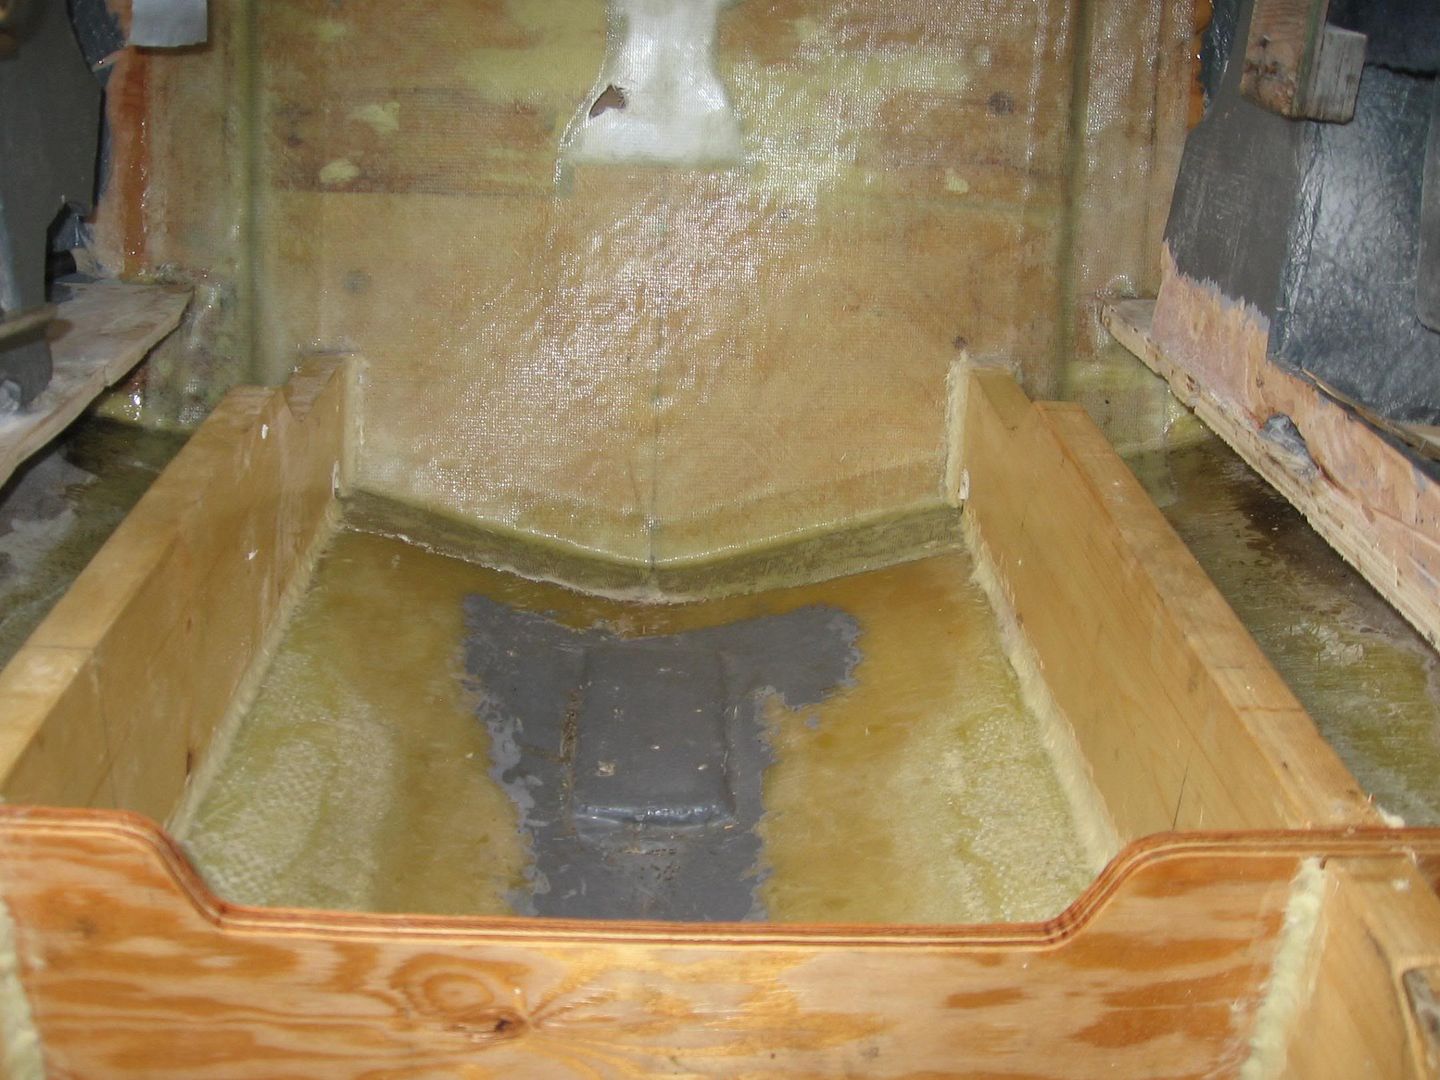
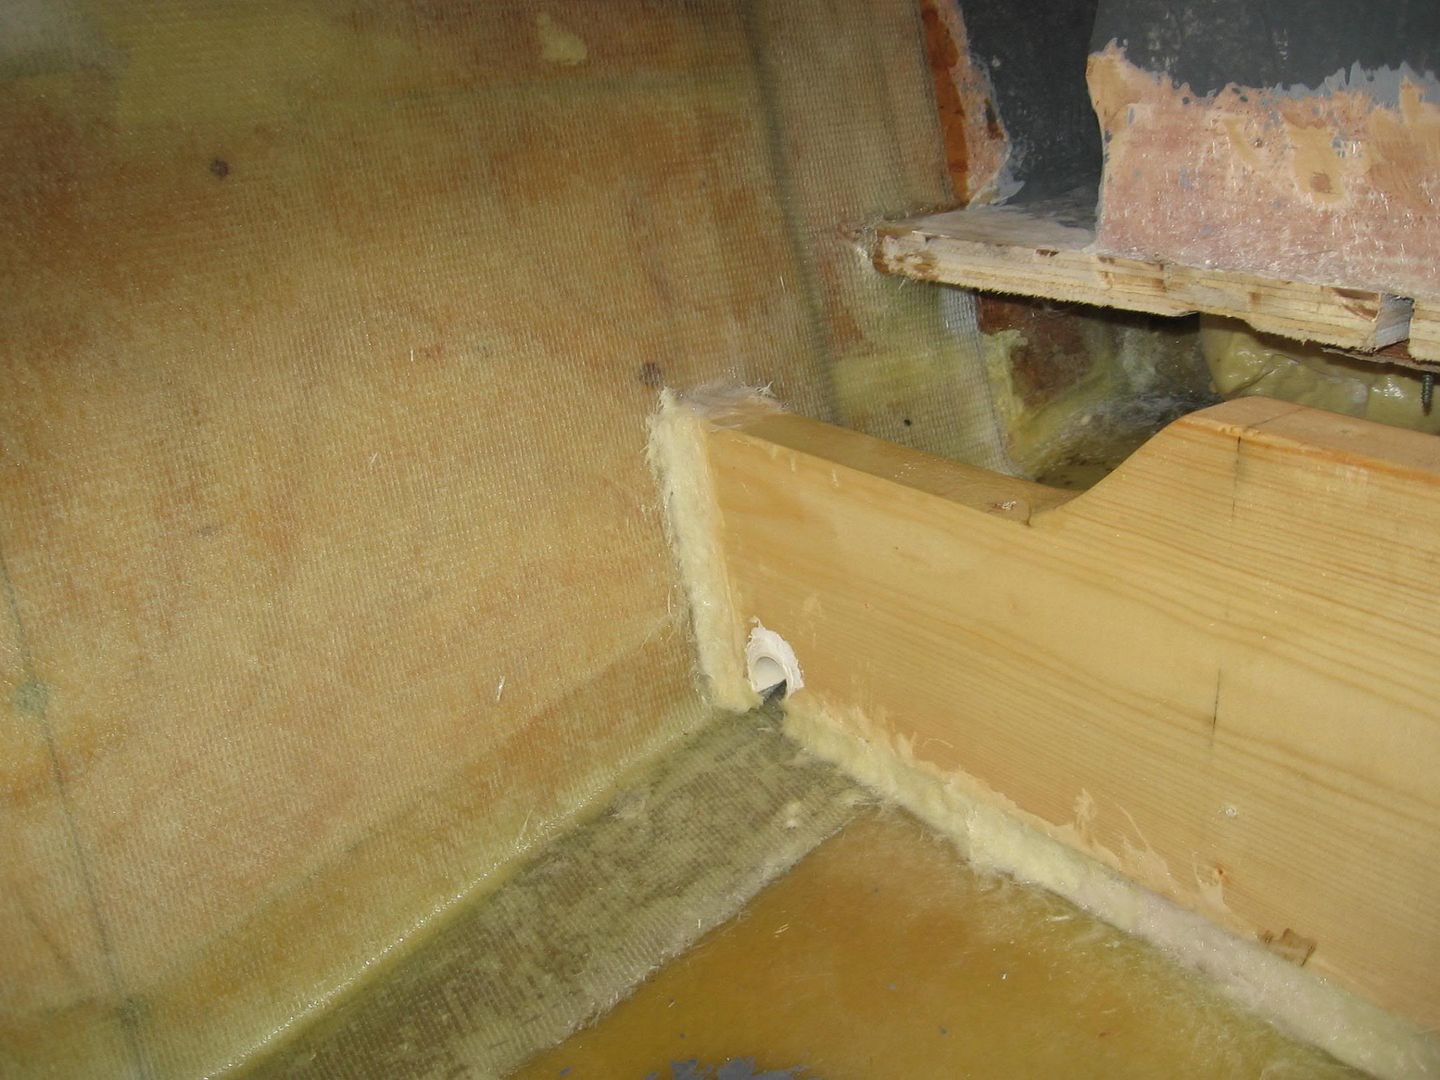
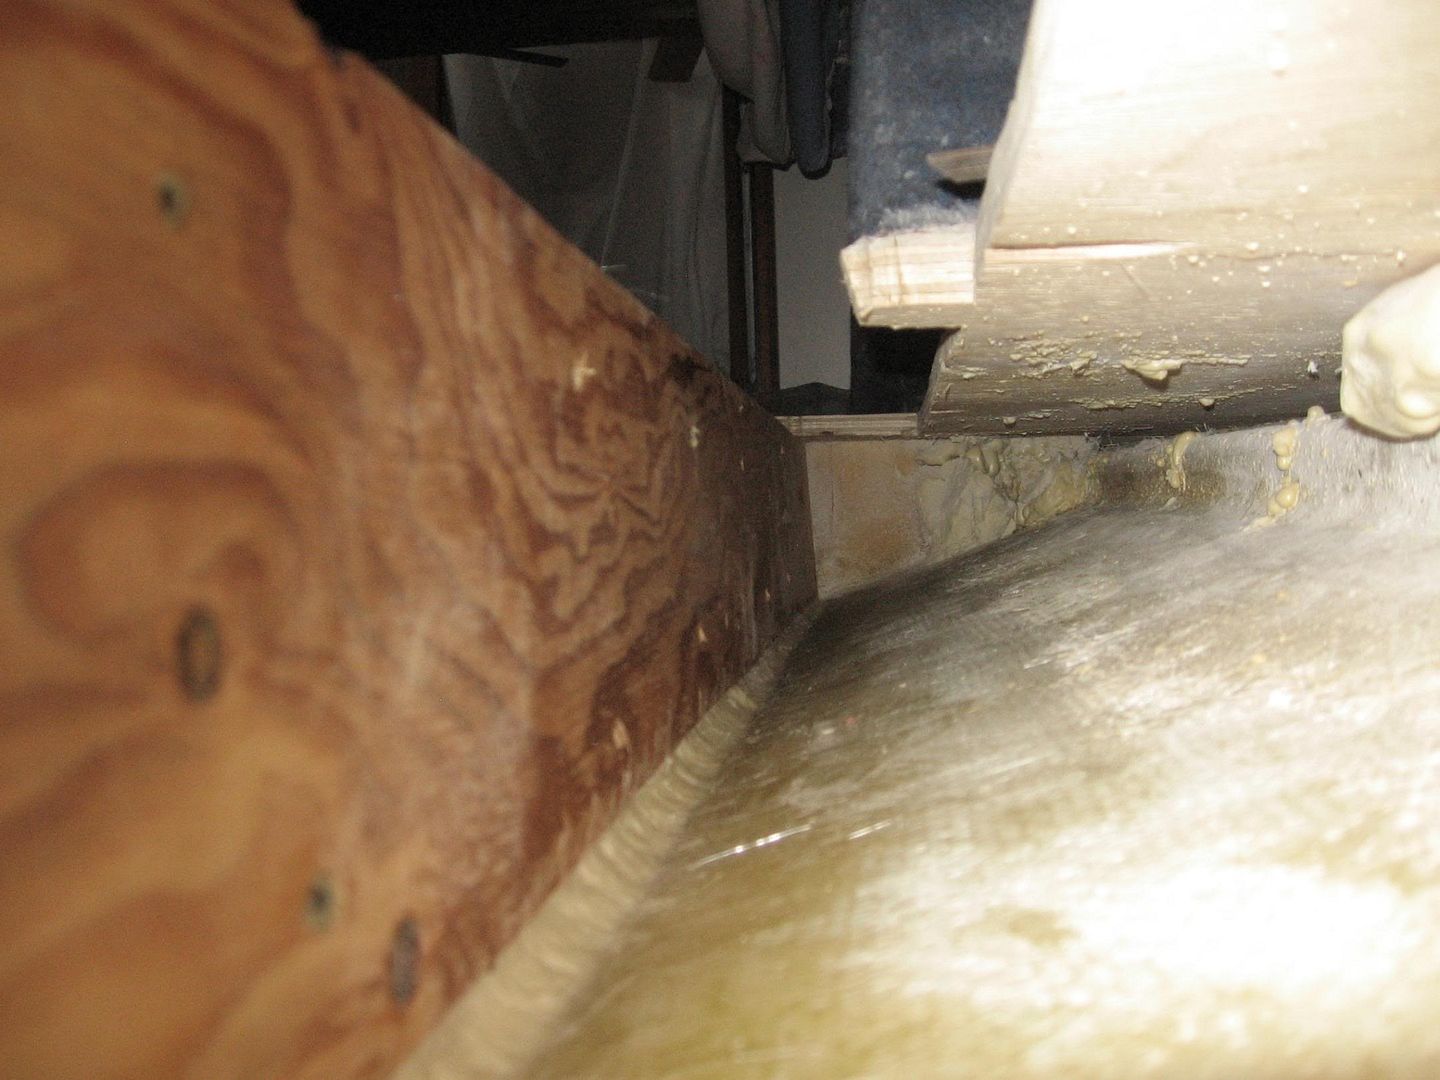
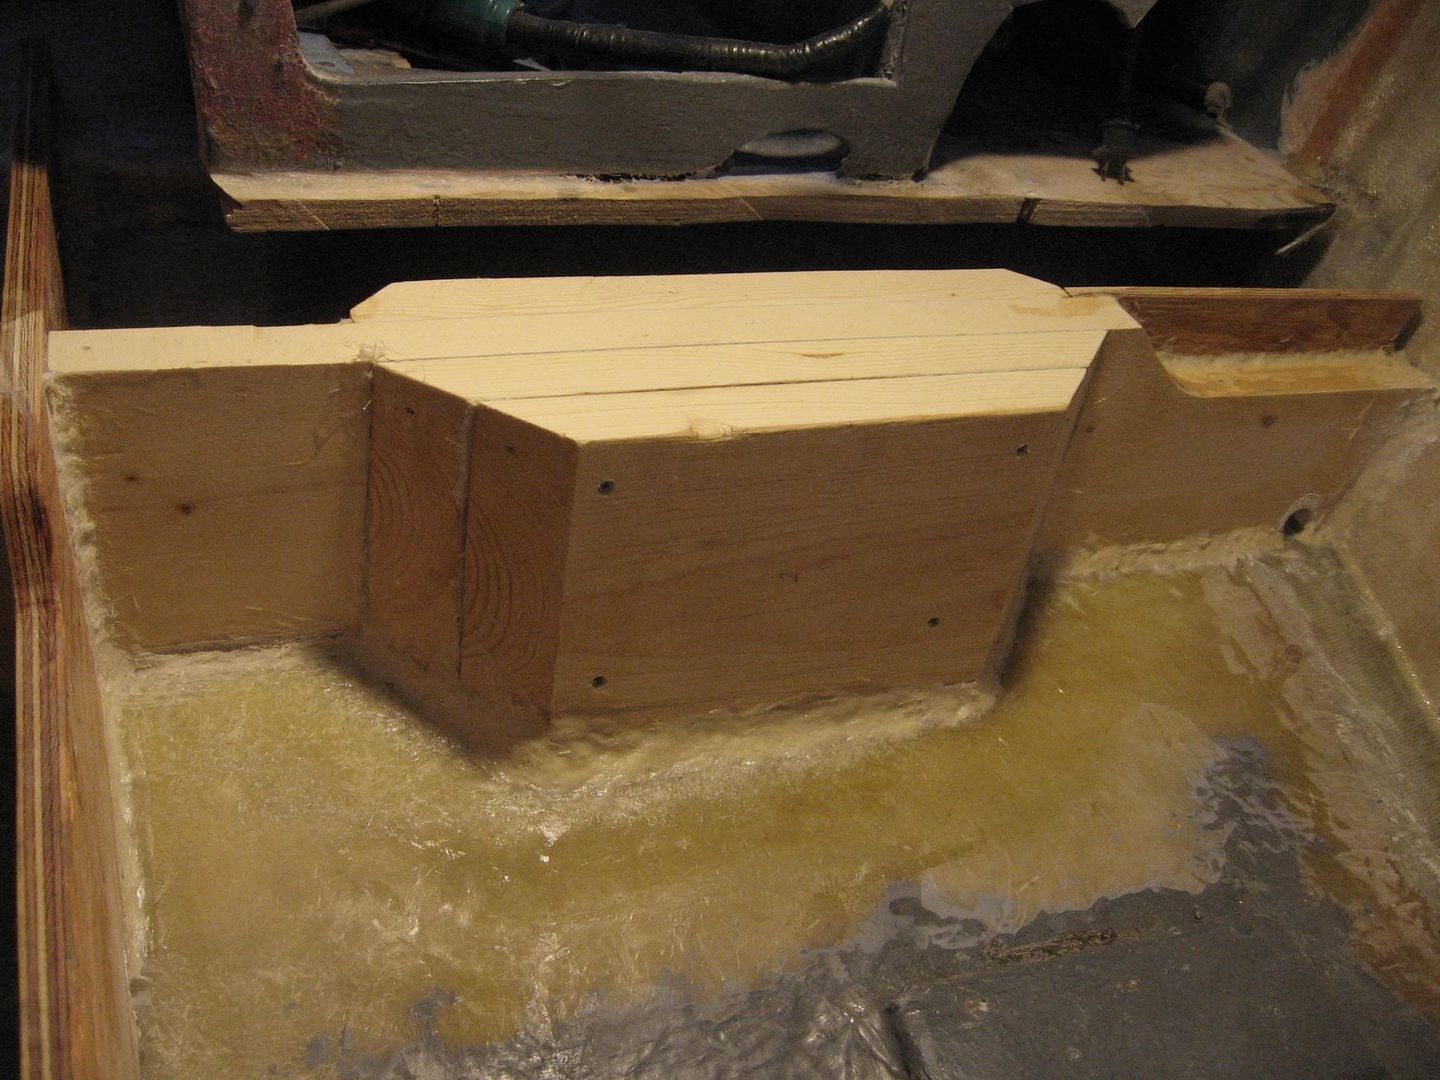
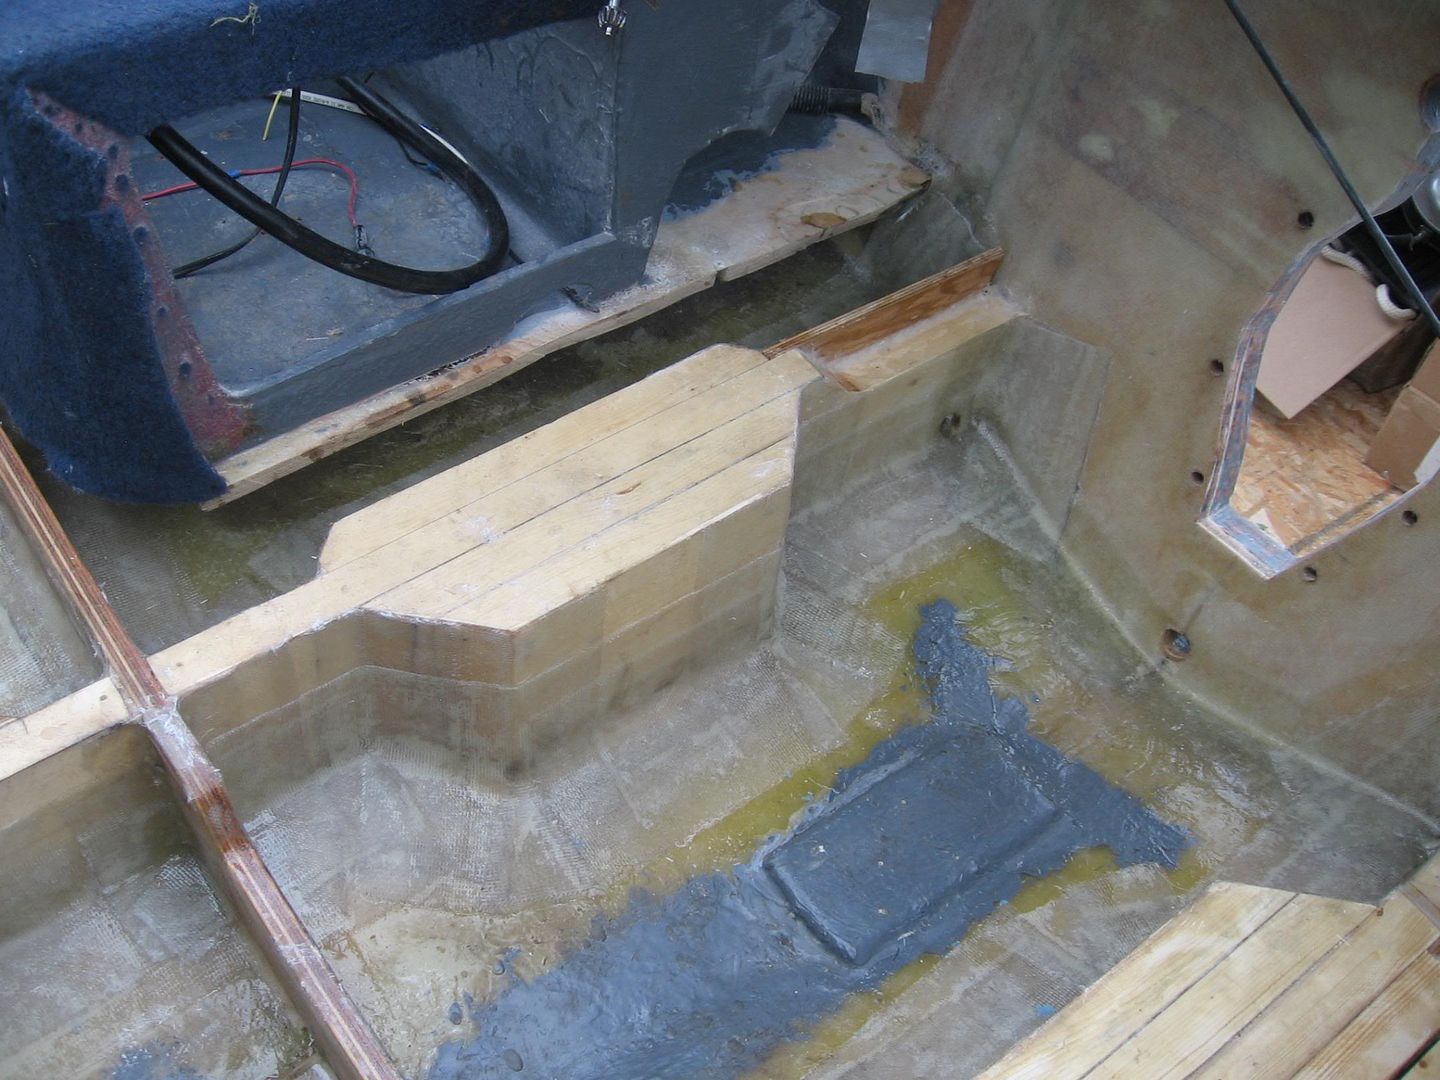
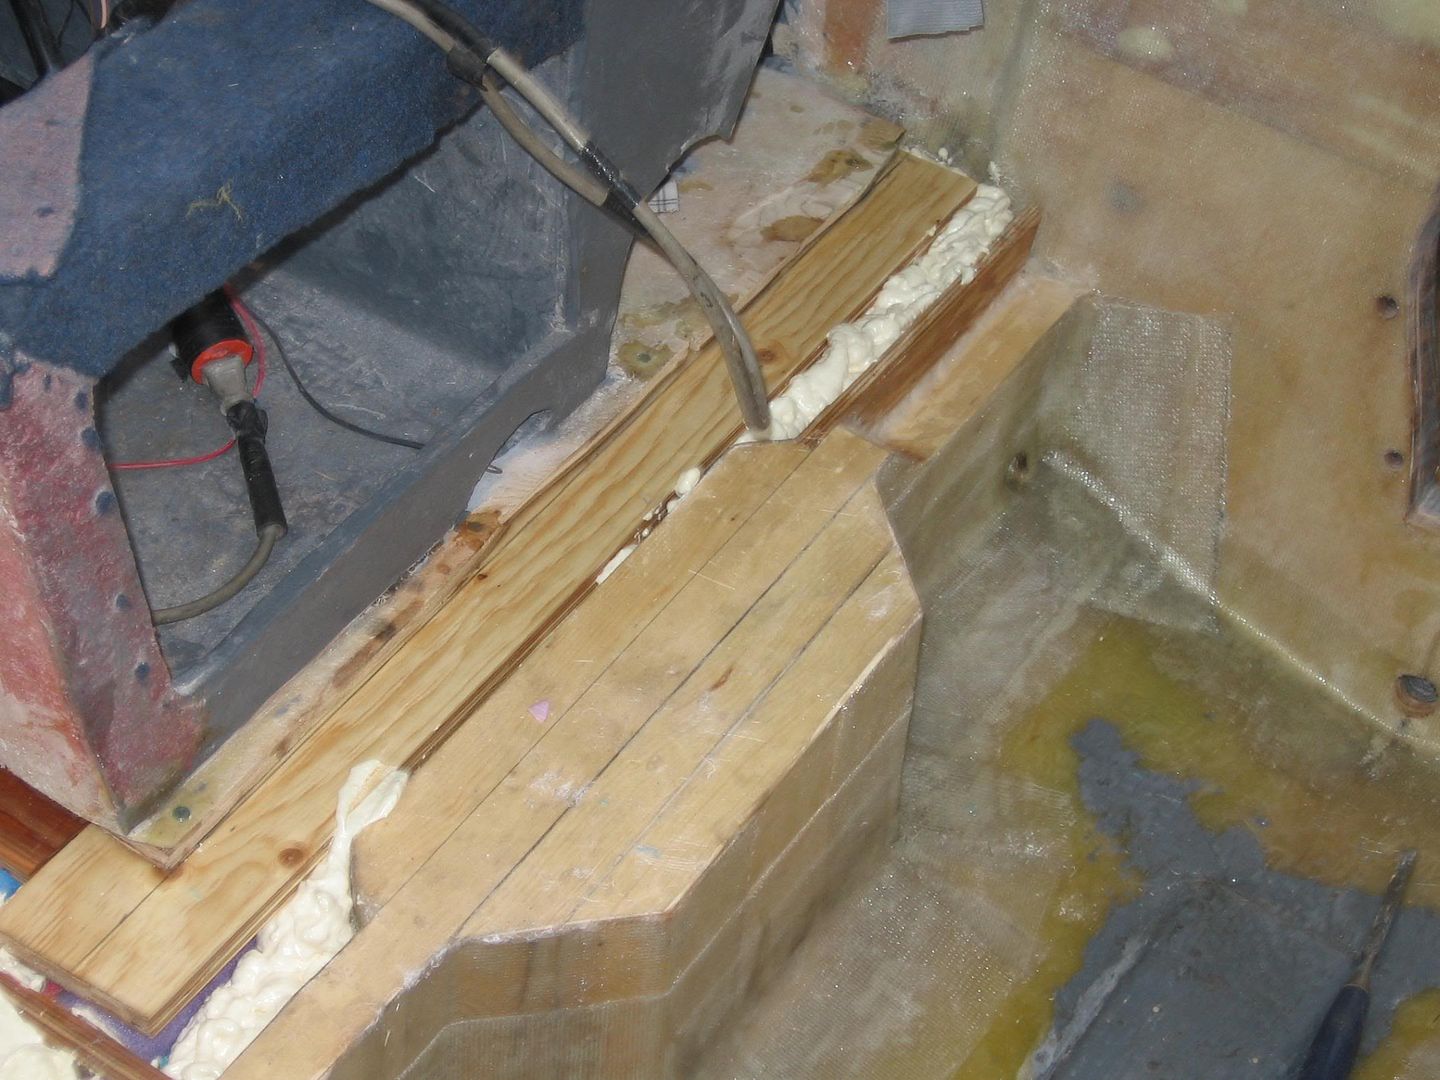
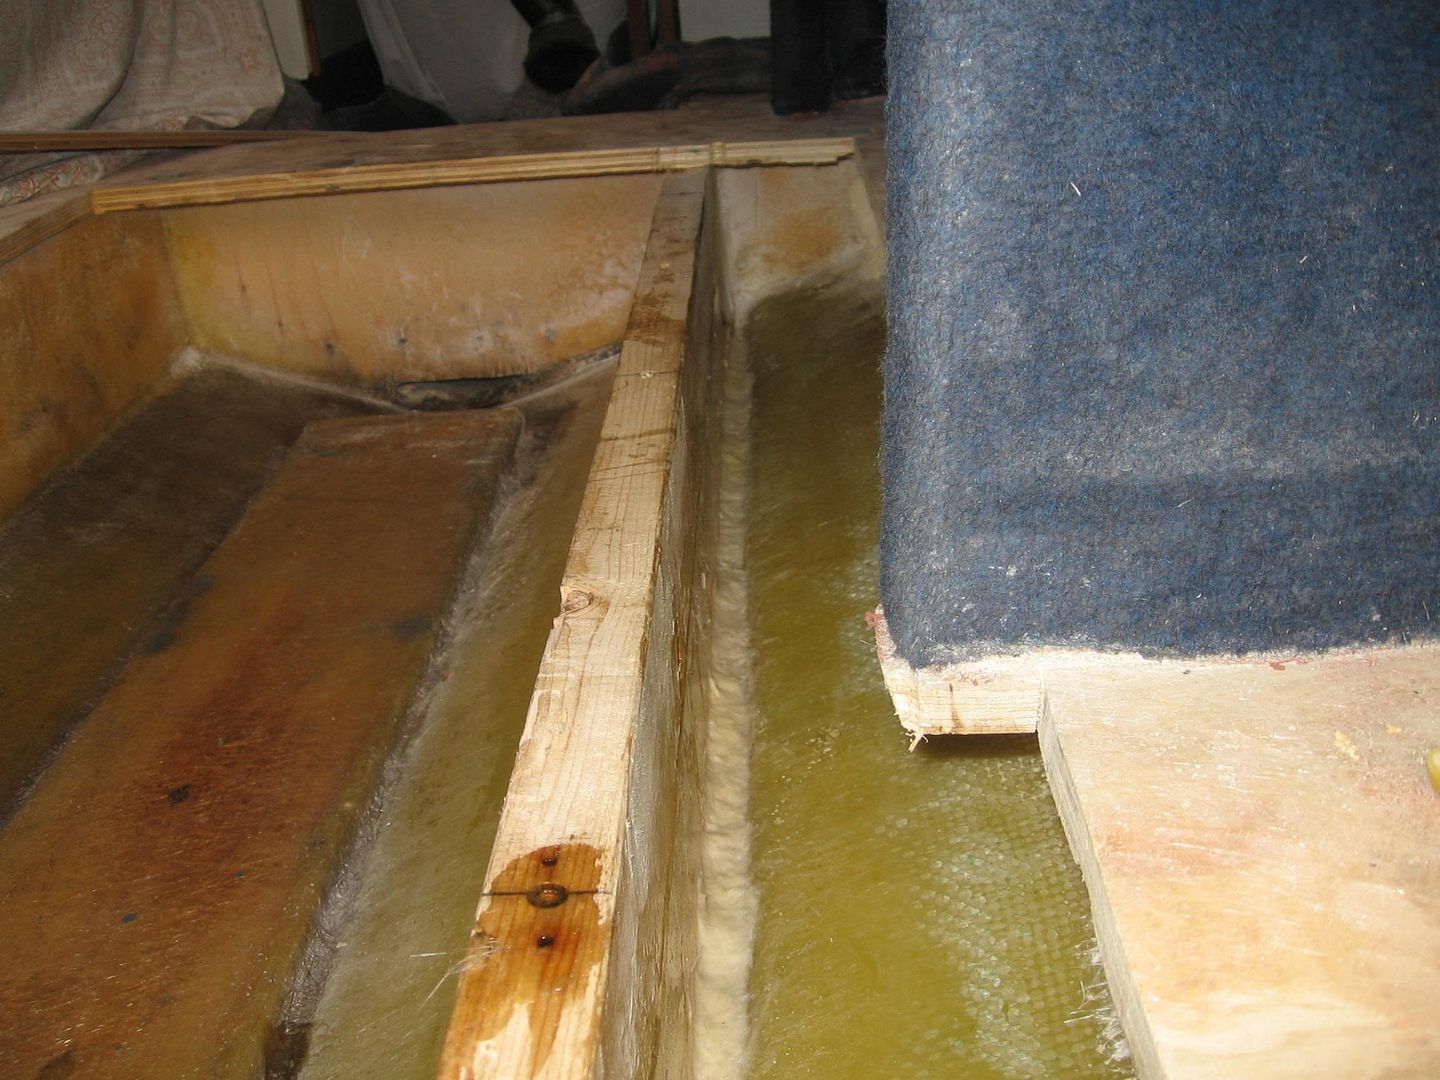
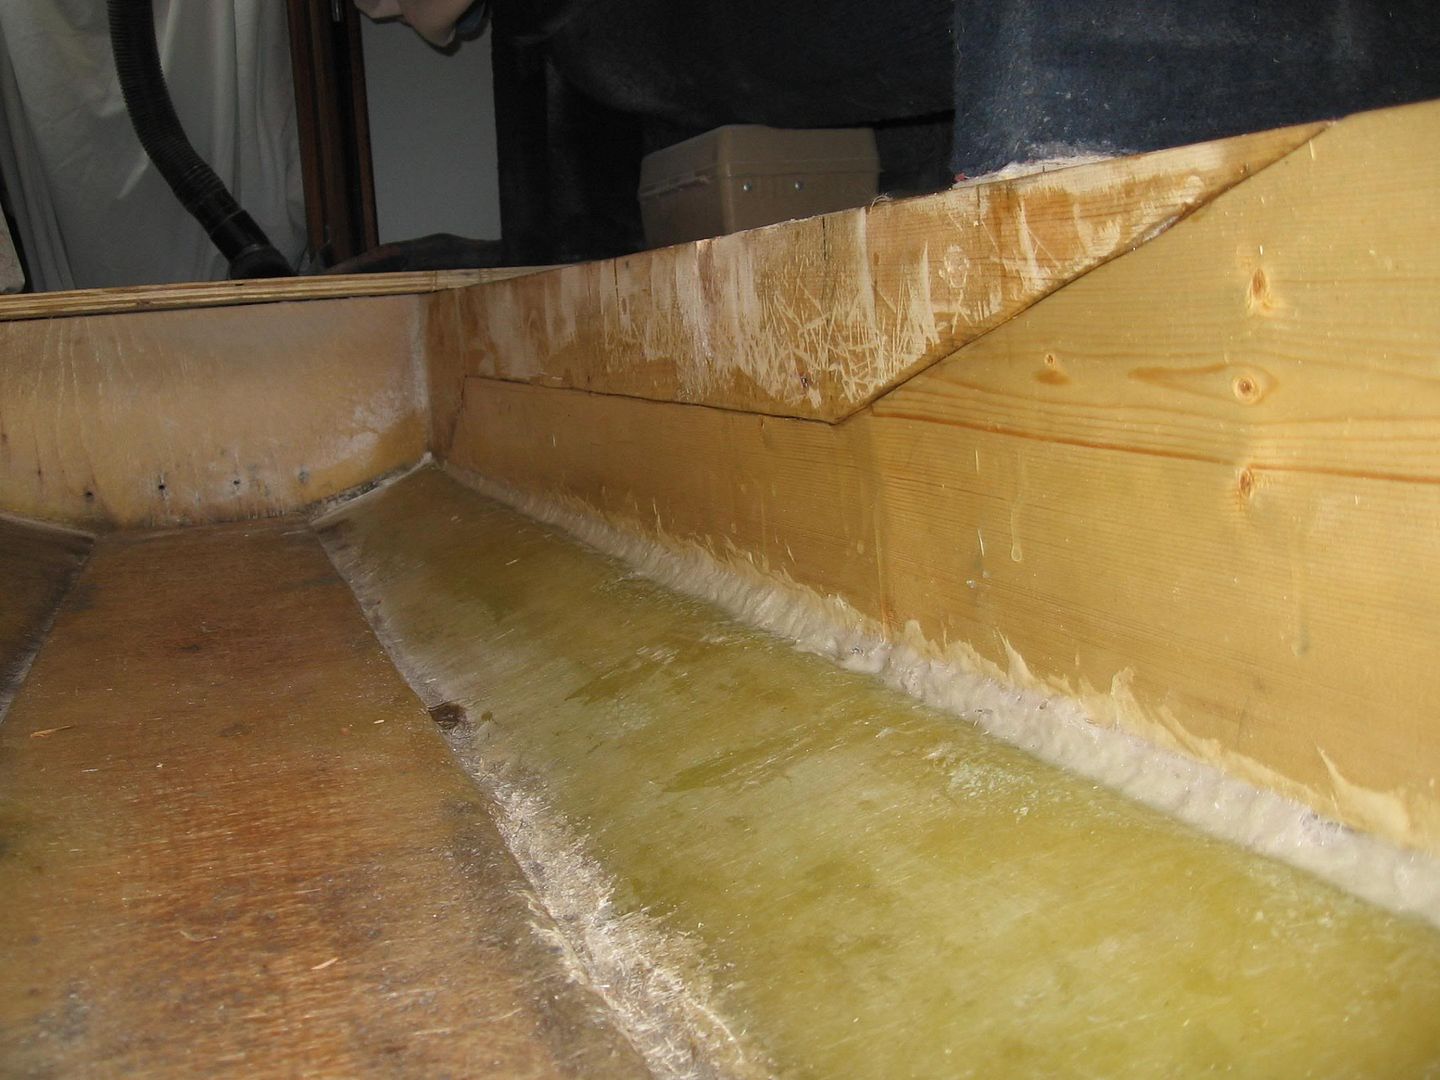
Starboard stringer bedded in peanut butter. I used epoxy to join splices.
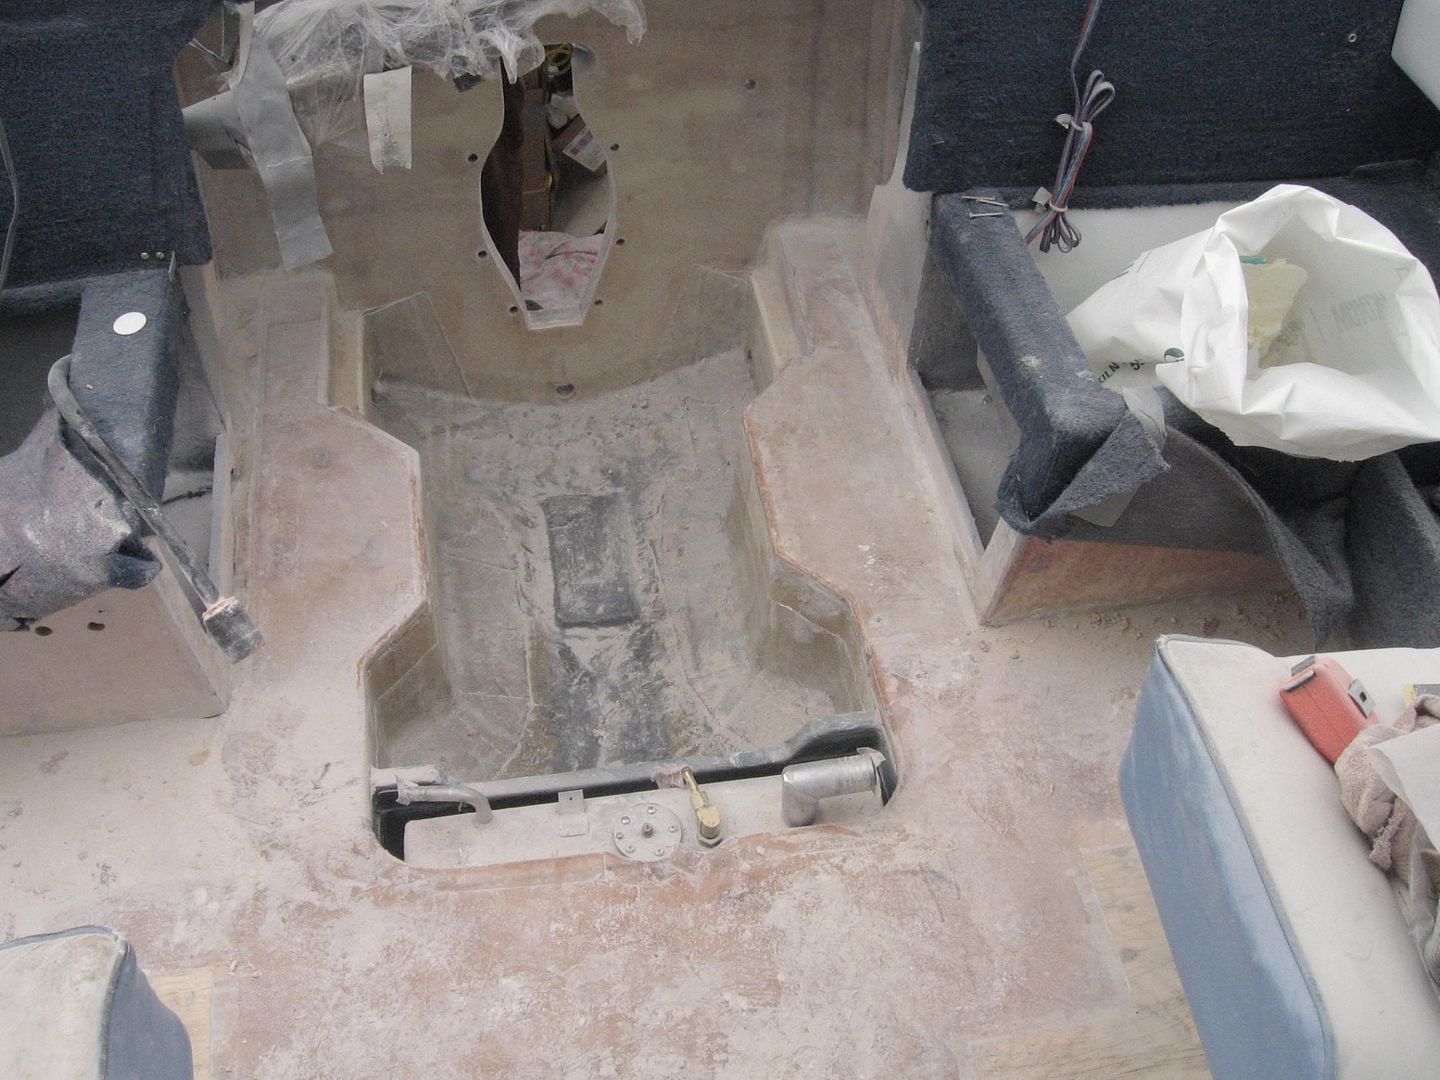
IMG_3682.jpg

IMG_3683.jpg
 

nemo2011

Petty Officer 2nd Class
Joined
Feb 15, 2011
Messages
157
Re: Repairing stringer

Bulkhead set in place, took Rickryders advice and made limber holes to drain fuel tank area

IMG_3684.jpg


Aft view showing Bulkhead and stringers to transom .

IMG_3685.jpg


I also made limber holes at each stringer where they attach to transom

IMG_3686.jpg


Motor Mount's and extra supports installed. I plan to lay up 3 coats of 1708 in this area.

IMG_3689.jpg


I have two small pieces of deck supports to install at aft end of each stringer, some sister splices of 1/2"plywood on each stringer where they were spliced then more peanut butter to these and motor mounts and I'll be ready to fiberglass!
 

nemo2011

Petty Officer 2nd Class
Joined
Feb 15, 2011
Messages
157
Re: Repairing stringer

Looking good Nemo!

Thanks for dropping by Rick!
I completed the motor mount and stringer's ground somemore,vacumned and acetoned was going to complete peanut butter but ran out of resin. more coming on Friday.:D
 

nemo2011

Petty Officer 2nd Class
Joined
Feb 15, 2011
Messages
157
Re: Repairing stringer

Just looking forward to insulating hull! Has anyone looked into using styrofoam packing peanuts ? seems to me they would get into all the nooks and cranny's,but would they last?
just a thought!
In my case I just need to fill in spots that were removed.originally foam was just spotted here and there throughout the hull!:confused:
 

nemo2011

Petty Officer 2nd Class
Joined
Feb 15, 2011
Messages
157
Re: Repairing stringer

Well I finally got all stringers,bulkheads,motor mounts and supports all set in PB.On the motor mounts and supports where they are made up of several pieces of 2" x 8" material I sandwiched 1.5 oz. CSM between each piece.
next step tabb everything in with 1.5 oz. CSM.

IMG_3696.jpg


IMG_3695.jpg


IMG_3694.jpg


IMG_3692.jpg


IMG_3691.jpg
 

nemo2011

Petty Officer 2nd Class
Joined
Feb 15, 2011
Messages
157
Re: Repairing stringer

OK here is a question regarding re installing engine.
I have installed new stringers and motor mounts and I would like to pre drill the four front motor mount holes
Is there any other way to mark these holes without actually installing the motor ,bolting rear mounts and then mark front mount hole location, remove motor,drill holes then reinstall motor.

I would appreciate input from those that have gone through this previously!
 

rickryder

Commander
Joined
Jun 24, 2010
Messages
2,722
Re: Repairing stringer

A cardboard template of your bolt hole configuration.... You would have to make one that fits around your motor and as wide as your stringer layout.... then you would have to measure the distance of rear engine mounting holes to transom face....the thickness of the inner transom plate and add that to the rear of your template.... That should get you your bolt hole placement....only other way would be to contact the manufacturer and see if they have some sort of print or drawing for the bolt pattern.
 

nemo2011

Petty Officer 2nd Class
Joined
Feb 15, 2011
Messages
157
Re: Repairing stringer

Thanks for the input Rick!
I'm still not 100% sure which way to go with this but am leaning towards just installing motor,tighten the rear mount bolts,align with alignment tool adjust front mounts to fit tight too mounts then just install the four lag bolts.
What I really wanted to do was pre drill the holes and seal with some resin and then install lag bolts.
anyway maybe someone else will chip in with some other method.:)
 

rickryder

Commander
Joined
Jun 24, 2010
Messages
2,722
Re: Repairing stringer

Thanks for the input Rick!
I'm still not 100% sure which way to go with this but am leaning towards just installing motor,tighten the rear mount bolts,align with alignment tool adjust front mounts to fit tight too mounts then just install the four lag bolts.
What I really wanted to do was pre drill the holes and seal with some resin and then install lag bolts.
anyway maybe someone else will chip in with some other method.:)

You could do that and and coat your lags with 3M 4200 to seal them
 

nemo2011

Petty Officer 2nd Class
Joined
Feb 15, 2011
Messages
157
Re: Repairing stringer

Well after being down for over a month with a sore back I finally got back to doing some work on the boat. Cut out the motor opening in transom.
IMG_3706.jpg

Finally finished fiberglassing first coat 3" csm then two coats of 1708 biax
IMG_3720.jpg

IMG_3721.jpg

IMG_3722.jpg

IMG_3723.jpg

IMG_3724.jpg
 

nemo2011

Petty Officer 2nd Class
Joined
Feb 15, 2011
Messages
157
Re: Repairing stringer

This really is taking a long time with all the tight places and nooks and cranny's to contend with. Sometimes I'm thinking it would have been easier to just gut the whole hull!!! at least then a person would have room to work, anyway started and completed foaming,due to all the curves and angles I went with 2" Styrofoam,noodles,and canned foam,all cleats for deck are in.
IMG_3725.jpg

IMG_3726.jpg

IMG_3727.jpg

IMG_3728.jpg

emptied all the junk from inside the boat in preparation for blowing out.
Deck is cut out and am hoping to have a coat of csm on tomorrow.
will post more soon!
IMG_3729.jpg
 

Woodonglass

Supreme Mariner
Joined
Dec 29, 2009
Messages
25,929
Re: Repairing stringer

Nemo,

FYI, problem with using the Canned foam is when you break the outer shell is is VERY porous due to being very low density foam. You might want to reconsider it's use. Really not recommended here on the Forum. I'd much rather see you STUFF the Blue Or Pink stuff from Lowe's in every crook and cranny than use that canned stuff. Something to think about.
 

nemo2011

Petty Officer 2nd Class
Joined
Feb 15, 2011
Messages
157
Re: Repairing stringer

the only part of the foam that will be disturbed is where I trim it to fit the underside of the deck!! so I am not concerned about water getting that high!:redface:
sole will be sealed really well!
I also know that water has its ways of finding it's way in to unexpected places, but again this boat has lasted over 22 years with just 1.5 oz of csm on the deck.so really there is no need for concern! as I only used two small cans mainly to stick the whole mess together!!:facepalm:
 

Woodonglass

Supreme Mariner
Joined
Dec 29, 2009
Messages
25,929
Re: Repairing stringer

Ok, sorry to hear about your back. Hope it clears up for you and you can continue to make good progress on the boat. Your "Glassin" looks really good!!!;)
 

nemo2011

Petty Officer 2nd Class
Joined
Feb 15, 2011
Messages
157
Re: Repairing stringer

Ok, sorry to hear about your back. Hope it clears up for you and you can continue to make good progress on the boat. Your "Glassin" looks really good!!!;)

Thanks Wood!
and the back is fine now till the next time!:)
 

Woodonglass

Supreme Mariner
Joined
Dec 29, 2009
Messages
25,929
Re: Repairing stringer

GREAT!!! My B.I.L. is lookin at LTD with his back problems or maybe even surgery.:facepalm:

I'm prayin for him
 

nemo2011

Petty Officer 2nd Class
Joined
Feb 15, 2011
Messages
157
Re: Repairing stringer

Painted up gas tank area that is visible from deck!!
IMG_3731.jpg

Installing gas tank.
IMG_3732.jpg

IMG_3733.jpg

IMG_3734.jpg

Starting on installing 3/4" deck one coat of csm applied previosly.
IMG_3735.jpg

IMG_3736.jpg
 

nemo2011

Petty Officer 2nd Class
Joined
Feb 15, 2011
Messages
157
Re: Repairing stringer

port side of deck at gas tank
IMG_3737.jpg

had to notch out part of deck for float and outlet
IMG_3738.jpg

I used PL Premium and 1-1/2" deck screws
IMG_3738.jpg

Deck is all in still has to be sealed where it joins old wood I will use penut butter on larger cracks and PL Premium to seal smaller ones.all Joins will be tabbed with csm prior to final coat of glass.
IMG_3739.jpg

Preparing motor mounts and bilge area for final glassing
IMG_3740.jpg

IMG_3741.jpg
 

nemo2011

Petty Officer 2nd Class
Joined
Feb 15, 2011
Messages
157
Re: Repairing stringer

Still more grinding to do YUK!!!!!
IMG_3742.jpg

IMG_3743.jpg

IMG_3744.jpg

Motor mounts and bilge deck glassed in.
IMG_3745.jpg

IMG_3746.jpg

IMG_3747.jpg

Still some minor glassing to do on 1/2 ply gussets that were removed for transom installation and of course the glassing of the deck which will be done tomorrow.Motor is also slowly getting put together.
 
Top