Frustrating day. The theme is "messed over by tools" (what I wanted to type is a bit more colorful, if you like!)
First issue was getting the shift cable threaded into the bellhousing. As it turns out, I erred by buying a cheap socket on eBay.
(file uploads aren't working, so no pic)
Notably, they're made with 15mm sockets (not 9/16 or 14mm as they should be) that are only thinned partially down the length (still hits case side) and only are good for mangling the threads on the shift cable.
Went to the Auto Zone down the road intending to buy a socket to weld, but after a couple of tries, found something off the shelf that works:
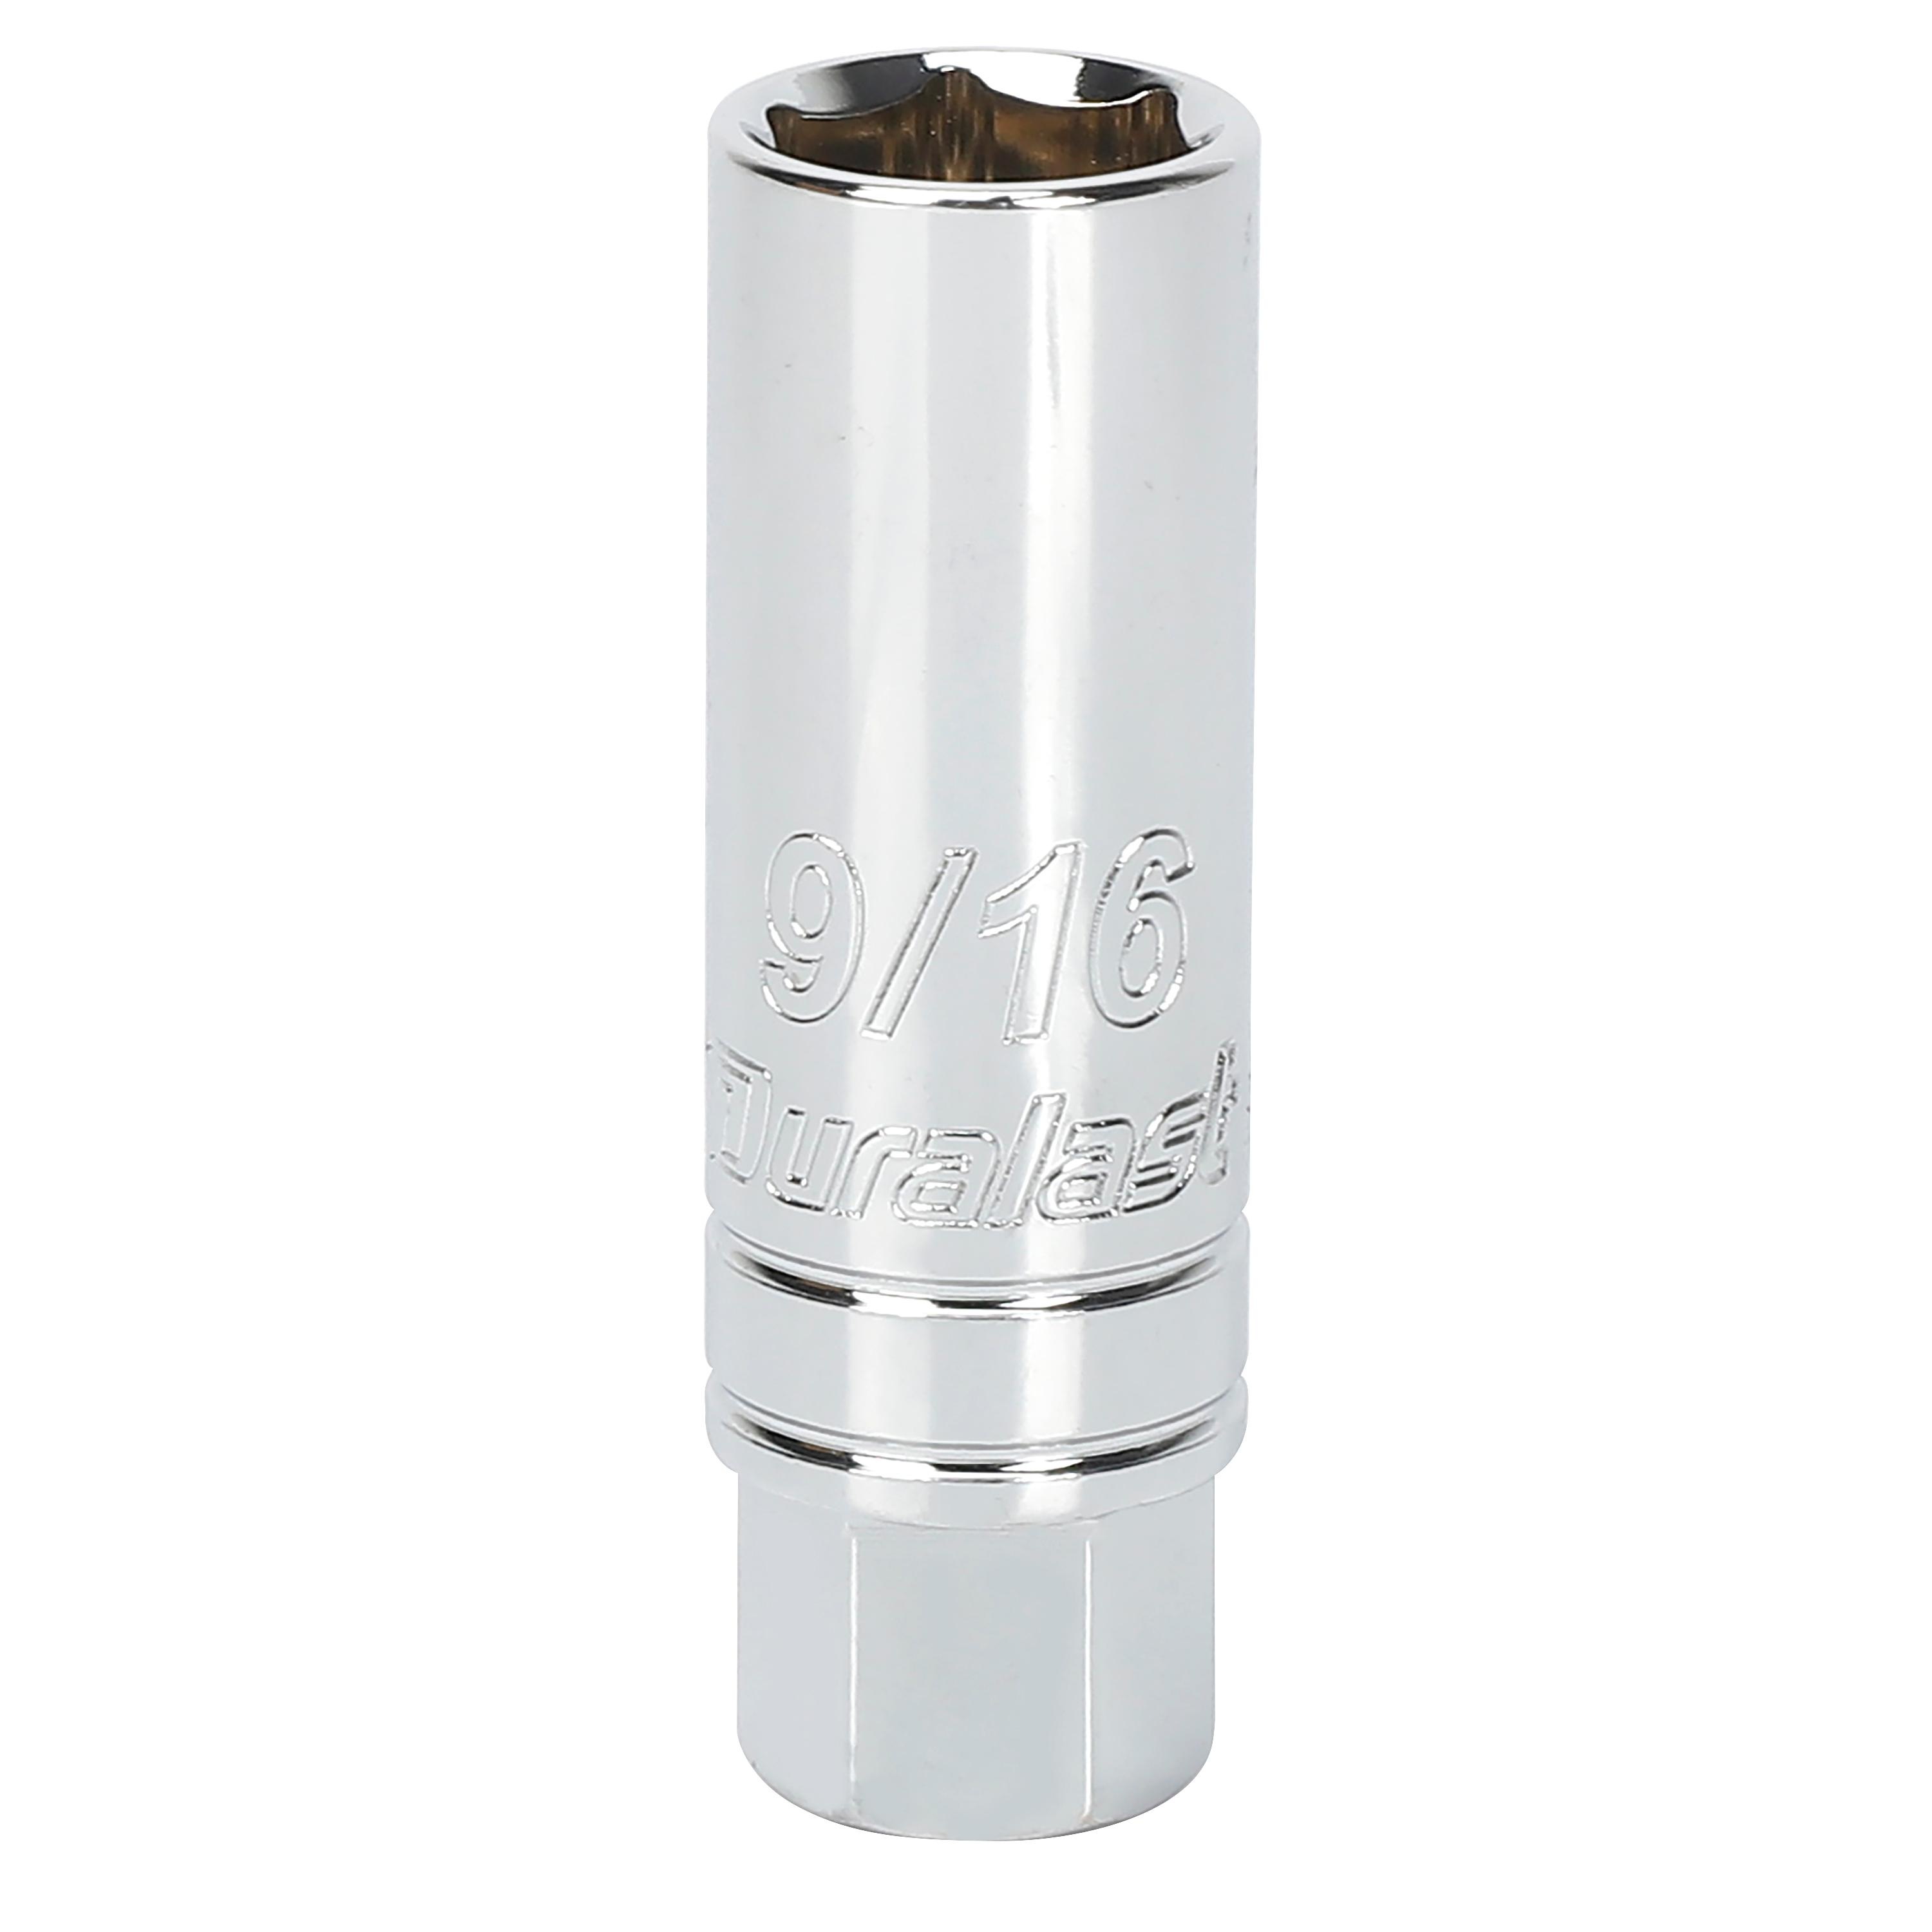
Shop for Duralast 3/8in Drive 9/16in Spark Plug Socket with confidence at AutoZone.com. Parts are just part of what we do. Get yours online today and pick up in store.

www.autozone.com
Idea is that it's a slightly shorter version of the welded socket, but since the hex on the end is smaller, one can stack a 16mm thin wall deep socket on it and get enough reach.
The right tool is probably a better choice, but at least in a pinch (and honestly, it wasn't all that bad), the spark plug socket trick seems to be a winner.
The second frustration was discovering 3/4 into swapping the exhaust bellows that bozo here forgot to order the expander tool. By the time I discovered this I already had the transom side adhered (2nd attempt, but this one didn't budge when yanked!). I have a tool on order but won't see it until Sunday (projected).