Re: 1975 Starcraft 140 Evinrude OB -- Restoration IN PROGRESS FINALLY
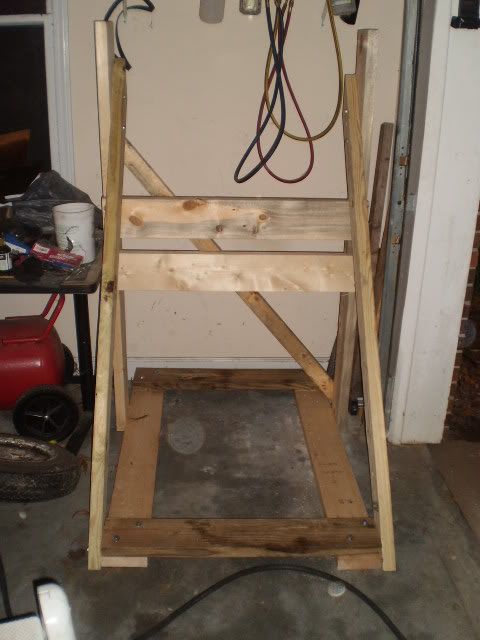
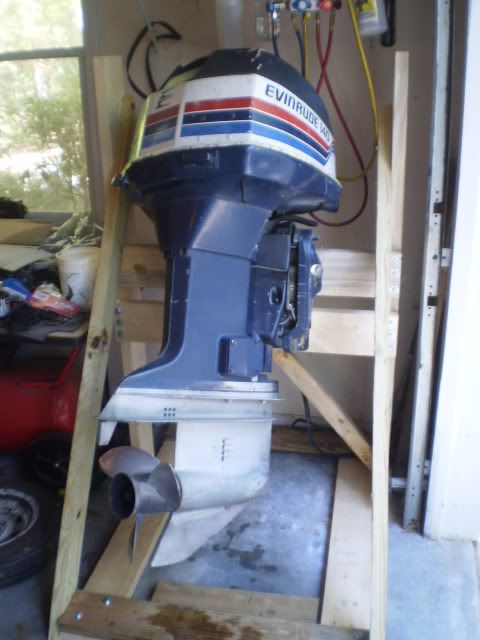
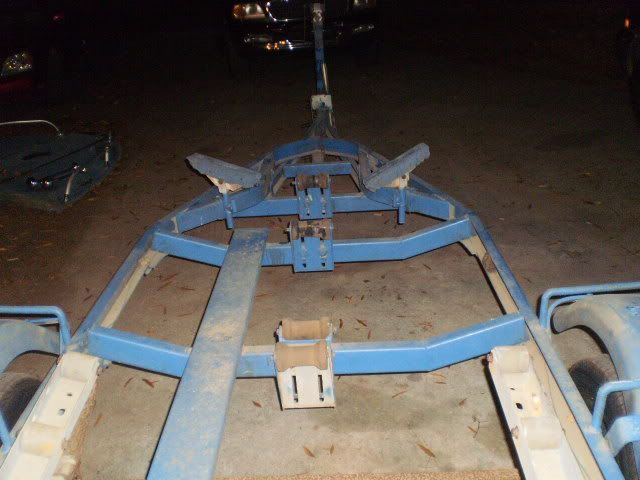
Outboard stand made for the........OUTBOARD to rest while getting the boat ready

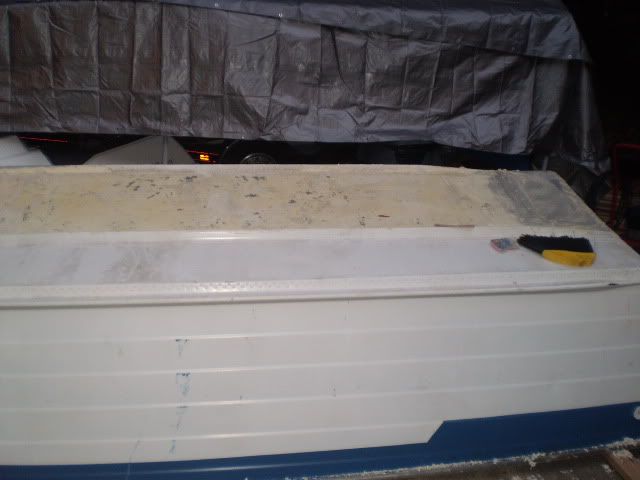
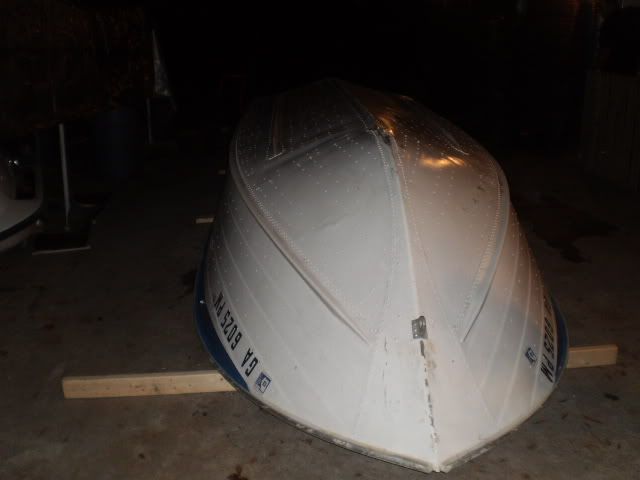
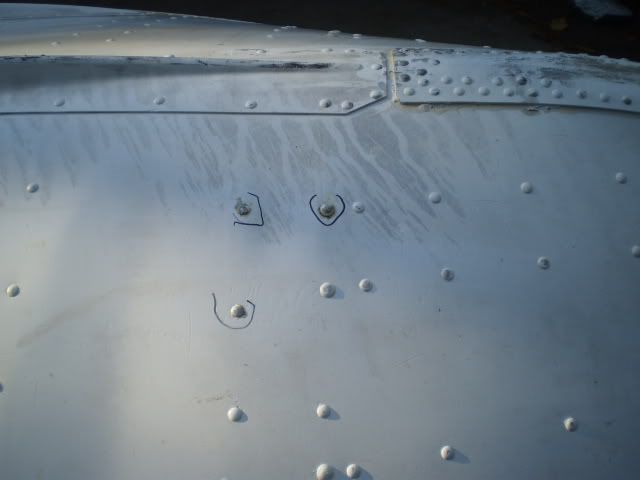
so ran out of light as you can tell and did not want to risk anything so the top pieces came off the following day instead.
here comes a lot of pictures keeping the wording down to a min....
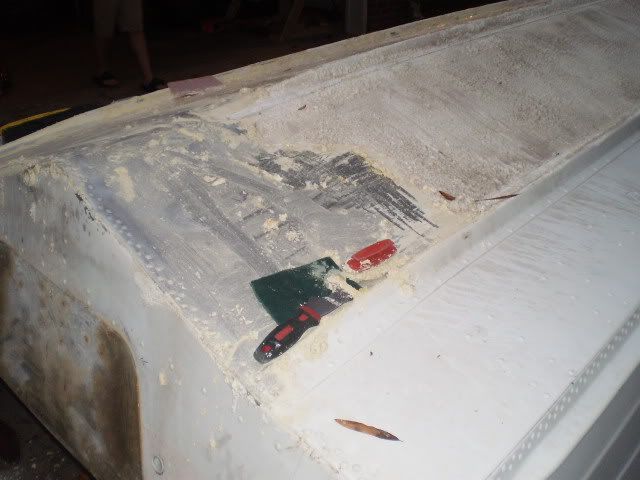
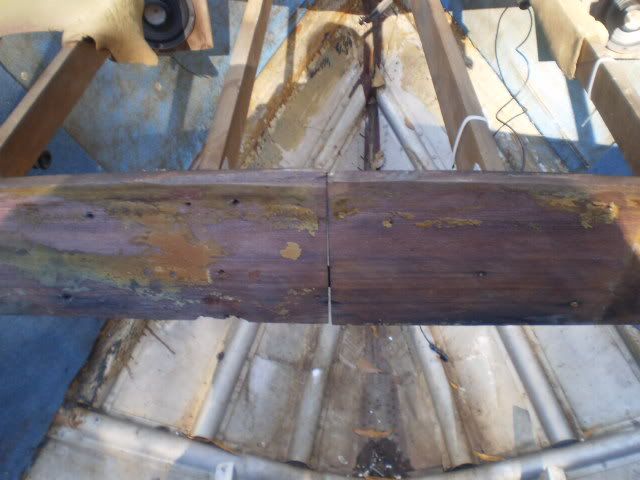
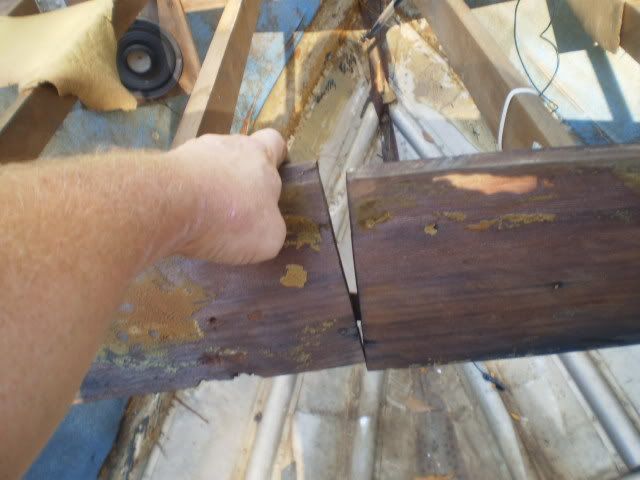
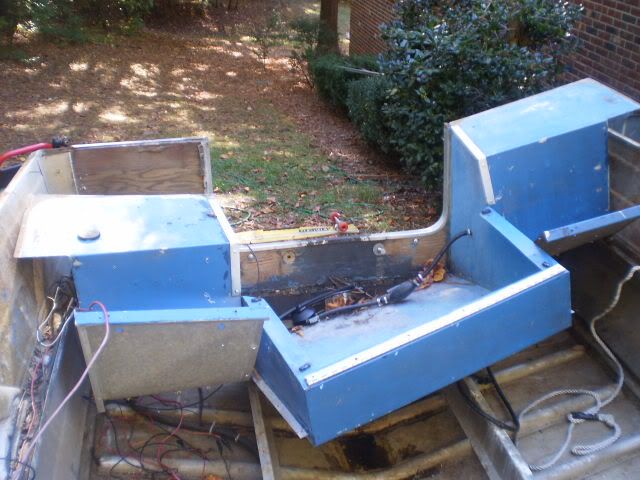
bow top piece removed
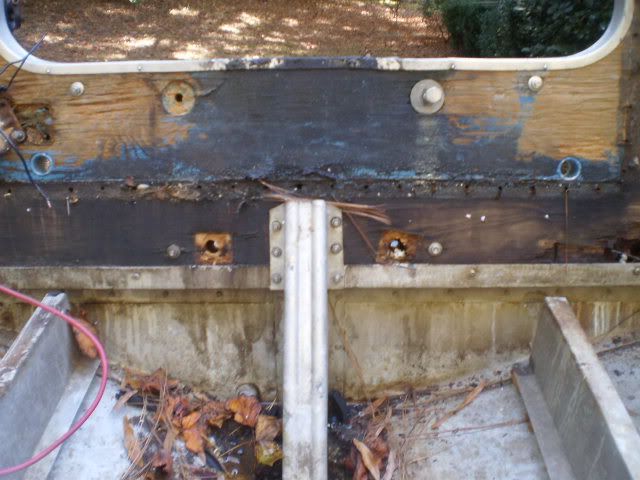
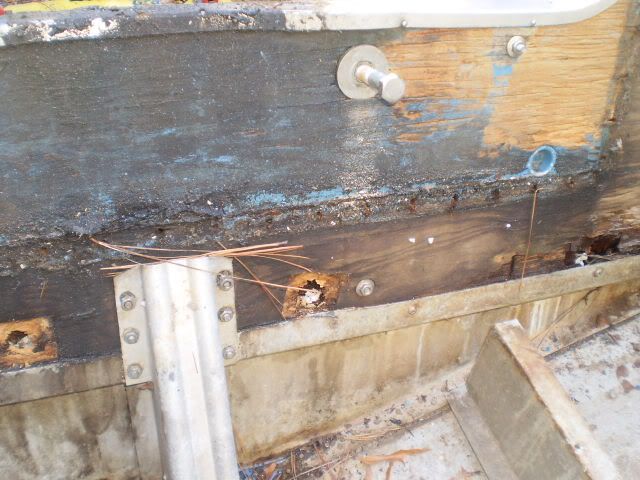
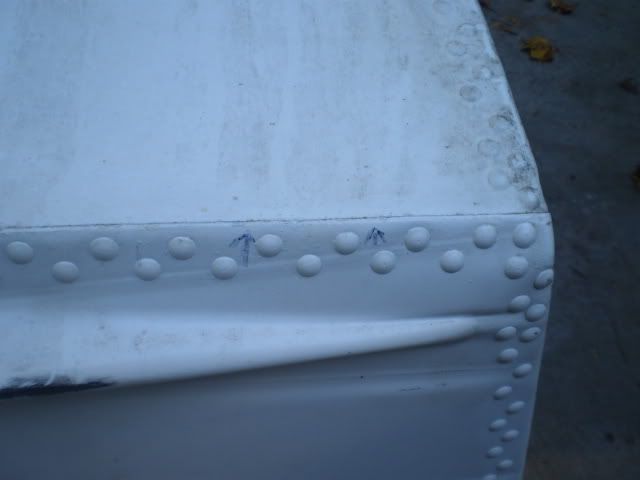
the support structure there needs to be improved and not sure why they cut the piece form stbd to port in half.. doesn't make sense to me. not to mention that it was not even bolted down in the front or sides.
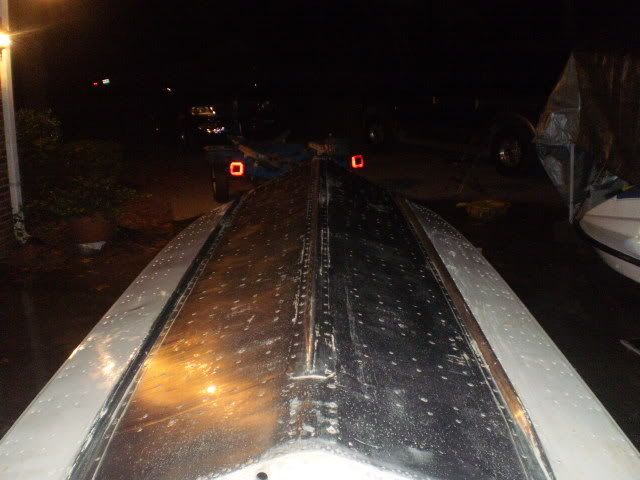
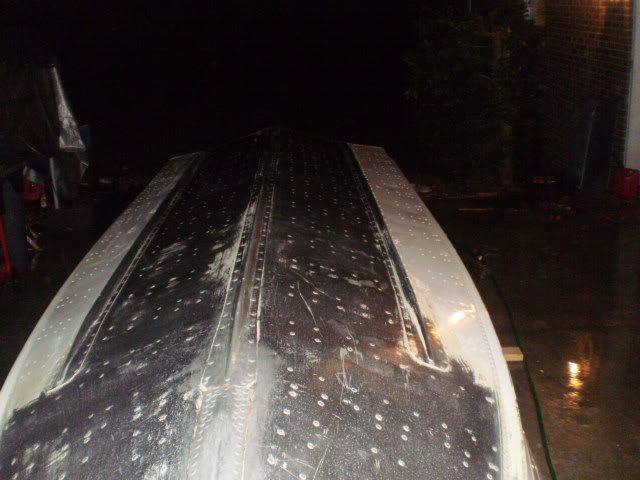
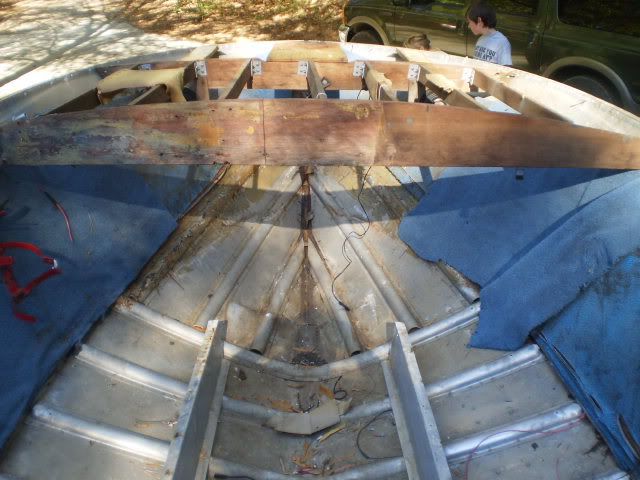
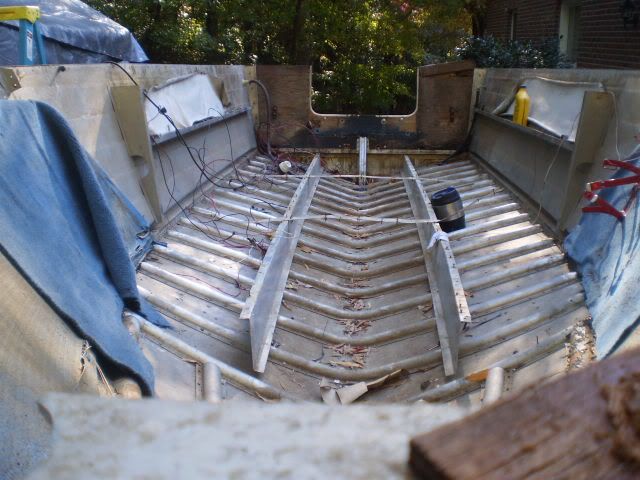
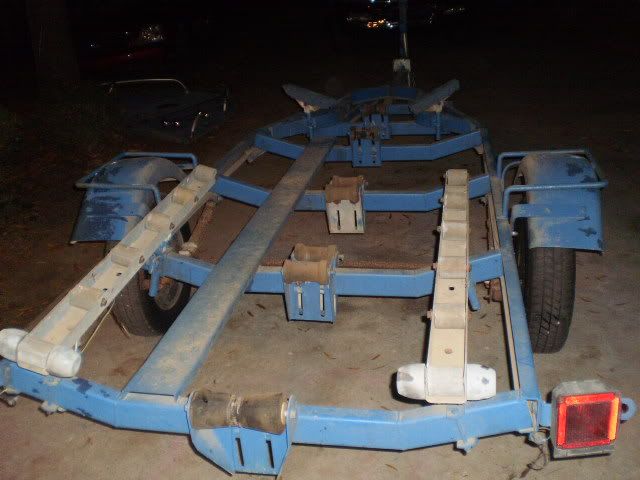
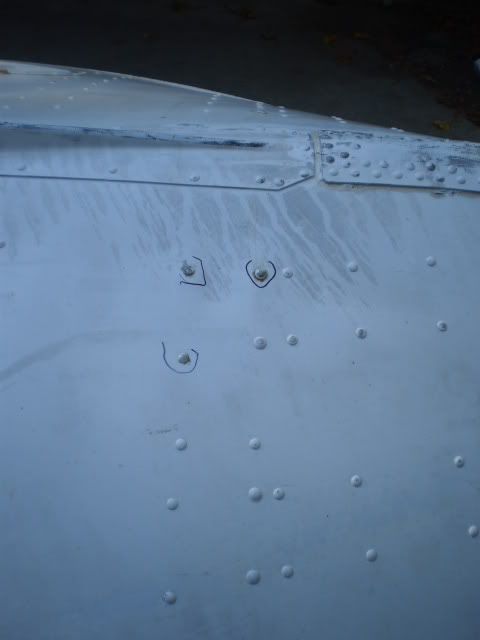
from the bow looking back, all top parts removed
Outboard stand made for the........OUTBOARD to rest while getting the boat ready
so ran out of light as you can tell and did not want to risk anything so the top pieces came off the following day instead.
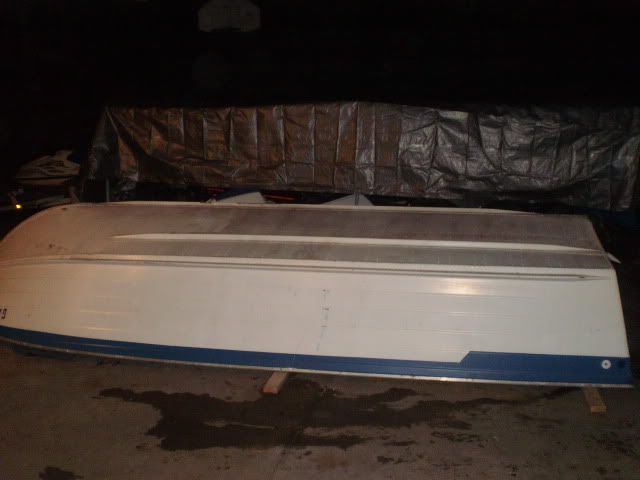
here comes a lot of pictures keeping the wording down to a min....
bow top piece removed
the support structure there needs to be improved and not sure why they cut the piece form stbd to port in half.. doesn't make sense to me. not to mention that it was not even bolted down in the front or sides.
from the bow looking back, all top parts removed
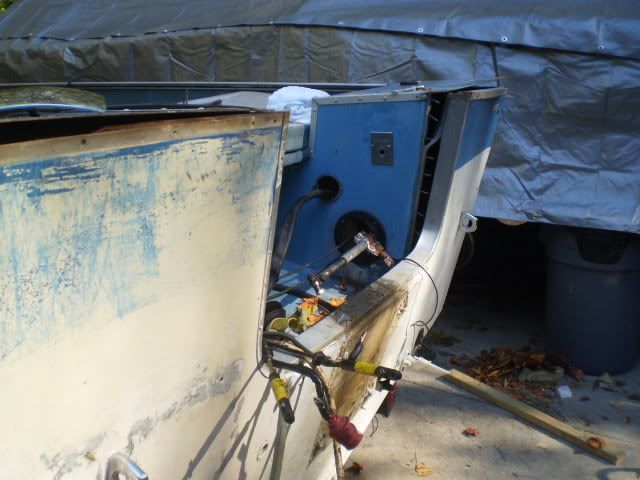
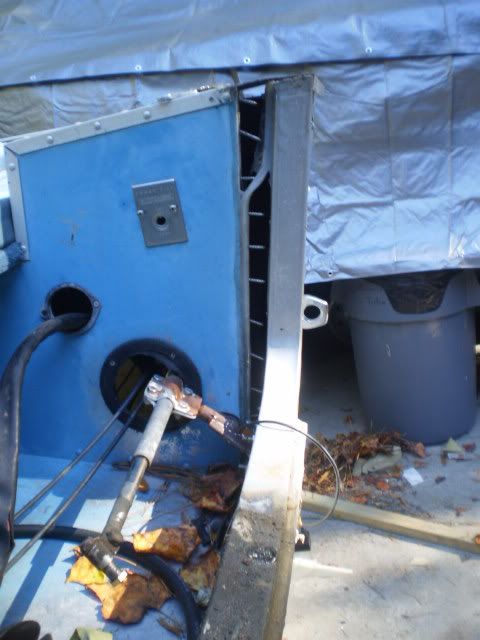
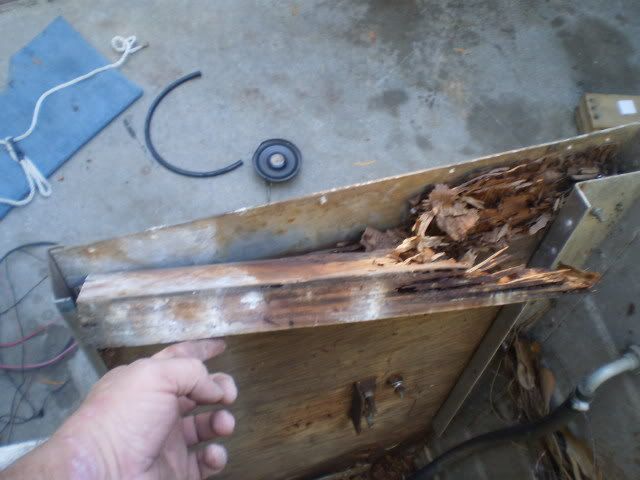


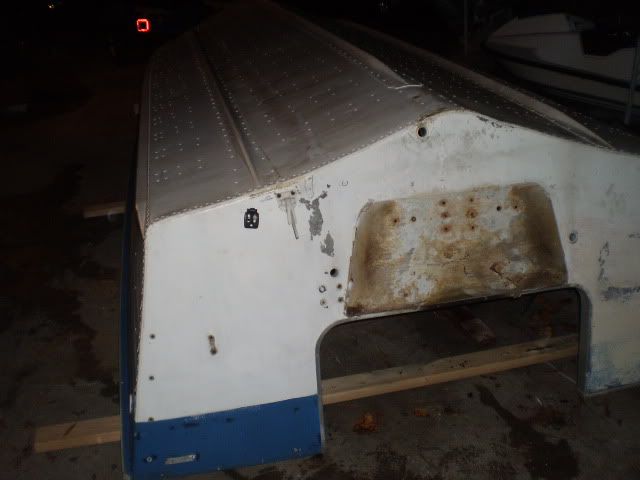

 Looks like more than the dash needs work.