Woodonglass
Supreme Mariner
- Joined
- Dec 29, 2009
- Messages
- 25,932
Re: 1975 Starcraft 140 Evinrude OB -- Restoration IN PROGRESS FINALLY
Ace Hardware is where I got my Large Nylocs
Ace Hardware is where I got my Large Nylocs


I'm prolly late to the party, but I have used a block of wood, drilled with a close to perfect 90 degree hole in it as a guide for the bit...

Ace Hardware is where I got my Large Nylocs
your never late there GT, ya just missed the beverages is all.

Thanks RR, Happens every so often, so I've lernt to always keep a stash on ice with me wherever I go...
so the questions:
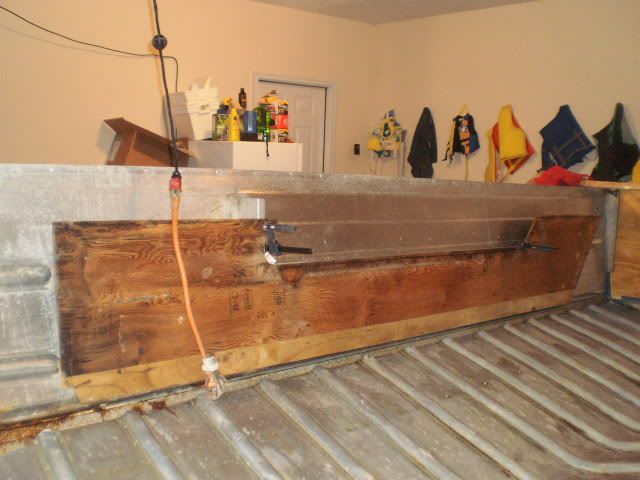
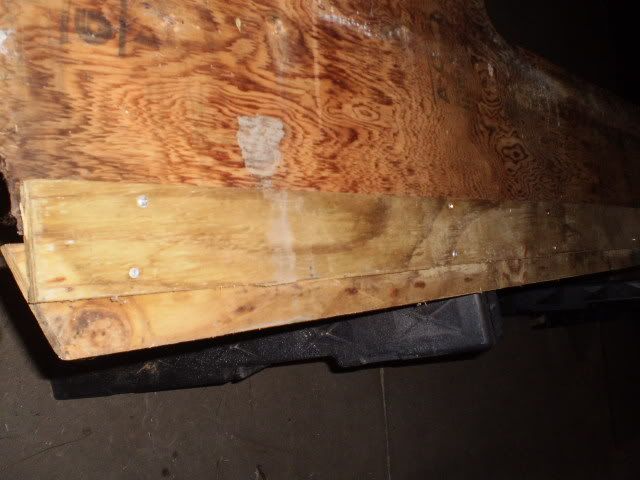
1. did it come from the factory in a similar fashion? there is a piece of aluminum angle that is screwed down to the bottom and then slides into the side and screwed to the floor. t
I think you're missing the original Starcraft aluminum "baseboard" that I see on most models. Have a look in my Holiday reno for pictures of my base, when and if the pictures are available. I would attach for you but with the forum in its current state, I can't. - Grandad

.Thanks Grandad, going to check it now............
If EZ were to stop by he'd say...
"I left em off both my boats. They serve no real purpose other than to rot and cause problems down the road."
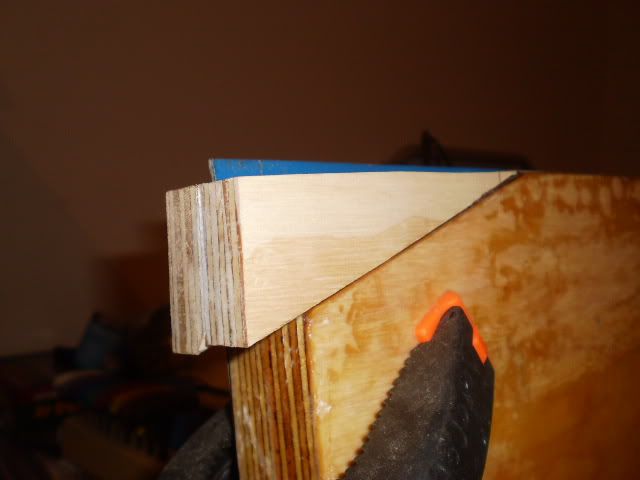
I tend to agree with the man but I do like a nice fat transom and extra support is always appreciated in my world, so here was my solution...
1/4" alum, all sealed up with PL, nothing to rot.
PL to attach it huh, no way for water to get in and corrode it??????


I think you're missing the original Starcraft aluminum "baseboard" that I see on most models. Have a look in my Holiday reno for pictures of my base, when and if the pictures are available. I would attach for you but with the forum in its current state, I can't. - Grandad
Yup...
...no where for water to go.
Rock on!
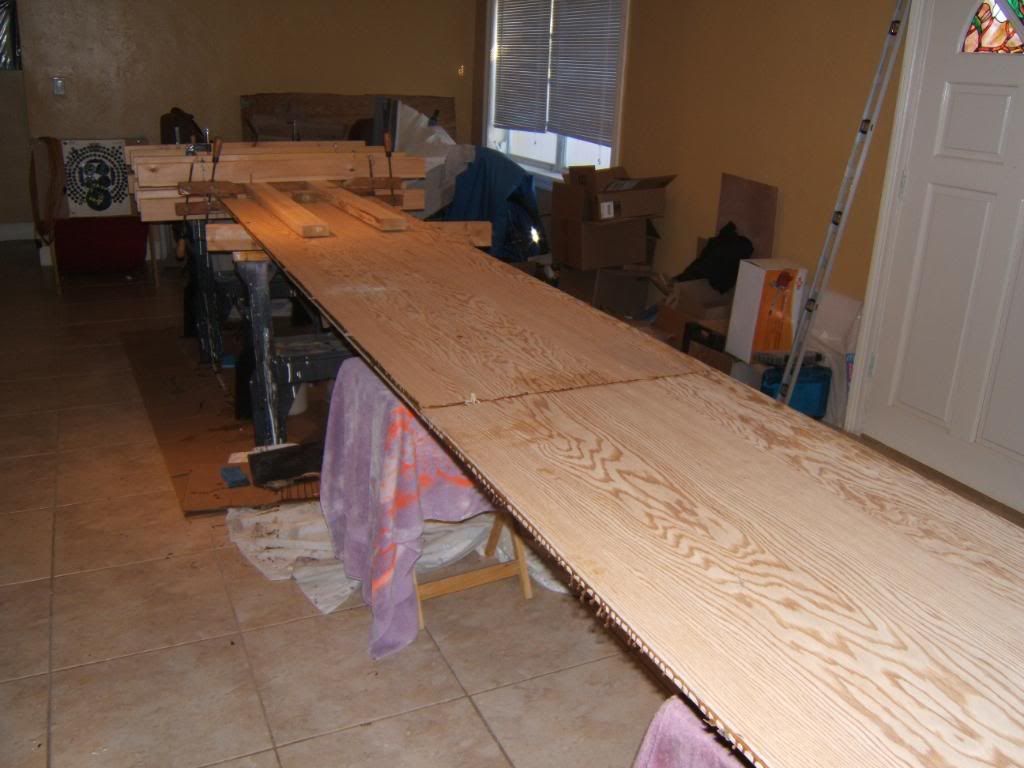
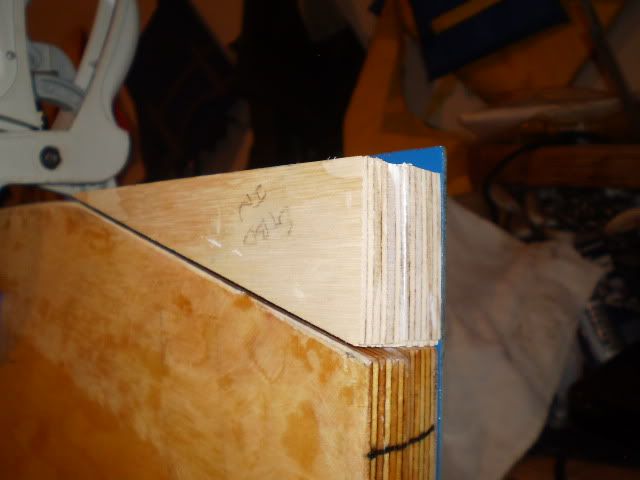
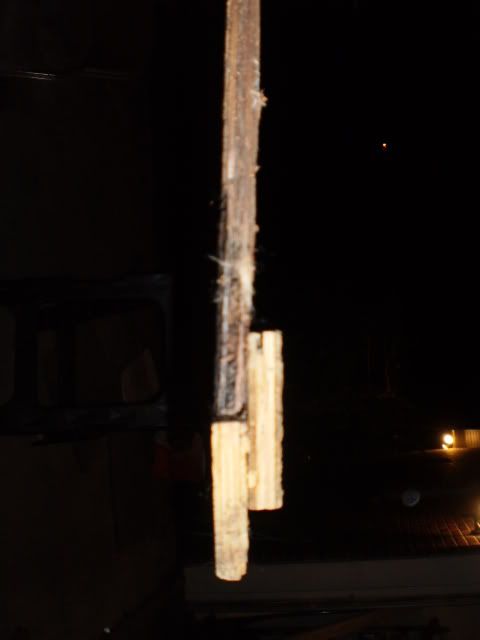
did you clean up around the edges to remove the excess?
what cuts the stuff so it has a nice clean edge? or did you leave it cuz i could not see it in the pic so it looked like you had cleaned off the edges.
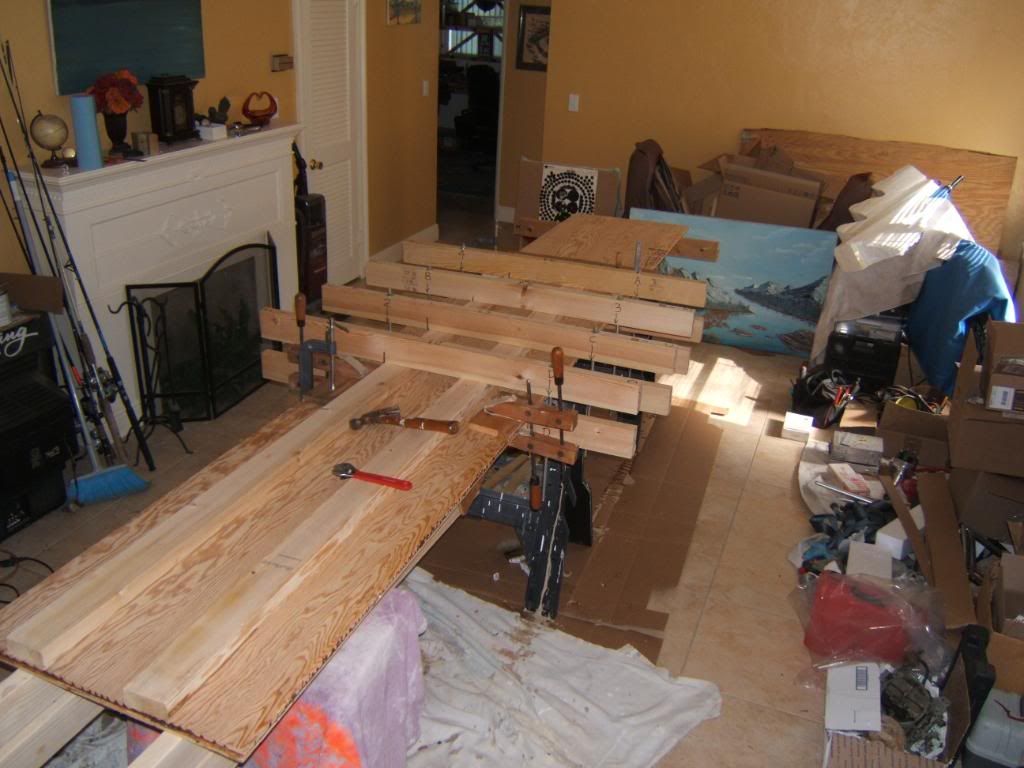
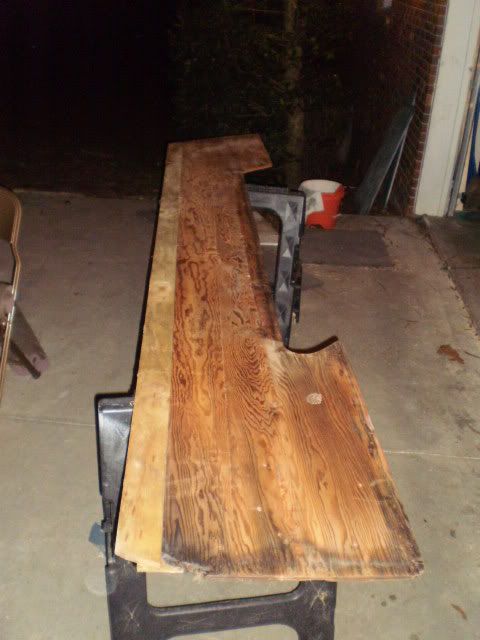
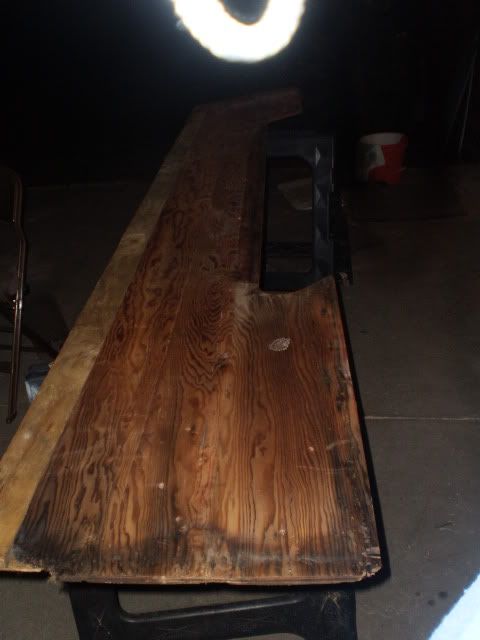
ok fellas a new challenge......
so the questions:
2. where can i get an 11ft long piece of plywood???????? that is reasonable i might add?
3. if an 11ft long piece of plywood is unreasonable what would be the best method to splice or connect the plywood that would be needed and still have it look good?