1977 Silverton Flybridge Restoration- PICS & VIDEOS

LorenHaus

Petty Officer 2nd Class
Joined
Aug 6, 2010
Messages
140
Re: 1977 Silverton Flybridge Restoration- PICS & VIDEOS

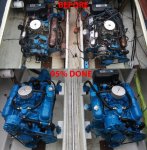
Before/almost done

Engine-Progress-95-2.jpg
 

LorenHaus

Petty Officer 2nd Class
Joined
Aug 6, 2010
Messages
140
Re: 1977 Silverton Flybridge Restoration- PICS & VIDEOS

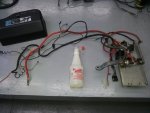
Finishing cleaning up the remaining port engine wire harness this morning. I'm using my all-time favorite cleaner, LA Totally Awesome. It cleans better than anything I've ever tried, hands down. You can get a spray bottle at the dollar tree for $1. Cant beat it. I usually order like 48 or more in case quantity right off their site, Dollar Tree: LA TOTALLY AWESOME CLEANER I've used bilge cleaners from $8 to $50 and nothing even compares to LA.

2013-03-18 08.07.52.jpg
 

LorenHaus

Petty Officer 2nd Class
Joined
Aug 6, 2010
Messages
140
Re: 1977 Silverton Flybridge Restoration- PICS & VIDEOS

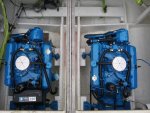
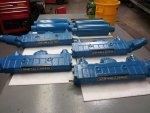
Top view of engines. I made sure to put the valve covers with the oil caps on the inside so they are easier to access. I can stand in the middle of the bilge and fill oil on both engines a bit easier.

2013-03-18 08.42.12.jpg
 

fat fanny

Lieutenant Commander
Joined
Feb 9, 2006
Messages
1,935
Re: 1977 Silverton Flybridge Restoration- PICS & VIDEOS

Nice clean and neat should make PM very easy and allot more noticable to pic up on drips and or oil leaks (god forbid)
 

LorenHaus

Petty Officer 2nd Class
Joined
Aug 6, 2010
Messages
140
Re: 1977 Silverton Flybridge Restoration- PICS & VIDEOS

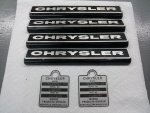
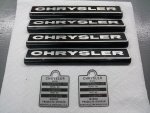
Working on the final touches for the engines. I was able to clean up the original Chrysler exhaust manifold engine badges pretty well. They are a bit scuffed, but I'd rather have original decals over none at all. I also cleaned up the original model #/serial # metal tags to put back on as well. Nothing like making it look 100% original. I used LA cleaner for these too....surprise surprise :lol:
2013-03-19 08.51.30.jpg
 

LorenHaus

Petty Officer 2nd Class
Joined
Aug 6, 2010
Messages
140
Re: 1977 Silverton Flybridge Restoration- PICS & VIDEOS

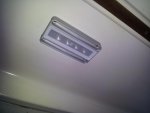
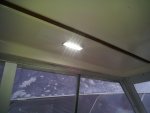
Well, in between engine work, I've been studying EVERY brand of LED lights on the market....and even a few companies that havent even launched yet but will soon be on the market. I'm offically a Lumitec LED light fan. I've been to all the shows, looked at all the lights, and then saw all the prices. Some of the prices made me :mad-new: and some prices make me :lol: Some of the manufacturers LED light build quality also made me :lol::lol::lol:. You get what you pay for, but you also shouldnt have to pay 20x's more for something that you can get for much less and even better build quality, life expectancy, and warranty. Lumitec was not only a reasonable price, but built very durable with metal housings and glass diffusers/lenses.

I decided to start off by installing some new Lumitec "Engine Room LED" lights, but I wanted to try them in the salon first, and then in the engine room after it warms up a bit more outside!!! The lights I got can be seen here: http://www.michiganmotorz.com/nevis-engine-room-light-white-p-3460.html


Attachments

  • 2013-03-19 08.46.29.jpg
    2013-03-19 08.46.29.jpg
    138 KB · Views: 1
  • 2013-03-19 08.46.49.jpg
    2013-03-19 08.46.49.jpg
    134.4 KB · Views: 1

LorenHaus

Petty Officer 2nd Class
Joined
Aug 6, 2010
Messages
140
Re: 1977 Silverton Flybridge Restoration- PICS & VIDEOS

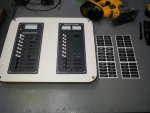
Since I'm putting A/C in the boat and redoing some of the other electrical, I decided I better get some REAL AC & DC power distribution panels. I went with Blue Seas panels, for the simple reason that they are built to last with quality components. Buy it once, install it once, use it forever. If you buy those cheap seachoice panels from china, plan on corrosion and problems down the road. You will be making more work for yourself.

Anyhow, enough of my ranting about doing it right the FIRST time... :joyous:
I chose to use a wiring access panel cover at the lower helm. I will be putting it on a piano hinge (the reallly long one-piece hinges) so I can get behind the panels for any future additions easily.


2013-03-19 17.14.03.jpg2013-03-19 17.26.03.jpg2013-03-19 17.32.51.jpg
 

LorenHaus

Petty Officer 2nd Class
Joined
Aug 6, 2010
Messages
140
Re: 1977 Silverton Flybridge Restoration- PICS & VIDEOS

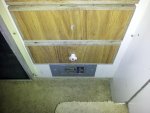
Heres the old "main" panel, a Square D home electrical disconnect panel for an electric hot water heater. Some kind of joke? no, just someone who doesnt know what they're doing.

2012-10-17 19.57.14.jpg
 

LorenHaus

Petty Officer 2nd Class
Joined
Aug 6, 2010
Messages
140
Re: 1977 Silverton Flybridge Restoration- PICS & VIDEOS

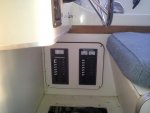
Mounted the breaker panels today to see how they'd look. I'm very happy with them!

2013-03-20 08.12.18.jpg
 

LorenHaus

Petty Officer 2nd Class
Joined
Aug 6, 2010
Messages
140
Re: 1977 Silverton Flybridge Restoration- PICS & VIDEOS

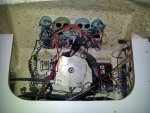
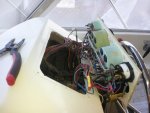
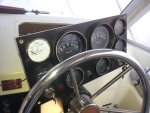
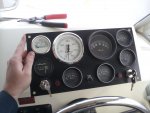
Started popping out old gauges today. The old one have been bugging me and I've been putting it off because of the chaotic mess behind them. But I did start, and chose the Faria Chesapeake SS white gauges. It's always slow going doing gauge replacements, making sure every wire is terminated with a good crimp and a clean connector, and trying to stack a handful of ring terminals on one post and then trying to get those little nuts to flippin grab one thread just to start!!! :mad-new:

2012-10-17 19.50.43.jpg2013-03-20 08.28.25.jpg2013-03-20 08.28.33.jpg2013-03-20 08.49.35.jpg
 

TitanTn

Seaman Apprentice
Joined
Dec 5, 2010
Messages
47
Re: 1977 Silverton Flybridge Restoration- PICS & VIDEOS

This is one my favorite threads on this forum. Quality work, pics to show, and lots of updates. Keep it up!
 

LorenHaus

Petty Officer 2nd Class
Joined
Aug 6, 2010
Messages
140
Re: 1977 Silverton Flybridge Restoration- PICS & VIDEOS

This is one my favorite threads on this forum. Quality work, pics to show, and lots of updates. Keep it up!

Thanks! I appreciate it! jobs like this need motivational words!!!! :cool:
 

LorenHaus

Petty Officer 2nd Class
Joined
Aug 6, 2010
Messages
140
Re: 1977 Silverton Flybridge Restoration- PICS & VIDEOS

Got them shnazzy original Chrysler decals on the exaust manifolds today

2013-03-19 08.51.30.jpg 2013-03-20 17.18.47.jpg
 

25thmustang

Lieutenant Commander
Joined
Mar 20, 2008
Messages
1,849
Re: 1977 Silverton Flybridge Restoration- PICS & VIDEOS

Can't even keep up with your progress! Very nice work.
 

LorenHaus

Petty Officer 2nd Class
Joined
Aug 6, 2010
Messages
140
Re: 1977 Silverton Flybridge Restoration- PICS & VIDEOS

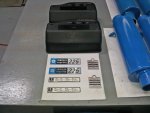
I have the biggest grin on my face today. A good buddy of mine who works for a marine engine parts distributor here in Michigan got me some ORIGINAL Chrysler 225 engine decals and plastic weather covers!!!! :laugh: :laugh: :laugh: The company he works for bought out the entire Chrysler factory warehouse of parts and accessories before they closed the doors back in the day.

What are the chances of those still sitting on a shelf collecting dust???!!!!!!! I'm so flippin excited.....ALL ORIGINAL!!!!!!

2013-03-21 12.24.21.jpg
 

TitanTn

Seaman Apprentice
Joined
Dec 5, 2010
Messages
47
Re: 1977 Silverton Flybridge Restoration- PICS & VIDEOS

^^ That is an awesome find. Congrats! I've had to redesign some of my decals so they're nothing but a good looking replica.
 

25thmustang

Lieutenant Commander
Joined
Mar 20, 2008
Messages
1,849
Re: 1977 Silverton Flybridge Restoration- PICS & VIDEOS

Like I stated in previous posts, this is approaching a museum piece! Very nice score!
 

LorenHaus

Petty Officer 2nd Class
Joined
Aug 6, 2010
Messages
140
Re: 1977 Silverton Flybridge Restoration- PICS & VIDEOS

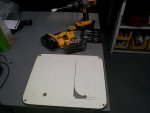
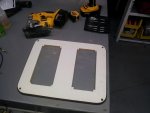
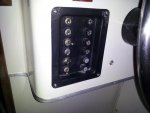
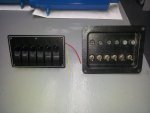
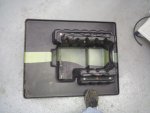
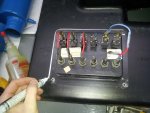
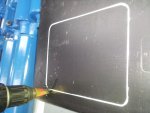
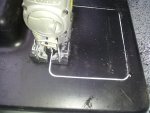
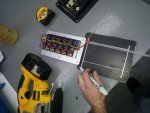
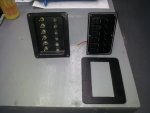
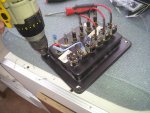
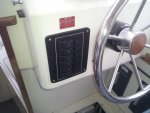
Today on "This Old Boat" lol :rolleyes:, I'll be removing the old 12V DC switch panel that controls the windshield wipers, bilge pump, blowers, cabin lights, etc. I chose a Blue Seas replacement rocker switch panel with built-in circut breakers. Seeing that the new Blue Seas panel was smaller, I had to come up with a plate to cover the larger hole from the ancient Teleflex panel. Seeing I'm in the marine engine business, we just happen to have a TON of plastic engine containers for shipping. The plastic is 1/4" thick and will work perfect for what i am trying to do. Time for a little fun with my DeWalt cordless jiggy saw :D

2012-10-17 19.50.32.jpg2013-03-23 08.47.43.jpg2013-03-23 08.48.06.jpg2013-03-23 08.58.26.jpg2013-03-23 08.59.37.jpg
 

LorenHaus

Petty Officer 2nd Class
Joined
Aug 6, 2010
Messages
140
Re: 1977 Silverton Flybridge Restoration- PICS & VIDEOS

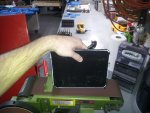
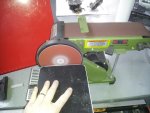
A little more cutting, a little more cleanup on the belt sander. After all, it's the detals that count, right?

2013-03-23 09.01.35.jpg2013-03-23 09.02.57.jpg2013-03-23 09.06.58.jpg2013-03-23 09.18.56.jpg2013-03-23 09.29.54.jpg
 

LorenHaus

Petty Officer 2nd Class
Joined
Aug 6, 2010
Messages
140
Re: 1977 Silverton Flybridge Restoration- PICS & VIDEOS

Drilling a couple pilot holes and mounting.

2013-03-23 09.37.08.jpg2013-03-23 09_43_29.jpg
 
Top