1978 River Ox Restoration Project

gatorfan6908

Petty Officer 2nd Class
Joined
May 17, 2010
Messages
149
Re: 1978 River Ox Restoration Project

No, basically, lets say the bolts are 1/2" diameter, you would drill a 9/16" hole, fill with PB, then re-drill to the 1/2" bolt size...thus creating a PB "sleeve" which isolates the wood from moisture...you would also slather some 3M 5200 on the bolts before installation...

Yea, I understand how it will create the sleeve. My question is do you think that the PB will eventually wear down/break apart and widen the hole allowing the bolt to move loosely? I'm guessing not now though, lol... especially since you experts have supported this idea through and through...

On a side note: I bought an $18 tube of 3M 4200 today for the drain plug and read the instructions afterwards.... it clearly stated this "product will cure after opened. All of it must be used within 48 hours"... Well that sucks.. 18 dollars down for one single task. SMDH...
 

GT1000000

Rear Admiral
Joined
Jul 13, 2011
Messages
4,916

GT1000000

Rear Admiral
Joined
Jul 13, 2011
Messages
4,916
Re: 1978 River Ox Restoration Project

Yea, I understand how it will create the sleeve. My question is do you think that the PB will eventually wear down/break apart and widen the hole allowing the bolt to move loosely? I'm guessing not now though, lol... especially since you experts have supported this idea through and through...

On a side note: I bought an $18 tube of 3M 4200 today for the drain plug and read the instructions afterwards.... it clearly stated this "product will cure after opened. All of it must be used within 48 hours"... Well that sucks.. 18 dollars down for one single task. SMDH...

I am not 100% sure about 4200, but I do know that 5200, if you remove as much of the air in it, seal it well, then either refrigerate it, or freeze it for longer term storage, then let it thaw out when you are ready to use it, can last a lot longer...I had a caulking tube of 5200 that lasted over 3 months that way, when I finished using it, it was A-OK...

And NO, the PB will not wear out if mixed up correctly with the chopped strand, cabosil and resin...only if the bolts work themselves loose and are allowed to rattle around, then yeah...
 

GT1000000

Rear Admiral
Joined
Jul 13, 2011
Messages
4,916
Re: Staring at this vessel in my yard... Is she worth fixing?

Re: Staring at this vessel in my yard... Is she worth fixing?

PS- I just thought, why not wait until you have several things to seal with the 4200, and open it then...???:)
 

gatorfan6908

Petty Officer 2nd Class
Joined
May 17, 2010
Messages
149
Re: Staring at this vessel in my yard... Is she worth fixing?

Re: Staring at this vessel in my yard... Is she worth fixing?

PS- I just thought, why not wait until you have several things to seal with the 4200, and open it then...???:)

Had to put the drain in so I can PB around it when I put the transom in on Friday. Similar to the way Friscoboater did his. Here is a pic:

A3A3DFDA-6F30-4363-998D-24AD319781F7-8214-00000433194820E1.jpg
 

gatorfan6908

Petty Officer 2nd Class
Joined
May 17, 2010
Messages
149
Re: 1978 River Ox Restoration Project

Quick question though... How tight should I make the clamps when I install the transom... is this the kind of tighten till you can't anymore or is it just a good-snug clamp?
 

GT1000000

Rear Admiral
Joined
Jul 13, 2011
Messages
4,916
Re: Staring at this vessel in my yard... Is she worth fixing?

Re: Staring at this vessel in my yard... Is she worth fixing?

Stick a wad of tape or paper in the hole for now, PB away, then later clean it out, install the drain and seal with the 4200...
 

GT1000000

Rear Admiral
Joined
Jul 13, 2011
Messages
4,916
Re: Staring at this vessel in my yard... Is she worth fixing?

Re: Staring at this vessel in my yard... Is she worth fixing?

Good question...somewhere between really snug and tight...but not so tight that you squeeze out all of the PB...BTW, do a couple of rehearsals with whoever is going to assist you...and have a couple two or three batches of PB ready to be mixed and catalyzed, but NOT...in case you need more...combine the ingredients, stir [rather quickly] and apply...did I mention to have a helper...???:confused:???:rolleyes::)

Leave the clamps close, but a little loose, to the final tightening...remamber you are only going to have about 15 minutes to do everything...give or take 5 minutes...

You might want to mix up a small batch of PB, to get familiar with how fast it kicks off and be aware that a larger batch is going to kick off much faster, due to the chemical heat reaction being bigger...

And all the PB that oozes out you can use to start most of the fillet...
 

jbcurt00

Moderator
Staff member
Joined
Oct 25, 2011
Messages
25,114
Re: 1978 River Ox Restoration Project

With evenly & fully tightened thru bolts clamping the motor to the transom, there should be very little 'slop' and movement side to side (if any) that would stress & breakdown the PB. The 3M 5200 makes that even less likely. If there is, there are other problems that need to be addressed. It's usually the degrading & soft/rotten wood causing the bolts to be loosened, and allow the movement & stress your concerned about. Since you'll redo the transom & thru holes better then the factory did originally, it should never be a problem until the transom wood goes to mush in 30+yrs, if it's not properly maintained and covered, much, much longer if it is covered & maintine. Use the 'structural' 'hairy' PB to fill the holes, the addition of the chopped fibers makes it MUCH stronger, and much harder to work with & sand.
 

nrasnake

Seaman
Joined
Aug 13, 2012
Messages
62
Re: 1978 River Ox Restoration Project

Nice work! Double check the flatness of your hull on the outside before you start. If it has any bow or waviness to it, I would mark the low spots with pencil/tape/whatever so that you can clamp AROUND the low spots and not ON them. This way you don't worsen the flatness and may be able to improve it after everything is clamped and cured.

Also, double check the inside of the new transom will be parallel to the outside of the hull. You may need to squeeze the bottom more the the top or vice versa.

Finally, get an idea of exactly how thick your peanut butter layer should be when you slather it on. How much thickness do you have left to play with to ensure you're not too thick in the end? Figure this out now, make a mental note, and try to lay down the needed thickness of peanut butter.

Why do I recommend all of this? Well, check out my post. I just installed my transom last weekend and now I've got lots of extra work to do because I didn't thoroughly check these things first. I thought I would have enough time to tweak things before it cured, but it hardened way faster than I expected (just as GT indicated). Take your time here and PLAN WELL!!! You won't regret it. And absolutely get a helper.

Good luck!

I should also add that the flatness, parallelism, and thickness only apply over the areas covered by the gimbal housing and inner transom plate. No need to worry so much about the areas outside of this.
 
Last edited:

gatorfan6908

Petty Officer 2nd Class
Joined
May 17, 2010
Messages
149
Re: 1978 River Ox Restoration Project

Well, tomorrow is the big day for the transom. I have two friends coming over to help. Going to be a task... but I am looking forward to it. Wish me luck!
 

GT1000000

Rear Admiral
Joined
Jul 13, 2011
Messages
4,916
Re: Staring at this vessel in my yard... Is she worth fixing?

Re: Staring at this vessel in my yard... Is she worth fixing?

Good Luck!
 

gatorfan6908

Petty Officer 2nd Class
Joined
May 17, 2010
Messages
149
Re: Staring at this vessel in my yard... Is she worth fixing?

Re: Staring at this vessel in my yard... Is she worth fixing?

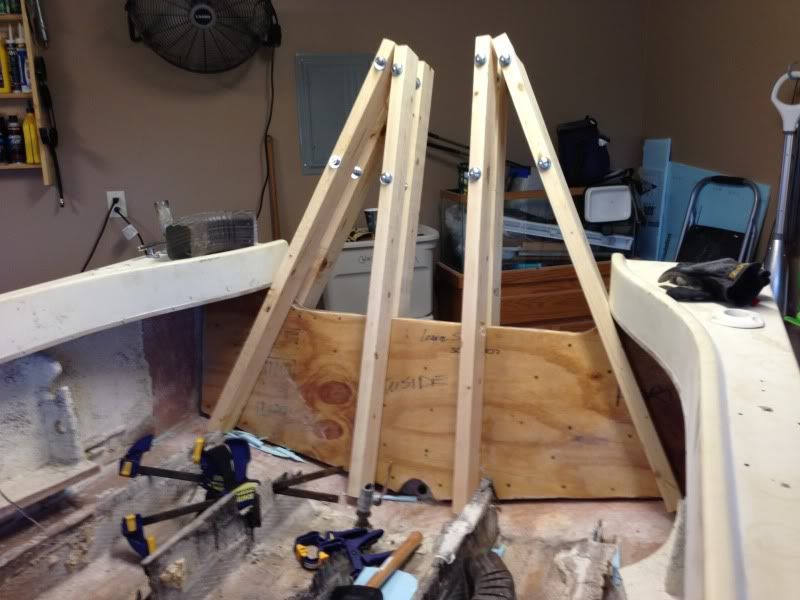
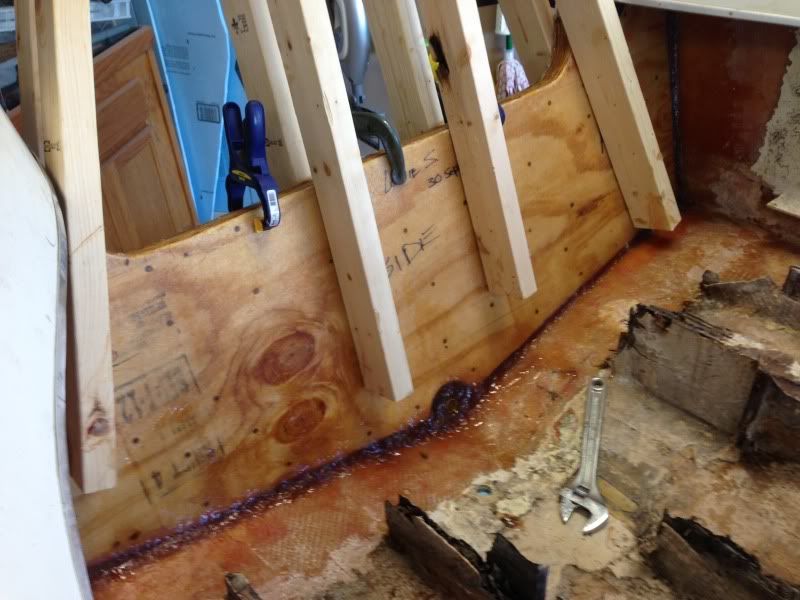
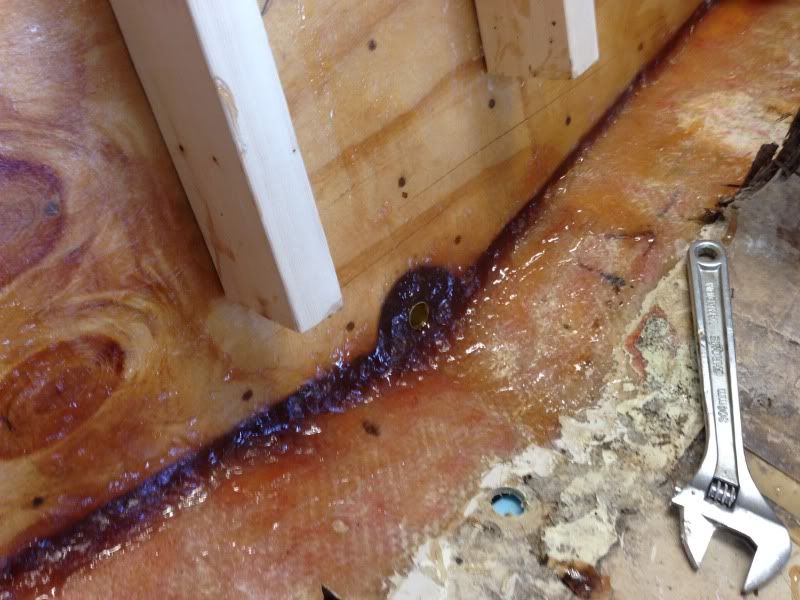
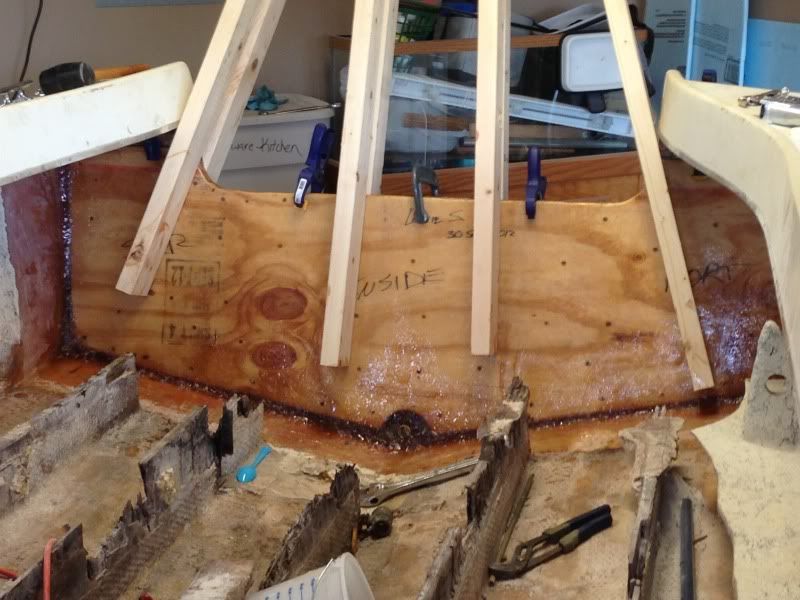
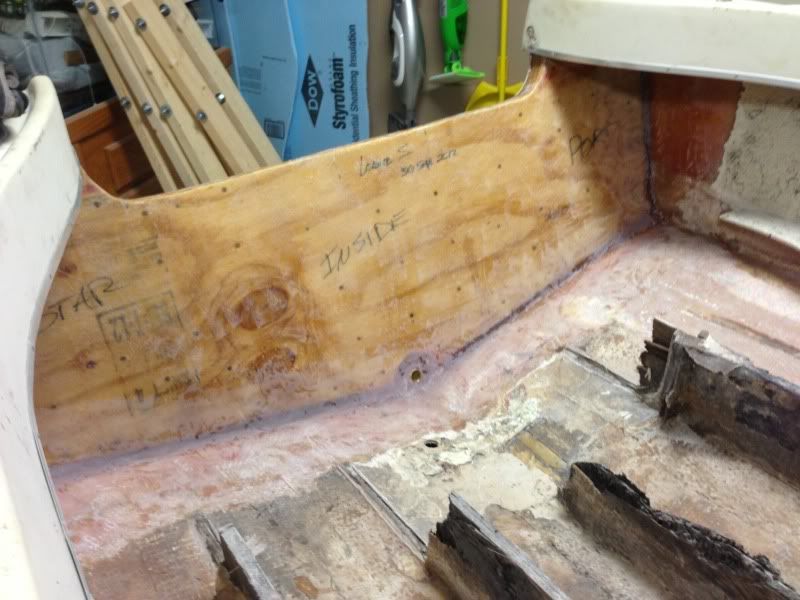
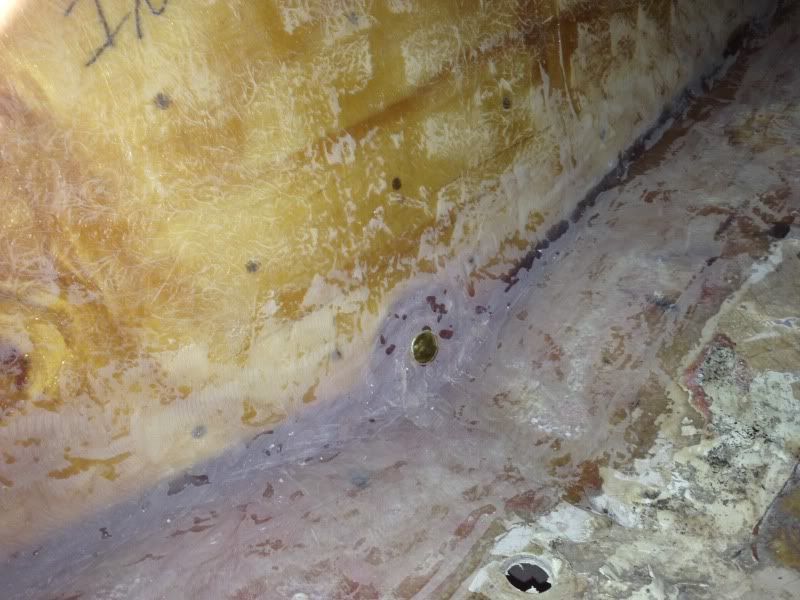
Alright. So Friday was a huge success! The install went great, I had great coverage on the back and have plenty of excess that came out of the sides. Didn't get it too snug so not to squeeze all of the PB out. Went back shortly after and did the fillets. I will tell you this, it was a lot more difficult to get a thickened resin using milled fibers. I ended up just cutting up and pulling apart some of the mat that I have and using it to thicken the resin. Worked out on the sides and bottom to get a really concave flow to tab it in.
Still had some grinding I had to go back and do to even it out and remove any burs... Afterwards it came out great and I will be ready to tab it in today. Here are a few pics.

In this one, I know the clamps don't go all the way down, but I had raised them up to do the fillets. Took a quick picture to show them throughout.

87599FEC-5625-43FF-A5C3-8610E3C71F4E-14721-0000073D1DED064D.jpg


BC60F85D-24FB-4199-9B6E-4CE479BD95ED-14721-0000073D24B96291.jpg


F2CCA6BA-28E4-4546-94C9-F84DECFC7BE8-14721-0000073D30D46DA0.jpg


After it cured and was sanded...

85DA9FB5-25FB-4353-9AE5-A5ADF4CE7540-14721-0000073D4FA85101.jpg


3CDF956A-C524-4CB4-B2CB-11DF46B9919E-14721-0000073D4A6D37E0.jpg


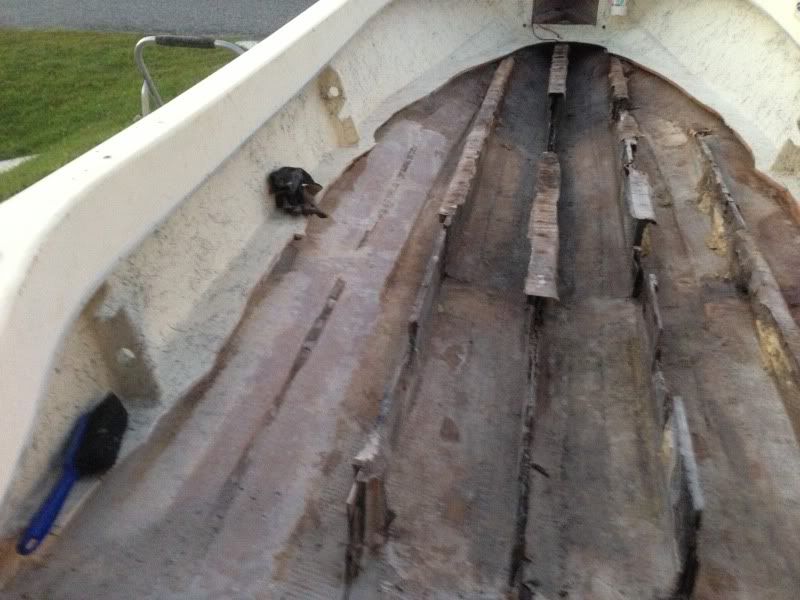
I was also able to get some grinding done yesterday. I removed the first stringer and grinded down. I left a little closer to the center as to keep a good idea of where the stringer will run. I plan on doing the outside stringers first and getting them to a good height to do the rest of them. It cleaned up quite well in my opinion. Let me know what you think...

4E7A5BAF-4507-439B-A690-23DBECF8FB54-14721-0000073D3DA451BD.jpg


Anyways, I plan on tabbing in the transom this afternoon. Hopefully I will have enough daylight after I get home. Things are finally moving along quite well and I can officially call this a restore... hahaha
 

Woodonglass

Supreme Mariner
Joined
Dec 29, 2009
Messages
25,929
Re: Staring at this vessel in my yard... Is she worth fixing?

Re: Staring at this vessel in my yard... Is she worth fixing?

For your PB your formula should be 1 quart resin, approx. 1 1/2 qts cabosil and 1/4 cup of 1/4" chopped milled fibers.
That should give you the consistency of creamy peanut butter. You might have to add more cabosil to get the thickness where you want it. Is that how you mixed it?
 

GT1000000

Rear Admiral
Joined
Jul 13, 2011
Messages
4,916
Re: Staring at this vessel in my yard... Is she worth fixing?

Re: Staring at this vessel in my yard... Is she worth fixing?

The transom is looking excellent, great job! Big turning point, makes you feel like you are on the road to gettin it done!
 

gatorfan6908

Petty Officer 2nd Class
Joined
May 17, 2010
Messages
149
Re: Staring at this vessel in my yard... Is she worth fixing?

Re: Staring at this vessel in my yard... Is she worth fixing?

WoG,
Thats close to what I used, only not as much cabosil "fumed silica". And GT, Thanks for the praises! It honestly has turned out a lot better than I anticipated when I started.

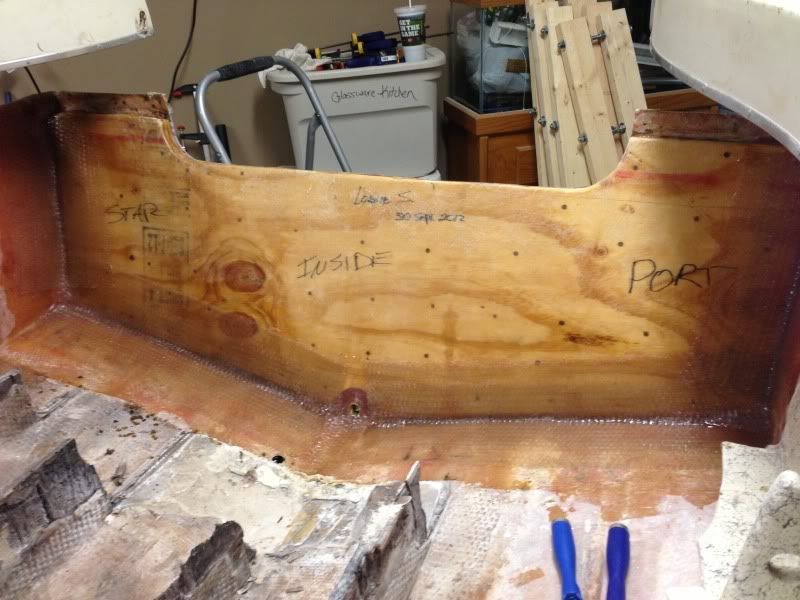
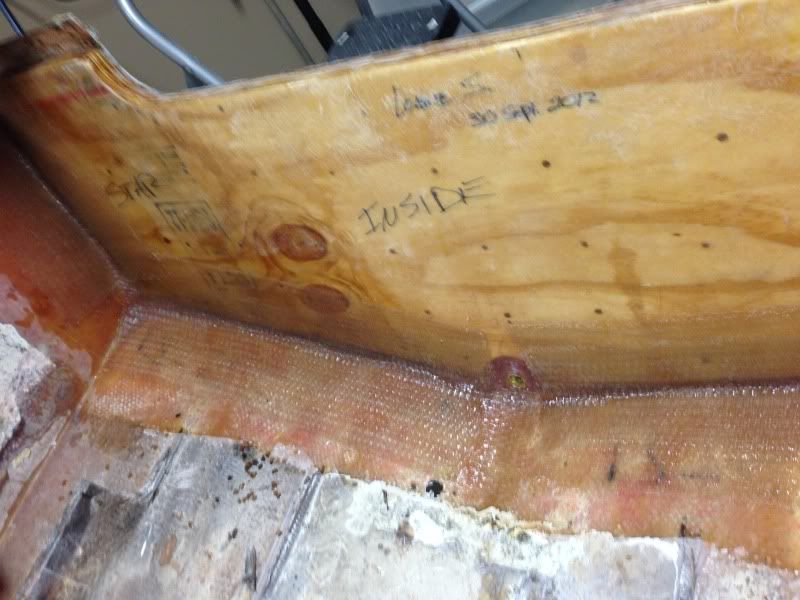
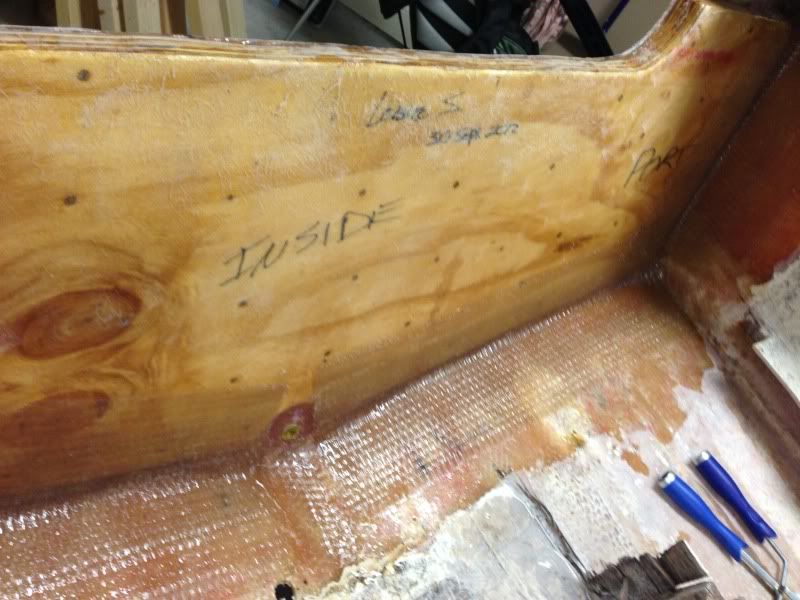
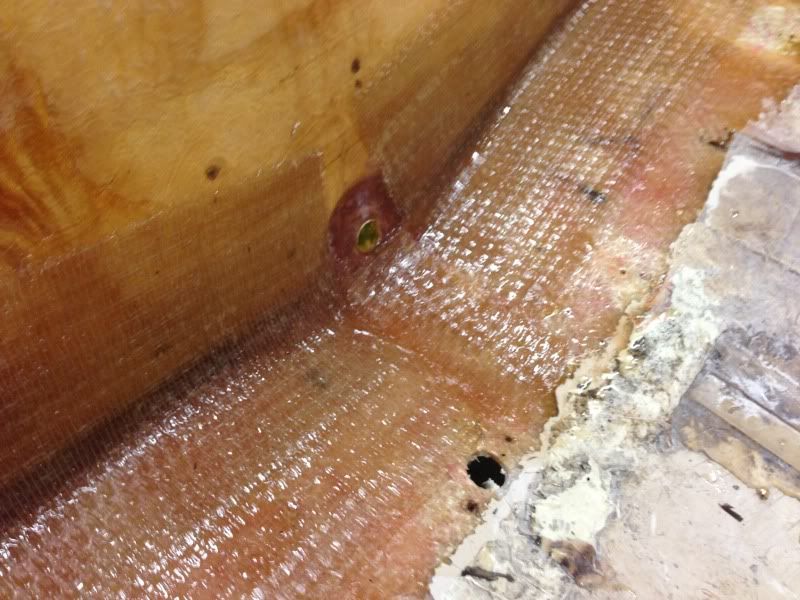
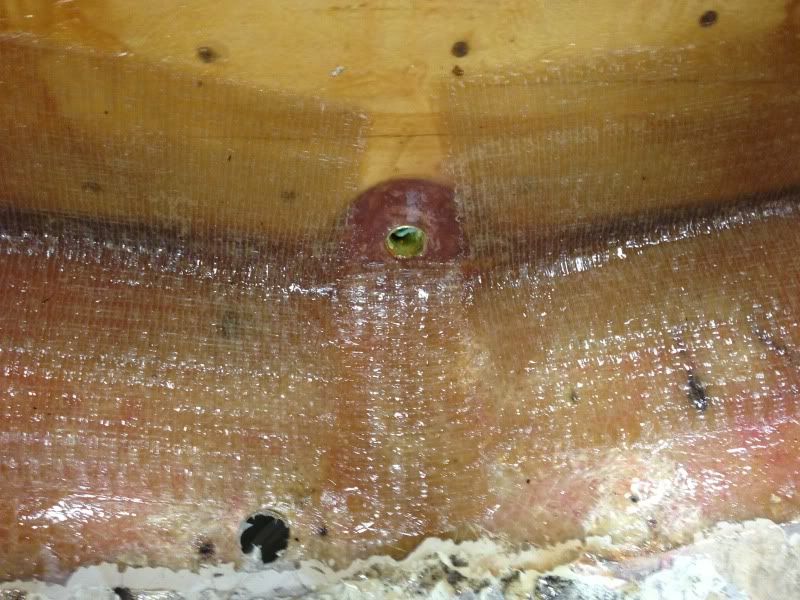
So last night I was able to get the transom tabbed in. It came out great! I used to layers of 24 oz. stitch mat with resin mixed at 1%. Gave me a decent working time and helped fight the cooler temps throughout the night. When I checked this morning, I was please with how much it had cured.
I am curious now... is it "absolutely" necessary to put an entire layer over the transom to skin it? Just curious, I didn't want to go through that much resin if not necessary. But I don't really want to undercut anything either... especially since I have put so much into it so far. Ehh... 98% sure I am just going to skin it, just still curious if it is absolutely necessary though...

Well here are a few pics after both layers of stitch mat were applied.

5A63B549-94FA-4DAF-B88E-6BEAA288AB6A-15876-000007CECA1DBC11.jpg


76386CB4-C150-4AED-8EA7-E644C9BB110D-15876-000007CED0D25D56.jpg


0066C1A9-00B1-4420-BD2E-0ED870A95891-15876-000007CED5F8013A.jpg


I cut out and applied a small strip of the stitch mat to strengthen the area underneath the drain plug a little. That area has worn quite extensively and I wanted to give it a little more thickness.

687335D3-F81F-4BD5-93F0-CB42C3F50456-15876-000007CEDA995103.jpg


BC57C0A7-B307-40B8-AE78-F4DE132DE9CE-15876-000007CEE1236743.jpg


So I finally feel that I have made outstanding progress, and am really motivated to get more done before the weather cools off too much this year.

I have thought a little more about the stringers and I am going to go with 3/4 inch exterior grade plywood... it seems as though that is what was in there, even though I thought it was 1/2 inch at first. Is it possible that it was 1/2" and just swelled excessively from the water saturation? If so, is it a good idea to go back to 1/2" ply? Also, I cannot purchase a plywood sheet long enough to run the length of the boat, so what would the experts prefer the method be to connect two pieces together to form the full length stringer? I don't have any specialized wood working tools, so the simplest of methods are preferred in this situation... Thanks for the input!
 

Woodonglass

Supreme Mariner
Joined
Dec 29, 2009
Messages
25,929
Re: Staring at this vessel in my yard... Is she worth fixing?

Re: Staring at this vessel in my yard... Is she worth fixing?

At the very least, I'd put another 12" tabbing of 1708 on and 1 full layer of CSM over the entire transom and extend out over the sides and bottom of the hull 10".
 

gatorfan6908

Petty Officer 2nd Class
Joined
May 17, 2010
Messages
149
Re: Staring at this vessel in my yard... Is she worth fixing?

Re: Staring at this vessel in my yard... Is she worth fixing?

At the very least, I'd put another 12" tabbing of 1708 on and 1 full layer of CSM over the entire transom and extend out over the sides and bottom of the hull 10".

WoG,
I already have two layers of the 1708... one at 4 inches out and the other at 7 inches out... they overlap by 3 inches. Do you not think that that will be sufficient for the tabbing?
 

Woodonglass

Supreme Mariner
Joined
Dec 29, 2009
Messages
25,929
Re: Staring at this vessel in my yard... Is she worth fixing?

Re: Staring at this vessel in my yard... Is she worth fixing?

Full layers, or Tabs??
 
Top