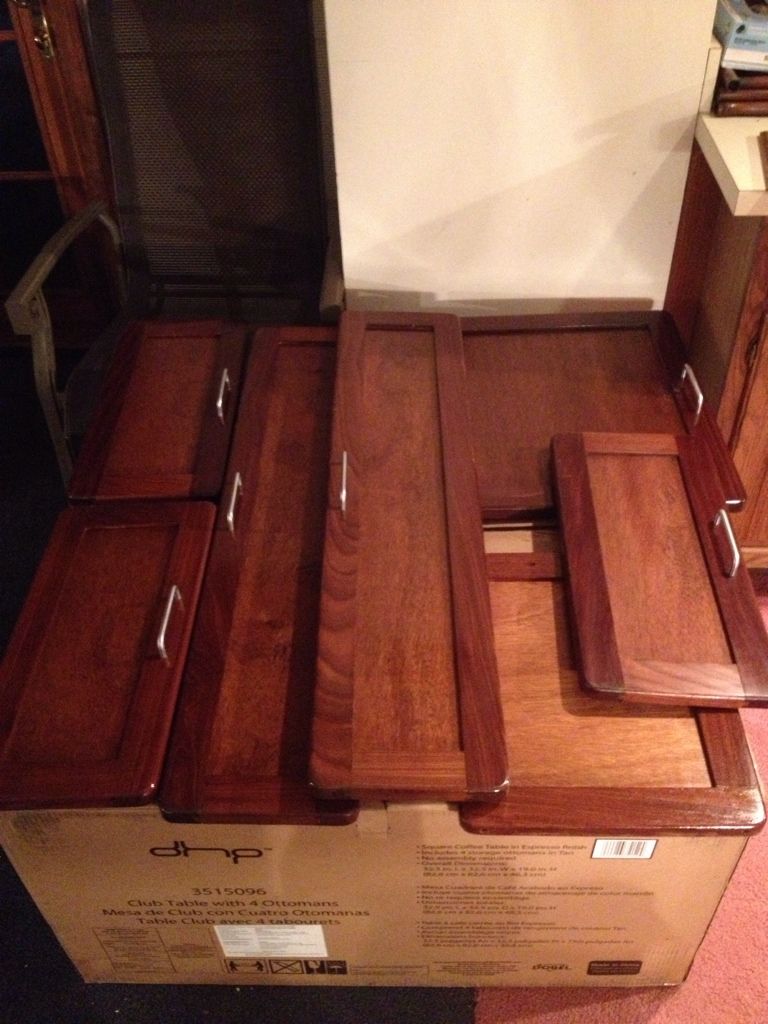
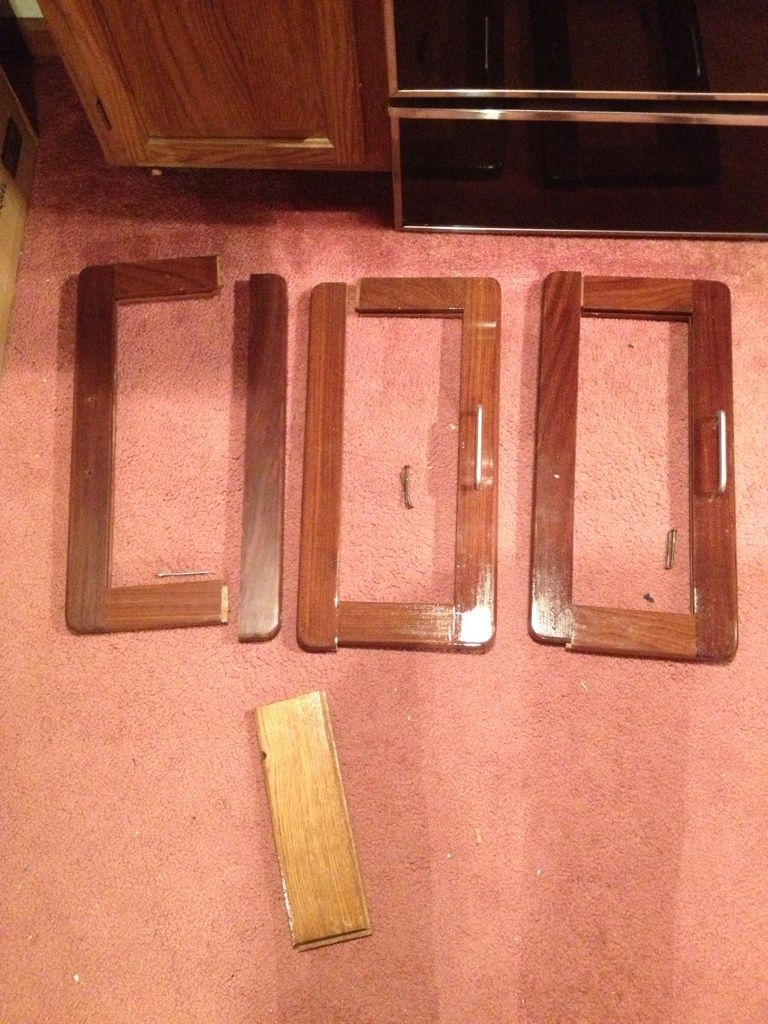
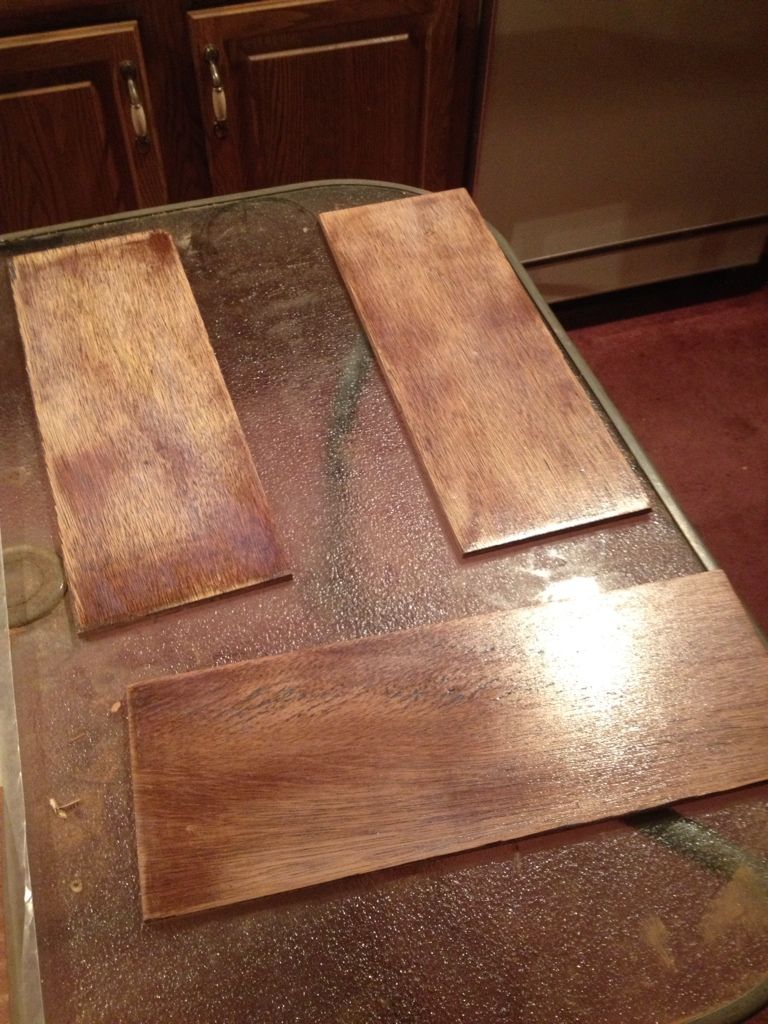
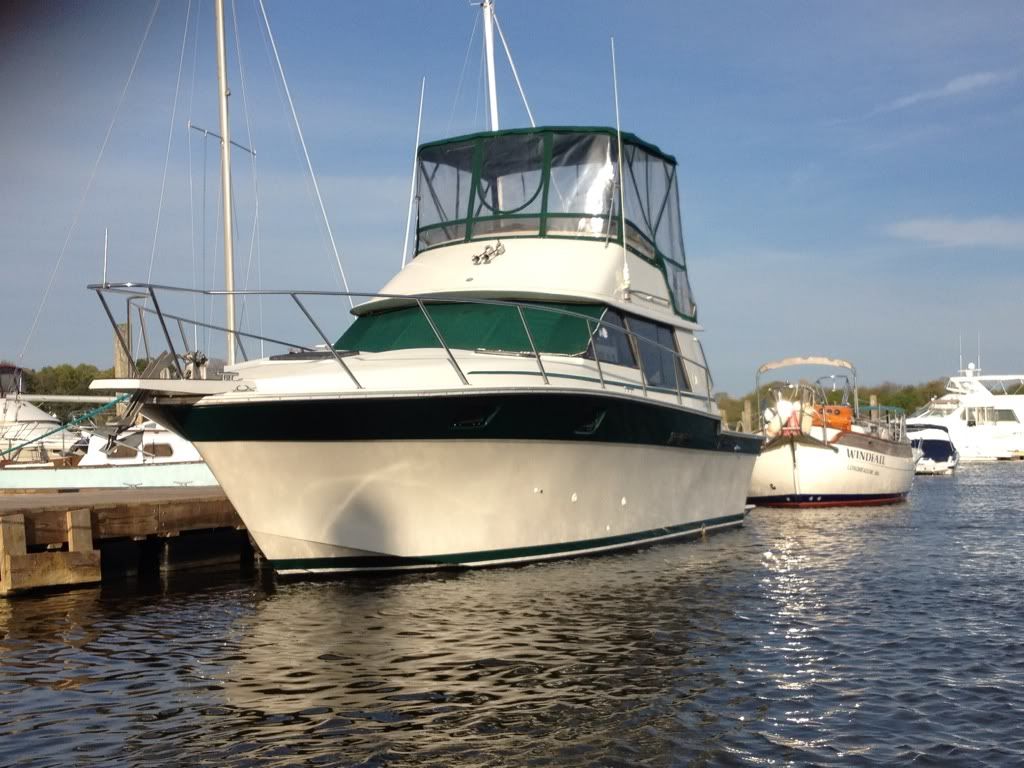
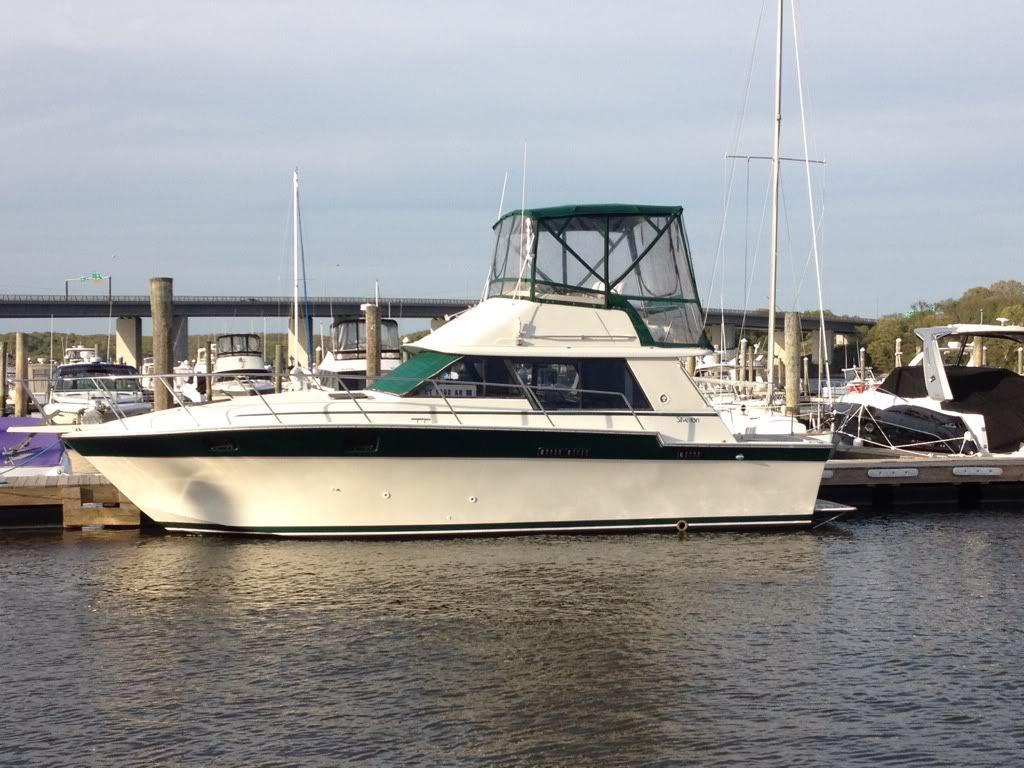
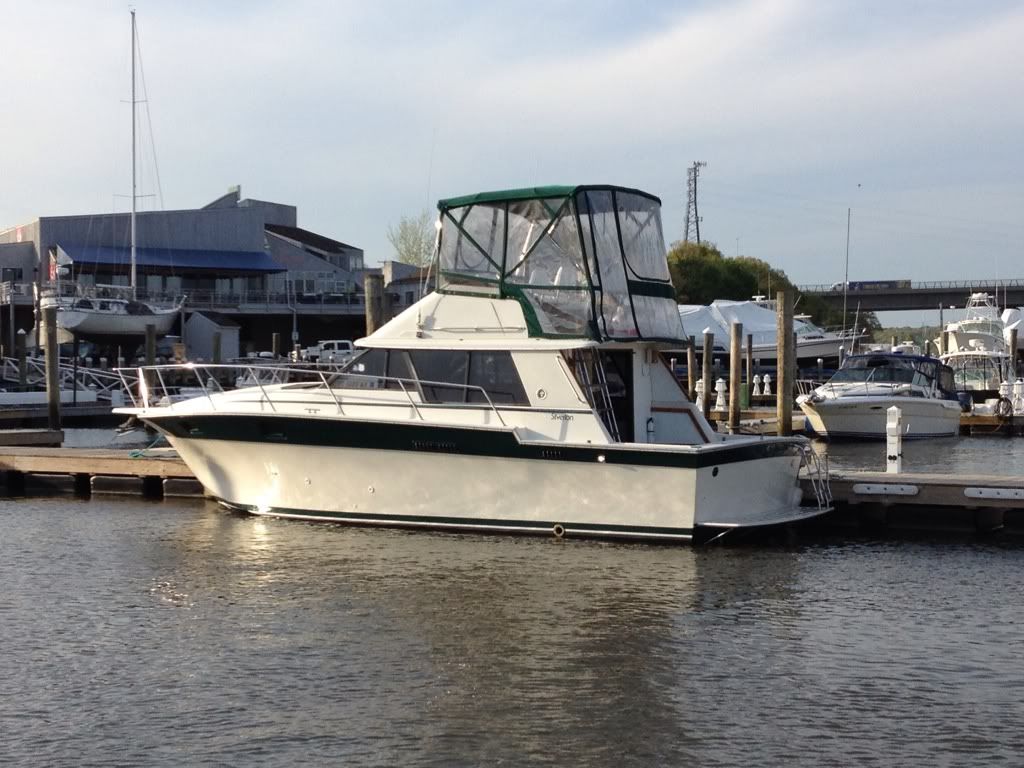
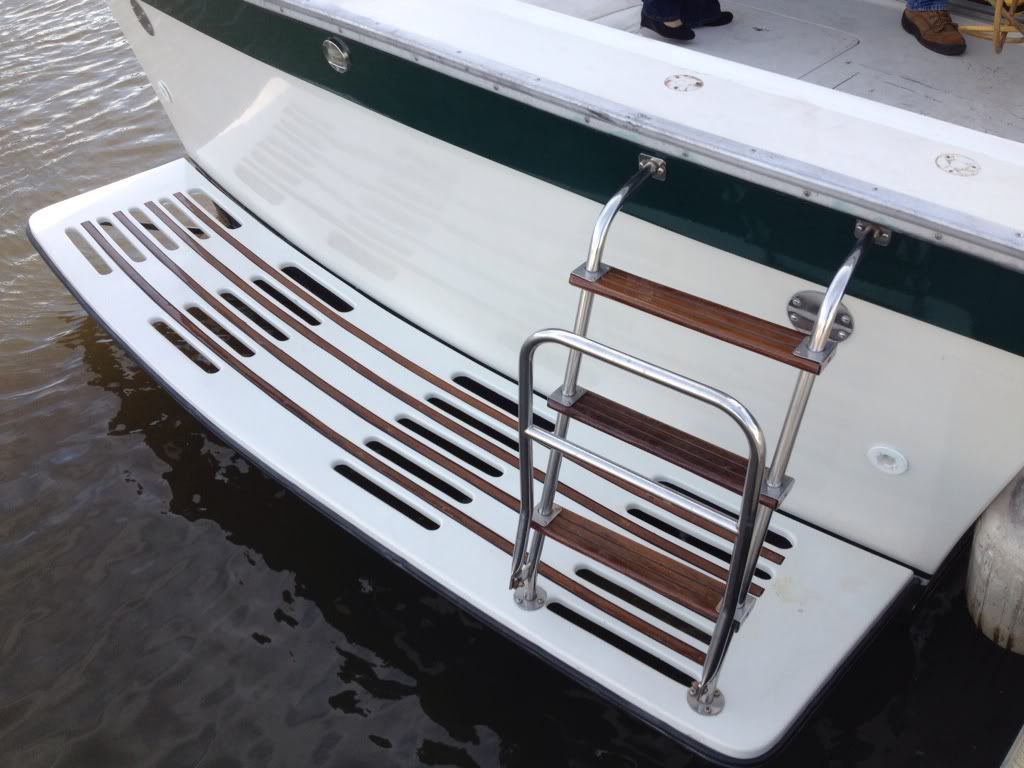
Re: 1984 Silverton 34C Remodel/Update/Upgrade PIC HEAVY
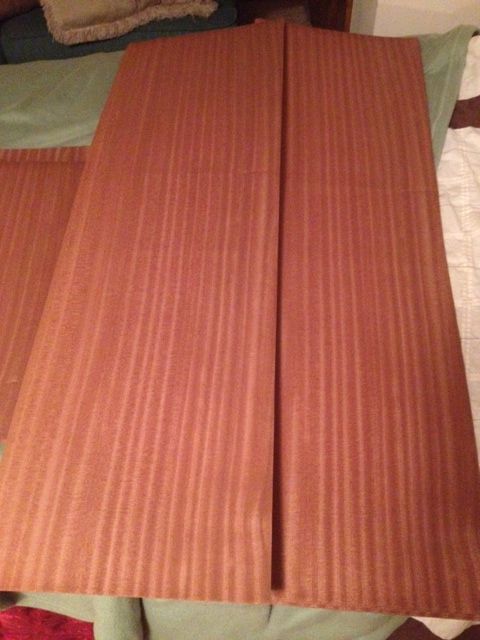
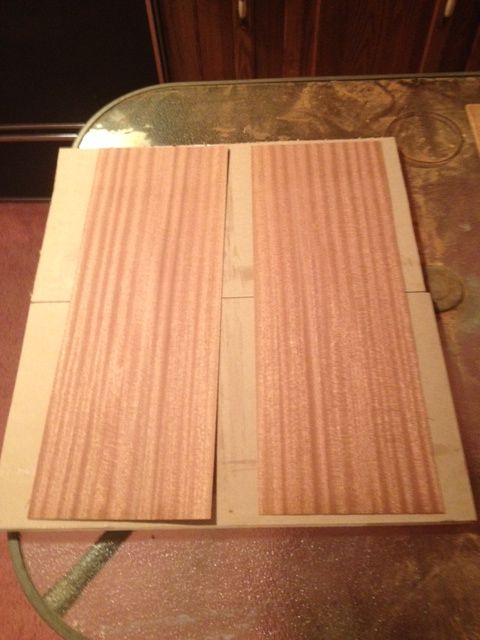
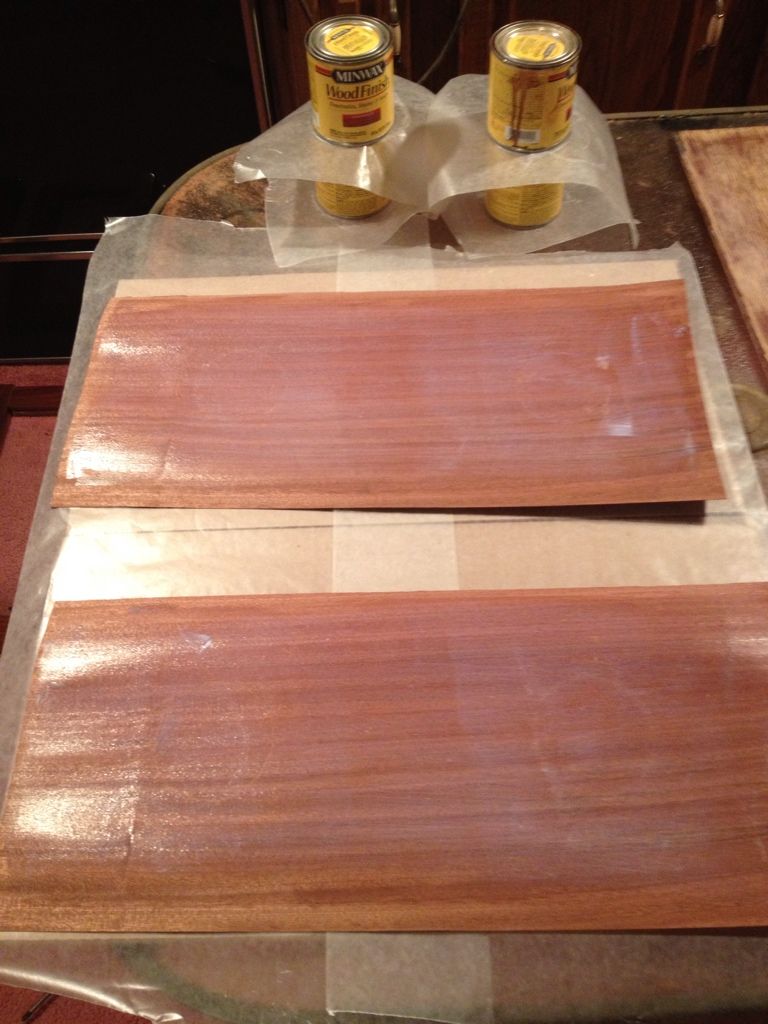
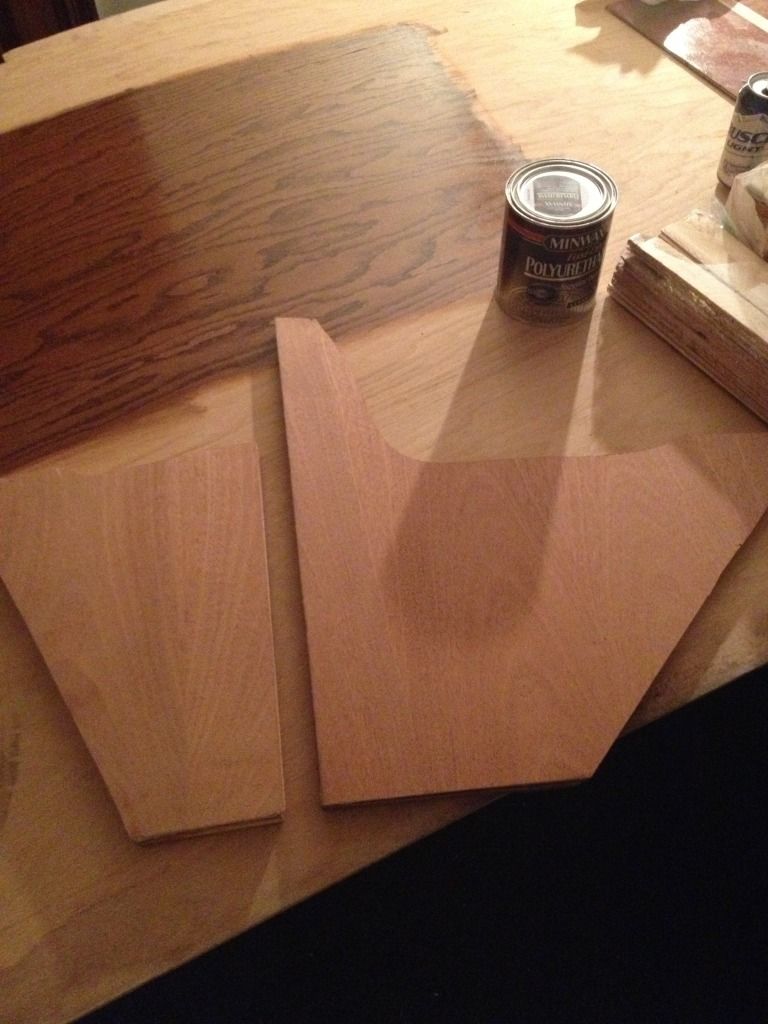
Next is to lay the veneer out and get it ready or adhesive applications.
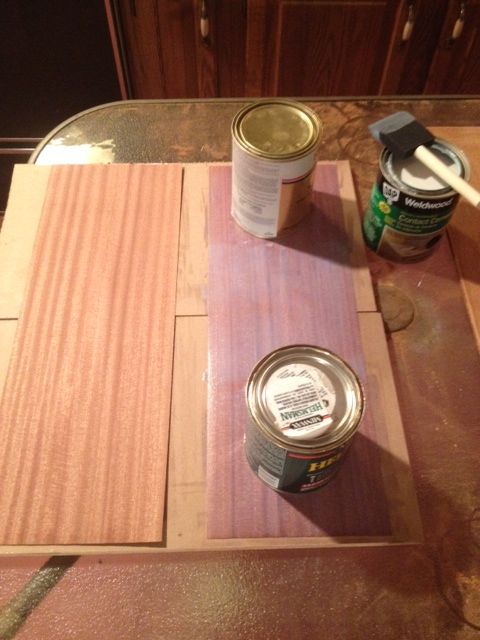
One thing I noticed with any adhesive on this veneer, it immediately curls. It actually curls into a complete cylinder if allowed. Knowing this, I prepared by having 4 near full containers ready to weigh the veneer down. *fun fact, my containers were a combination of Cetol Natural Teak Stain, Minwax Wood Polyurethane, Minwax Spar Urethane and Interlux Schooner 96 Varnish* I think I'm obsessed!
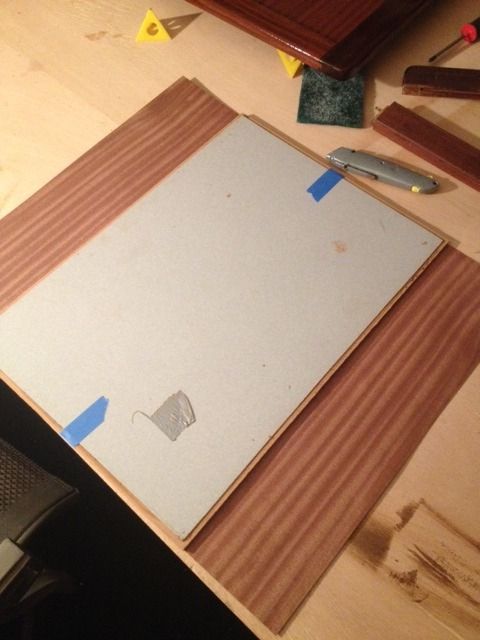
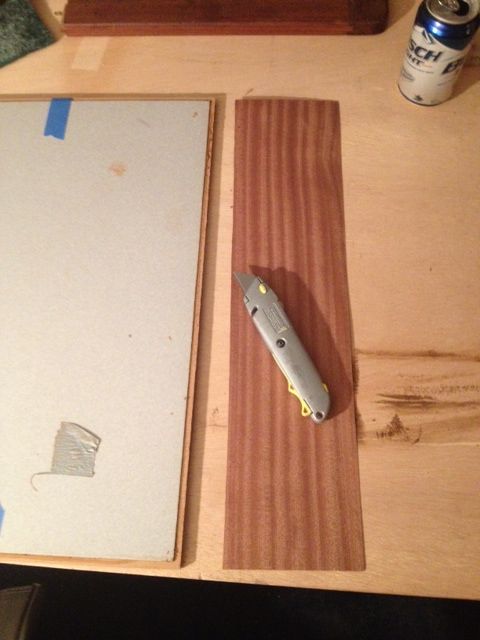
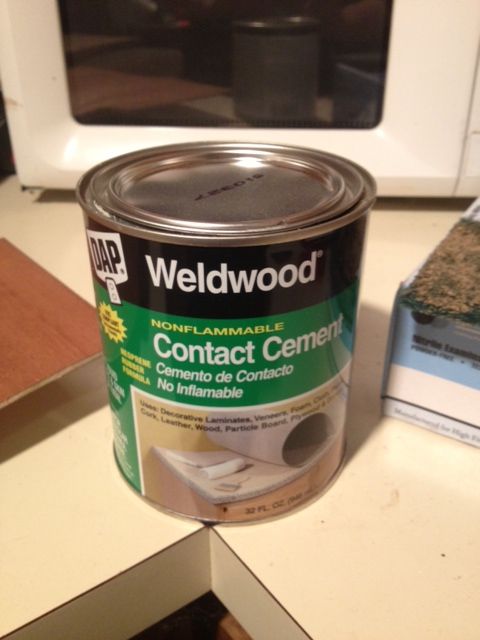
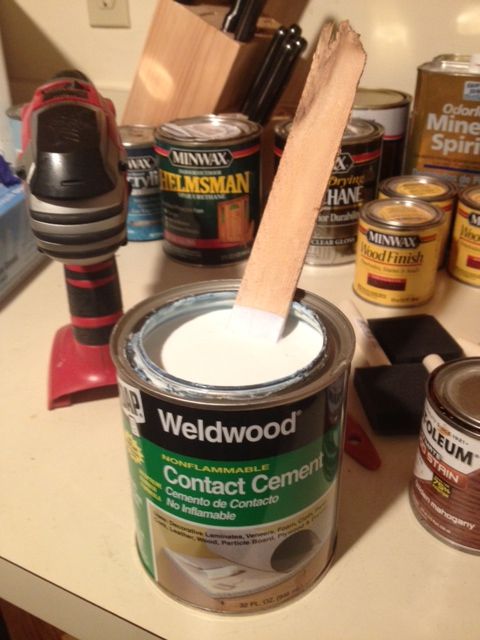
Then adhesive is applied to the panel. Both the veneer and panel required two coats this time.
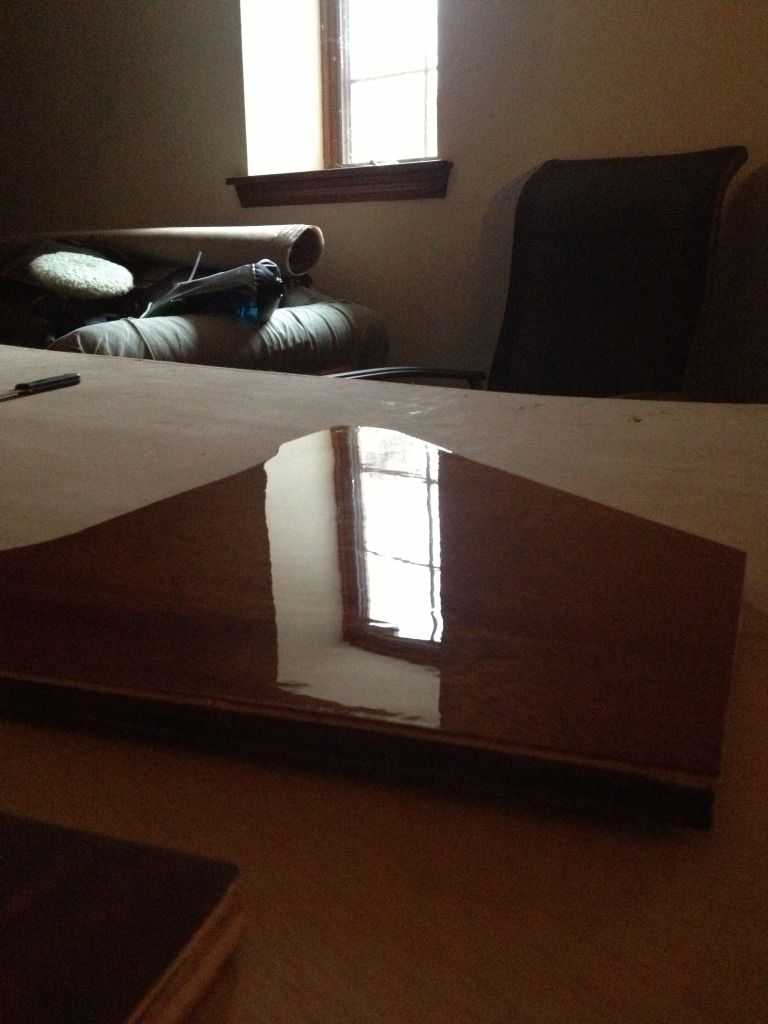
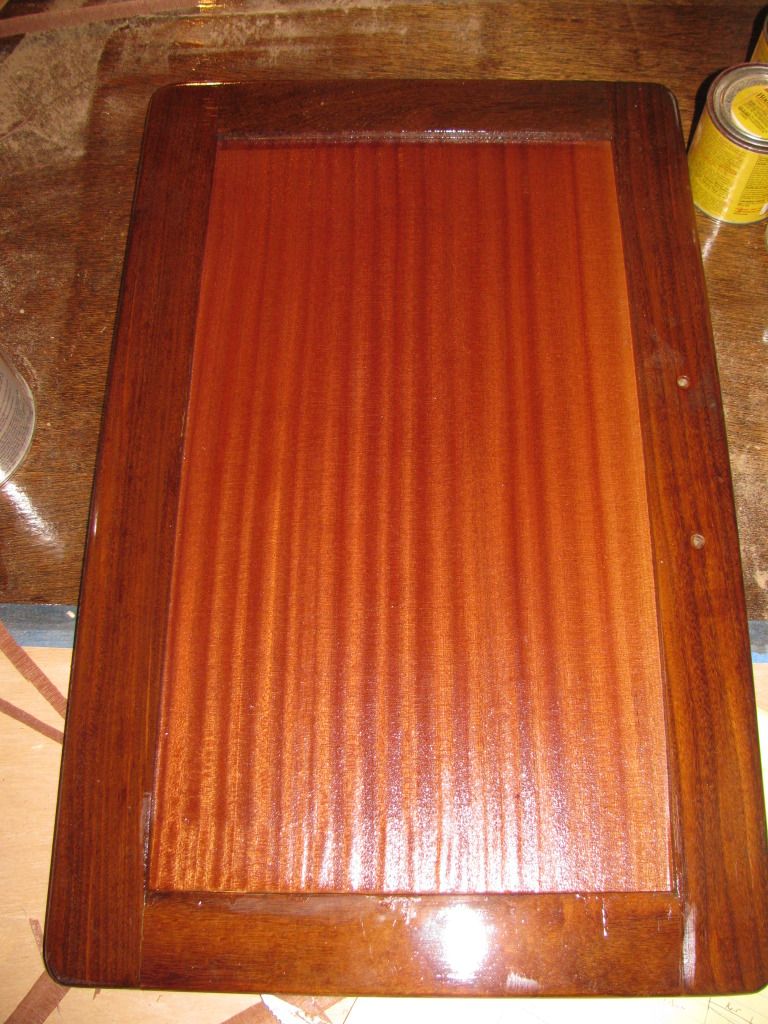
The moment of truth arrives. Time to press the veneer onto the panel. I start at the center line, press it in and then roll it out. I don't have the right roller, but have been using a glass candle. It allows me to roll out the correct pressure (75 psi, according to the contact cement) fairly easily.
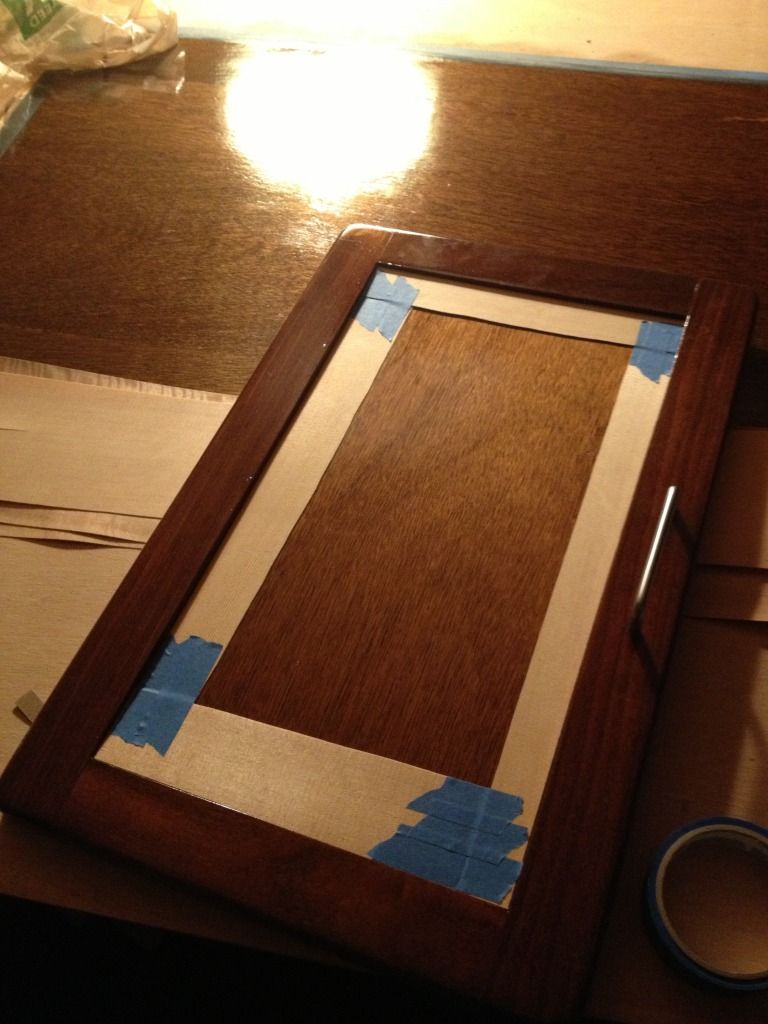
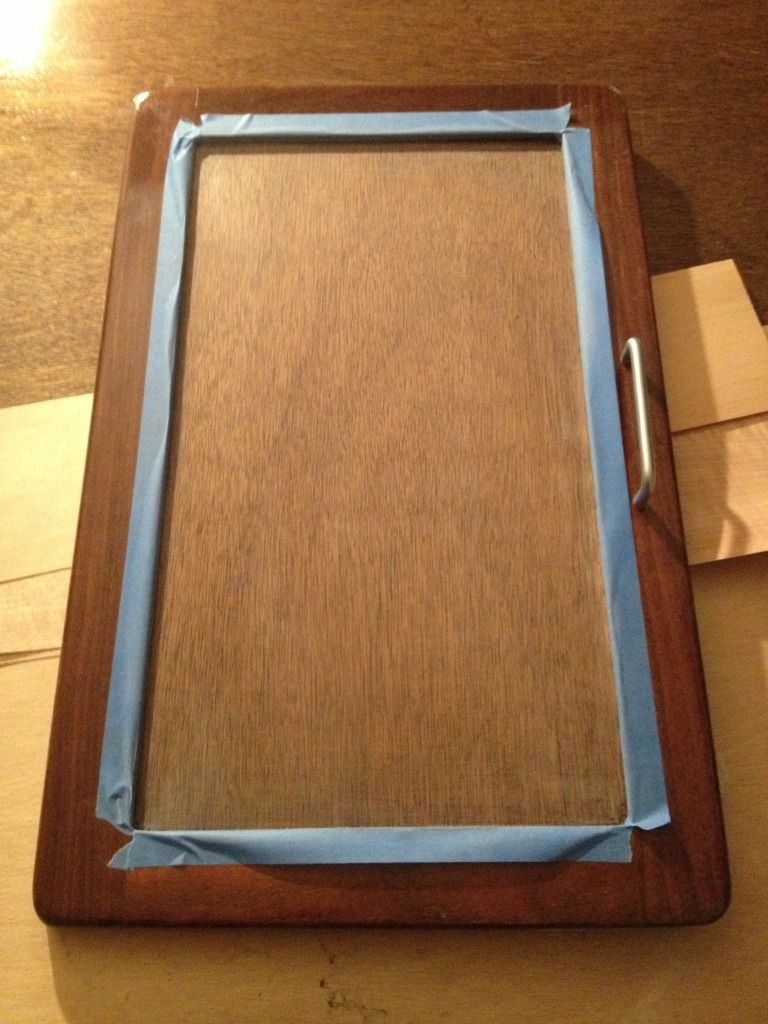
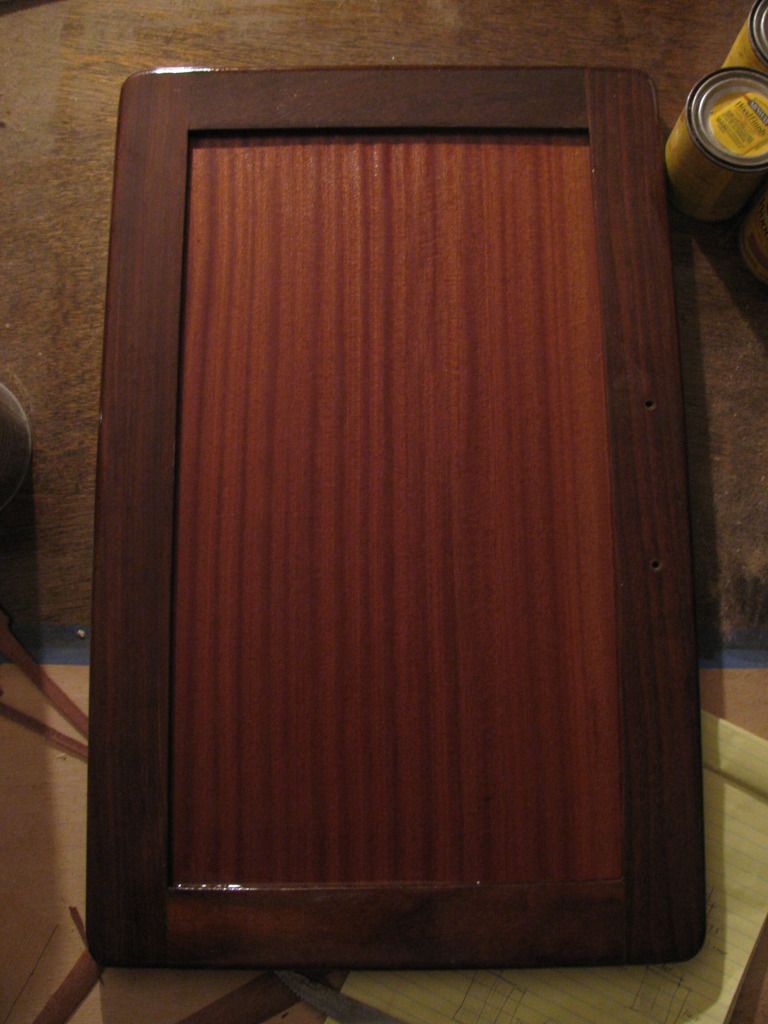
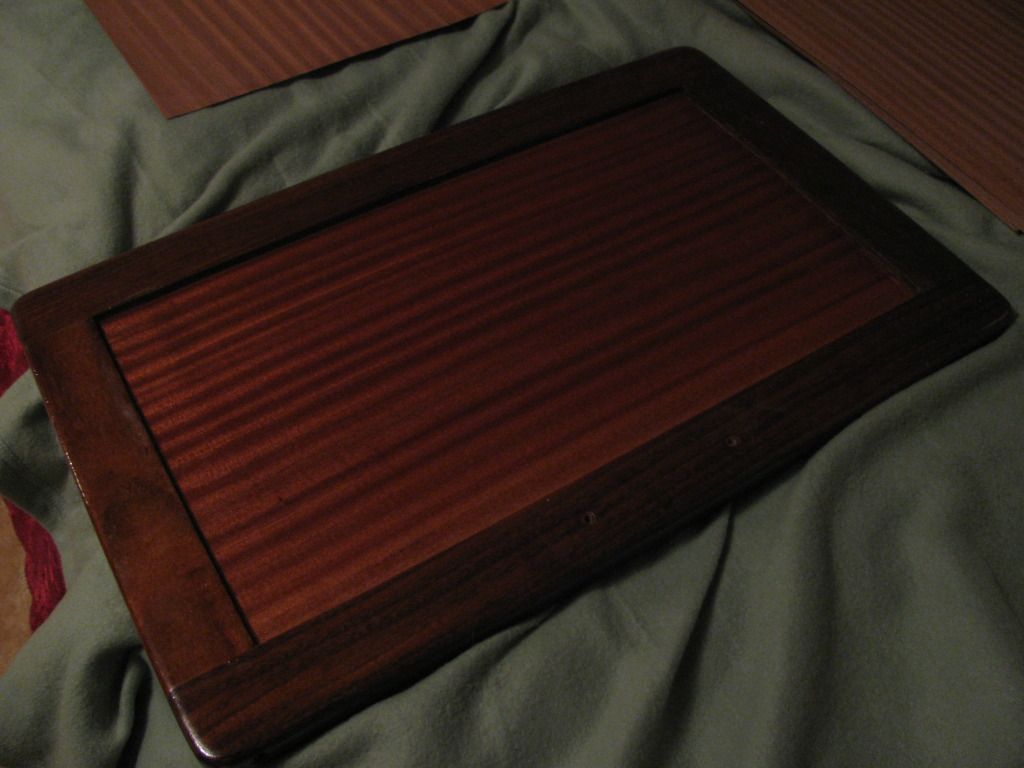
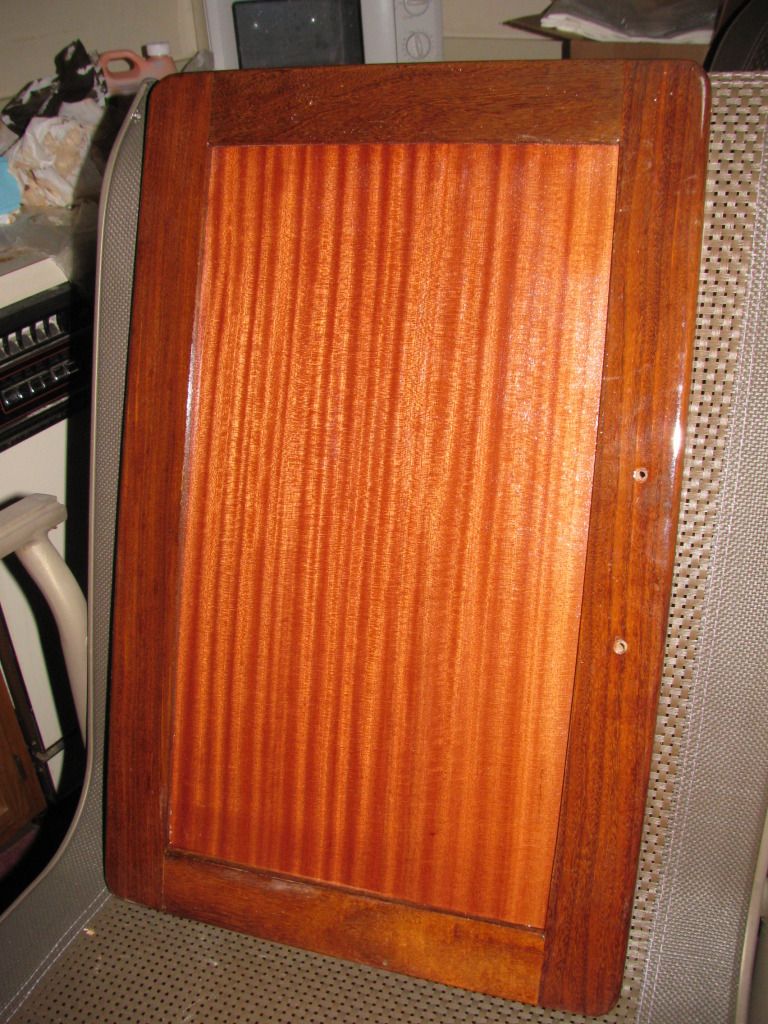
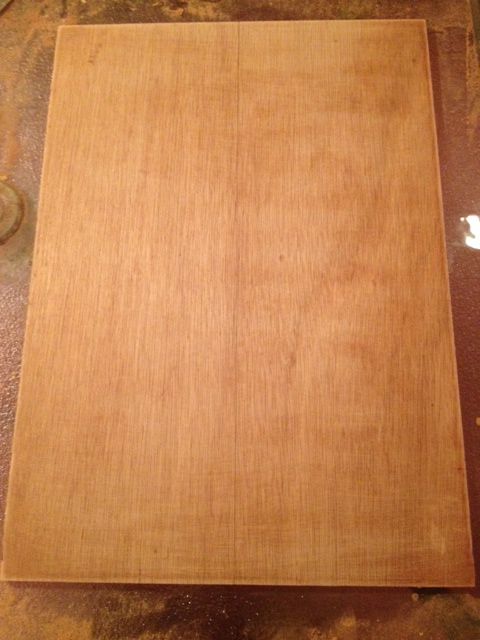
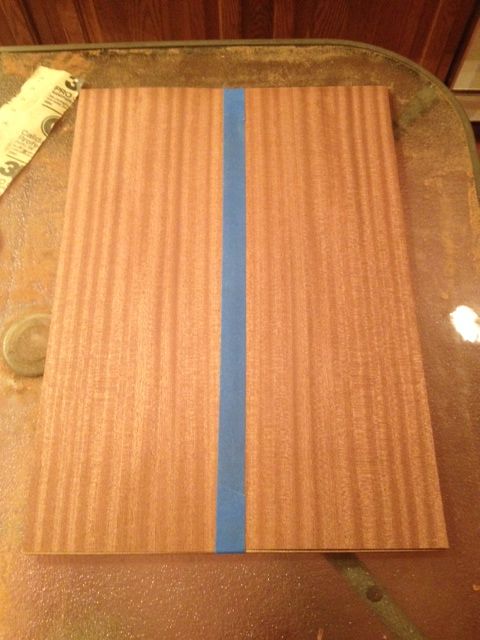
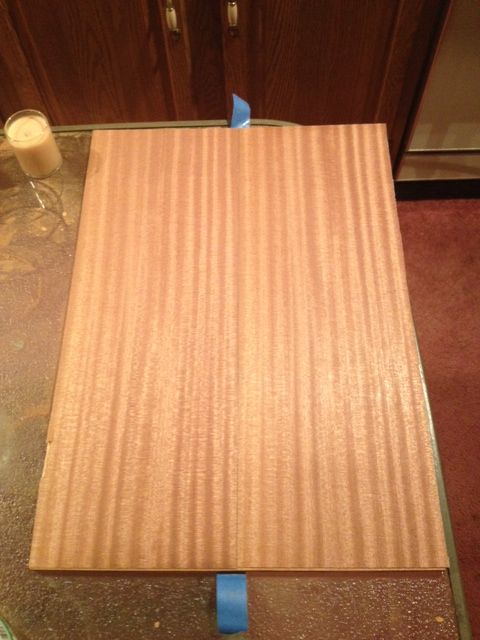
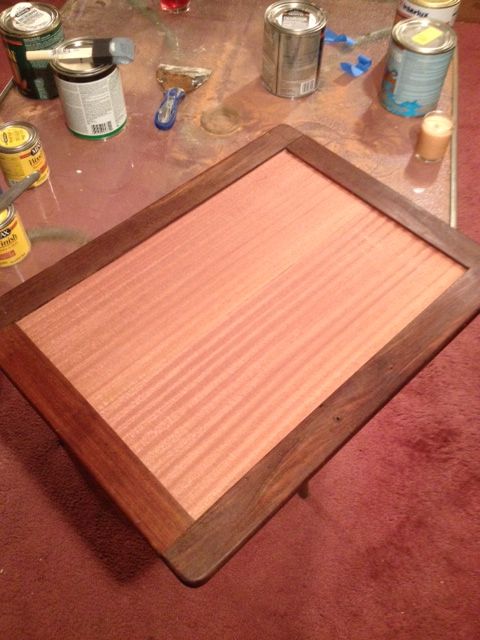
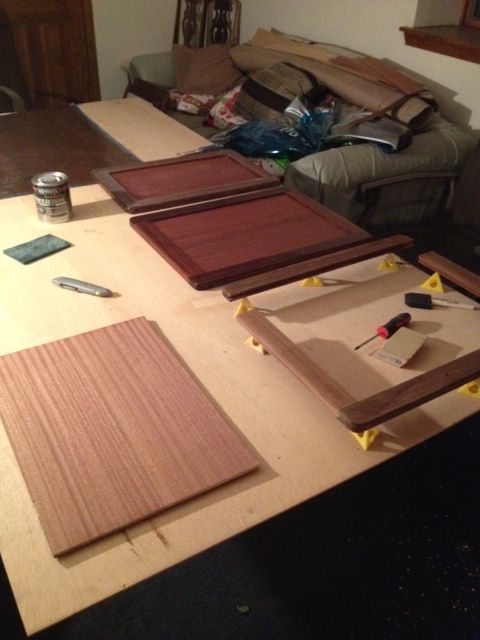
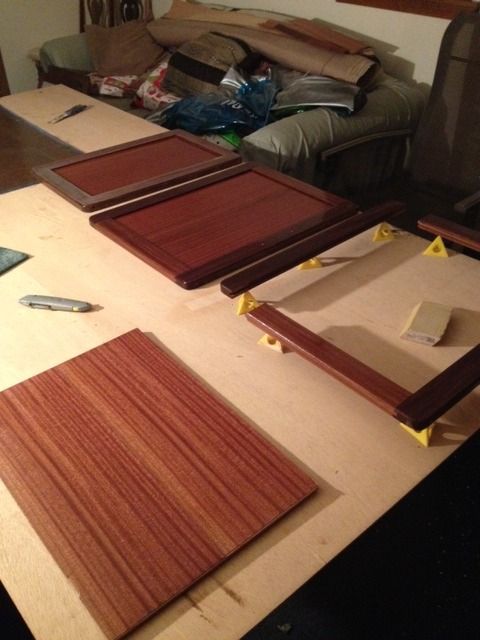
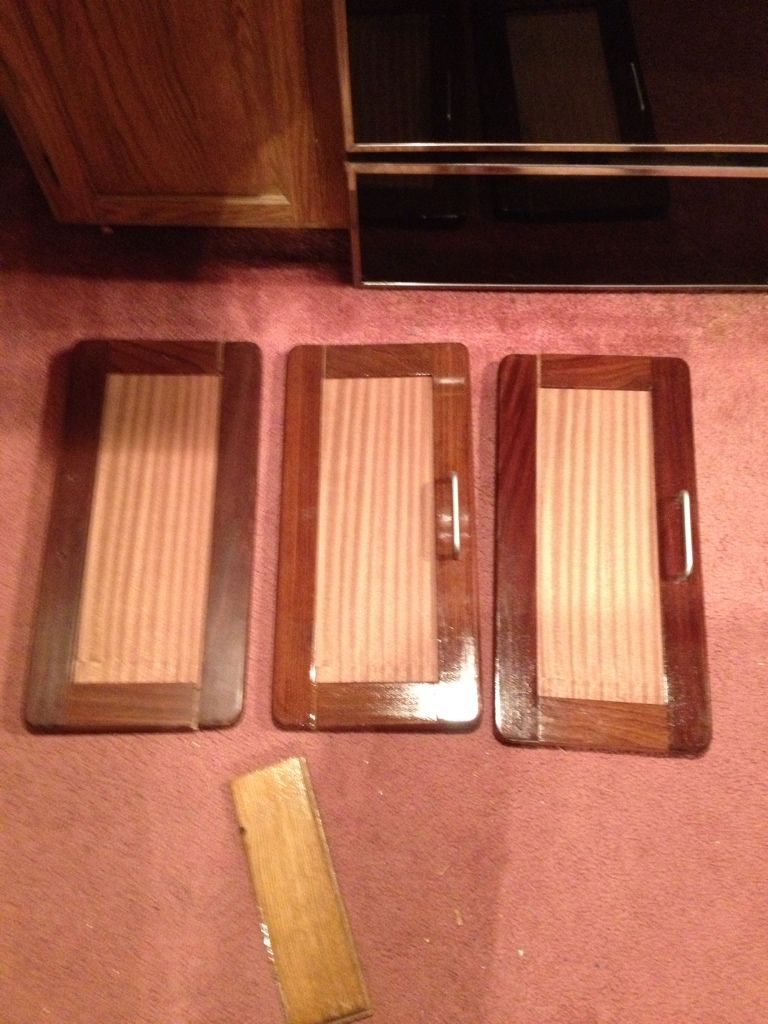
A test fit and it looks presentable.


")