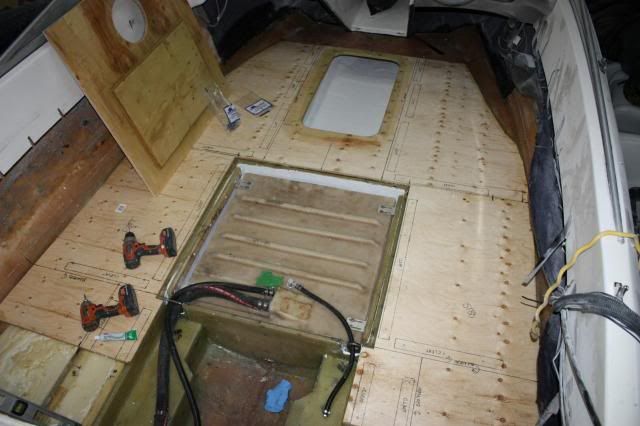
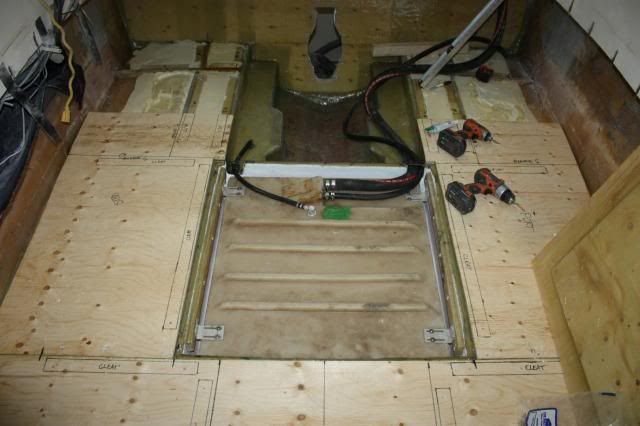
Re: 1999 Celebrity 190 - Engine Mount and Stringer Repair
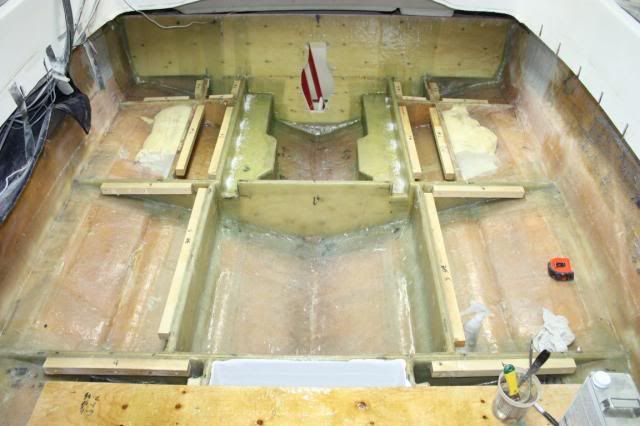
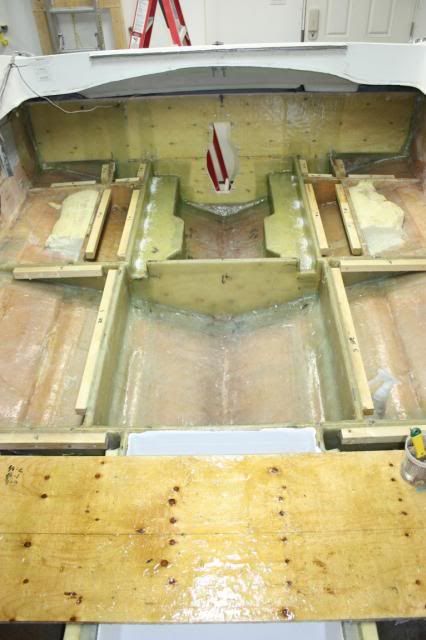
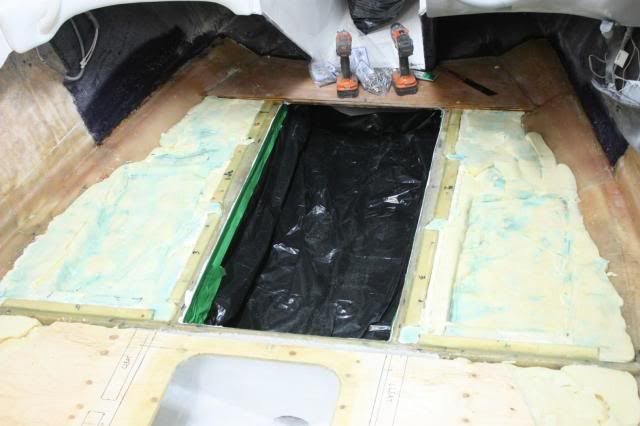
Slowly but surely some progress since the last update. I made an executive decision to pour in the foam before installing the deck. I had originally planned on doing it like everyone else, through cutouts in the deck after the install. But after talking to a guy I know that works on boats for a living, he was adamant that I would not be able to achieve 100% fill in the cavities by pouring the foam through various holes cored in the deck. I kind of see his point, especially after this last week. What I noticed was that as the foam expands and sets up, it rises more or less vertically rather than spreading out horizontally, so channels tend to be left open which need filling. But regardless, in hindsight, I think pouring it in before hand was actually more work. I do think you could probably achieve near 100% fill with the deck on but you would need to really strategically place your holes for pouring the foam. Enough of the mindless rant, here are some pics.
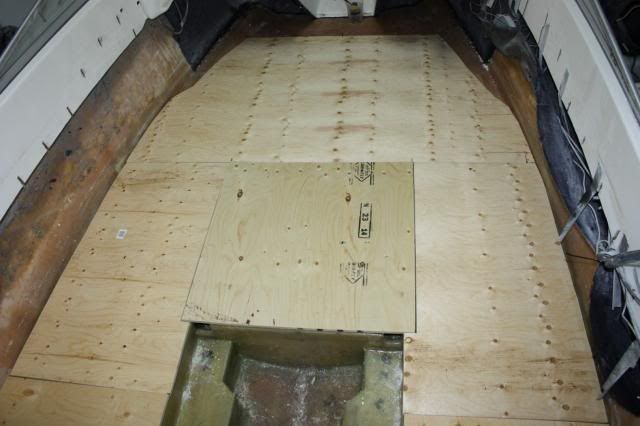
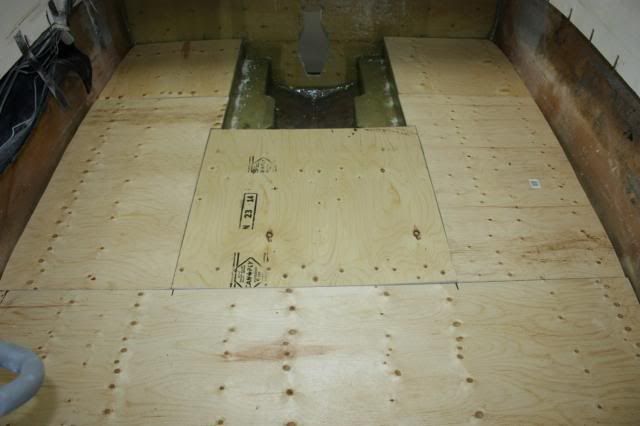
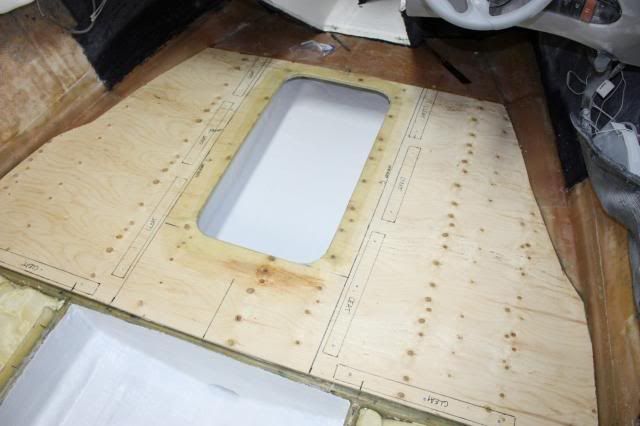
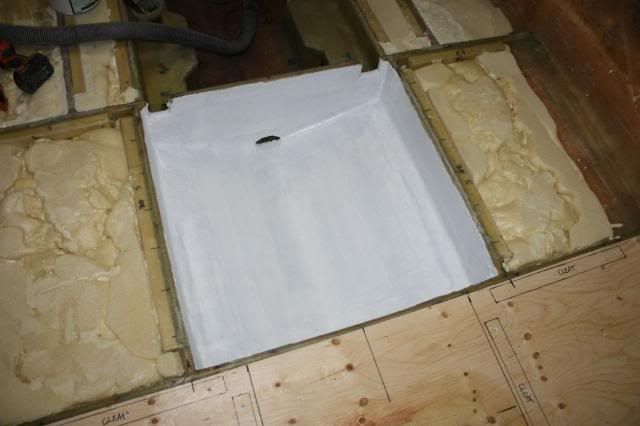
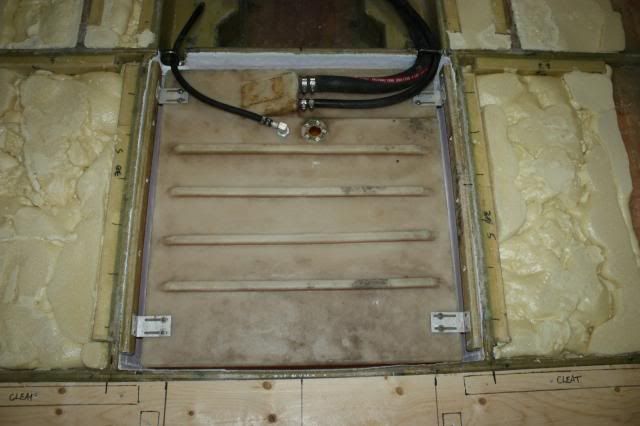
All cavities poured. I used a little bit of Great Stuff to get into the nooks and crannies left over after the 2-part had set up. Used a saw to cut everything down to height. The plan is to install the deck, and note where some of the low spots are that still need filling, like around the outside edges. Then drill 1/4" holes and inject Great Stuff to fill the small voids and tighten things up.
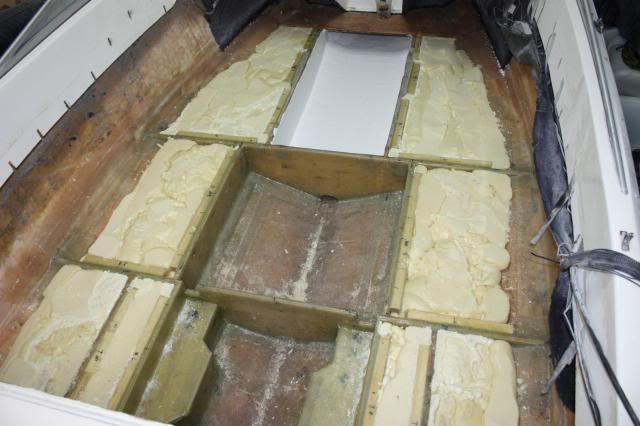
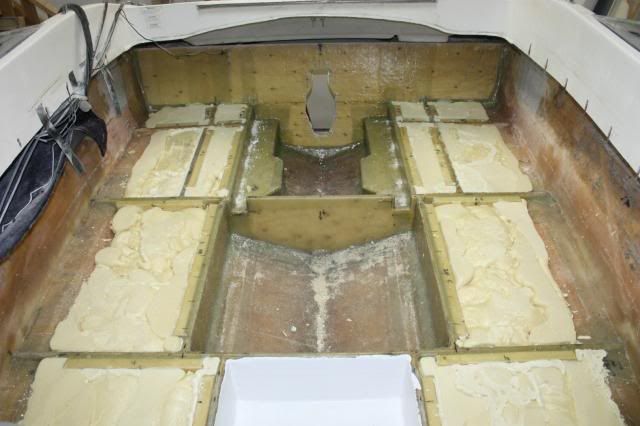
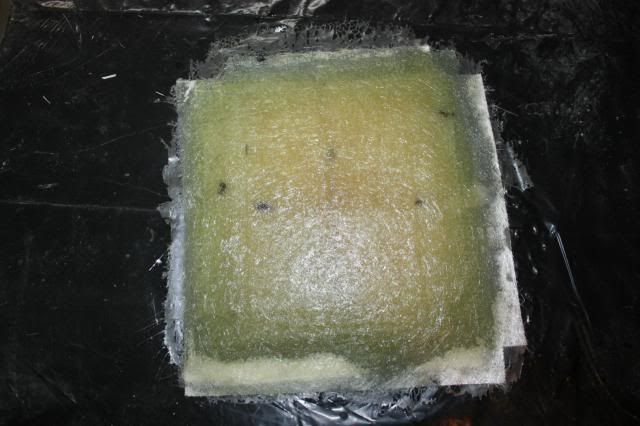
The original plate where the bilge pump was mounted in the bottom of the engine compartment was made of 1/4" ply, with a couple layers of CSM on top (no underside treatment). Rather than using wood, I just layered up a bunch of scrap pieces of 1708 and CSM into about a 1/2" plate. Will cut down to size and tab in. Should be impervious to water now!
Also mixed up a batch of thickened gelcoat to spread over the outer skin of the transom that I had ground down earlier. I made WAY too much, hadn't realized that the 3M microballoons would add volume to the mixture, DUH....
Ratios were:
-750ml white, waxed gelcoat
-1L 3M microballoons
-Around 250ml cabosil
The mixture wasn't too bad, but could have been a little thicker. It's hard to see in the picture where it is applied, the colour matched up pretty good too. Will sand down to likely an overall thickness of 1/32-1/16". The goal is to make the area around the keyhole flat and uniform.


